Did you know you can make beeswax wraps with an iron? So you probably have most things at home to make these beeswax wraps. Beeswax Wraps can save you so much money! With this DIY Beeswax Wraps Tutorial, it is so fun and easy to make your own. At the start of this year, I saw Beeswax Wraps being sold in the local supermarket 2 wax wraps for $14! This immediately put me off purchasing. I then did some research and found out they are so cheap, easy, and quick to make. So below is my very own method for making beeswax wraps.
Making Beeswax Wrap with an Iron
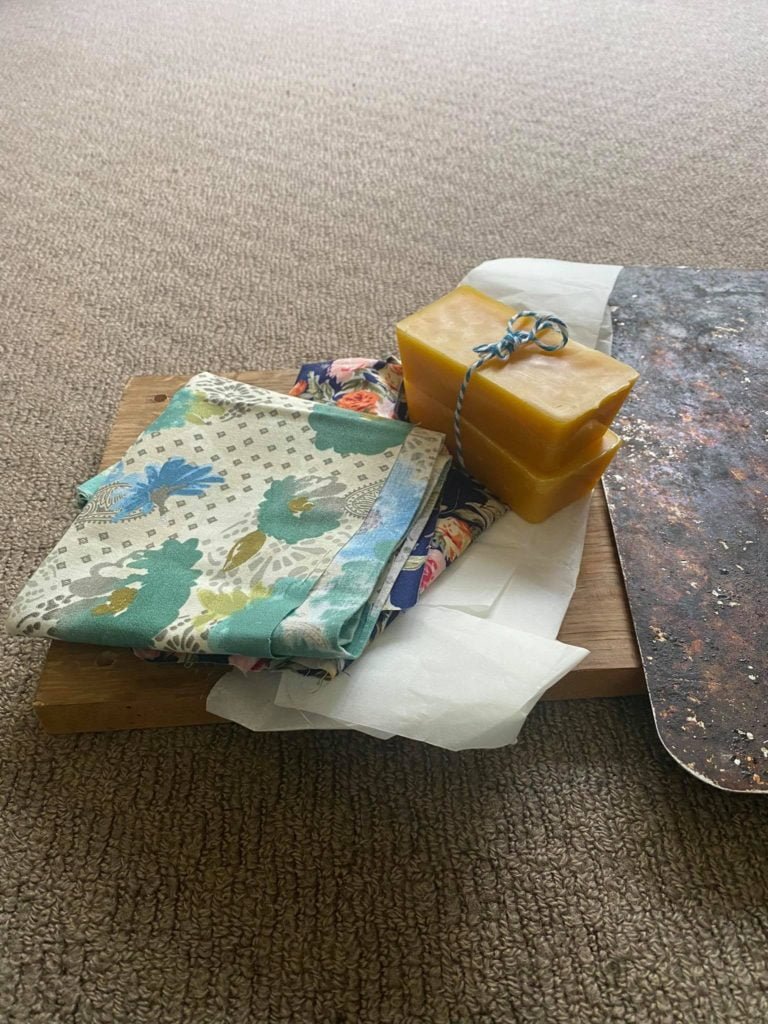
Okay, Let’s Get Started with this Beeswax Wrap Recipe, this is what you need:
What you need:
- Beeswax ( I purchased bars of it because it is cheaper, but you can alternatively buy beeswax beads)
- Iron
- Baking Paper
- cheese grater or potato peeler
- 100% cotton fabric
- Scissors
The Steps
Follow these steps to make successful beeswax wraps.
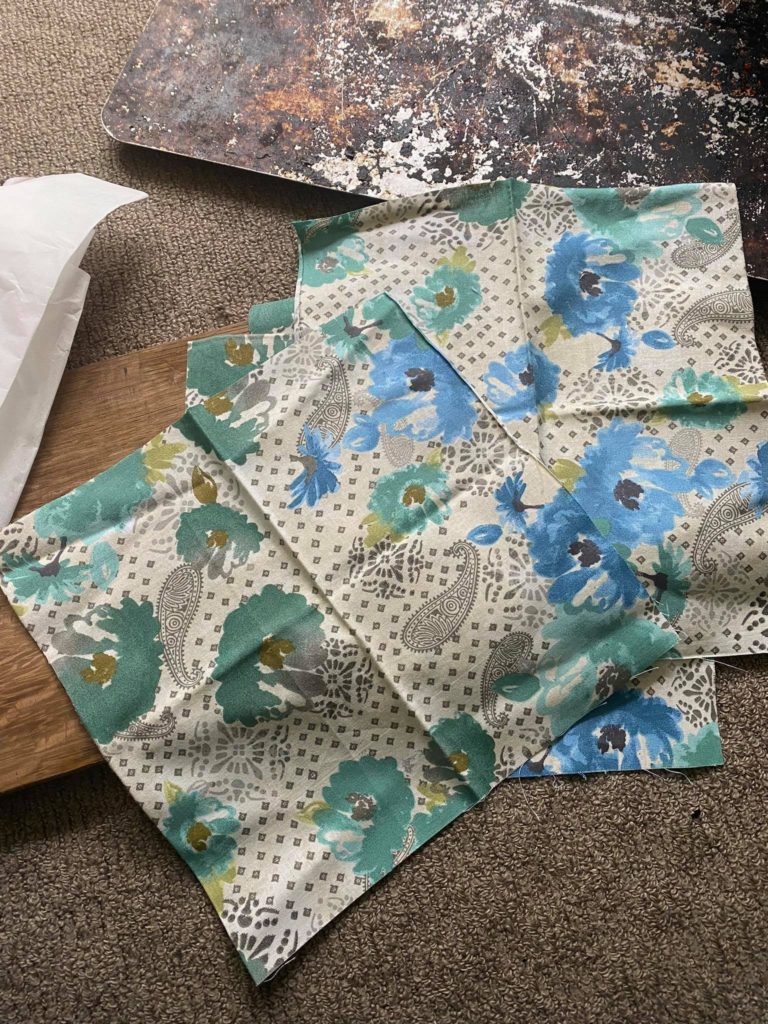
Step 1:
Cut your fabric to size. You can choose what size you want the fabric to be. I used a 100% cotton fat quarter and cut that into quarters.
Step 2:
Grate your wax. You can use a cheese grater for this but I used a potato peeler as I find that easier to wash. If you have beeswax beads you can skip this step.


Step 3:
Place your fabric pattern down on the baking paper ( if your fabric has a right side and a wrong side)
Step 4:
Evenly spread the grated wax all over the fabric. Don’t worry too much about how even the wax is because it can be spread with iron. You don’t want to add too much wax because when it melts it spreads a long way. Try a few different wax wraps with different amounts of wax to see what works best for you.

Step 5:
Cover the fabric with another piece of baking paper.
Step 6:
Iron. When ironing you can push and spread the wax around. The wax will melt very quickly. Make sure you get the wax right to the edges.


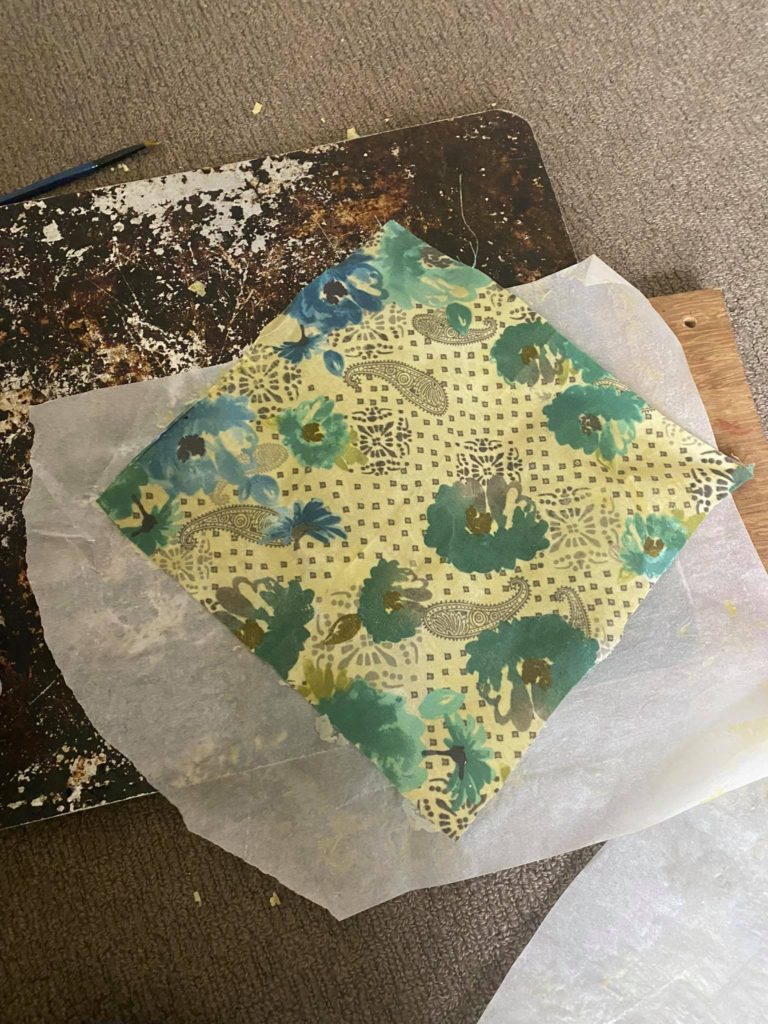
Step 7:
Remove baking paper and let dry. The wax wraps will dry very quickly
Step 8:
Once cold, they are ready to use. Use these to cover left over, wrap sandwiches and half-eaten fruits and Save money and the planet!


How to Use Your Beeswax Wraps:
To make your beeswax wraps stick, apply pressure to the area you want to stick to. Your beeswax wraps should already be pretty stiff and easy to mold around whatever you are wrapping. The stickiness of the beeswax is activated again with heat which can happen from applying pressure.
How to care for your Beeswax Wraps:
To wash only use cold water or mildly warm with a little bit of washing liquid
These Beeswax wraps should last up to a year with the right care.
To conclude…
These beeswax wraps using iron are easy and fast to make, say goodbye to plastic wrap and hello to sustainably. Remember it’s the little things that will make a big change in the future. Let me know how this method goes for you in the comments.

Other posts you make enjoy:
Teacup Bird Feeder DIY | HOW TO
How To Make Your Own Embroidery Necklace | Hand Embroidery Pendant
DIY Hand Warmers | Small Sewing Projects For Kids
You can support me by checking out my Etsy Store


[…] How to Make Beeswax Wraps with Iron | Cheap DIY – Missy Kate Creations April 12, 2023 at 12:33 am […]