17 Hand Embroidery Tips You Won’t Find in Every Tutorial (But Should!)
I’ve been embroidering for a while now, and I’ve picked up a few tricks along the way that aren’t always mentioned in those beginner guides. These are the little things that really make a difference, and I’m excited to share them with you!
1. The “Thread-Saver” Trick:
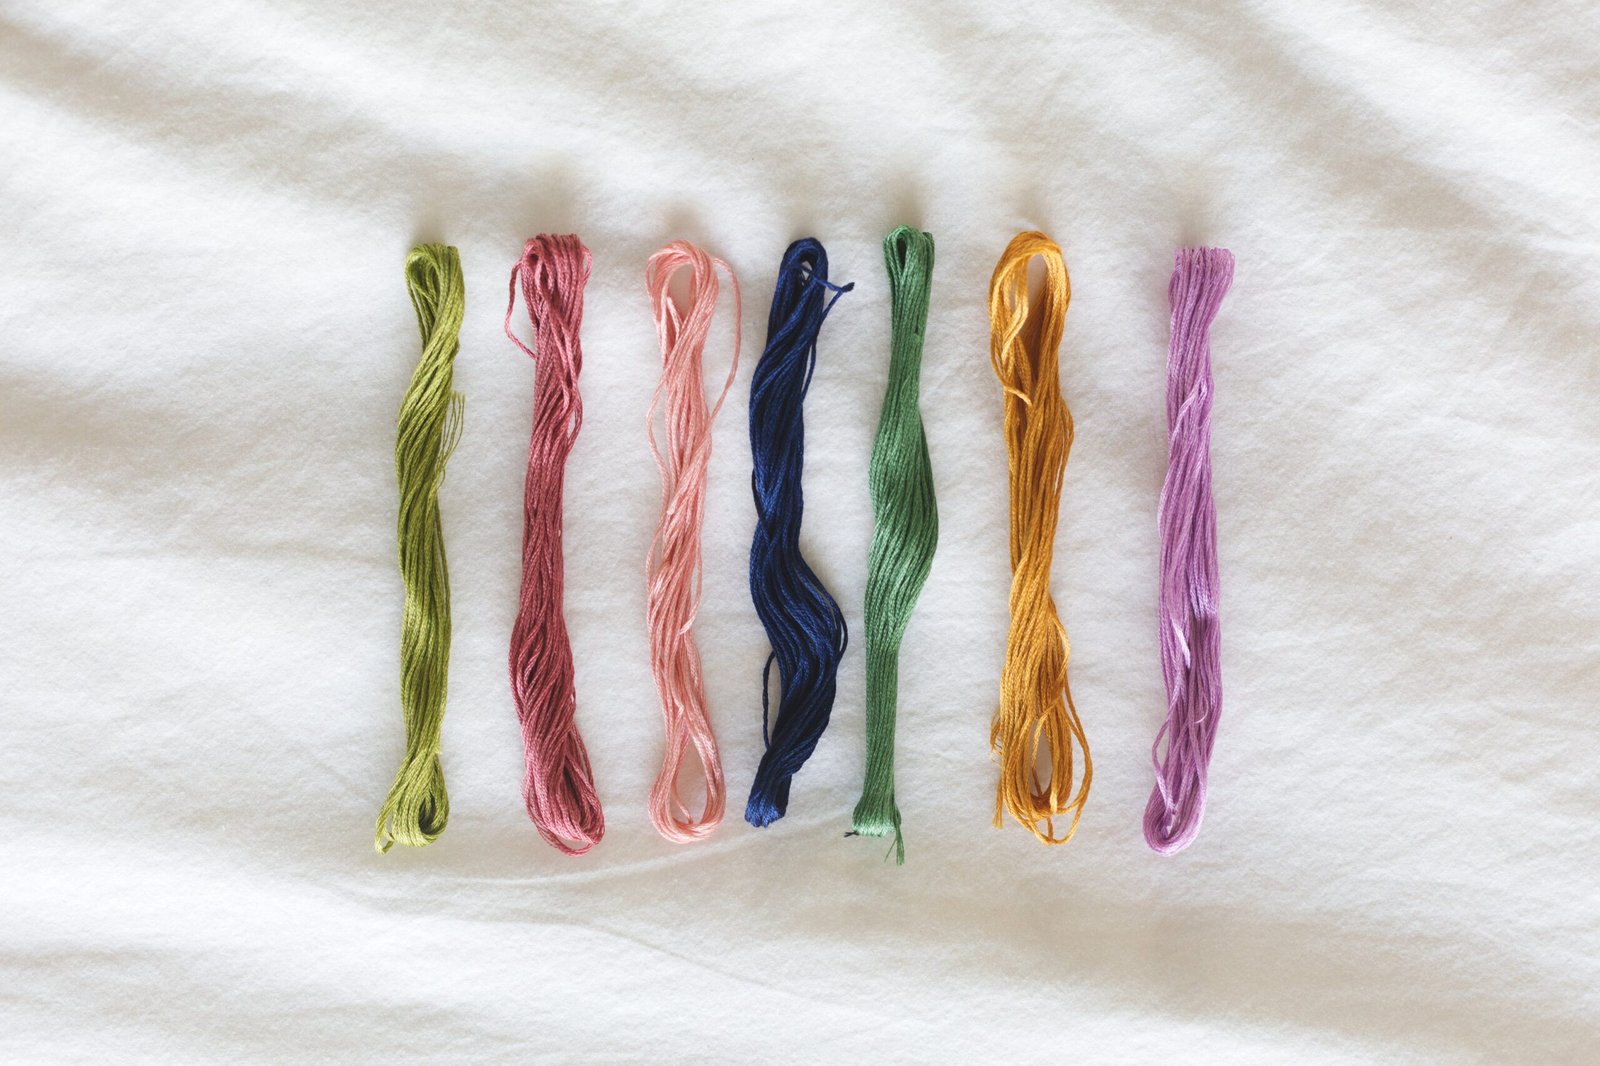
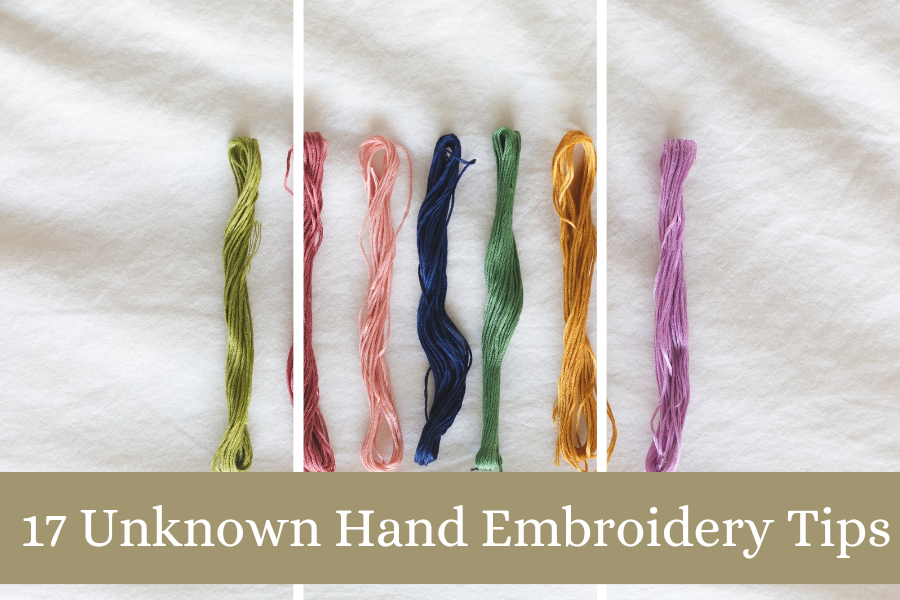
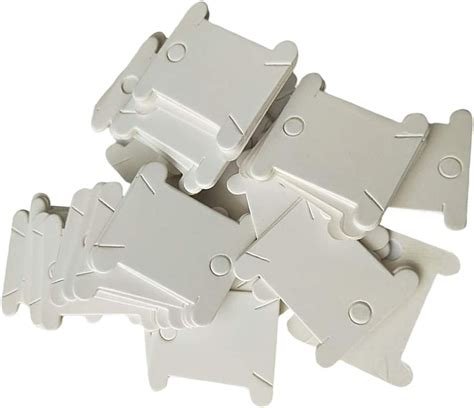
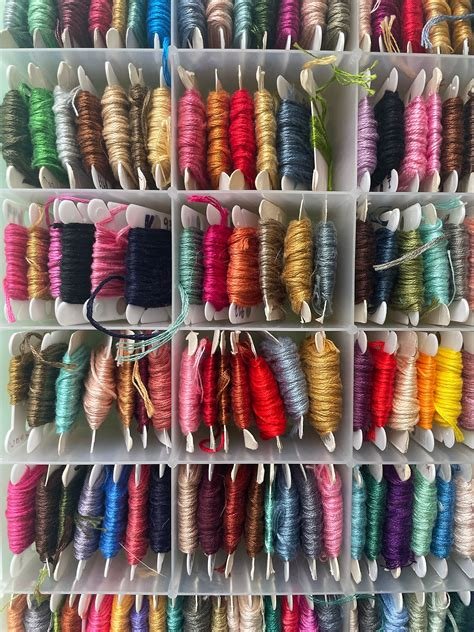
Before I start a new project, I always wind my embroidery floss onto a small bobbin or card. It’s such a simple thing, but it keeps everything tangle-free and makes switching colors a breeze. Seriously, it’s a game-changer!
2. The “Needle-in-the-Hoop” Hack:
I used to constantly take my needle out of the hoop, but then I realized I could just keep it threaded and tucked safely inside when I wasn’t stitching. It saves so much time and prevents those accidental needle pricks!
3. The “Backstitch-as-a-Guide” Method:
For intricate patterns, I always use backstitch to outline the design before filling it in. It’s like creating a framework, and it makes my work so much more precise.
4. The “Thread-Weight-Match” Rule:
I’ve learned that choosing the right thread weight for your fabric is key. Thicker threads work better on heavier fabrics, and finer threads suit lighter fabrics. It’s all about finding that balance.
5. The “Embroidery-Thread-Storage” Solution:
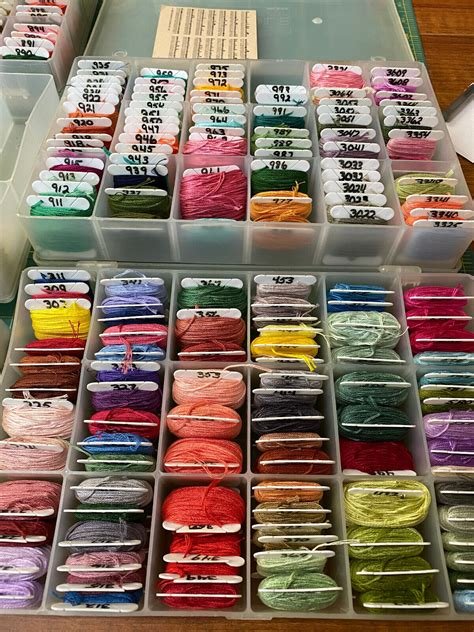
I used to have a jumbled mess of floss, but then I started organizing it by color using a floss bobbin organizer. It’s so much easier to find the right color now!
6. The “Embroidery-Scissors-Sharpness” Secret:
Invest in a good pair of embroidery scissors! Dull scissors can fray your threads and make your work look messy. I sharpen mine regularly for clean cuts.
7. The “Embroidery-Thread-Conditioning” Technique:
Before I start stitching, I gently pull my embroidery floss through my fingers to soften it and remove any kinks. It makes the thread easier to work with and prevents breakage.
8. The “Embroidery-Project-Planning” Strategy:
I always sketch out my design on paper and plan my color scheme before I start stitching. It helps me visualize the finished product and avoid any surprises.
9. The “Embroidery-Thread-Blending” Trick:
To create subtle shading effects, I use two or three shades of embroidery floss to blend colors gradually. It adds so much depth and dimension to my designs.
10. The “Embroidery-Stitch-Variations” Approach:
Don’t be afraid to experiment with different stitch variations within the same design! I love using a combination of satin stitch and French knots for a more textured effect.
11. The “Embroidery-Thread-Finishing” Technique:
I always secure my thread at the end of my stitching by weaving it under a few stitches. It prevents loose ends and creates a clean and professional finish.
12. The “Embroidery-Thread-Protection” Tip:
To prevent my embroidery floss from tangling while I’m working, I wrap a small piece of tape around the end of the floss spool.
13. The “Embroidery-Project-Storage” Solution:
I store my finished embroidery projects in acid-free tissue paper or a dedicated embroidery storage box to protect them from dust and light.
14. The “Embroidery-Thread-Recycling” Idea:
Don’t throw away leftover embroidery floss! I use it for smaller projects, beading, or even as decorative accents.
15. The “Embroidery-Stitch-Direction” Guideline:
For a consistent look, I stitch in the same direction for each stitch type. It creates a more polished and professional finish.
16. The “Embroidery-Stitch-Spacing” Tip:
To create a balanced design, I maintain consistent spacing between my stitches. It helps to create a sense of rhythm and flow.
17. The “Embroidery-Project-Inspiration” Source:
I look for inspiration in everyday objects, nature, and even other forms of art. Let your imagination run wild and create unique embroidery designs

Remember, the best embroidery tips are the ones that work best for you. Experiment, explore, and enjoy the journey of hand embroidery!
