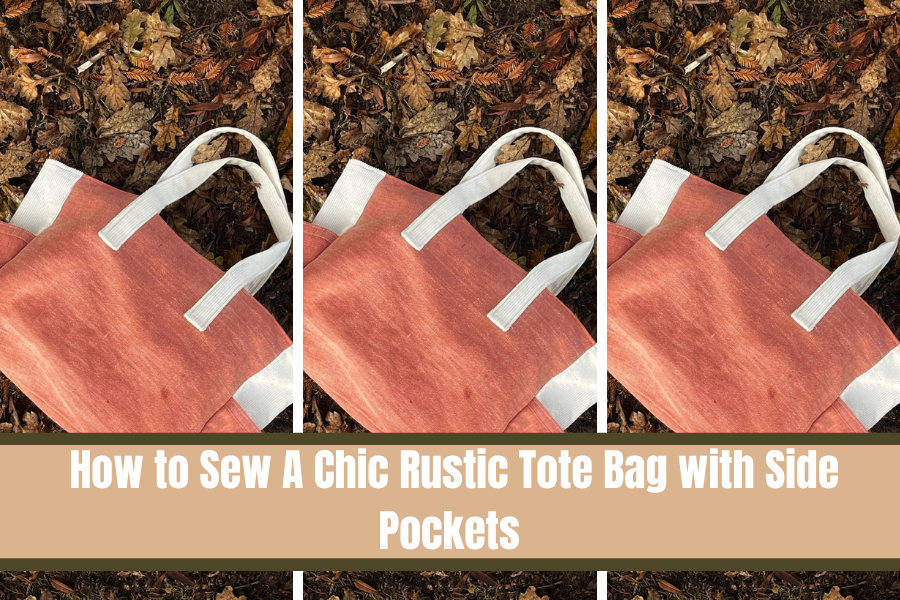
The Autumn Tote Bag Beginner Sewing Tutorial
For this tote bag we will be using 3 different fabrics one for the main body
of the bag, one for the handles and side panels and one for the lining.
Check out My Etsy Shop for full tutorials and pattern downloads.
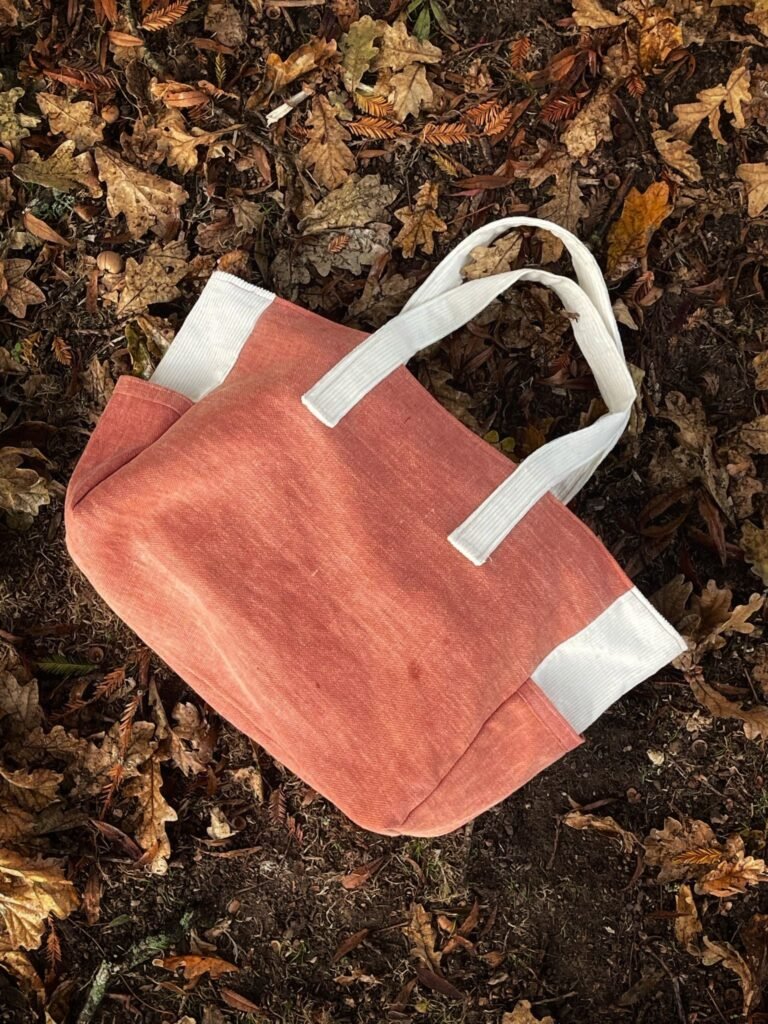
Using contrasting colors is a great way to make the bag pop.
Main Fabric: (Main bag, and side Pockets)
Accent Fabric: (Handles, and Side Panels)
Lining Fabric: (Interior Lining)
For the Full Pattern Download it Here
Cut the following number of pattern pieces:
- Main Fabric: Main Bag x 2, Side Pocket x2
- Accent Fabric: Handles x2, Side Panel x2
- Lining Fabric: Interior Lining x2

Step 1: Make the Side Pockets
Take one of the side pockets, and Fold over the top twice, covering the raw edge and complete with two top stitches. Do the same on the other side pocket piece.
Step 2: Baste the Side Pockets to Bag Side Panels.
The Side pocket is wider at the top to make the pocket looser so it’s easier to store items. Line the edges up and baste into place.
Step 3: Make the Handles
To make the handles, simply fold aprox 1cm in on both long sides, press with iron to keep in place, then fold the fabric in half long way and top stitch down the length on both sides. Repeat for the second handle.
Step 4: Attach the Handles
Using the Main Bag Pieces, Place the handles 4 inches down, and 4 inches across from the outer edge on each side. Fold under the raw edge at the bottom of thehandle and stich into place leaving a 1-2cm gap from the top of bag. Repeat for
the second handle on the second bag piece.
Step 5: Make the Main bag
Take one of the main bag pieces, place the bag side panels on each side with right sides together, ensuring that the pocket is right way up. Sew into place. Your bag should now be a long pattern piece in the following order (Side panel, main bag, side panel).
Step 6: Attach the last main bag piece
Attach the last main bag piece to the now long piece of the main bag, sew in to place with right sides together.
Step 7: Make the Bottom
Lay the bag flat, right sides together, the side panels will need to be folded in half to get the bag to sit flat. Stitch across the bottom.
Step 8: Box the corners.
Take one of the bottom corners of the main bag and lay the bag flat in a waythat the bottom corner is poking out with the bottom seam making a line in the middle of the corner. Measure from the tip of the corner 3 inches up. Draw
a straight line across and stitch across. Repeat on the other corner. The bag should now have a boxed bottom. Cut the excess fabric once you are happy with it.
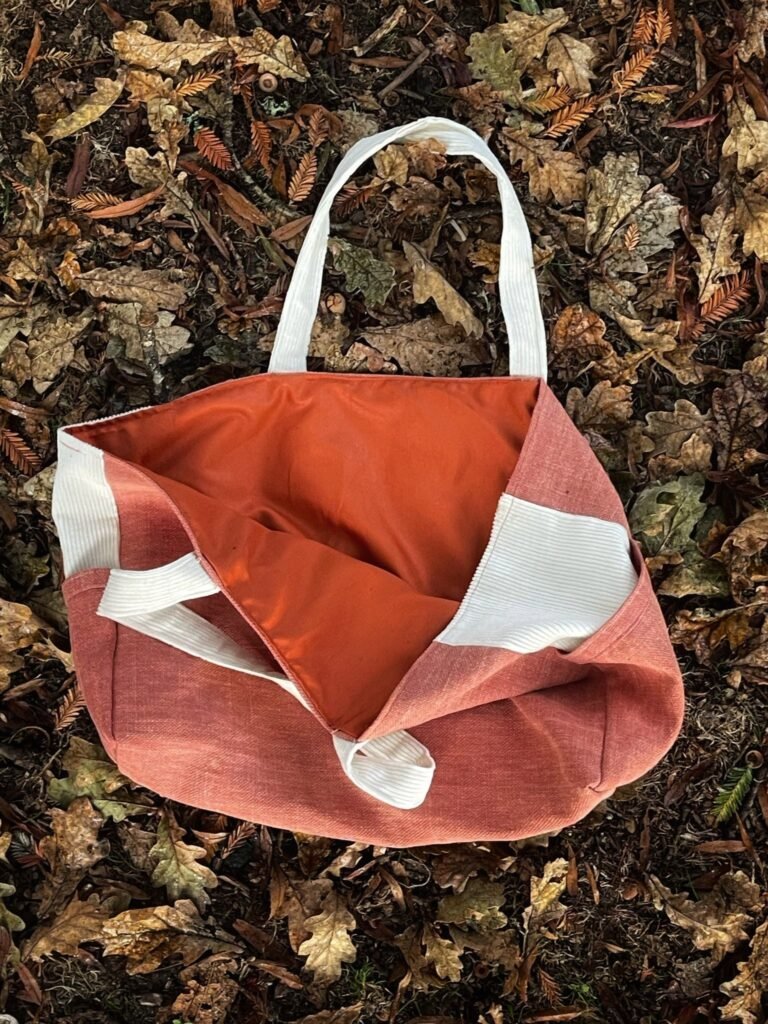
Step 9: Make the Lining
Line up the two pieces of lining right sides together and stich across the bottom and the two sides.
Step 10: Box the lining
Box the corners using the same method and measurements as the main bag (3 inches)
Step 11: Assemble the bag
Place the main bag inside the lining right sides together. Stitch across the top, leaving a gap to turn the bag right side out. Make sure you aren’t stitching the handles down
Step 12: Top Stitch
Turn the bag right sides out and top stich around the top, don’t sew across the handles, this is why a small gap was left at the top of the handles when attaching them to the main bag.
Step 13: Finishing Touches
Cut any threads and iron the bag if needed, and now it’s ready to be used and enjoyed
If you enjoyed this blog post, why not check out some of my others:
How To Make A Ruffle Tote Bag | Instructions
How to Make a Fabric Butterfly | Free Pattern | Small Sewing Project for Beginners