DIY Christmas Table Runner: Step-by-Step Tutorial
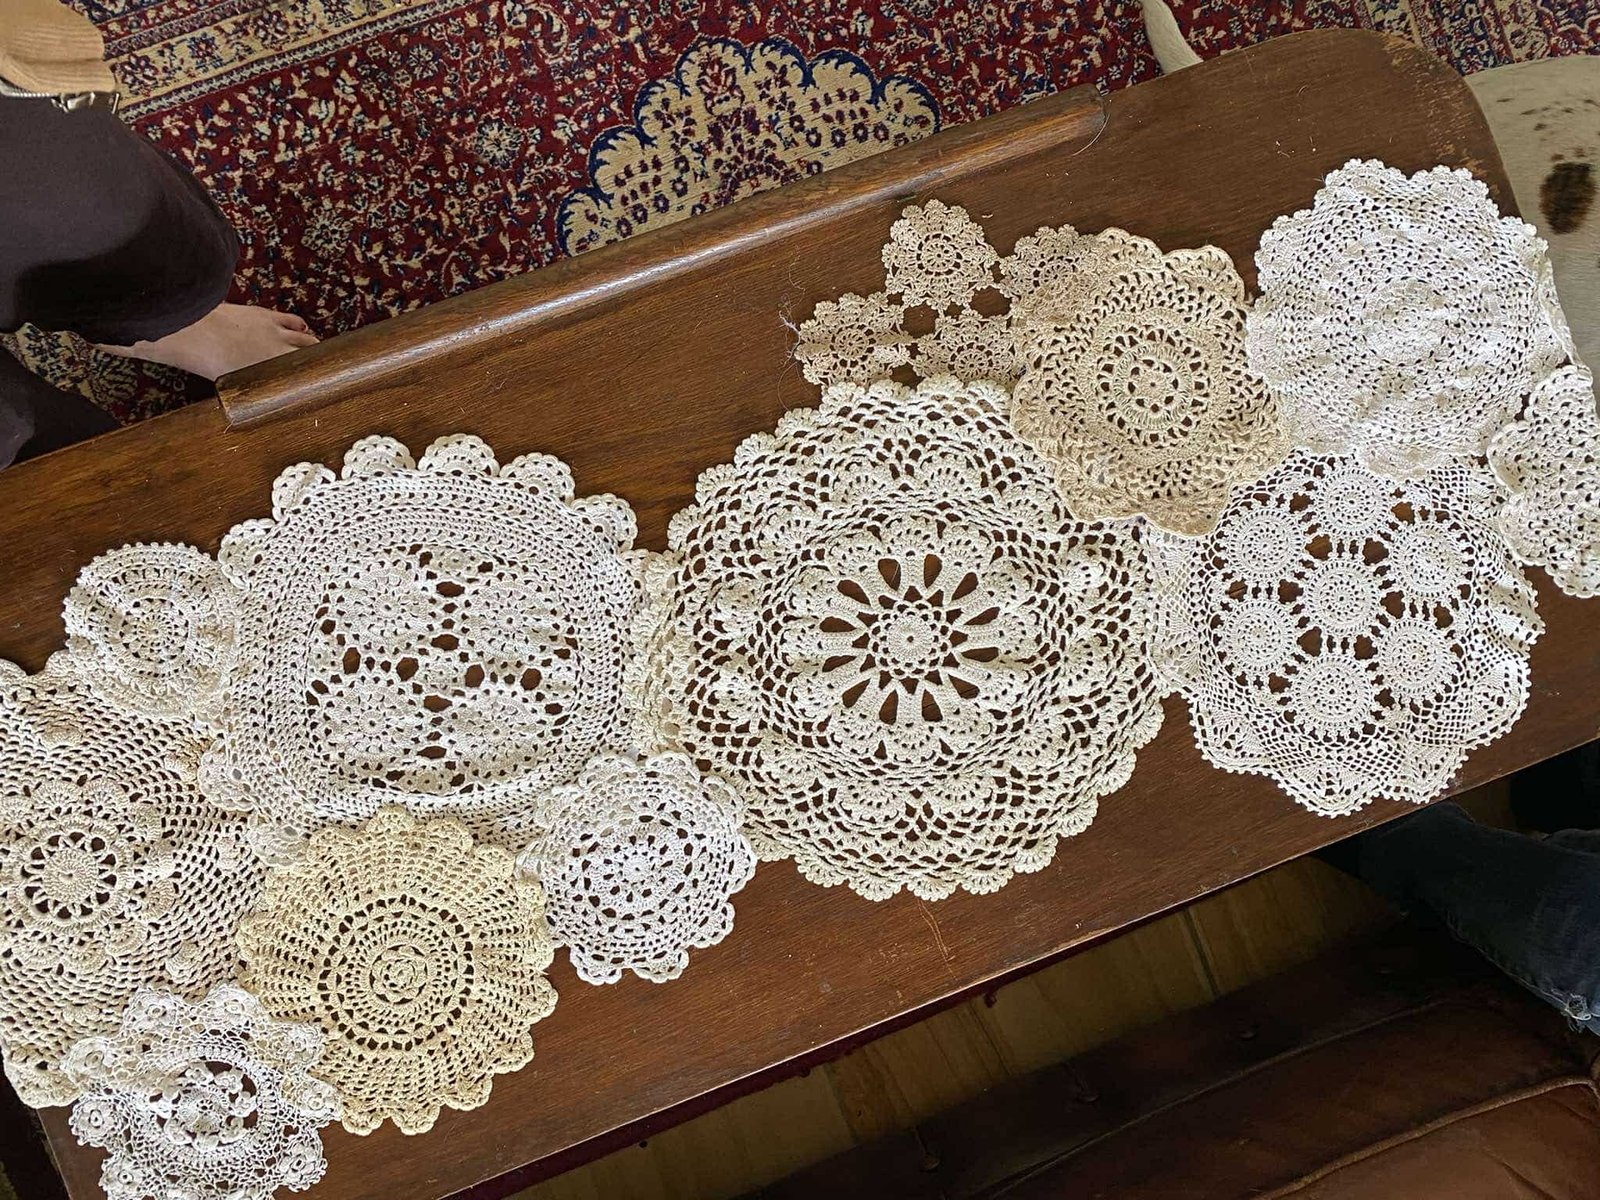
Let’s make a DIY table Christmas runner. Creating a festive atmosphere for your Christmas table can be both fun and rewarding. One way to add a touch of elegance and charm is by making your own doily table runner. This DIY project is simple, cost-effective, and allows you to customize the runner to fit your unique holiday decor. Follow this step-by-step tutorial to create a beautiful doily table runner that will impress your guests and add a special touch to your holiday celebrations.

What You Need:
- Hot glue gun
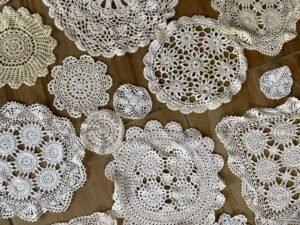
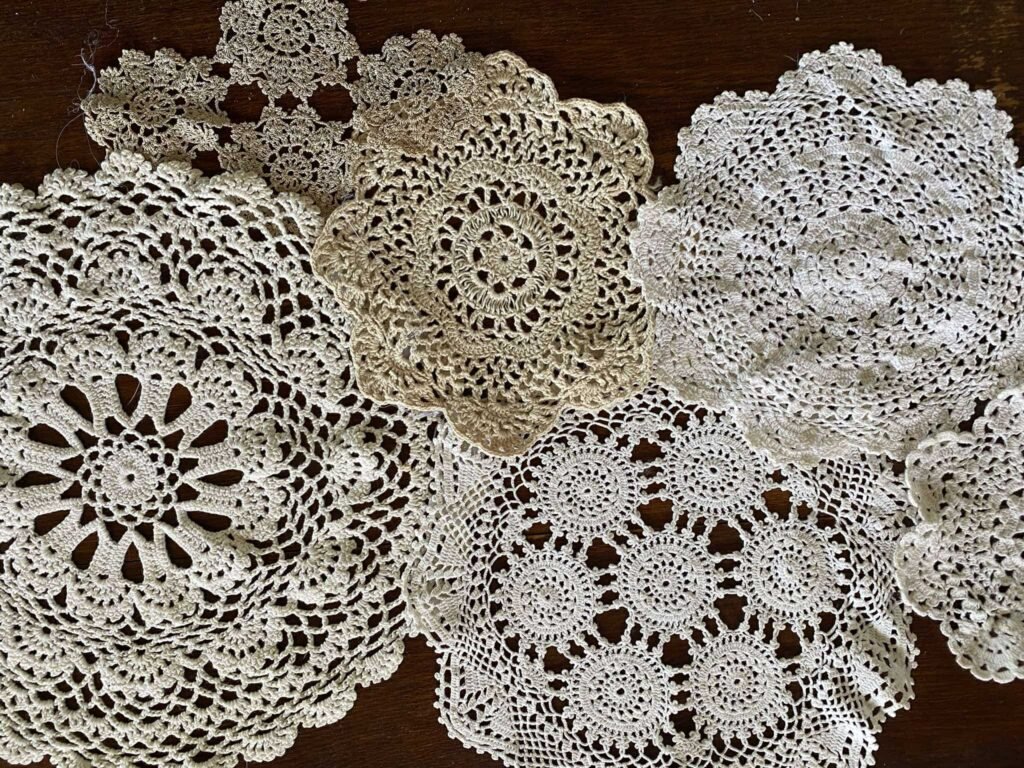
- Doilies (different sizes, patterns, and colors)
Where to Source Doilies:
Second-hand shops are the best places to find doilies. They are usually very affordable, often as cheap as 20 cents each, and there is usually a wide variety available.
Directions DIY Christmas table runner:
1. Choose a Centerpiece:Start with a large doily as the centerpiece of your table runner.
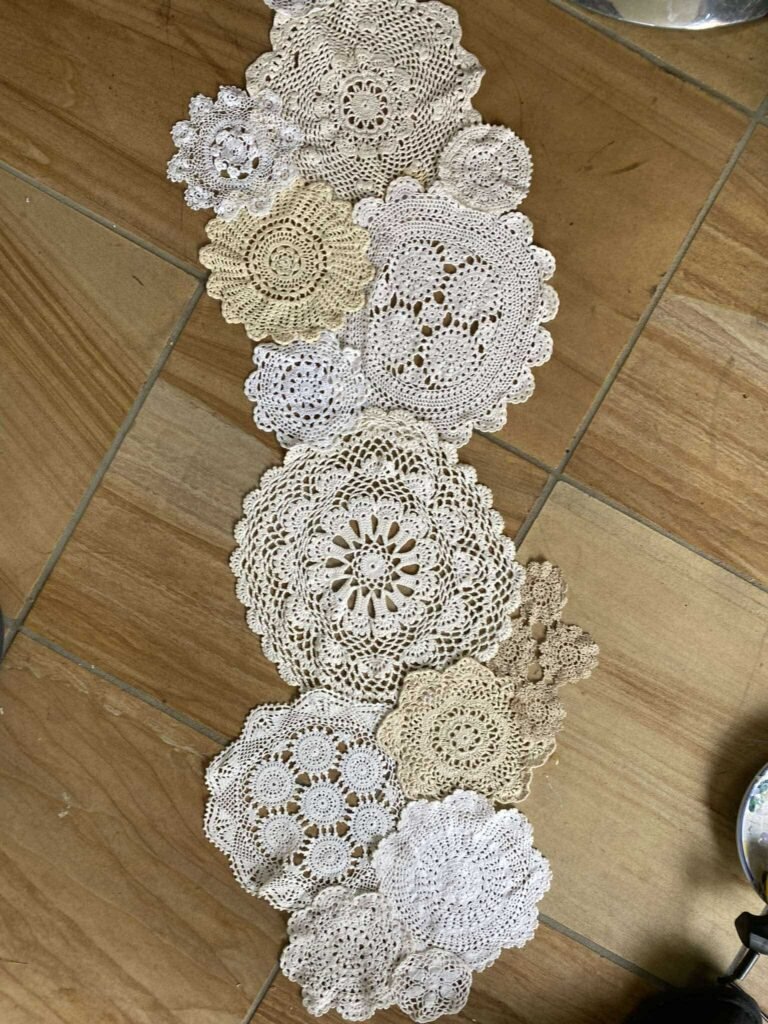
2. Plan Your Design:Arrange the doilies in different styles to see how you want them to attach to each other. Experiment with various layouts and take photos for reference.
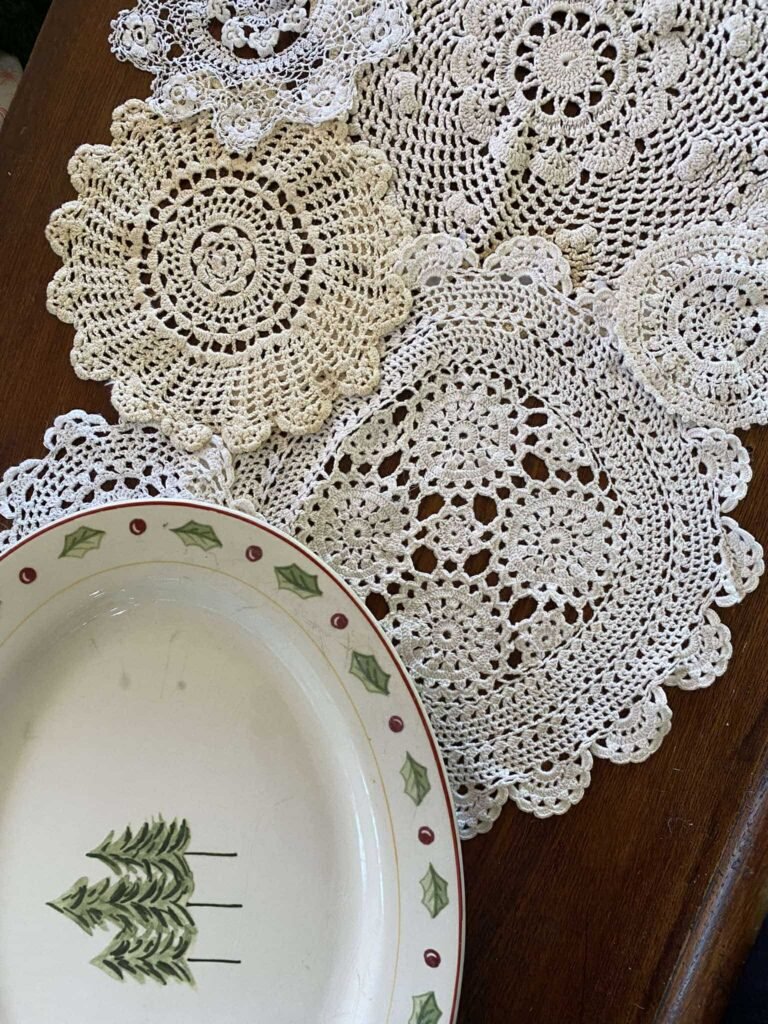
3. Attach the Doilies:Glue the doilies together. While hand sewing is an option, using a hot glue gun is quicker and the glue is clear, making it less noticeable.
4. Place and Style:Once all the doilies are attached, place your table runner and style it as desired.

Crafting your own doily table runner is a delightful way to add a personal touch to your Christmas table setting. Not only is this project easy and inexpensive, but it also allows you to create a unique piece that reflects your style. Enjoy the process of making your table runner and the festive ambiance it brings to your holiday gatherings.
