I wanted to share this fun little project I made recently – a tiny ghost candle holder polymer clay! It’s such a simple and quirky craft, and it’s perfect if you want something a little spooky but still cute for Halloween or everyday décor. It’s beginner-friendly, quick to make, and you don’t need a lot of fancy tools.
What I Used
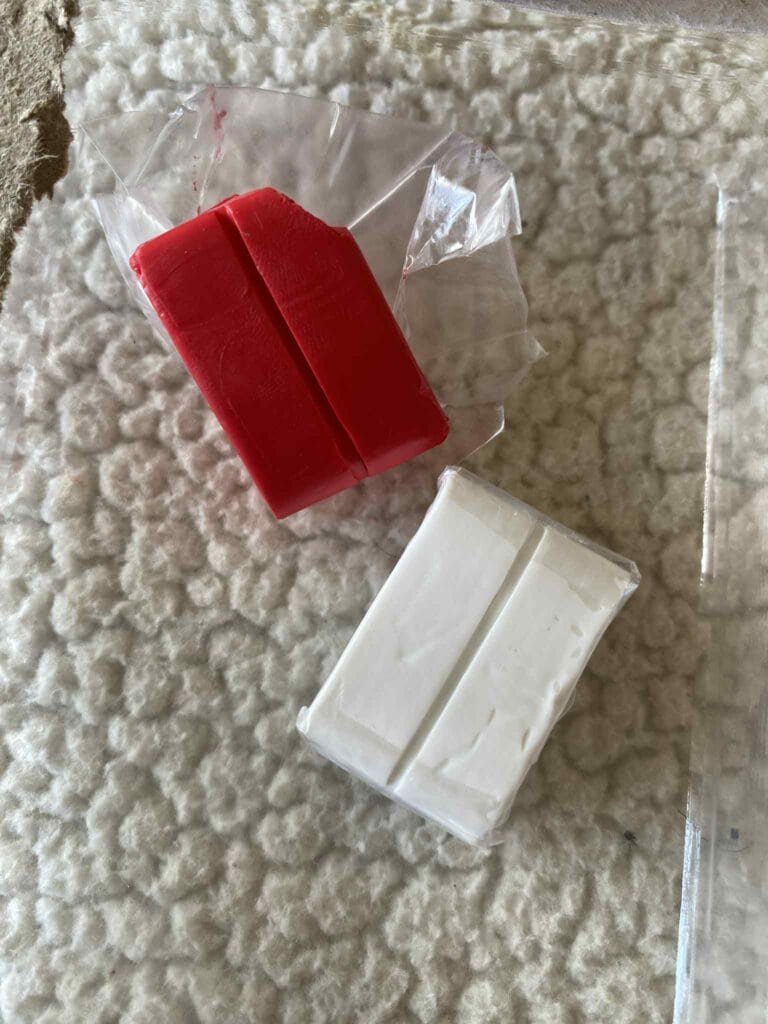
- White polymer clay
- A little black clay
- A taper candle (or an LED one if you prefer safety)
- Baking tray and parchment paper
- Optional: A clear glaze or varnish for a glossy finish
- White and Black Paint (Nail polish works too)


Step 1: Soften the Clay
To make this ghost candle holder out of polymer clay, I started by warming up the clay in my hands until it was nice and soft. It’s easier to shape and less likely to crack when baked. Just gently knead it, Polymer clay is very hard to work with at first but once kneaded it’s a delight.
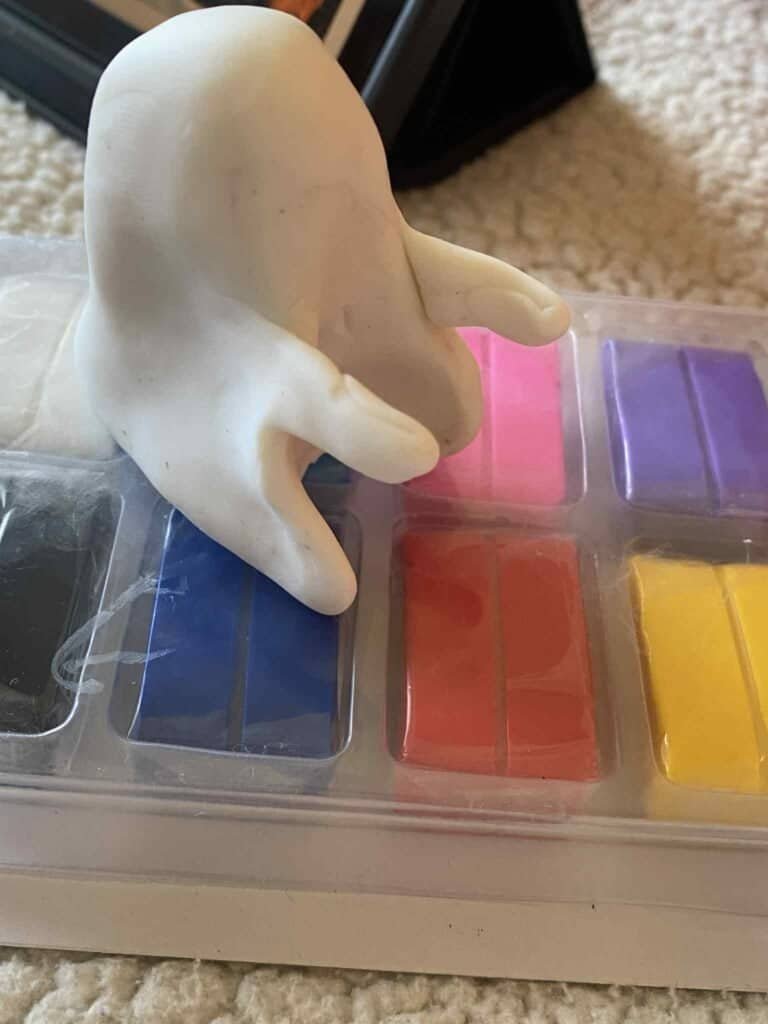
Step 2: Shape the Body
I rolled the clay into a ball and then gently shaped it into a chubby little cone – this is the ghost’s body. Make sure the bottom is flat so it stands up properly. I even made the bottom hollow slightly to save clay
Step 3: Add the Arms
For the arms, I rolled two small logs of clay and attached them to the sides, curving them forward so they “hug” the candle. I smoothed them into the body with my fingers so they felt secure.
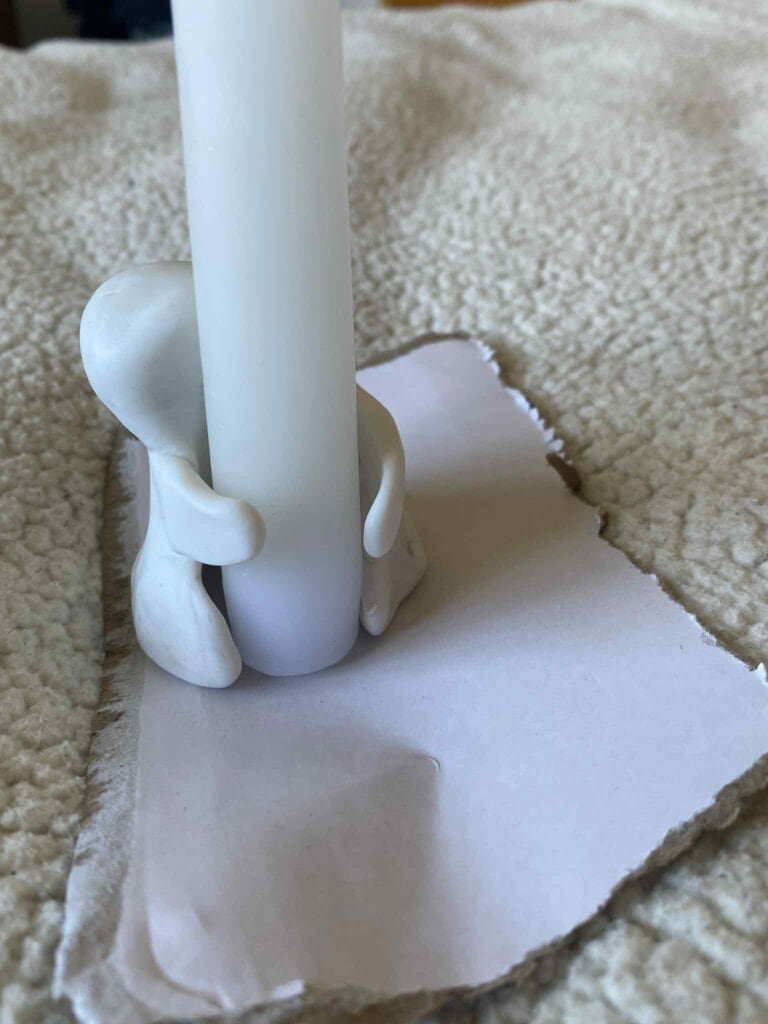
Step 4: Make the Candle Slot
Before baking, I pressed my taper candle gently between the arms to create a snug little slot. Then I pulled it out carefully – don’t leave it in while baking.
Step 5: The Face
For the face, I kept it super simple – two little eyes and an open mouth using tiny black clay pieces. You could also just carve little holes and paint them black later.
Step 6: Bake
I baked my ghost on a lined tray following the instructions on my clay packet (about 110–130°C for 20 minutes worked for me). Let it cool completely before handling. WARNING: When baking white polymer clay tends to color and lose its whiteness!
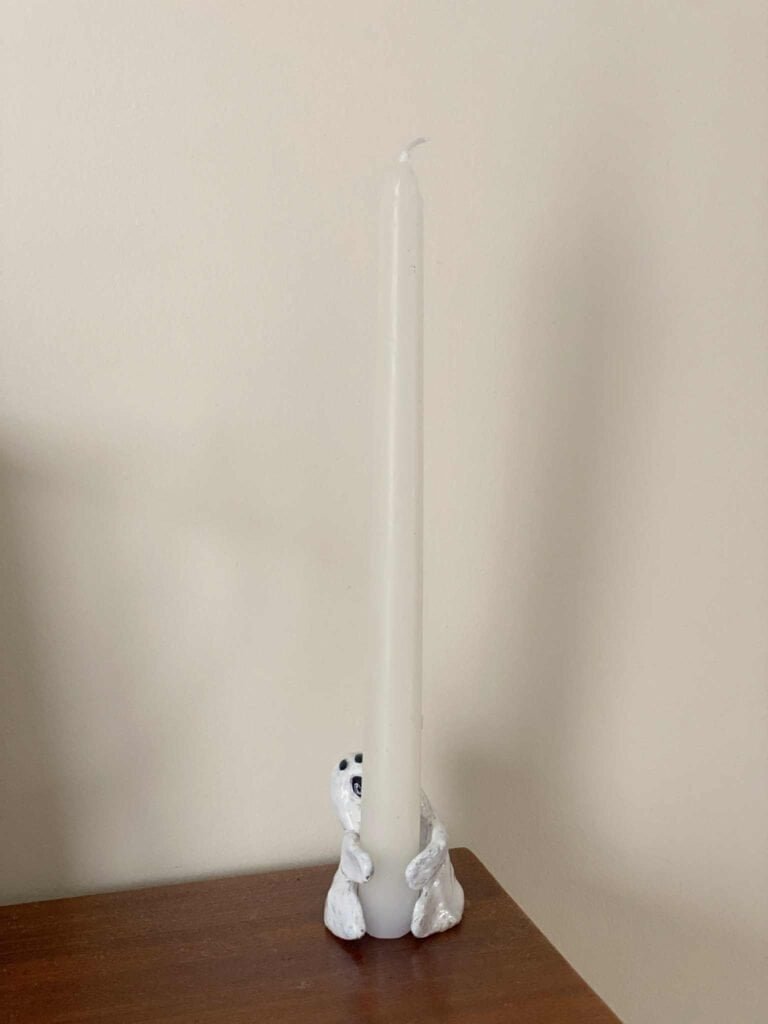
Step 7: Finishing Touches
Once it cooled, I painted the eyes and mouth a bit darker, my clay slightly browned in the oven so i went over it with white and added a little glaze for shine. You could leave it matte too – it’s really up to you.
FYI – I used gel nail polish, white and black, set it with a UV lamp and then used a gloss nail polish for a varnish and set that with a UV lamp too! This saves money if you dont have paints around.
Safety Note
If you’re using a real candle, be extra careful and never leave it unattended. An LED taper works perfectly and is much safer.
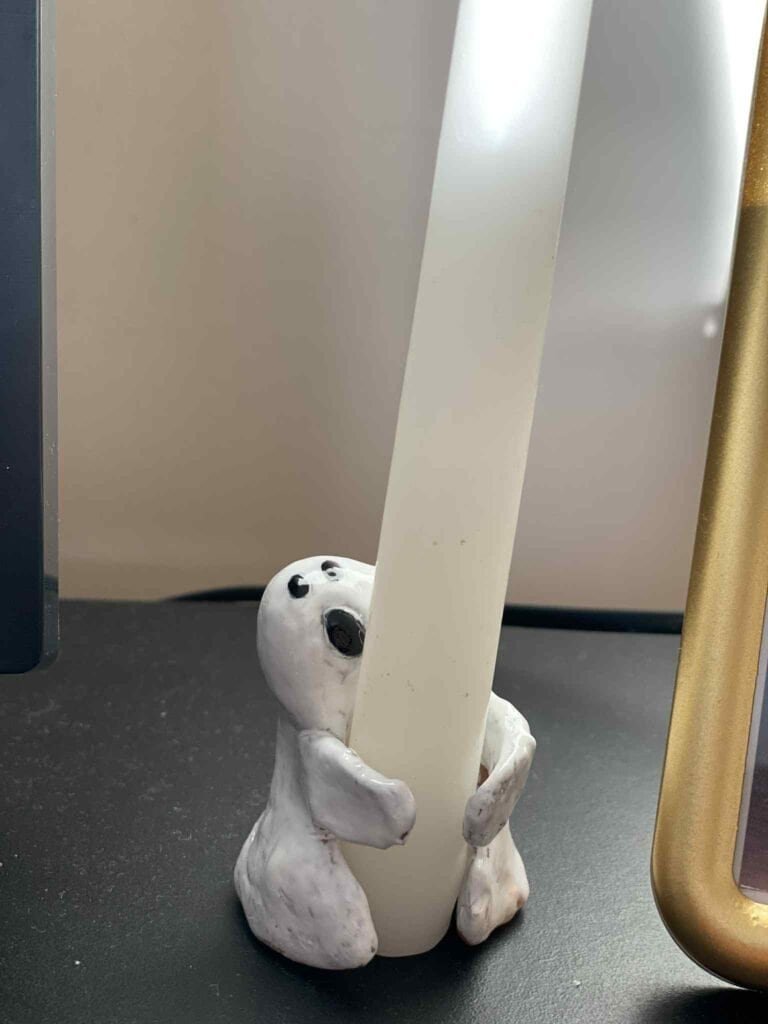
And that’s it! My little ghost now sits on the table hugging a candle, and it always makes me smile. It’s such an easy project and would make a cute gift too. If you try this, I’d love to see your version!