How to Make a DIY Felt Rose with Free Pattern
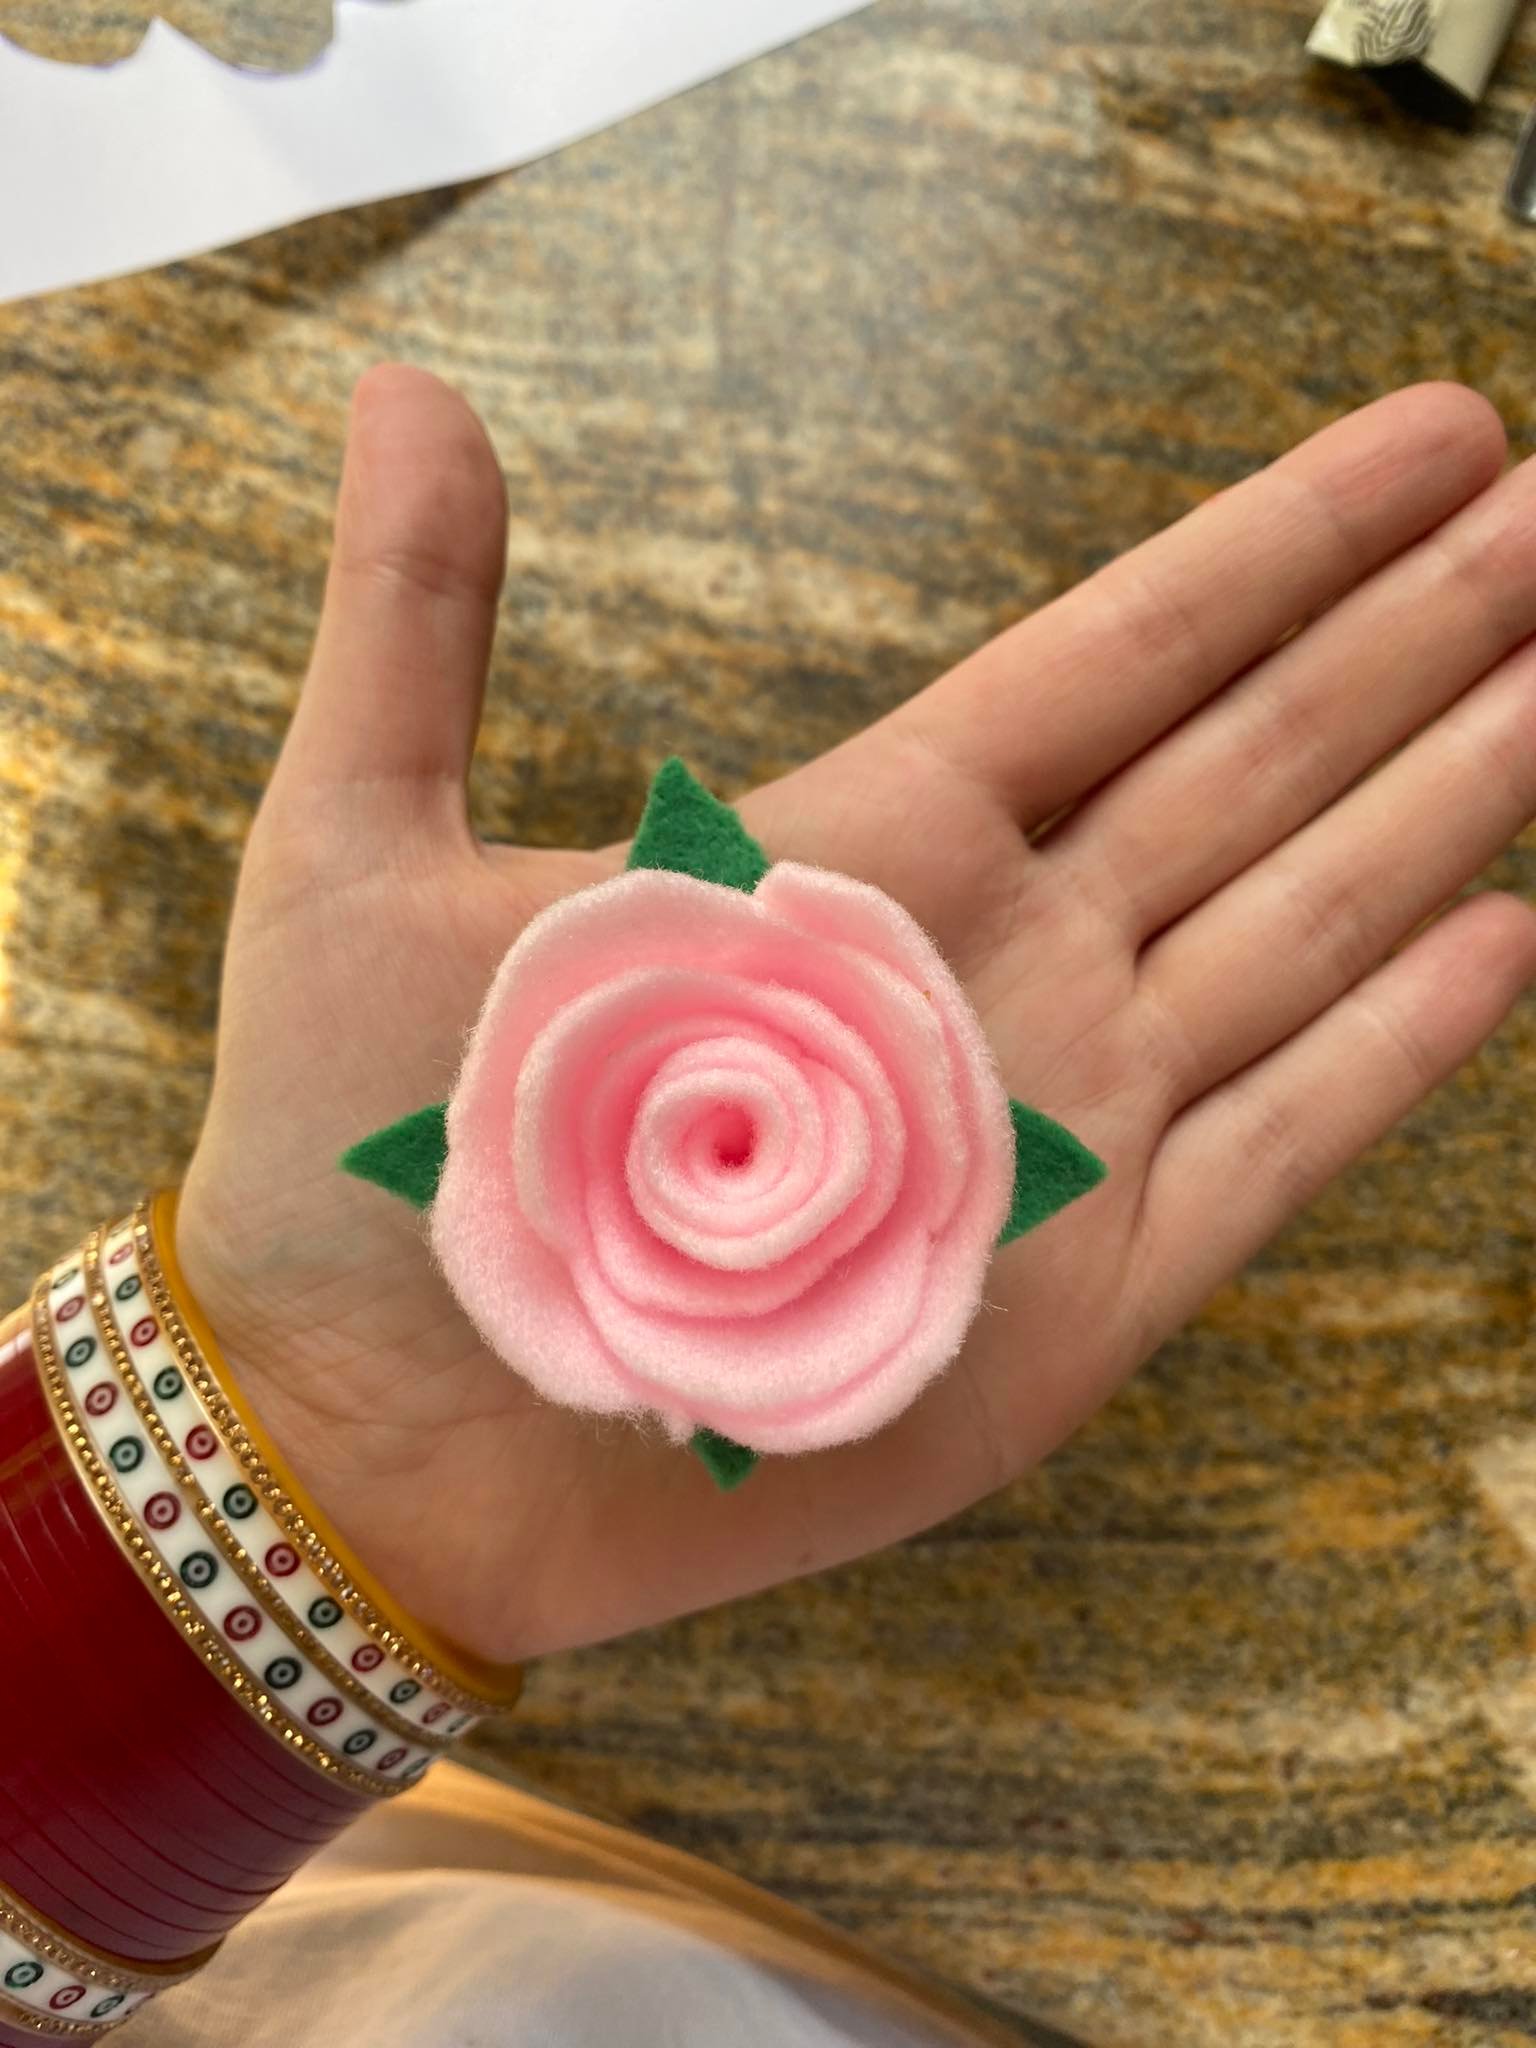
Let’s make this DIY Felt Rose! Felt roses are so cute and make a great gift. I actually sell these at the local craft market and they sell out every time. Once you have learned how to make a DIY Felt Rose you can easily make an entire bouquet, wreath, pin, or brooch. The method is super easy and tbh anyone can do it. Below I have listed a free pattern for you to download and print off but you can easily make your own pattern at home. This DIY is appropriate for kids too just be cautious and supervise when using hot glue
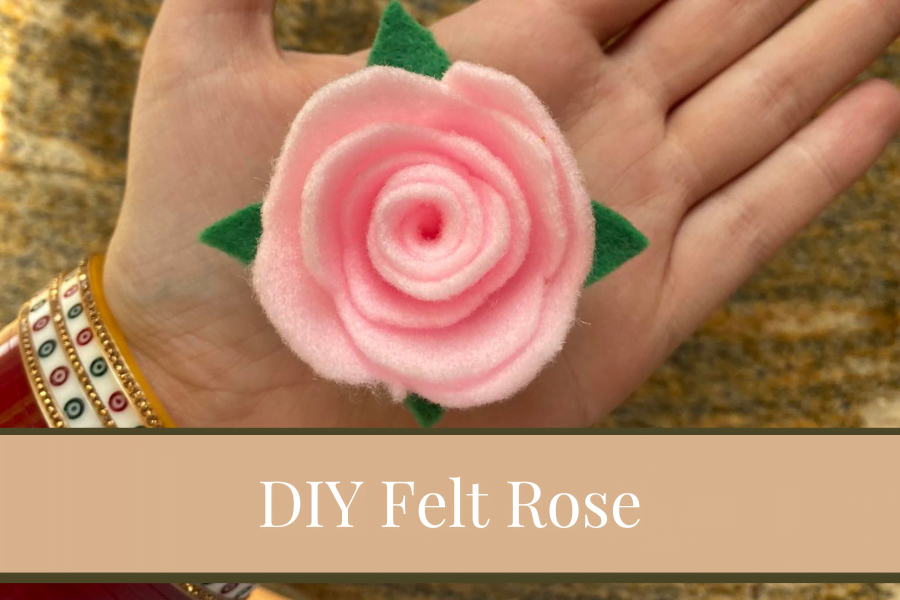
How to Make a DIY Felt Rose
okay, let’s get started. print the pattern or draw your own! play with different colors and sizes but most importantly have fun. This is what you need to make a DIY felt Rose
Supplies
- The pattern
- Felt ( or wool blanket offcuts)
- Glue
- Pins
Which Glue to use on a felt rose?
I like to use hot glue because it drys so quickly and is strong, but fabric glue is a great option too. When I first started making felt roses I didn’t have many glee options and just used PVA glue and held the rose together with pins until it set. PVA glue does work but I don’t recommend it because of the drying times and it’s quite weak. For this DIY felt rose tutorial I will be using hot glue, but experiment with different glues and use which one you like best.
Which Felt to use?
So you can get different softnesses of felt, I prefer to use a medium felt when making felt flowers and roses because they hold their shape quite well. I find that if the felt is quite a stiff felt it’s hard to work with and the flowers look less organic.
The Free DIY Felt Rose Pattern
Here is the pattern, download and print off. Adjust the size to how big you want the rose to be. With this pattern, your roses are quite small, but the pattern can easily be made bigger with the printer or by hand drawing it yourself and using the original pattern as a guide.
Felt Rose DIY Instructions
Now for the fun part
Step 1:
Cut out the pattern onto your felt pieces. For the actual rose, I like to use pinks, reds, or purples for the leaves I always use greens.
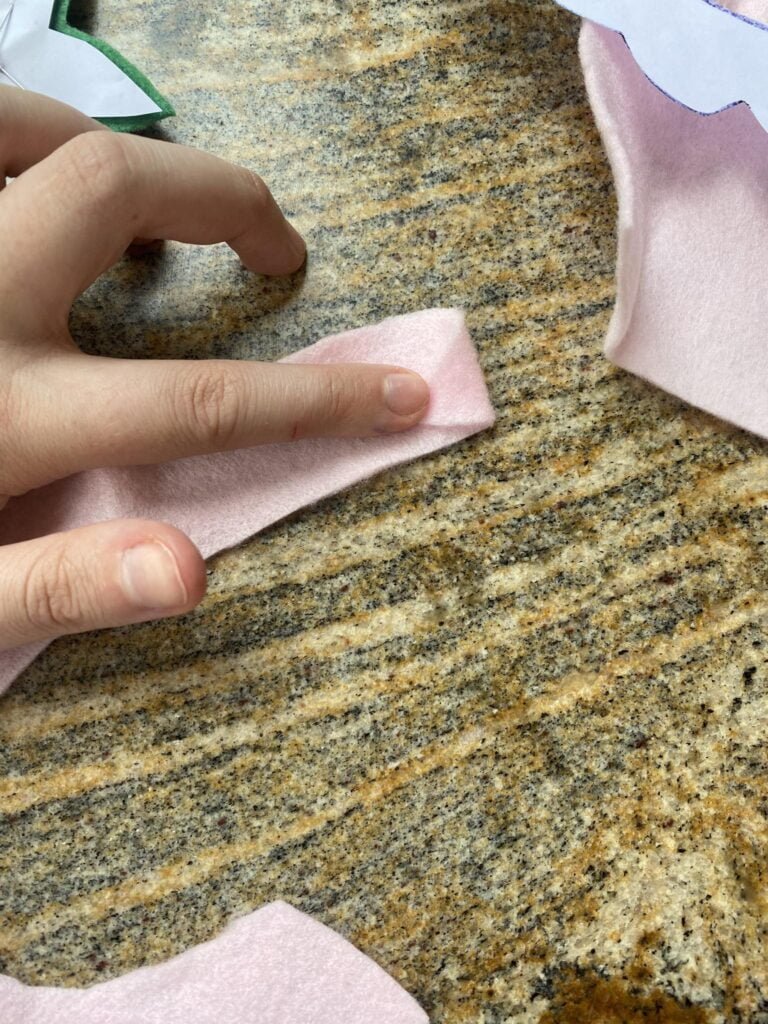
Step 2:
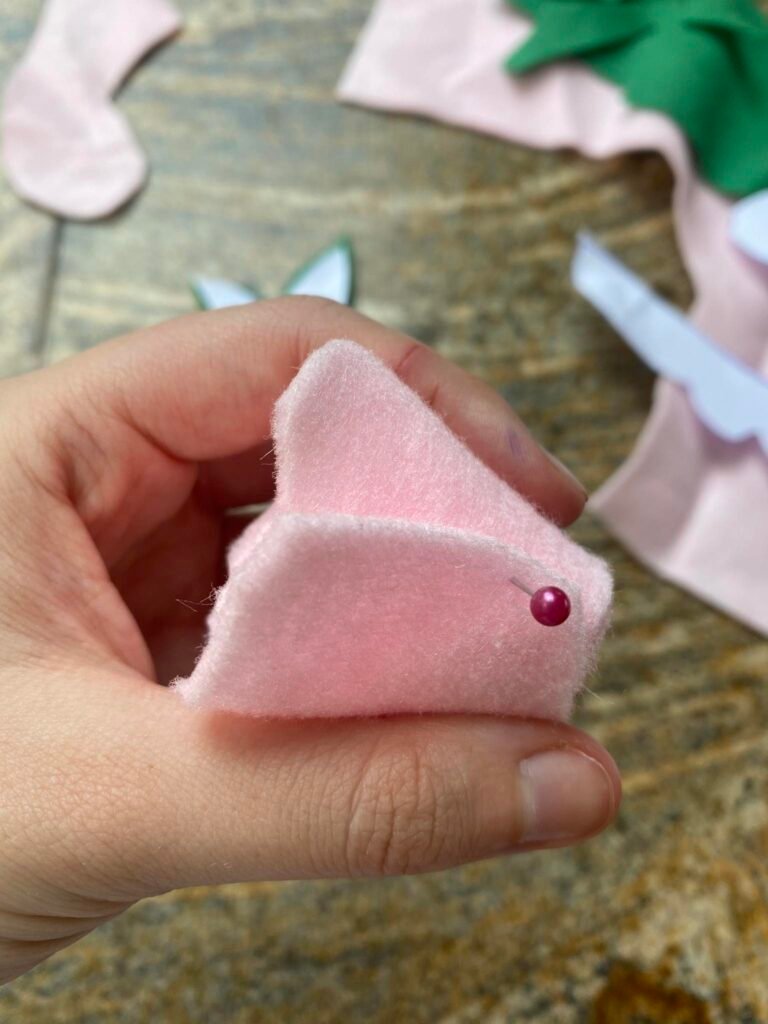
With the Cut out rose pattern piece, start with the tail of the pattern and ravel the falt until it forms a look a like rose, place a pin to hold the rose together
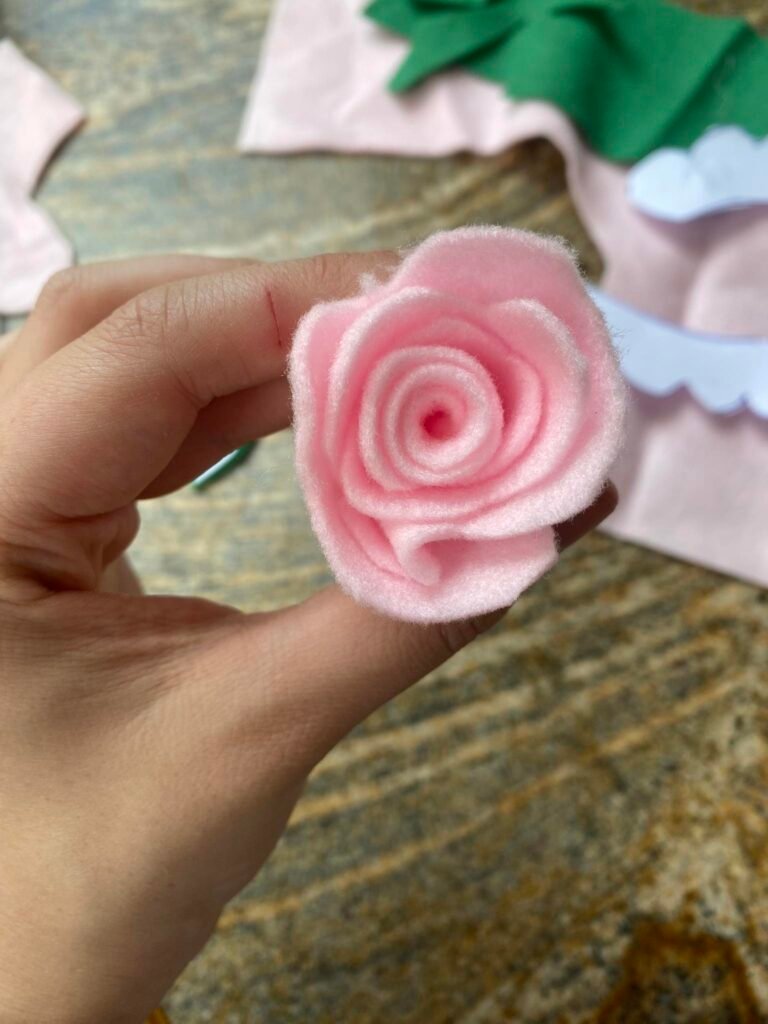
Step 3:
Once you are happy with how your rose looks raveled, glue the end/last petal down. Make sure this is secured
Step 4:
Now attach the leaves to the bottom, glue the bottom of the rose down to the middle of the leaf piece, and Glue the leaves to the sides of the rose as desired. I only glued the leaves halfway so they still stick up but are out slightly.
Step 5:
It’s all finished! Make some more, add a brooch back, make them into a wreath, or add wire stems to make a DIY felt rose bouquet the choice is yours!


Tips and Tricks
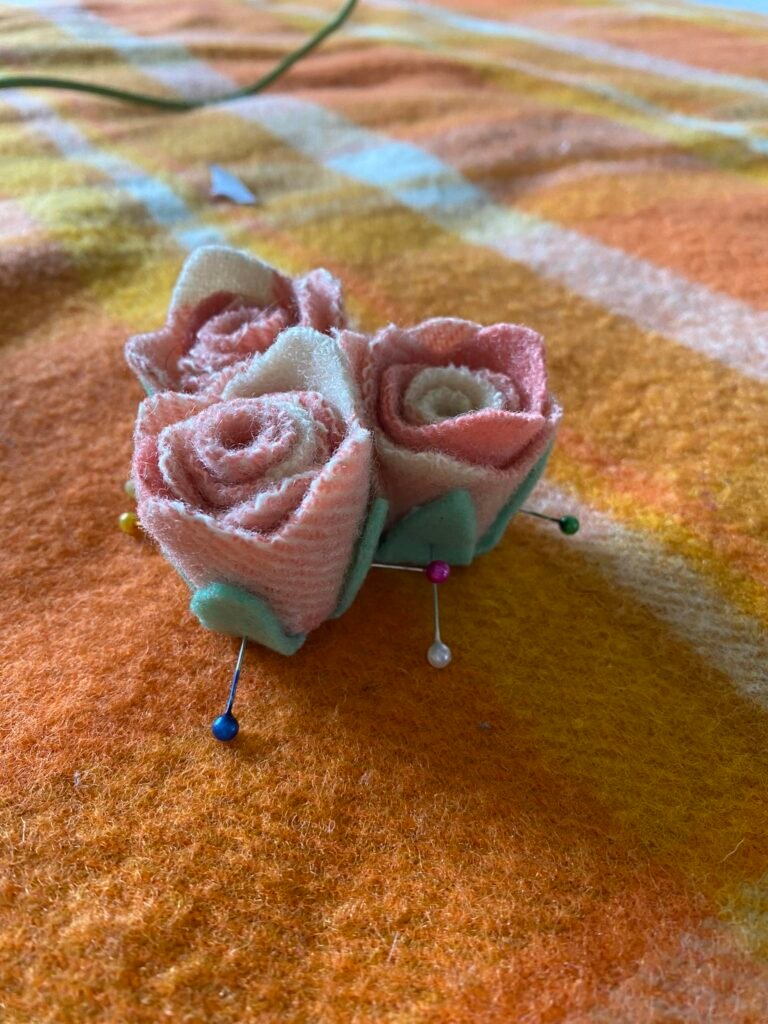
- Instead of Felt, try a wool blanket or a thicker fabric material
- Try different colors
- In a spray bottle, add water and a few drops of rose essential oil, and spray over the felt roses so they smell like roses too
- Add extra leaves with different greens to add depth
- Try to make these roses in all different sizes.
- Don’t go overboard on the Glue
- See how the rose will look with different tensions.
Wool Blanket Roses

So how did your DIY Felt Rose Turn out?
So are felt roses one of the most fun crafts out there or what! I hope this tutorial and pattern were helpful, and I would love to hear about your results in the comments. I look forward to hearing from you. Happy Crafting