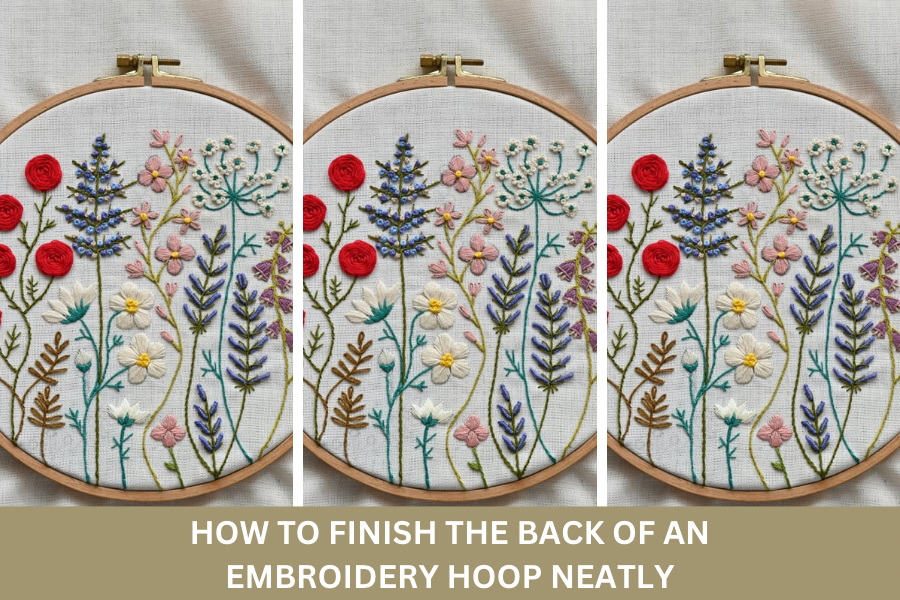
How to Finish the Back of an Embroidery Hoop Neatly
How to Finish the Back of an Embroidery Hoop Neatly
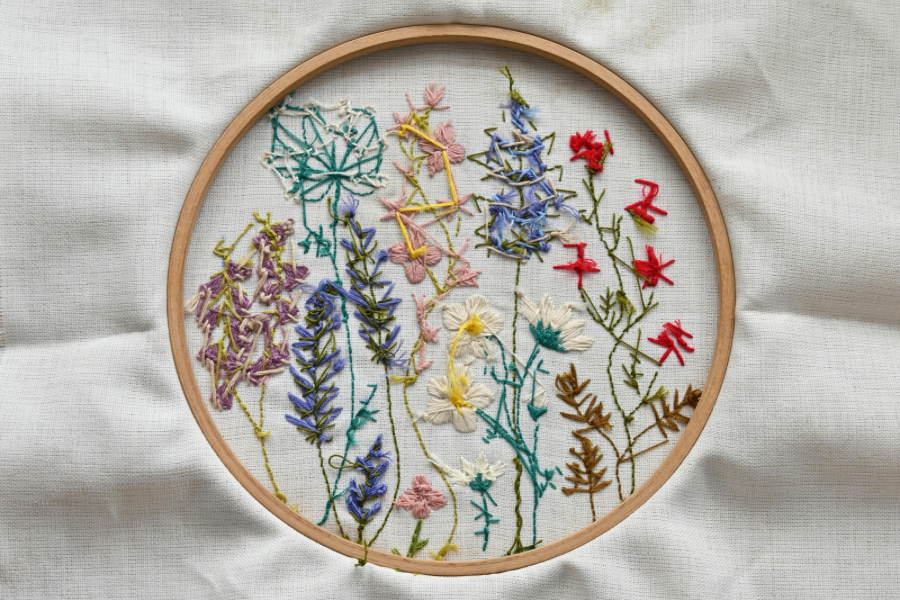
Finishing the back of the embroidery hoop is the last step in an embroidery project. It’s often a step people avoid or ignore as they don’t know what or how to do it. So let’s break it down simply.
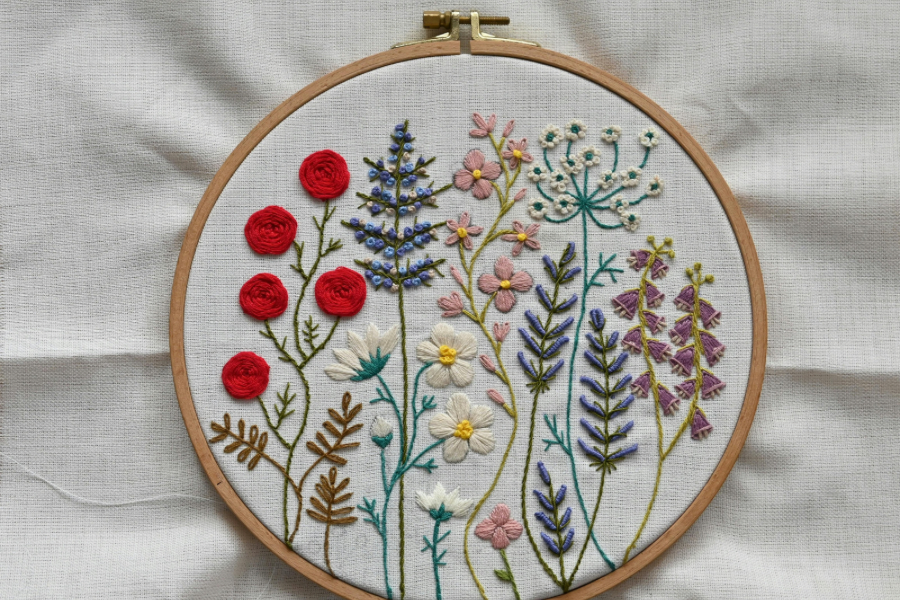
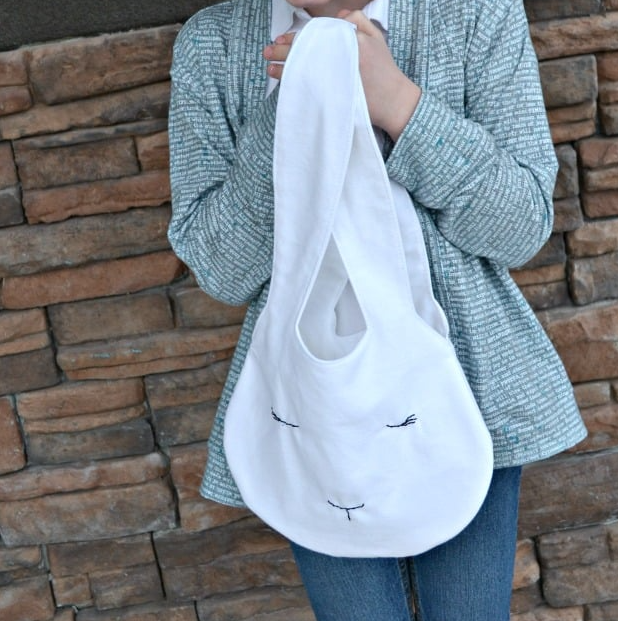
Here are some more embroidery based content:
Step 1: Trim the Excess Fabric
Cut the fabric around the hoop, leaving about 2–3 cm (1 inch) of extra fabric.
Step 2: Run a Gathering Stitch
Thread a needle and sew a loose running stitch around the edge of the fabric circle.
Step 3: Pull Tight
Gently pull the thread to gather the fabric neatly toward the centre. Secure with a knot. This gets easier and tidier with more practice to be honest.
Step 4: Cover the Back (Optional)
This is totally optional but I do recommend. Cut a circle of felt slightly smaller than the hoop back and glue or stitch it over the gathered fabric. Use fabric glue if you opt for the glue method!
And that’s it! That is how to finish an embroidery hoop neatly.