How To Make Your Own Embroidery Necklace | Hand Embroidery Pendant
A Hand embroidery pendant necklace makes a great gift, beautiful unique bridesmaids’ jewelry, and just something different to add to your jewelry collection.
Let’s learn how to make these hand embroidery necklaces. These embroidery pendants are fairly easy to make, you just need a few supplies. If you are lucky enough you should be able to find the supplies needed in your local craft shop if not Amazon is my go-to place to shop. Nonetheless, these embroidery pendants make a great gift for a loved one and sell really well at craft markets. It took me a while before I perfected how I make these hand embroidery pendant necklaces. Check out the method I use below.

How to Make An Embroidery Pendant Necklace | Tutorial and Supply List
Let’s get started with this tutorial, firstly you will need to collect some supplies. This is what you need.
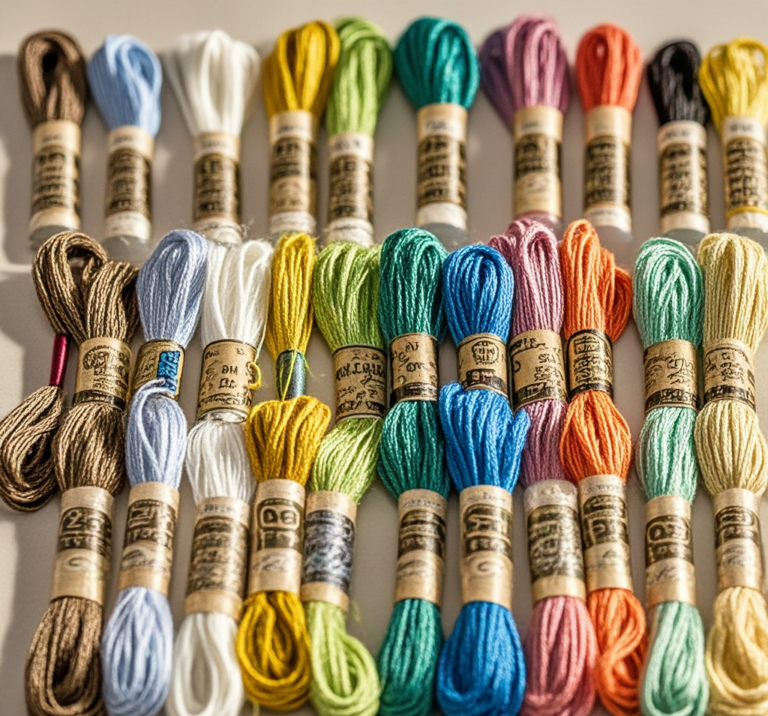
What you need:

- PENDANT BEZEL
- CARDBOARD (THIN)
- SUPER GLUE
- CHAIN
- YOUR EMBROIDERED DESIGN
Where to Buy?
If you are lucky enough these items should be available to you at your local craft shop, if you are not, go to Amazon. I get all of my supplies for embroidery necklaces from Amazon as my local craft shop is quite small so it doesn’t stock necklace pendants or chains
Making the Embroidery Necklace
Let’s get started with this tutorial on how to make an embroidery necklace. Let me know how you go in the comments below, I love hearing from you all.
STEP 1:
Cut out your design. Leave extra material around the edge of your design.


Step 2:
make a simple stitch all around the outside of the fabric. make these stitches small and close to the side of the fabric.


Step 3
Place the cardboard in the middle of the fabric and tighten the stitch. tie the stitch off. make it very tight. we want the fabric taut.


Step 4
If the fabric is still not tight around the cardboard, you can repeat step 2 again but with larger stitches further apart. you can even make stitches opposite each other to pull the material tight.
Step 5
Now superglue the cardboard and fabric into the pendant base. You only need a touch of glue, you don’t want to make your cardboard wet. and we don’t want the glue to soak through to the fabric. I recommend holding and pressing the necklace tightly with pressure for 30 seconds.


Step 6 All Finished!
Add your chain and it is ready to wear.
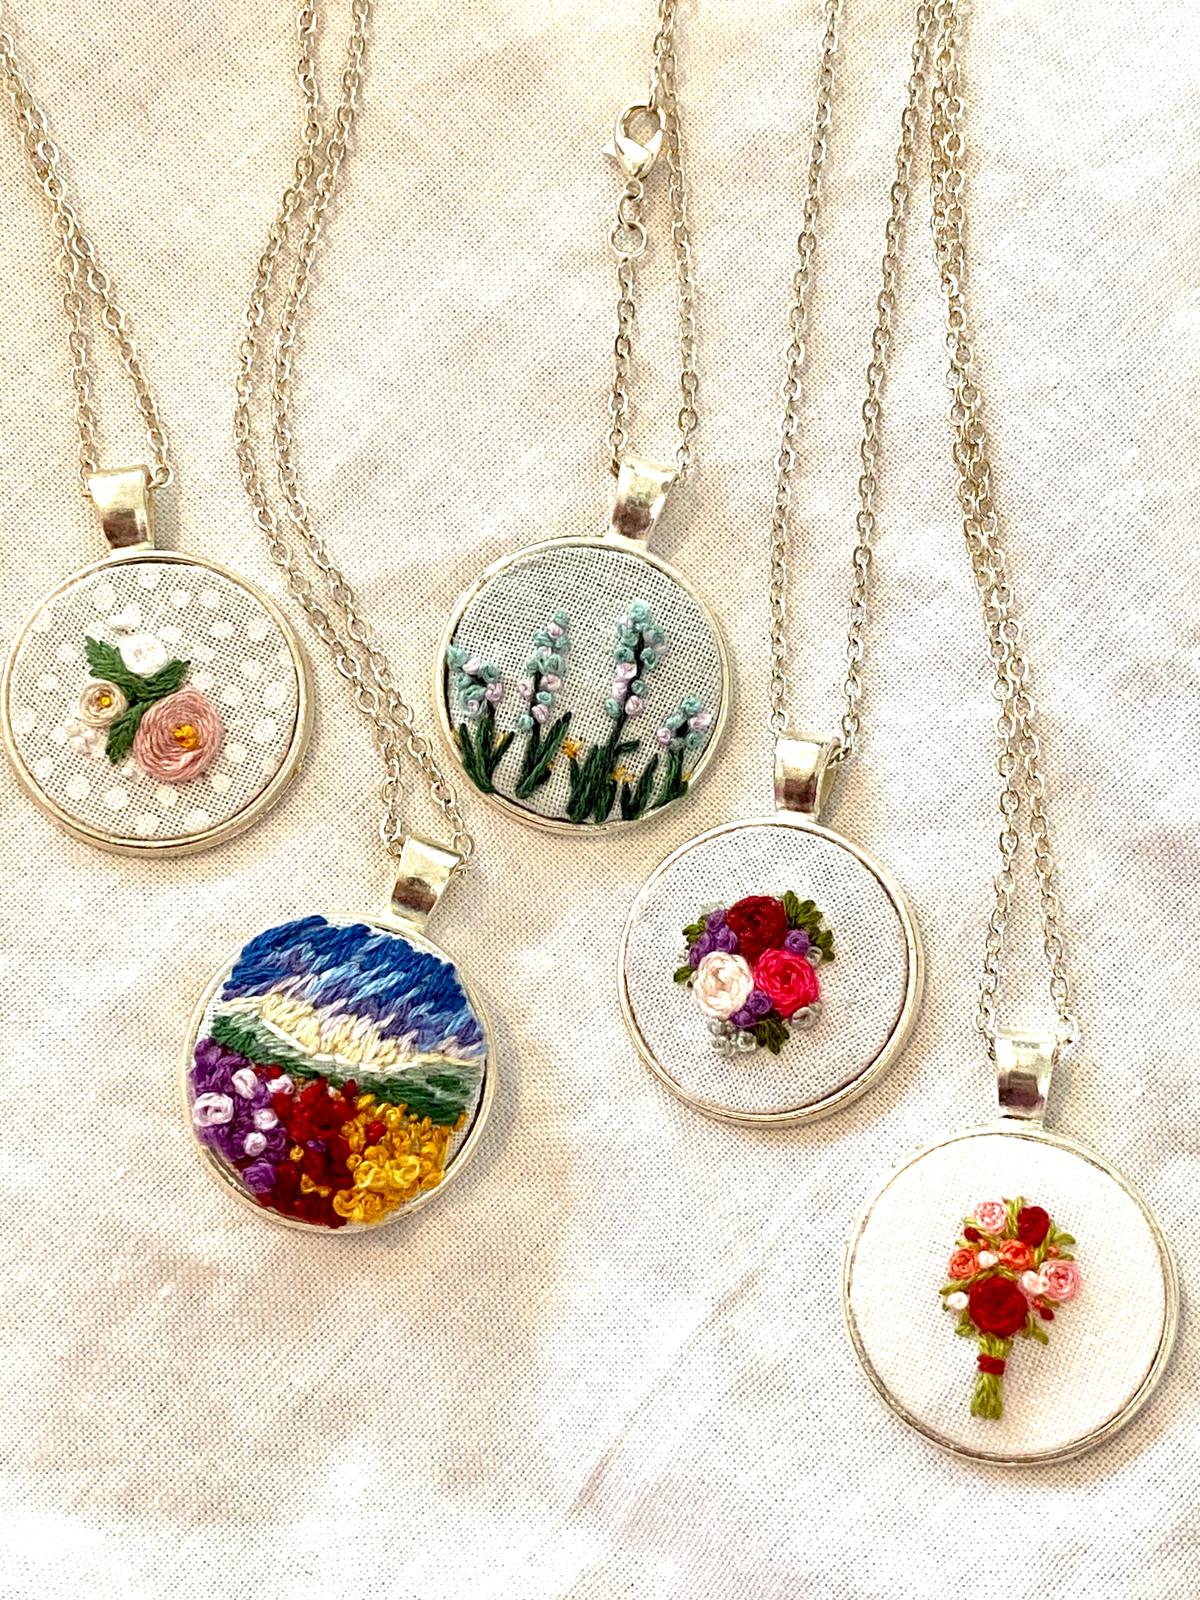
Hand Embroidery Pendant Necklace Inspiration!
Here are some of the hand-embroidery necklaces I have made…


Your first embroidery necklace might not turn out how you wanted or expected but just try again, this is a reason why to buy pendants and chains in bulk. I had a lot of failures before I made a necklace that I was happy with. Remember to keep trying and I would love to hear back from you.
I hope you enjoyed this tutorial on how to make your own embroidery necklace. If you require any information or help, let me know!
Have fun with this!