Simple Button Bookmark Tutorial
If you like bookmarks that are small yet fun, then this DIY Button Bookmark is the one for you. In this tutorial you will learn how to make these cute Button Bookmarks. Let’s get started.
Have left over buttons? Check out this button related blog post too.
- How to Make DIY Button Hair Clips
- 50 Crafts That Actually Sell
- 25+ Fun & Easy Crafts to Do When Bored

DIY Paperclip Button Bookmark
Let’s get started on this easy DIY…
Materials:
- 2 Buttons!
- Glue
- Paper clips ( large size. Smaller ones work but not great)
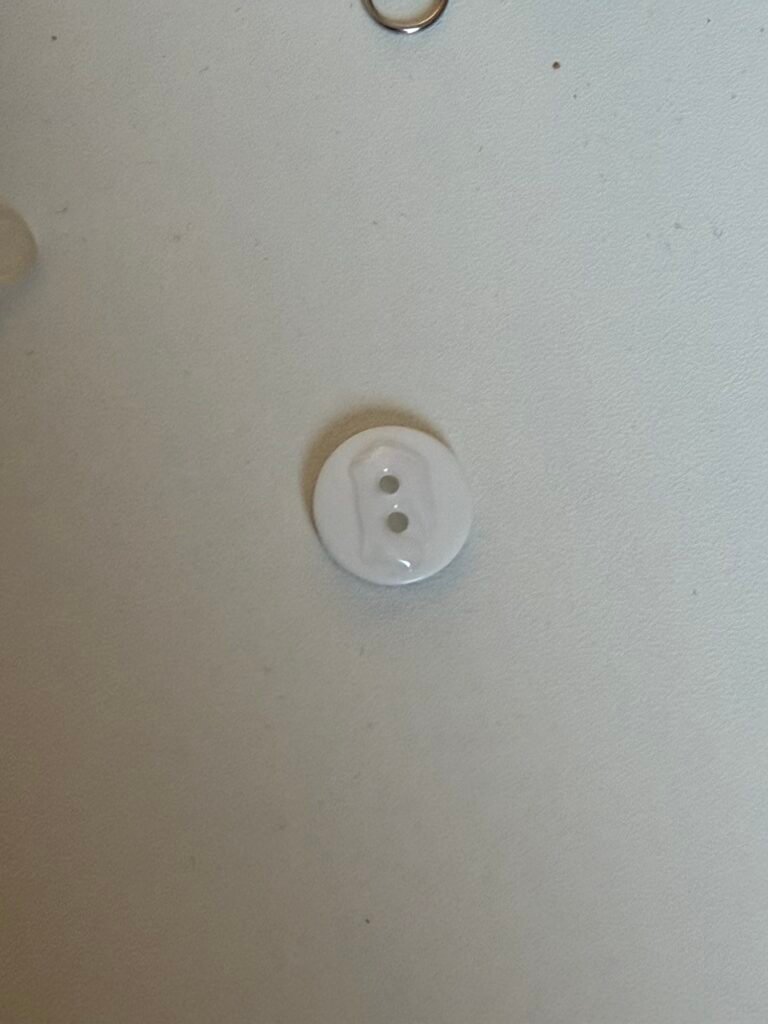
Step 1:
Wipe the button and paper clip clean and let dry, this is important for the button surface rather than the paper clip.
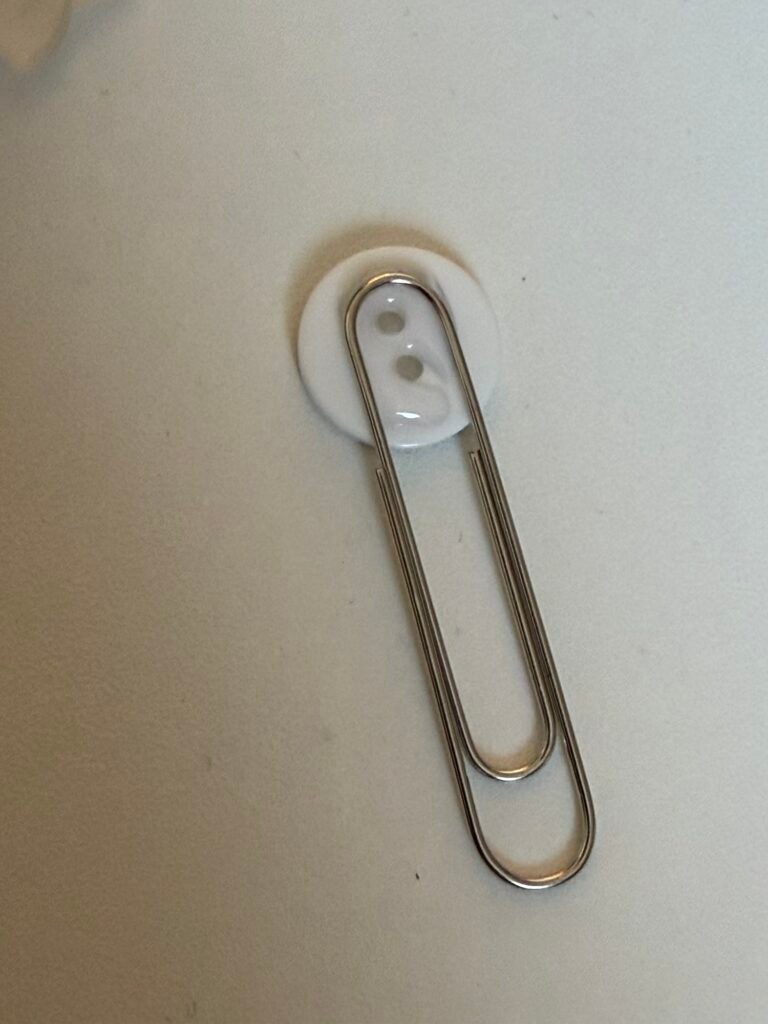
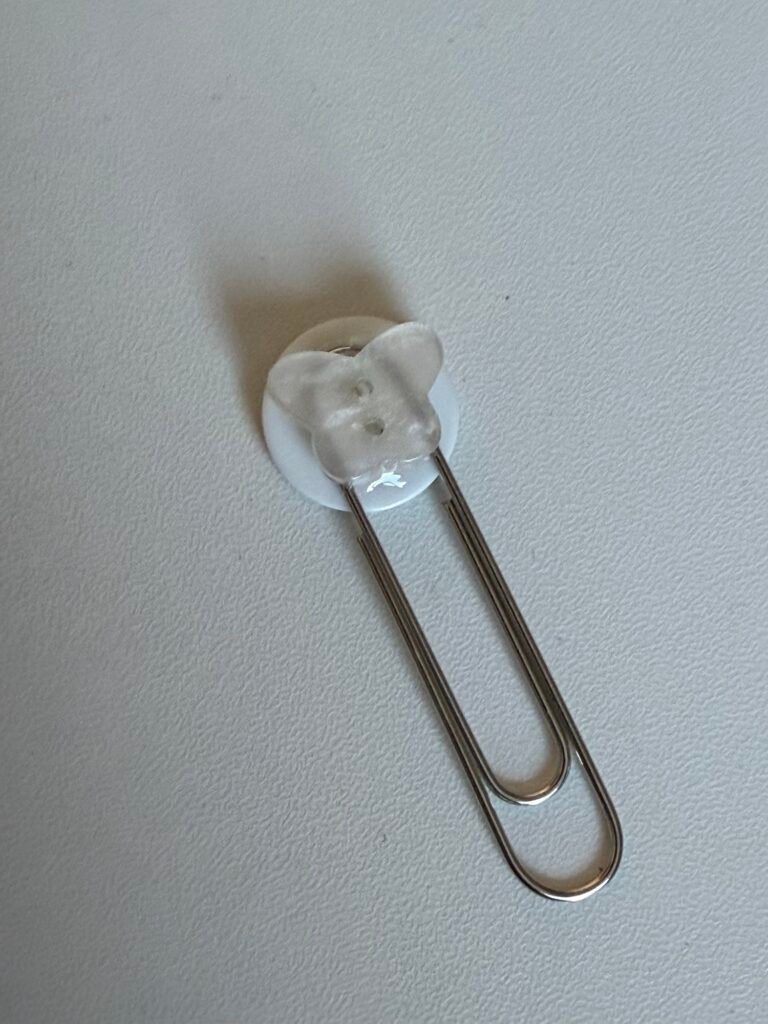
Step 2:
Add glue to the button back. Add the paper clip end, add more glue and place your last button on top. The button faces should be facing out on both sides
Step 3:
Let dry completely and it’s ready to use.
Simple Tips for Success
- Large buttons work great
- Different shapes and Sized buttons work too. Check out my examples
- Make sure the paper clip is the right way up. If you glue the button on the wrong end it won’t work at all. The paper clip should still be functional by the end of this DIY!
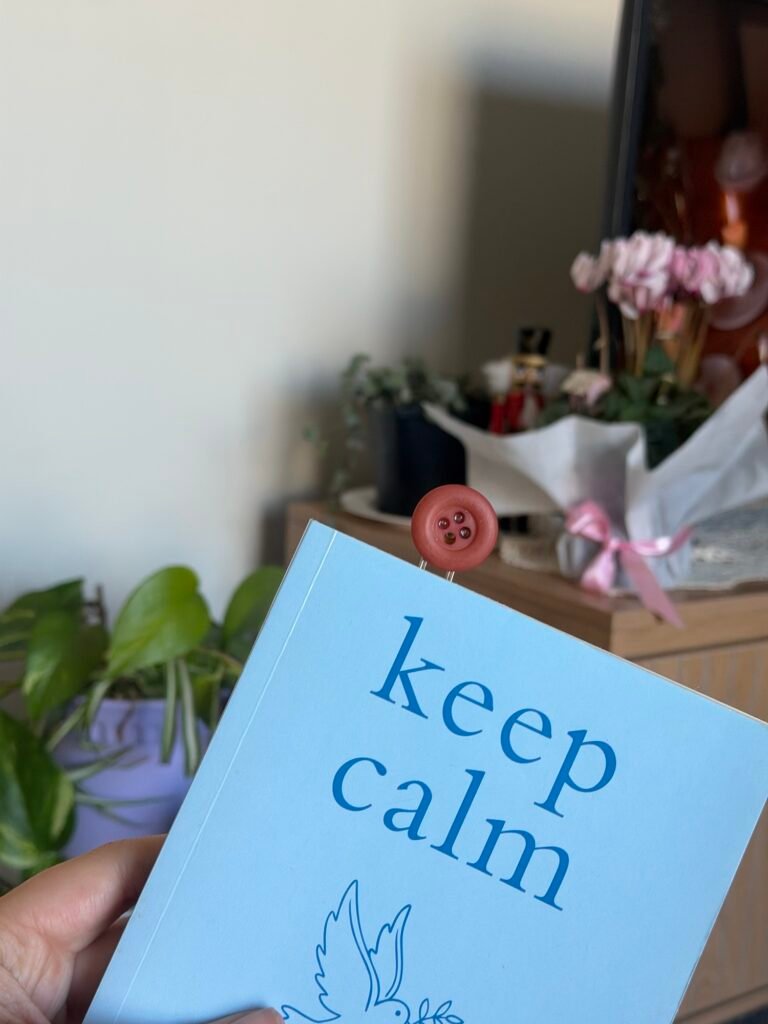
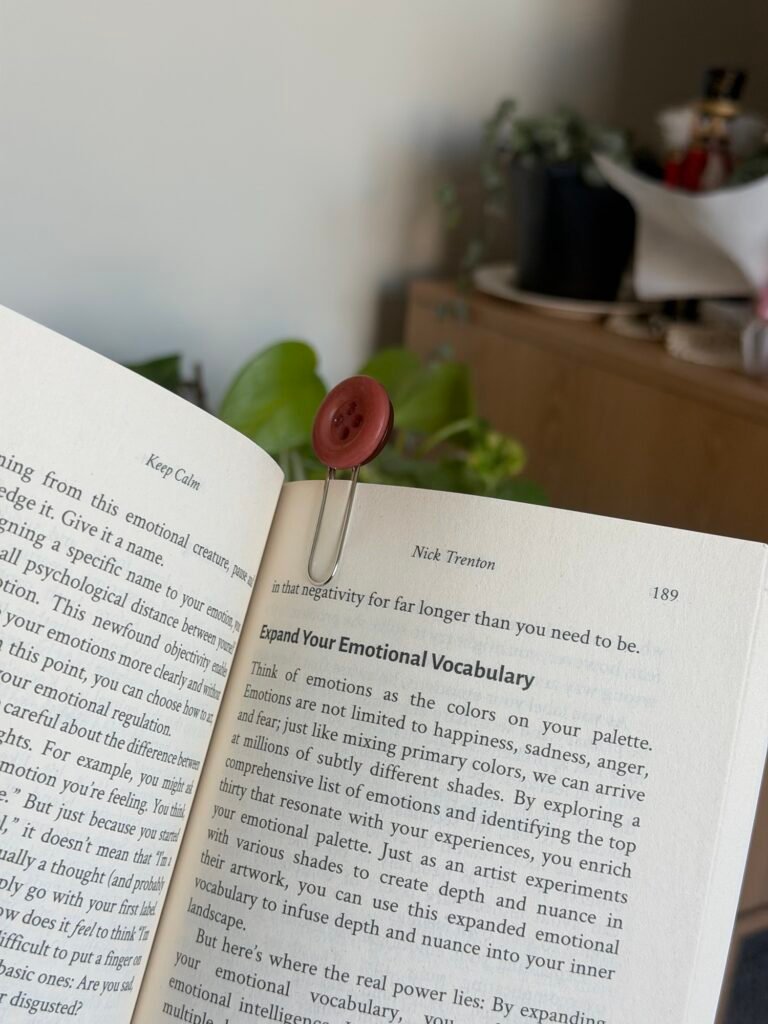
Final Thoughts…
This is a quick DIY, perfect add on extra if you are gifting someone a book. These handmade details really make a gift a little more special.
Happy Crafting