How To Make A Ruffle Tote Bag | Instructions
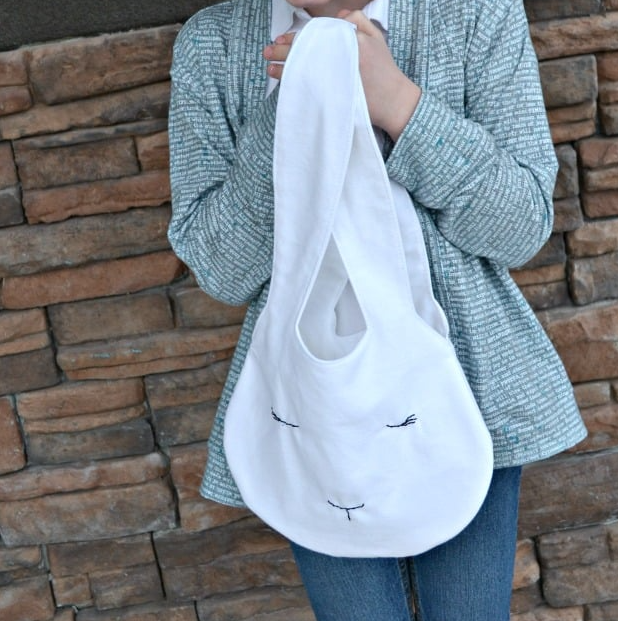
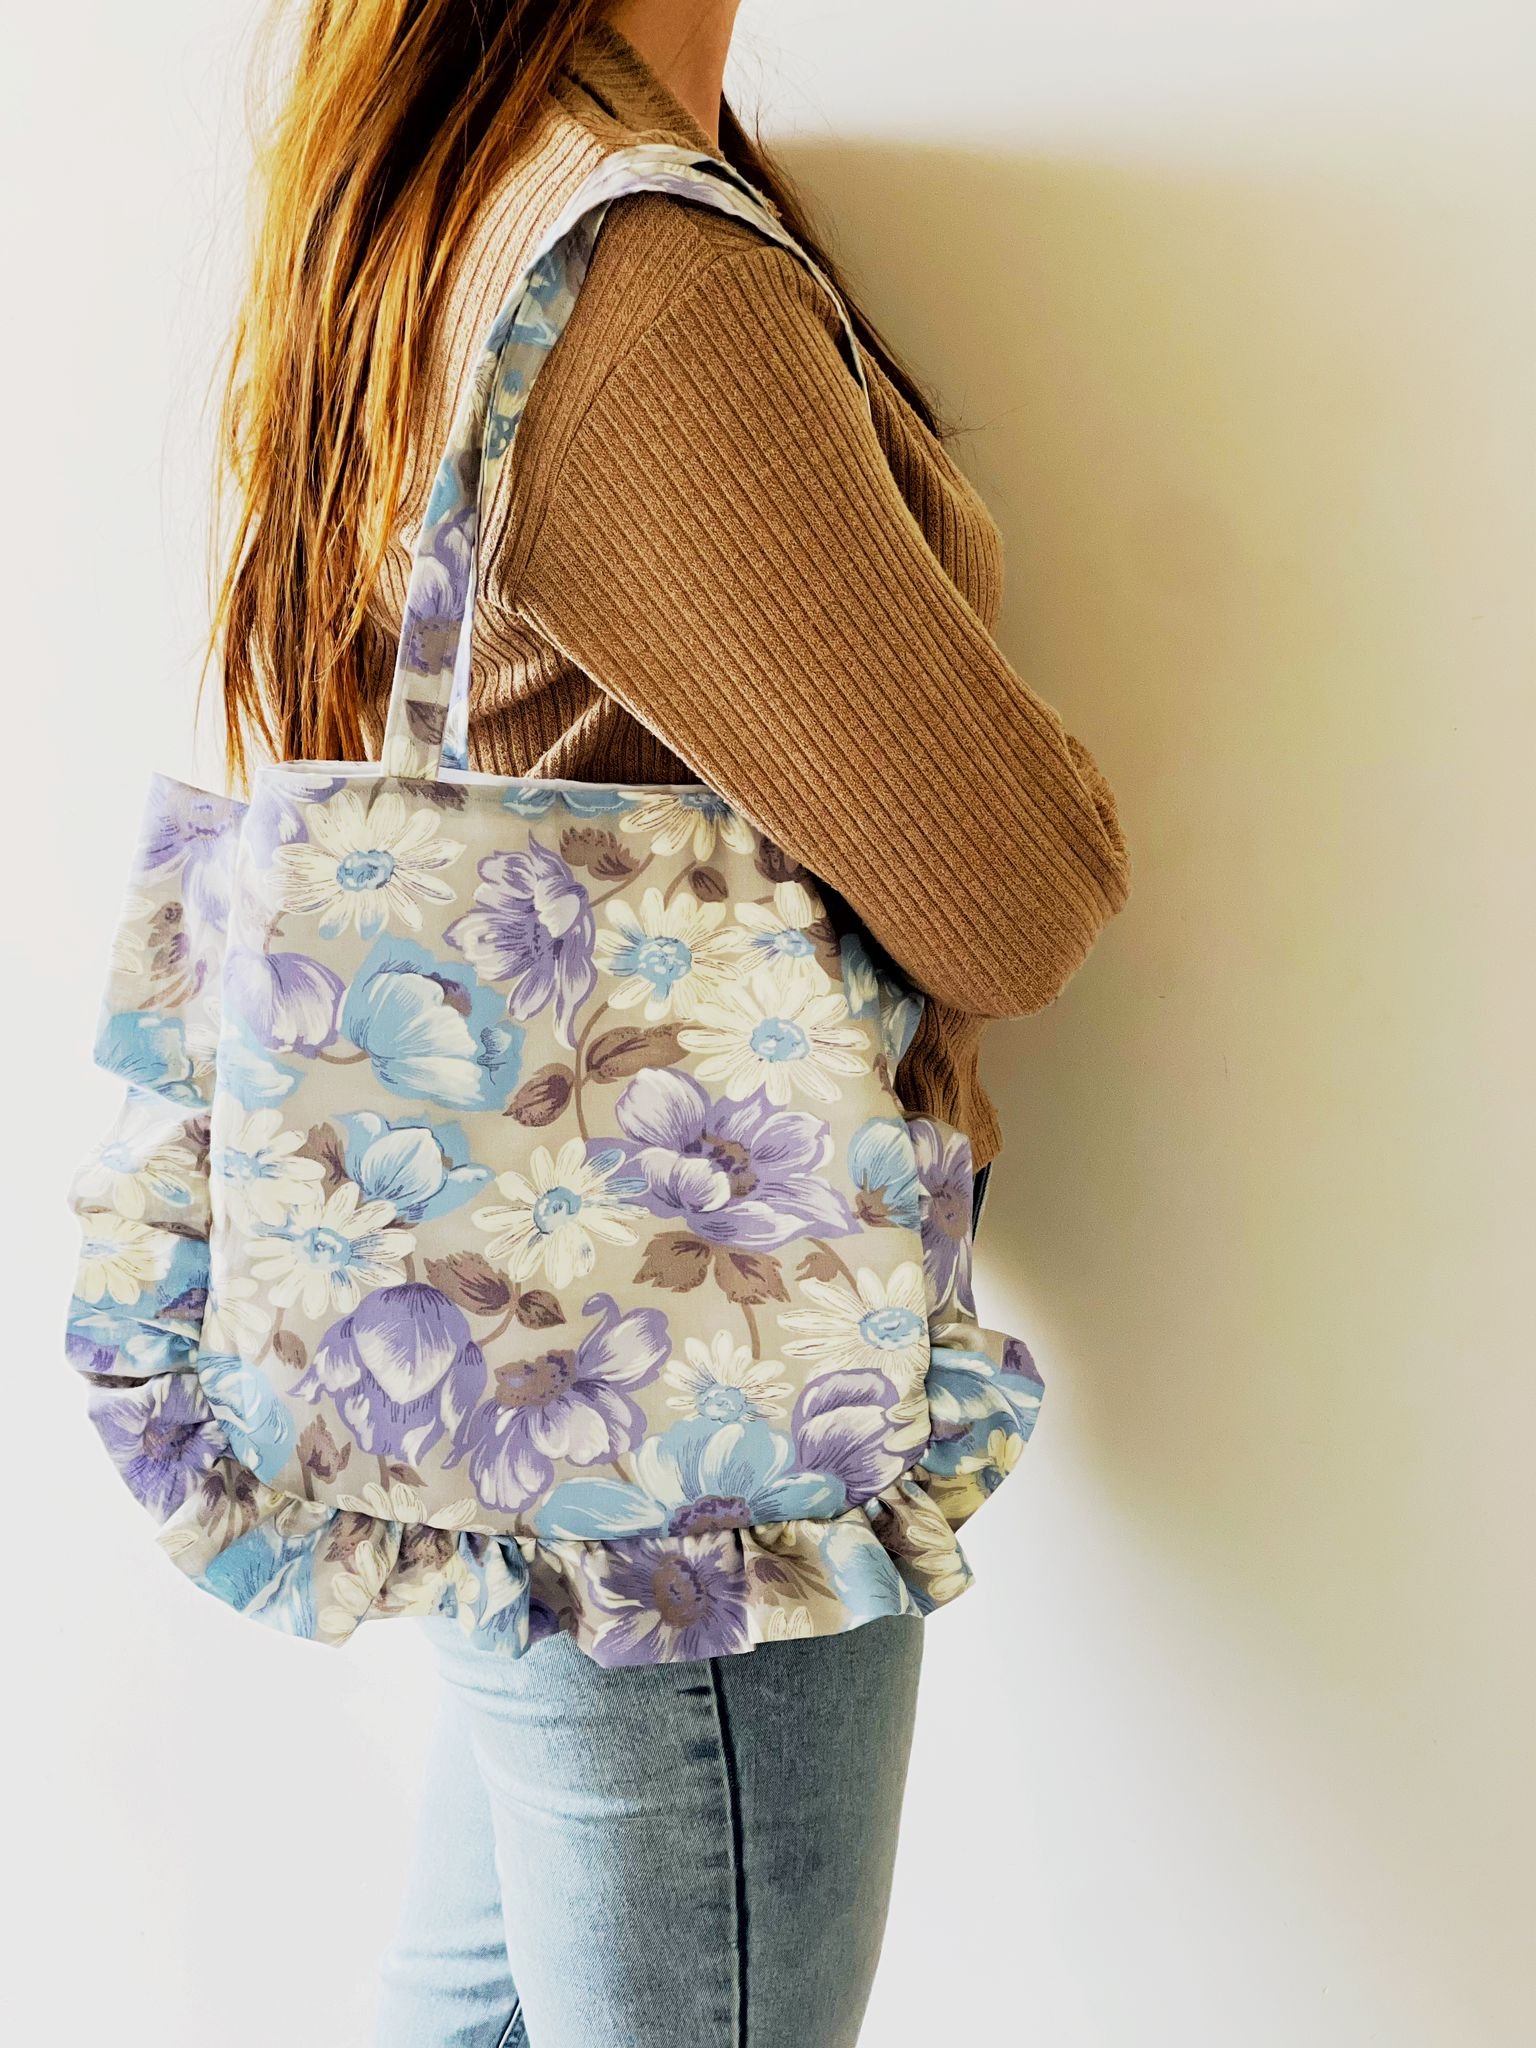
In this sewing pattern learn how to make this ruffle tote bag. This bag is great for beginners and other people wanting to learn to sew. This bag can be made in around 2 hours or less depending on your sewing level.

Where to Download the Pattern
To support me if you wish, you can purchase the PDF Pattern + Diagram and written instructions below
Use Code SAVE20 for 20% off


How to Make a Ruffle Tote Bag
In this sewing pattern learn how to make this ruffle tote bag. This bag is great for beginners and other people wanting to learn to sew. This bag can be made in around 2 hours or less depending on your sewing level. Remember, have fun and enjoy.
Recommended Fabric
For this bag, you will need two different types of fabric, one fabric for the outer and a fabric that is suitable for lining. I recommend using cotton for both the lining and the outer. If you are a beginner cotton fabric is a great fabric to learn with as it doesn’t stretch or slip much.
The Pattern Pieces
- A Main Bag (Cut 2 Main Fabric, Cut 2 Lining)
- B Ruffle (Cut 1 Main Fabric)
- C Handles (Cut 2 Main Fabric)
Printing the Pattern Pieces
This pattern is made to be printed on A4 paper.
The Sewing Tutorial
Have all pieces accurately cut and ironed flat before you start.
Step 1: Make the Handles
For the handles, (right sides out) fold the two long sides in until they nearly meet but not quite and iron flat, then fold in half (right sides out) and iron again. The width of the handle should be around 2cm now. If you want thicker handles, simply fold the two sides in less.
Now top stitch carefully down the two lengths of both handles.


Step 2: Make the Ruffle
Fold the ruffle right sides together, sew across the two ends.
Turn right way out and sew along the rough edge catching both edges of fabric.
Closest to the rough edge, with a needle and thread, very loosely weave the needle and thread through the fabric. The stitches should be one inch or less apart. Once you have stitched the length, gather the fabric to make the ruffle by shuffling the fabric down the thread.


Step 3: Attaching the Ruffle
Lay one piece of the tote bag’s main fabric on a flat surface. Place the ruffle that was created before around the three sides on the pattern pieces. (Finished edge of ruffle facing in) Arrange the ruffle so it is more gathered at the rounded corners. Leave a 2.5cm gap from the top edge to start of ruffle on both sides.
Slowly sew the ruffle into place.
Now place the remaining pattern piece on top and pin down. The fabric should be right sides together and ruffle inside.
Sew around the three sides carefully and slowly.


Step 4: Attaching the Handles
On each piece of lining attach one handle.
Attach the handles 7cm from the sides of the lining pieces. (Sew back and forward a few times to secure into place). Make sure the handles aren’t twisted.

Step 5: Making the Lining
With the two lining pieces (right sides together), sew along the three sides leaving a 5-7cm gap on the bottom edge between the rounded corners. Make sure not to sew over the handles.
Step 6: Attach the Bag and Lining
Place the main bag right sides out into the lining so it is right sides together
Carefully sew around the top of the bag.

Step 7: Finishing the Outside
Pull the bag out through the hole at the bottom of the lining to make the bag right sides out
Top stitch around the top of the bag,
Step 8: Finishing the Inside
Using thread that matches, sew close the bottom of the lining using a machine or hand.
If you would like to support me…
If you would like to support me, you can purchase the full pattern and instructions here, thanks for the support. Use code SAVE20 for 20% off