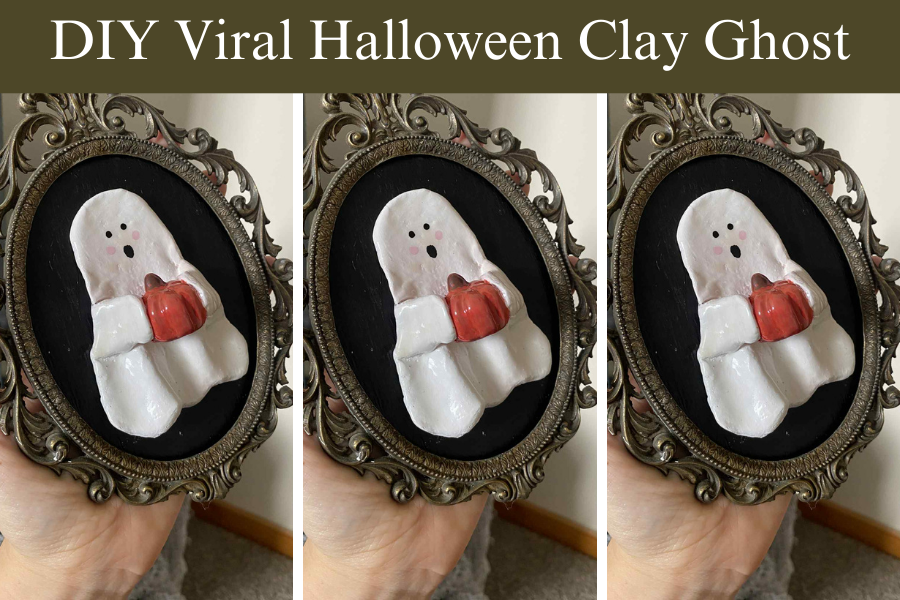
If you’ve been scrolling through Instagram or TikTok lately, you’ve probably seen this viral Halloween trend: a spooky-cute little DIY clay ghost craft. You know the little ghost holding a pumpkin in a vintage frame. It is such a cool crafting trend and one i do recommend trying.
This craft is perfect for beginners, uses supplies you probably already have (or can easily find), and creates the most Instagram-worthy piece of Halloween décor. Plus, it takes less than an hour of active work time. Let’s get spooky! 🎃
Just so you know, this post includes some affiliate links that help support my blog at no cost to you!
What You’ll Need
Clay & Tools:
- Air-dry clay
- Rolling pin or smooth glass
- Craft knife or clay sculpting tools
Paint & Brushes:
- Acrylic paints: white, black, orange/red, pink (optional)
- Small detail paintbrushes
- Palette or paper plate for mixing
Frame & Background:
- Oval vintage-style frame (I thrifted mine) But if you want find any try these
- super glue
How to make the DIY Clay Ghost Craft
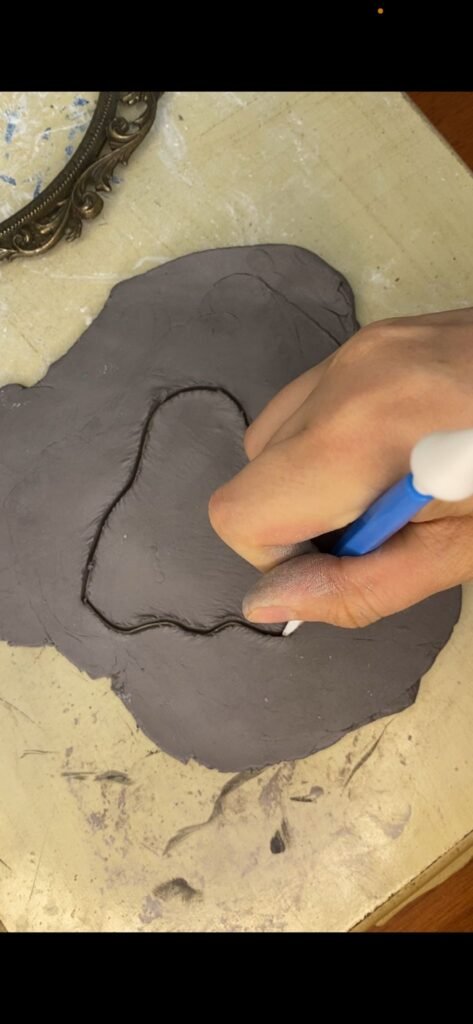
Step 1: Create Backboard
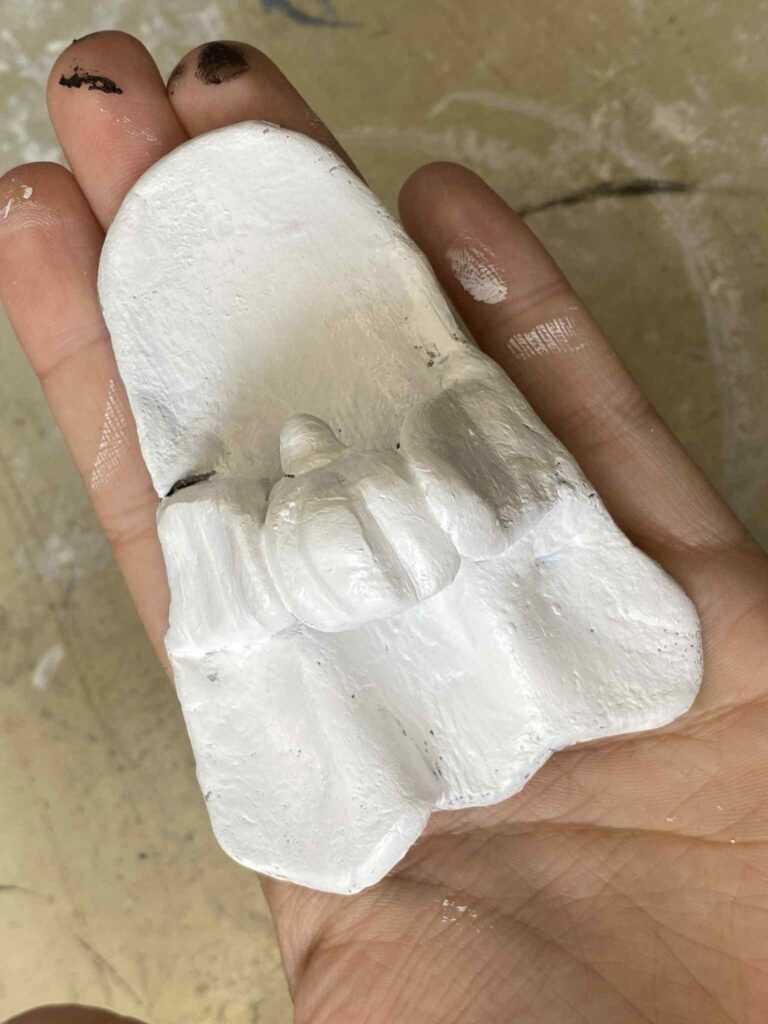
Remove the glass from your frame and set it aside. Paint your backing board black. While this dries, you can start on your ghost.
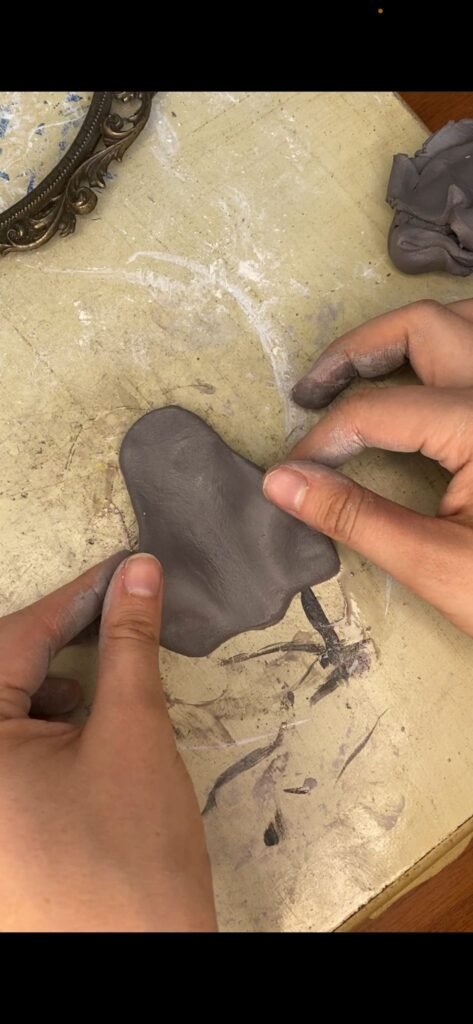
Step 2: Shape Your Ghost
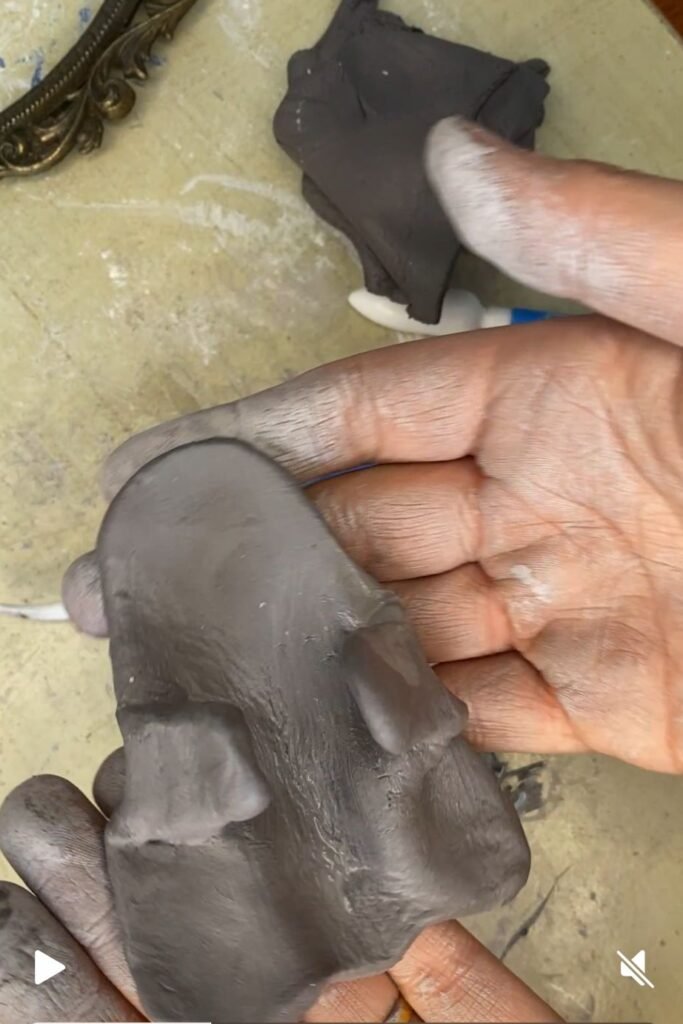
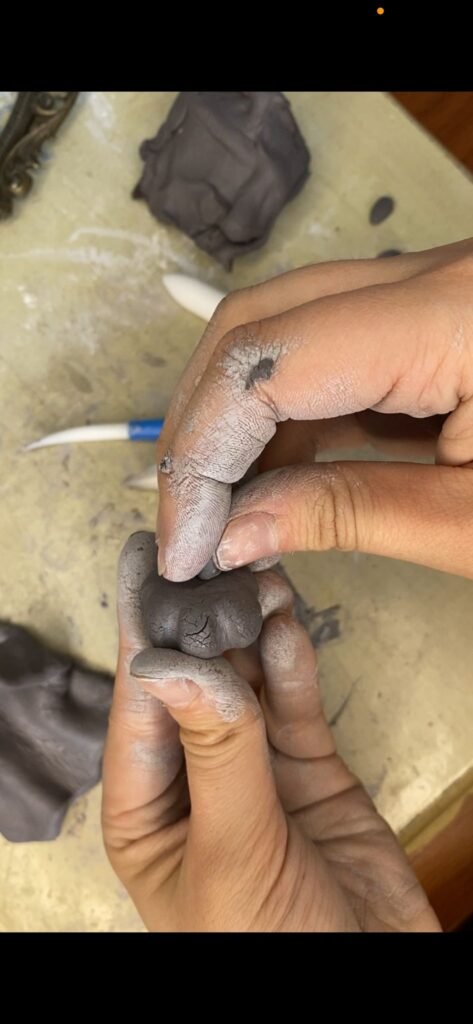
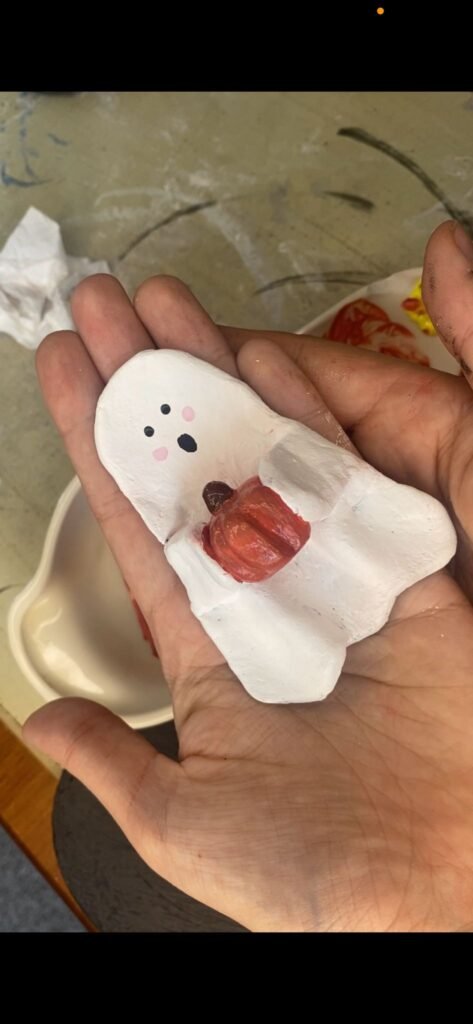
Roll your clay into a flat oval about ¼ inch thick. Cut out a ghost like figure, smooth out the edges and gently bend the bottom area of the ghost to it looks like it has waves or it looks like a drapped bedsheet.
Using two small pieces of clay, shape the arms and attach them to the ghosts body. The arms should be flat, width should be thicker at the base and smaller at the top.
Technique tip: Work on parchment paper to prevent sticking, and keep a small bowl of water nearby to smooth edges.
Step 3: Craft the Perfect Pumpkin
Roll a marble-sized ball of clay, then gently flatten the top and bottom. Use your craft knife or any similar clay tool to carve 4-5 vertical lines around the sides for that classic pumpkin ridge look. Add a tiny stem on top.
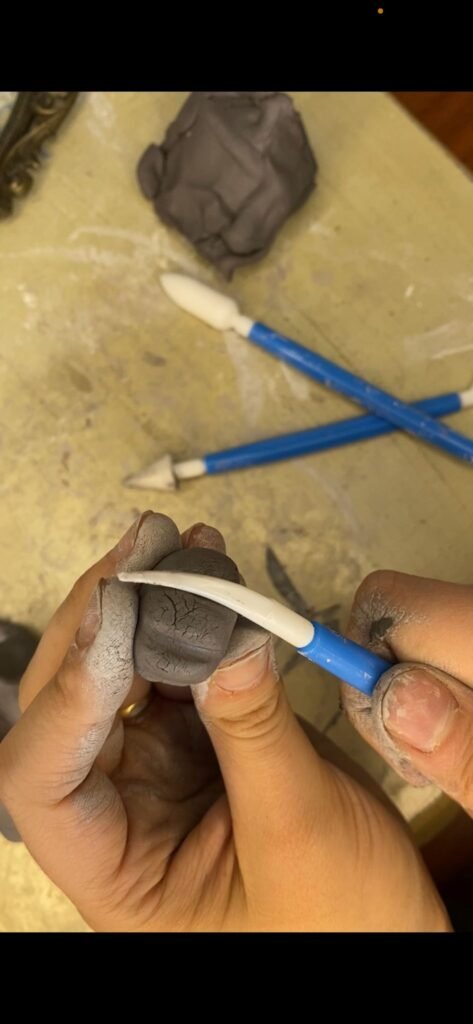
Step 4: Make the Ghost Hold the Pumpkin
Place the pumpkin bewtteen the ghosts arms, make sure its fully attached to eachother so there is no chance it can fall.
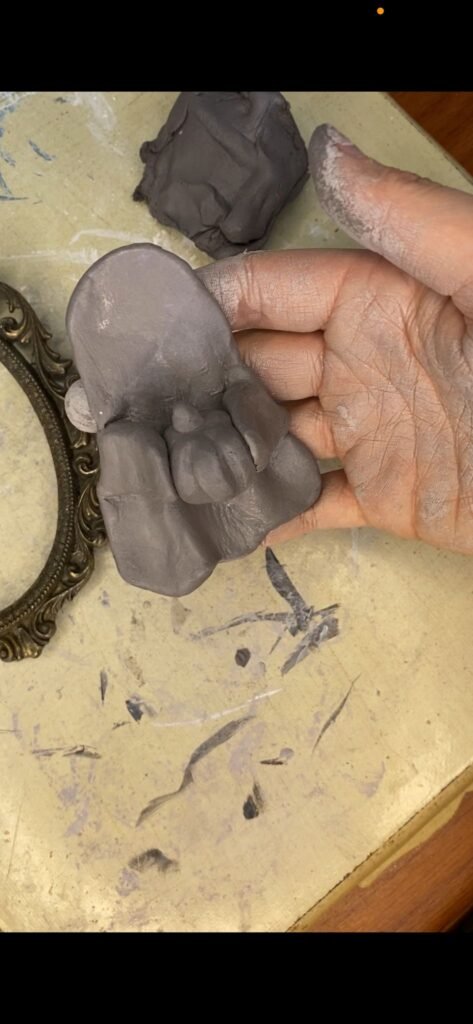
Step 5: Patience is Key
Let your ghost completely dry. This usually takes atleast 24 hours
Step 6: Bring It to Life
Now for the fun part — painting!
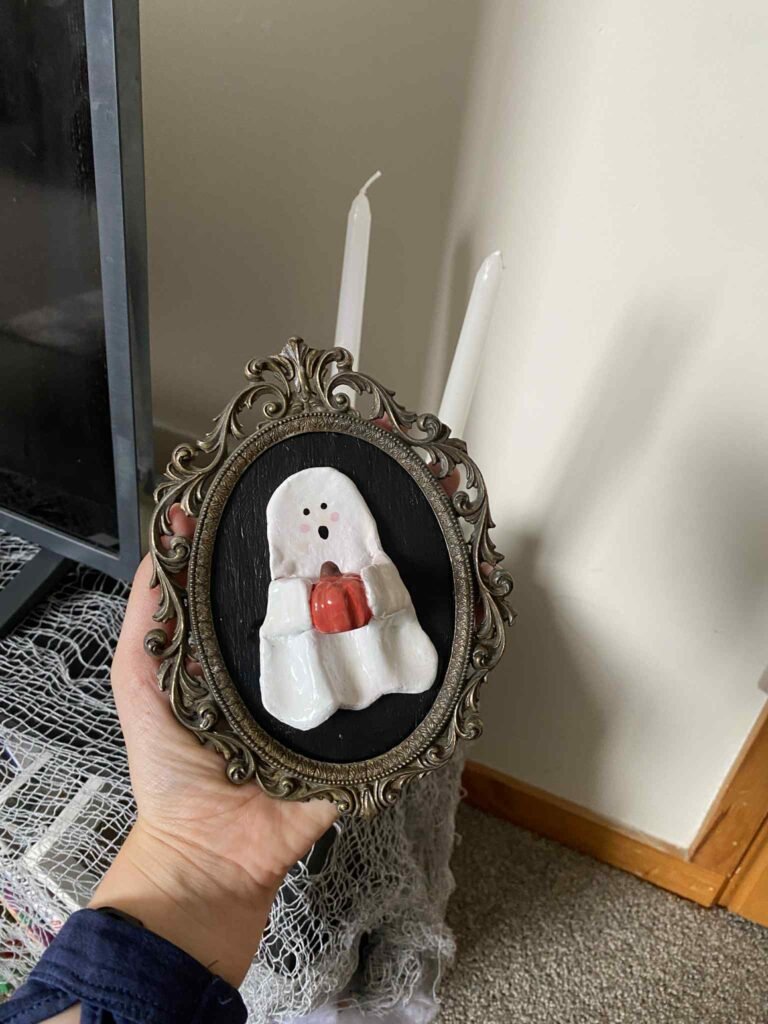
- Base coat: Paint the ghost white to make it pop against the black background
- The face: Two small black dots for eyes and a tiny “O” for the mouth (keep it simple for maximum cuteness)
- Pumpkin details: Orange body with a green or brown stem
- Optional charm: Tiny pink dots on the cheeks for blush
Optional ( once all the paint is dry, you can use a gloss varnish to seal it)
Step 7: Frame Your Masterpiece
Once everything is completely dry, carefully glue your ghost to the center of the black background. Use a strong craft or super glue.
Troubleshooting Common Issues
Clay cracking while drying? This usually means it dried too fast. Next time, cover with a damp cloth and let it dry more gradually.
Paint not sticking? Make sure your clay is completely dry and dust-free before painting.
Ghost looking too flat? Add subtle shading with a slightly darker gray around the edges for dimension.
Make the DIY Clay Ghost Craft Your Own
Once you’ve mastered the basic version, try these variations:
- Different expressions (winking ghost, anyone?)
- Seasonal swaps: hearts for Valentine’s, flowers for spring
- Size variations: mini versions for ornaments
- Color experiments: pastel ghosts for a softer vibe
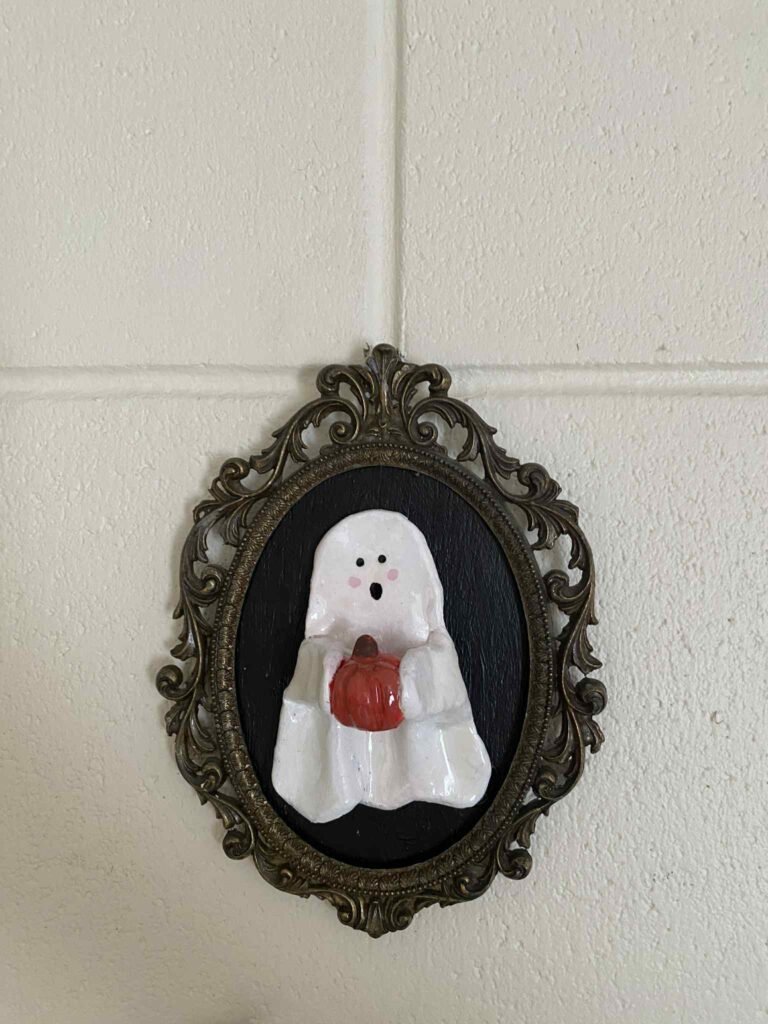
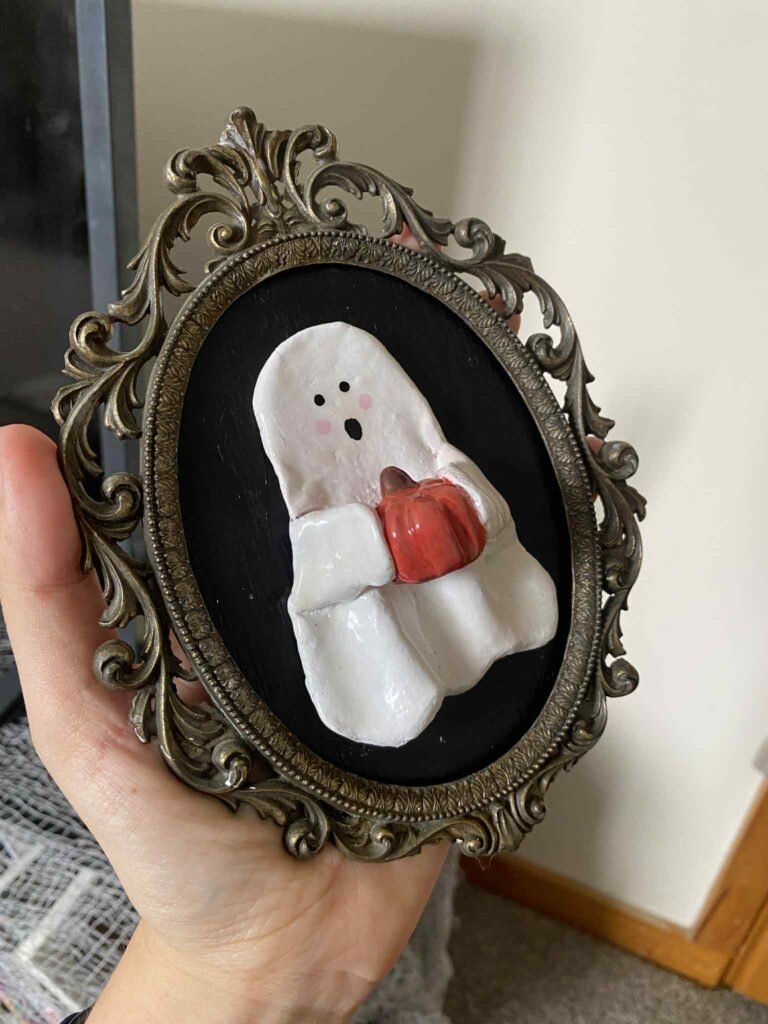
DIY Clay Ghost Craft Final Reveal
And there you have it — your very own piece of viral Halloween art!
This trend perfectly captures why DIY crafts have taken absolutely taken over social media. They are aesthetic, fun, fast and easy! Let me know how you go with this Viral Halloween art, I would love to know! And if you love Halloween and want more halloween projects, check these out,
Time to craft: About 1 hour active time + drying time
Skill level: Beginner-friendly
Instagram-worthiness: 100% guaranteed to get engagement!
Love this project? Save it for later and share your creations using #ClayGhostChallenge — I’d love to see your spooky masterpieces!