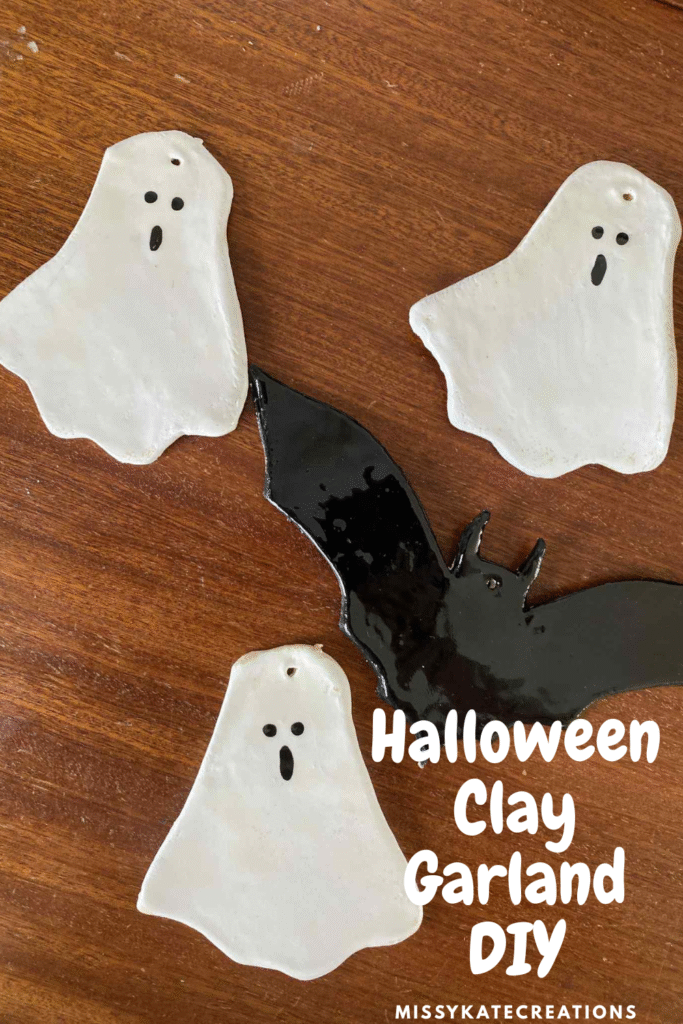
I love DIY Halloween Decorations, and I absolutely loved making this DIY Halloween Clay Garland! I made this with little bats and ghosts and let me tell you this, i wont be touching the store-bought plastic decorations again! These clay garlands are so simple to make, let me show you, lets get crafting…
As an Amazon Associate, I earn from qualifying purchases. This comes at no extra cost to you.
What You’ll Need
Materials:
- Air-dry clay
- Rolling pin or clay roller (I used a glass)
- Paper templates of ghosts and bats ( I drew my own )
- Craft knife or clay cutting tools
- Skewer
- Acrylic paints (black, white)
- Small paintbrushes
- Twine or string
- Clear varnish (I used nail varnish, but mod podge works too)
Tools:
- Work surface covered with parchment paper
- Small bowl of water
DIY Halloween Clay Garland
Step 1: Prepare Your Workspace
Set up your crafting area with parchment paper if you don’t want to get your work surface dirty, and have a small bowl of water handy.
Step 2: Roll Your Clay
Take your air-dry clay and knead until soft. Roll the clay to about ¼ inch thickness using your rolling pin(I just used a drinking glass). Make sure its not too thick that its harder to cut through, or too thin that the pieces break and rip easily.
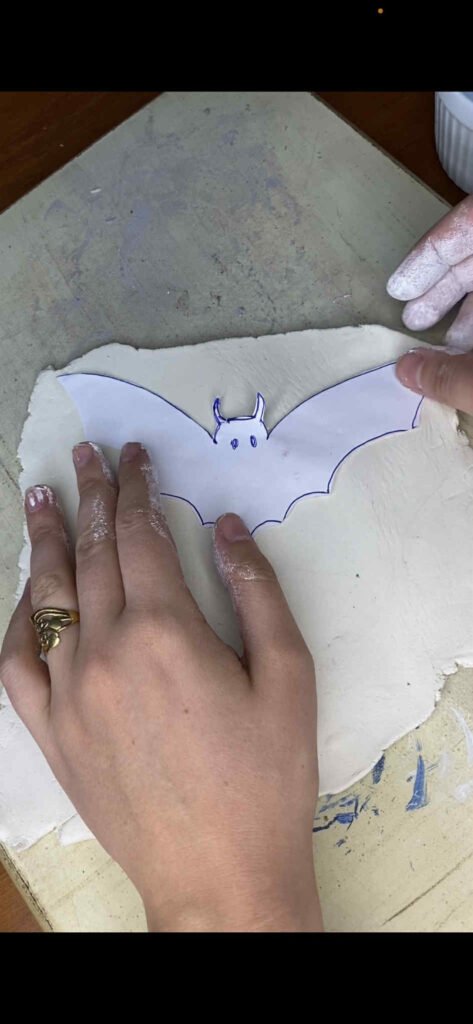
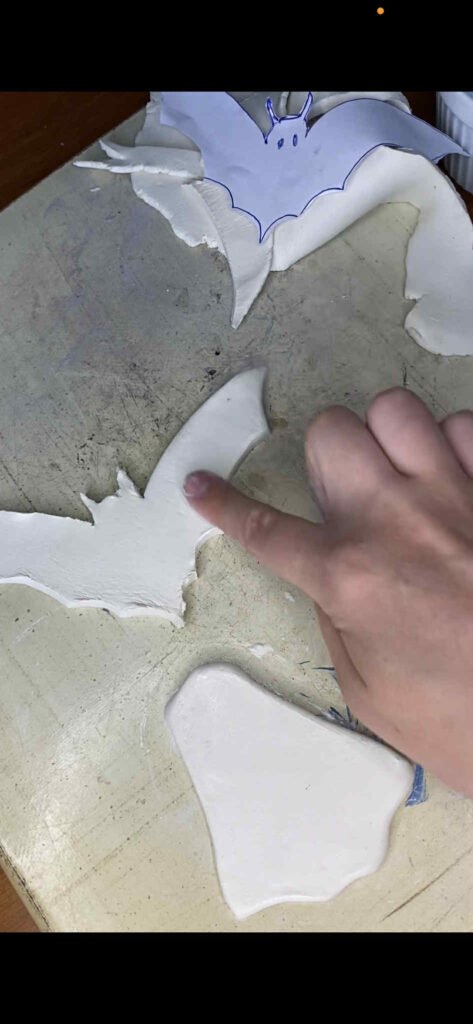
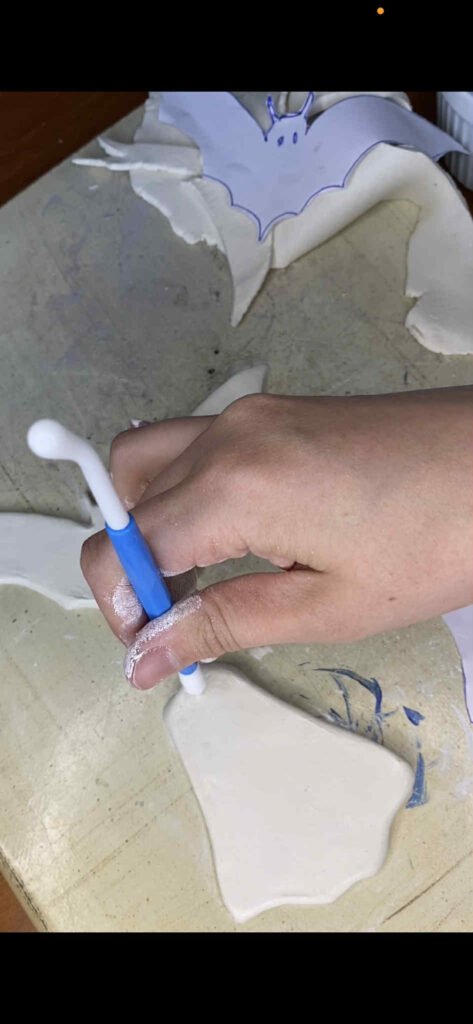
Step 3: Cut Your Shapes
Use your templates and trace around them with a craft knife. I made three ghosts and three bats. With a wet finger smooth over the clay and edges until everything is smoothed.
Step 4: Create Hanging Holes
While the clay is still soft, use skewer or a pointy clay tool to carefully pierce holes at the top of each ghost and bat. Make sure the holes are large enough for your chosen string.
Step 5: Let Them Dry
Place your clay shapes on a flat surface and allow them to air dry completely. This typically takes 24-48 hours depending on thickness and humidity. I tend to put my clay projects in the hot water cupboard to accelerate time.
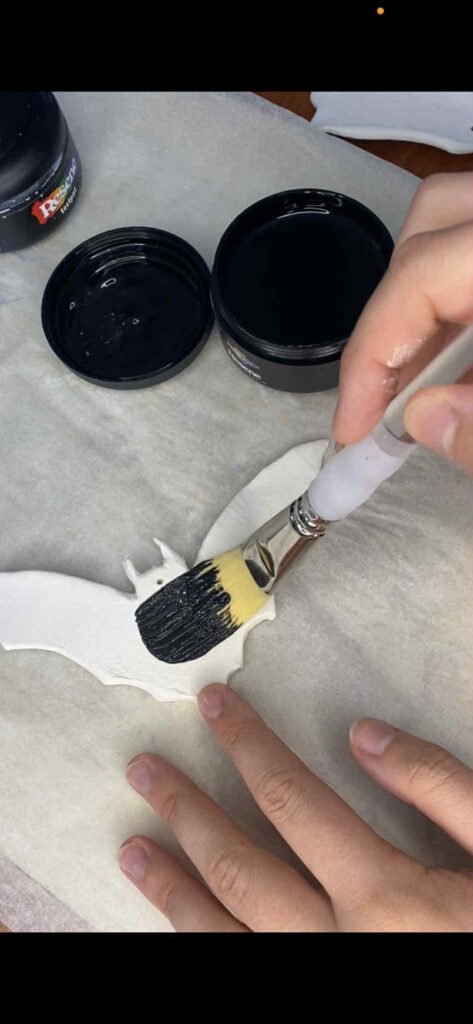
Step 6: Paint and Decorate
Now for the fun part! Paint your pieces if needed:
- Bats: If using white clay, paint them black and let dry completely
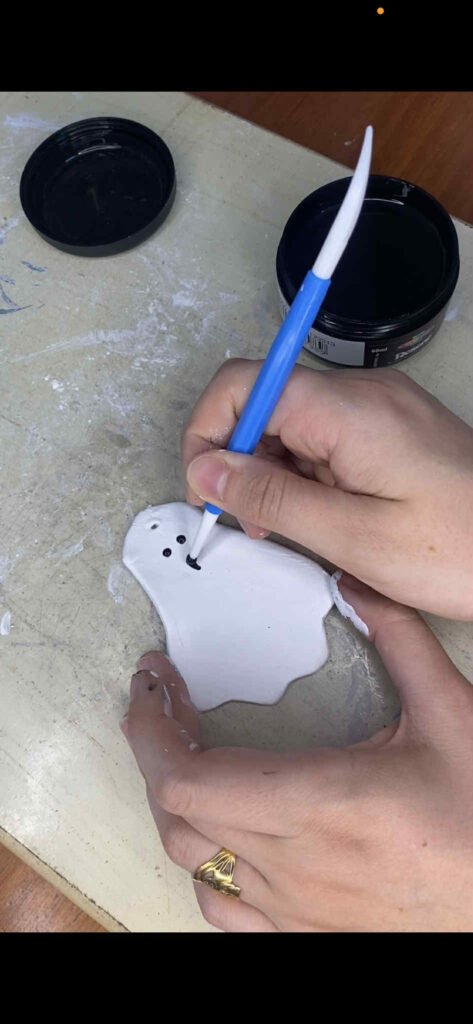
- Ghosts: Paint white, and add eyes and mouth carefully and let dr
Step 7: Seal (Optional)
For extra durability seal it. I used gel clear nail polish and then set it under a UV light. Gloss mod podge works too or a paint clear varnish.
Step 8: String Your Garland
Thread your twine or ribbon through the holes, alternating bats and ghosts or creating your own pattern. Leave about 4-6 inches of space between each piece.
Creative Variations
Color Play: Try painting some ghosts in soft pastels or adding glittery accents for a less spooky, more whimsical look.
Size Variety: Make pieces in different sizes for visual interest, mixing 2-inch and 4-inch shapes.
Additional Shapes: Add pumpkins, moons, or stars to create a more elaborate Halloween scene.
Glow-in-the-Dark: Use glow-in-the-dark paint on the ghosts for an extra spooky nighttime effect.
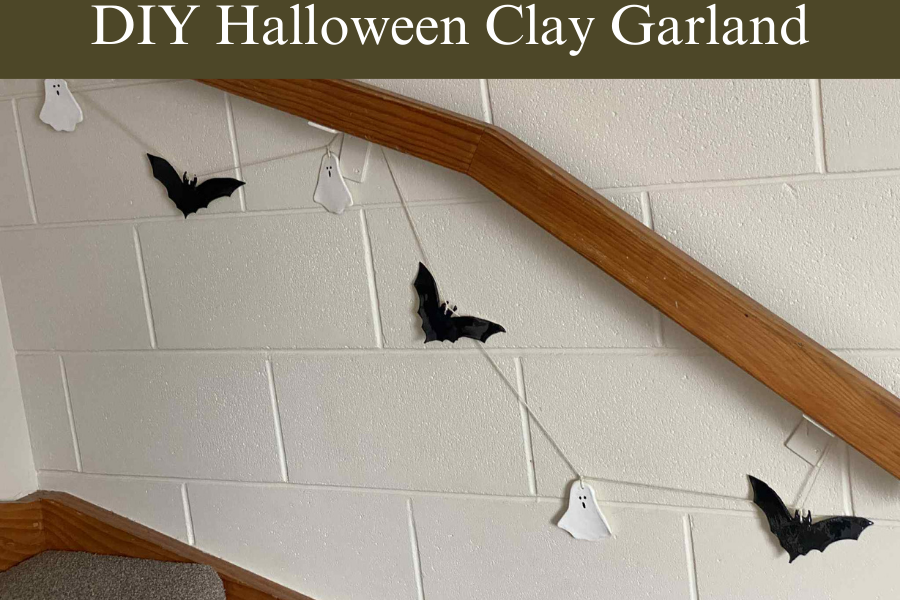
Display Your DIY Halloween Clay Garland
Your finished garland will look fantastic:
- Draped across a fireplace mantel
- Hanging in a doorway or archway
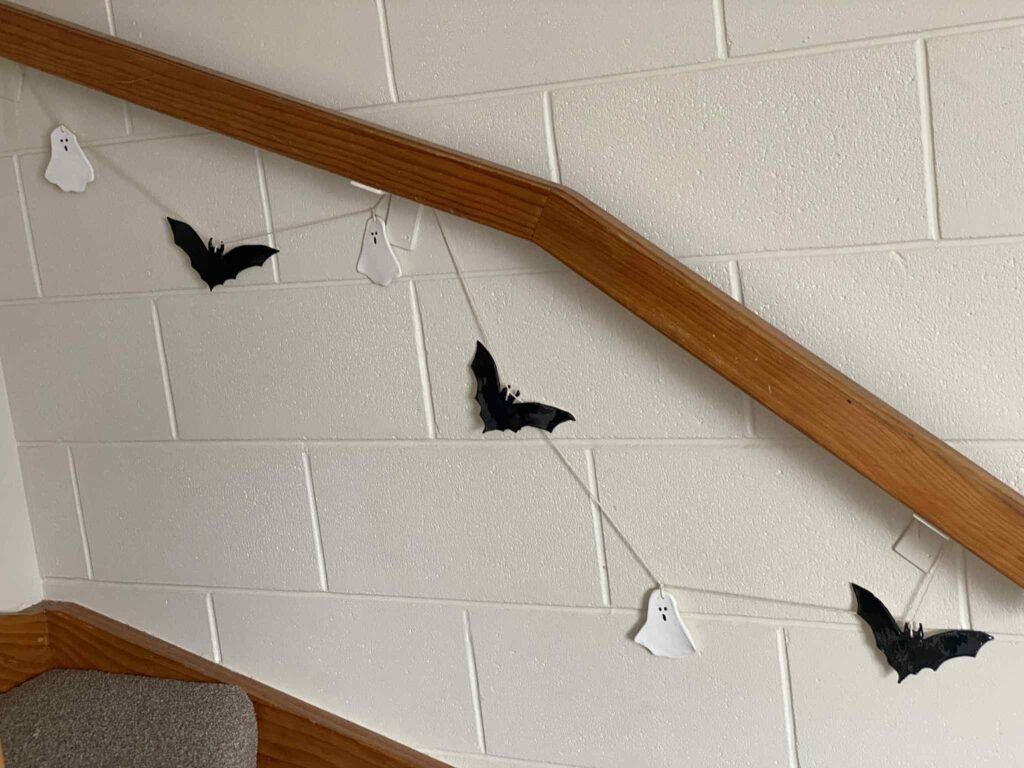
- Strung along a staircase banister, this is what I did!
- Decorating a Halloween party backdrop
Tips for Success
- Work in small batches to prevent clay from drying out while you’re shaping
- Keep unused clay wrapped in plastic to maintain moisture
- If clay cracks during drying, smooth with a damp finger before it’s completely dry
- Store finished garland carefully by laying flat or hanging to prevent breakage
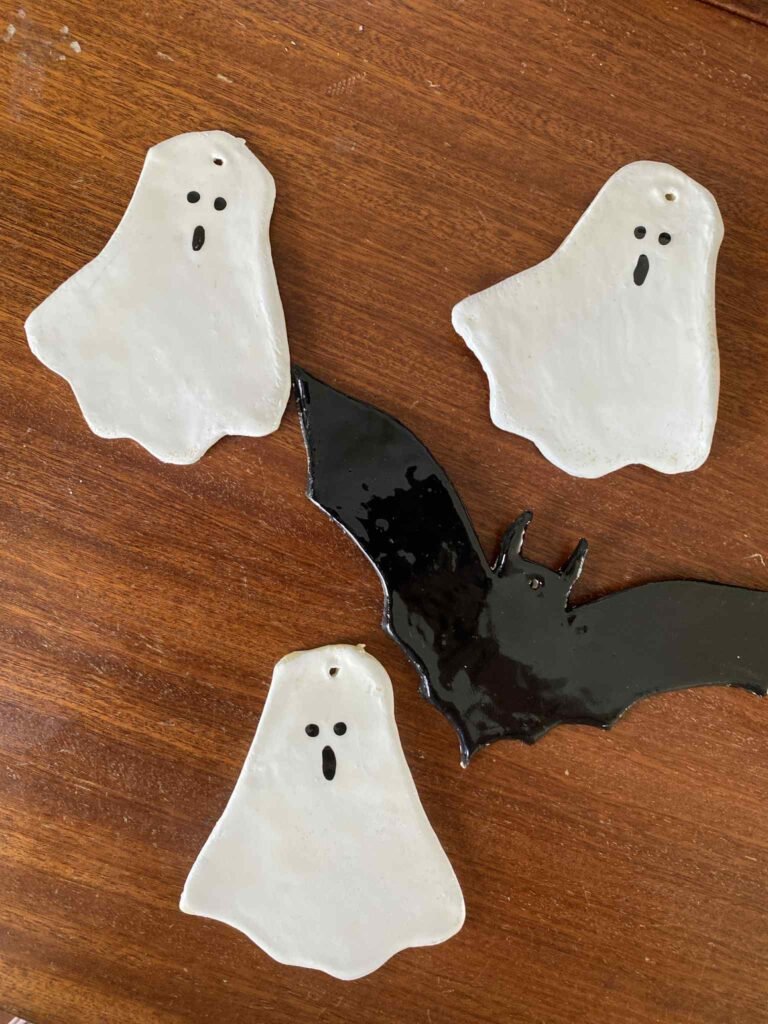
DIY Halloween Clay Garland to Conclude…
This simple clay garland is the perfect balance of spooky and elegant. The quality and durability of air dry clay garlands means it can be packed away and enjoyed for many spooky Halloweens to come. Not only that, there is something deeply more satisfying about creating decorations with your own hands. Each bat and ghost or what ever shape you decide to make will be slightly different but still beautiful. Happy Halloween and have fun creating.
If you are loving halloween DIY Decor, have a look at these tutorials, they might inspire you.
- Wooden Halloween Serving Board DIY (Perfect for snacks !)
- Mini DIY Decoupage Clay Ghost (Easy Air-Dry Clay Halloween Craft)
- DIY Halloween Doormat: How to Make a Spooky Bat Welcome Mat (Easy Tutorial)