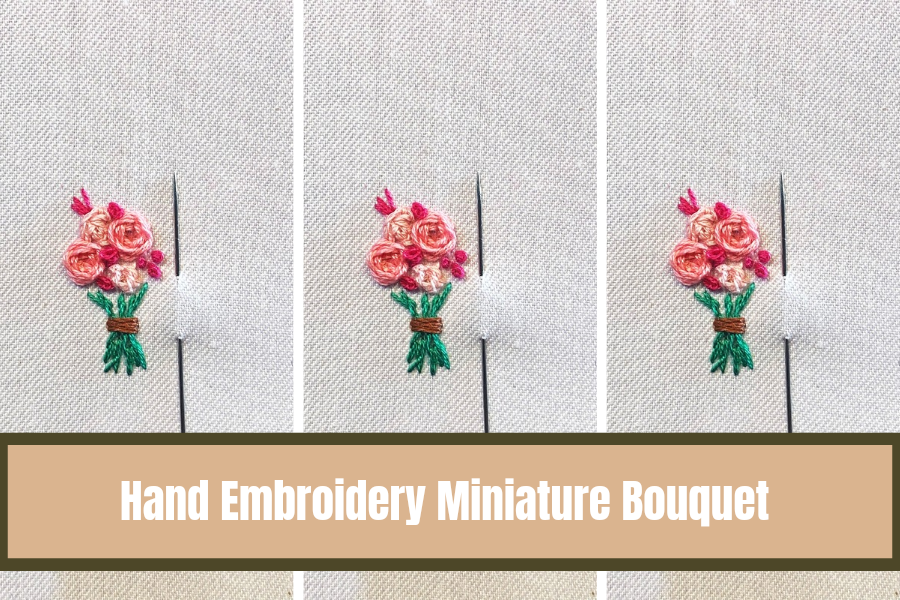
Hand Embroidery Guide | Miniature Rose Bouquet
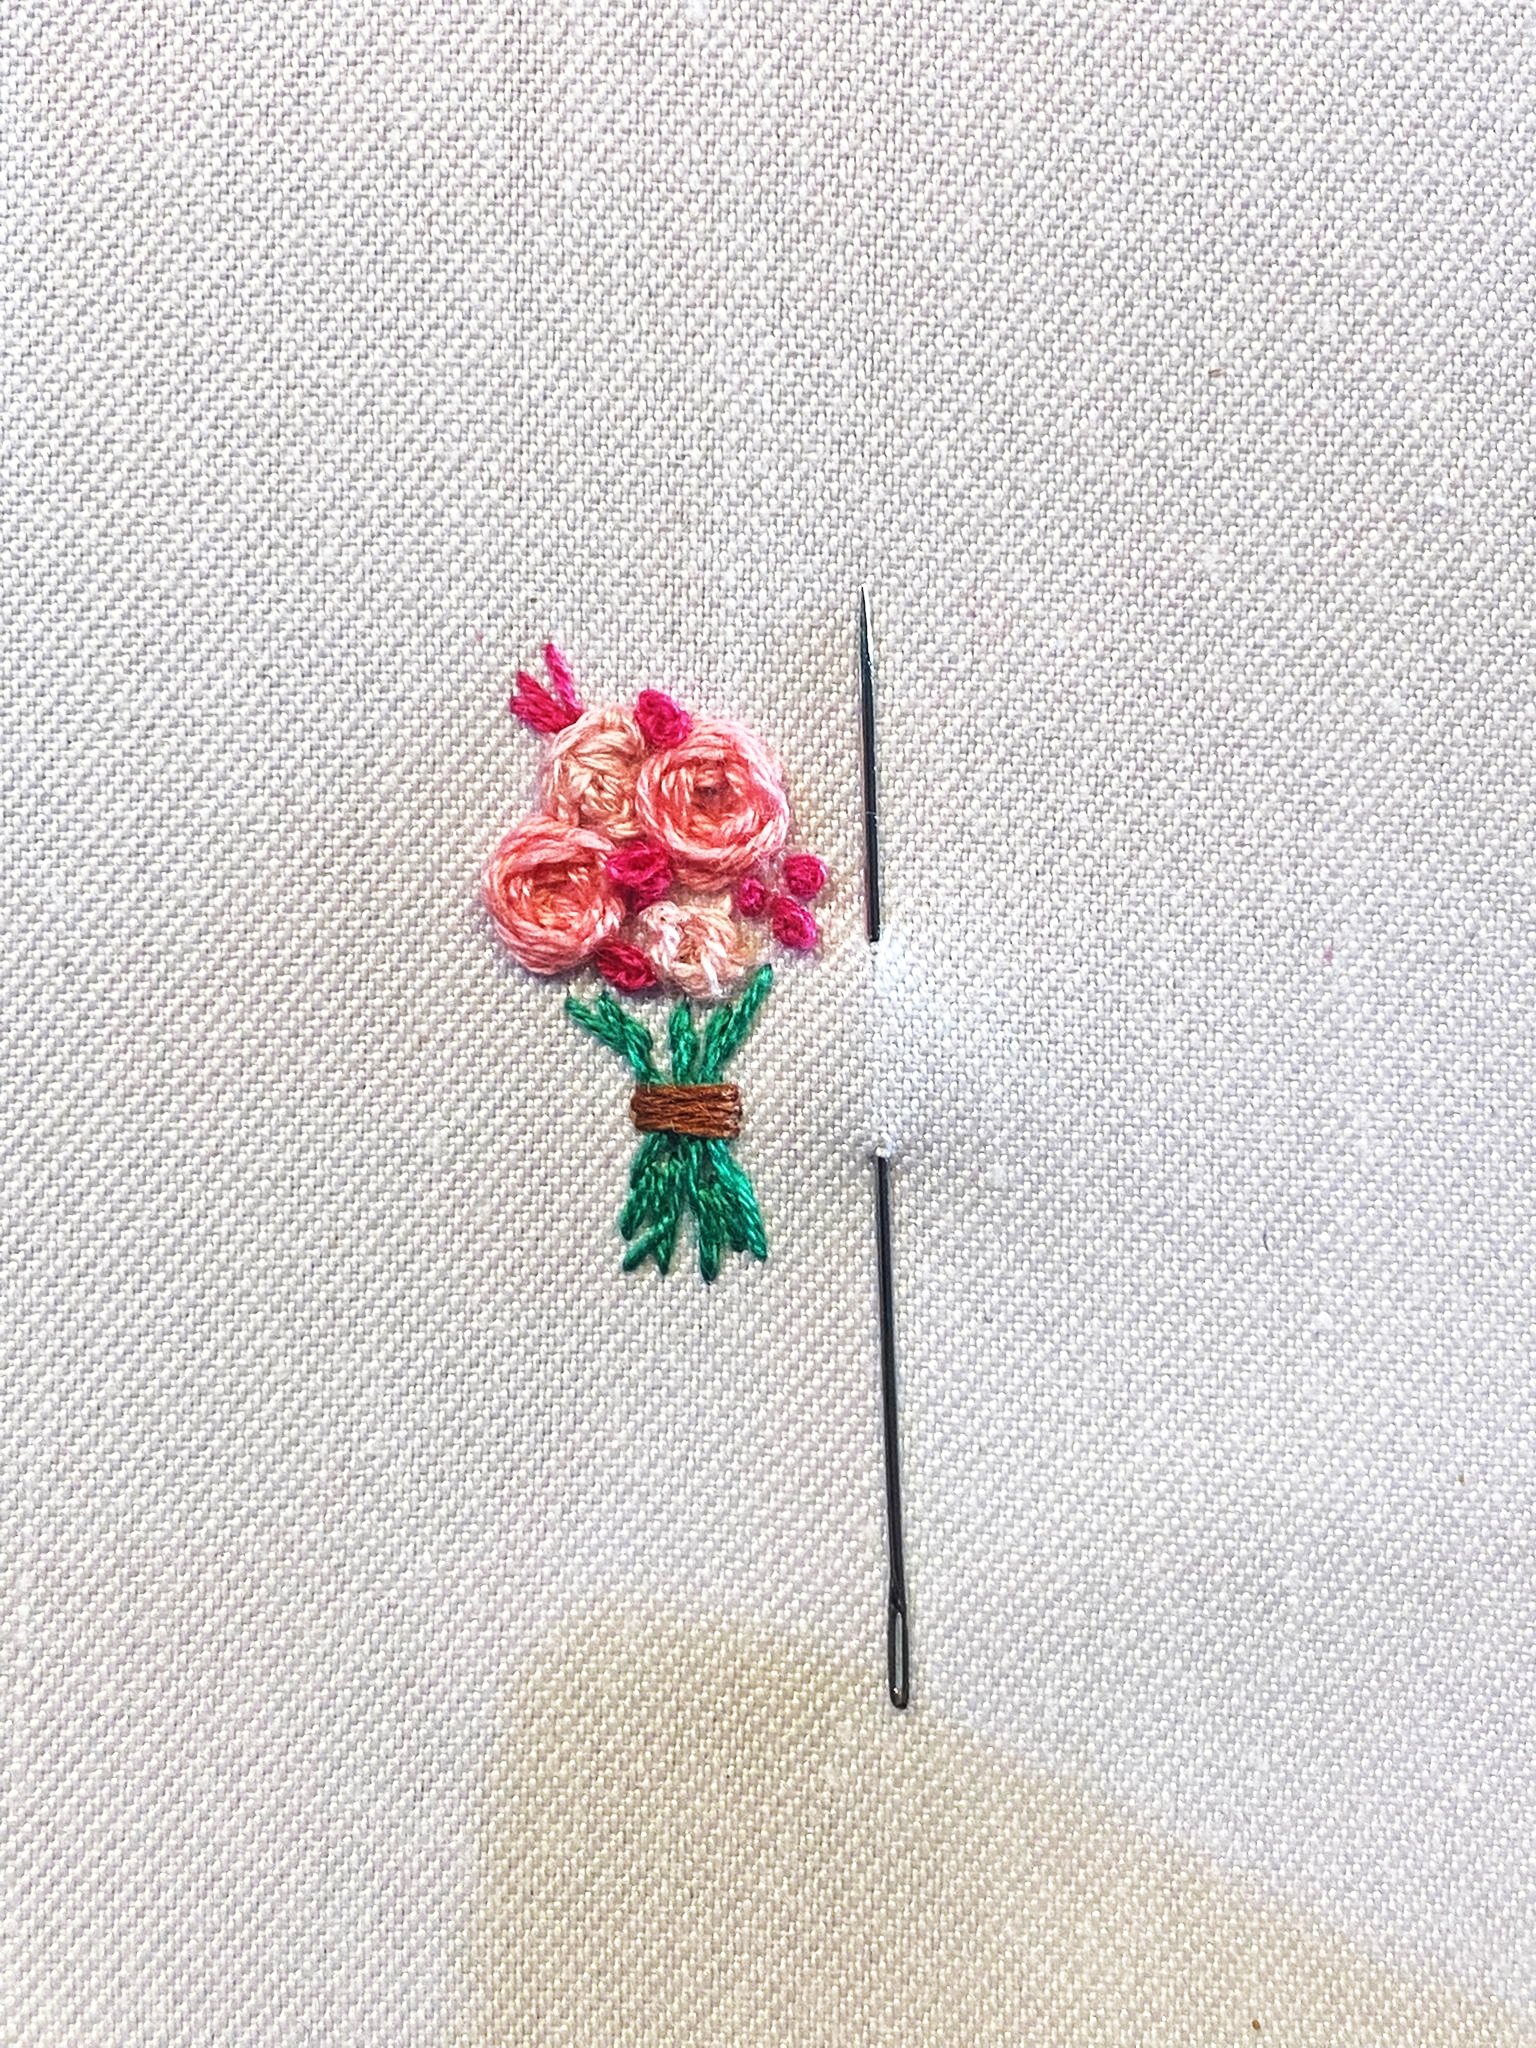
Let’s create a cute miniature rose bouquet using just three basic embroidery stitches. This tutorial is suitable for beginners and experts. Its a simple pattern just done on a a smaller a scale. Lets get started
Materials You’ll Need:
- Embroidery fabric (linen or cotton works well)-
- Embroidery floss in shades of pink, red, and green
- Embroidery needle
- Embroidery hoop
- Scissors
- Water-soluble pen or fabric marker
Stitches We’ll Use:
This project focuses on three easy-to-master stitches:
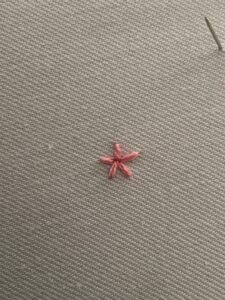
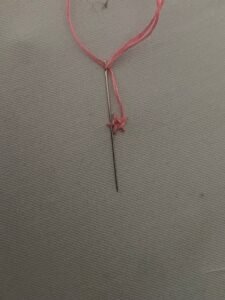
1. Wagon Wheel Stitch:
This stitch creates a lovely, textured center for our roses. It’s made by creating a series of radiating stitches from a central point. Always an odd number of spokes on the wheel. Then weaving the floss through the spokes of the wagon wheel.
Application Tip: Don’t pull your weaving stitches too tight; keep them slightly loose for a more natural, fluffy look.

2. French Knot Stitch:
This stitch adds a touch of elegance and dimension to the design. It’s a small, decorative knot created on the surface of the fabric.
Example: Think of a tiny, perfectly formed ball of thread.-
Application Tip: Practice a few French knots on a scrap piece of fabric first to get the hang of the technique. The key is to hold the thread taut.
3. Stem Stitch:
This stitch is perfect for creating the delicate stems of our roses. It’s a simple, continuous stitch that creates a thin, elegant line.
Example: Imagine drawing a thin, straight line with your needle and thread.
Application Tip: Keep your stitches consistent in length for a clean, professional look.
Step-by-Step Instructions:
1. Prepare your fabric:
Hoop your fabric to keep it taut. Lightly sketch your rose bouquet design using a water-soluble pen.
2. Embroider the roses:
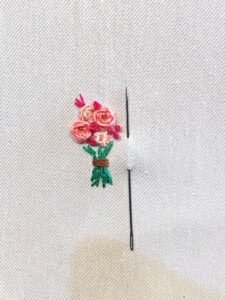
Use the wagon wheel stitch to create your roses. Vary the number of stitches to create roses of different sizes.
3. Add the small roses:
Using the French knot stitches to create small roses around the large wagon wheel ones. Use varying shades of pink and red to add depth and dimension.
4. Create the stems and leaves:
Use the stem stitch to embroider the stems, connecting them to the roses.
5. Finish and add the tie.
Add the tie to the stems if wanted, I used brown. Once you’re satisfied with your embroidery, carefully remove the hoop and rinse away the water-soluble pen markings.
Tips for Success:
- Practice your stitches on scrap fabric before starting your project.
- Don’t be afraid to experiment with different colors and stitch variations.
- Take your time and enjoy the process!
This miniature rose bouquet makes a lovely addition to cards, bookmarks, or even a small framed piece of art. I hope you enjoyed this tutorial. Happy stitching!