5 Easy Basic Hand Embroidery Stitches for Beginners | A Tutorial
This tutorial covers 5 basic hand embroidery stitches for beginners to learn. These stitches are most useful and some of the most used in embroidery art. This tutorial will give you the fundamental of basic stitches before you advance to more difficult stitches. The first part of the tutorial teaches 3 stitches that are commonly used for flower heads and making flowers, the last 2 stitches are usually used for stems, branches, and grasses in embroidery art.

Basic Hand Embroidery Stitches
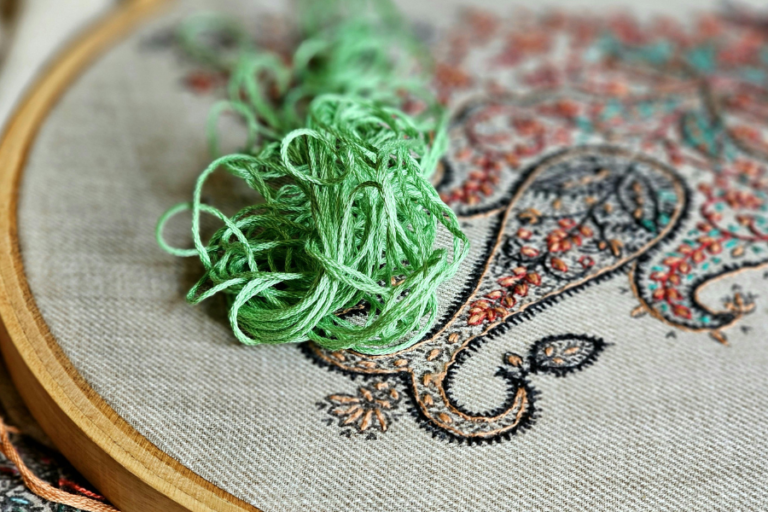
Let’s start learning these 5 basic hand embroidery stitches. We will learn the following stitches, the wagon wheel, french knot, lazy daisy, backstitch, and stem stitch. All of these stitches are very common and very useful in any hand embroidery project or pattern. These stitches are very common in floral hand embroidery designs too!
Let’s Learn the 5 Basic Hand Embroidery Stitches…
Let the tutorial begin…
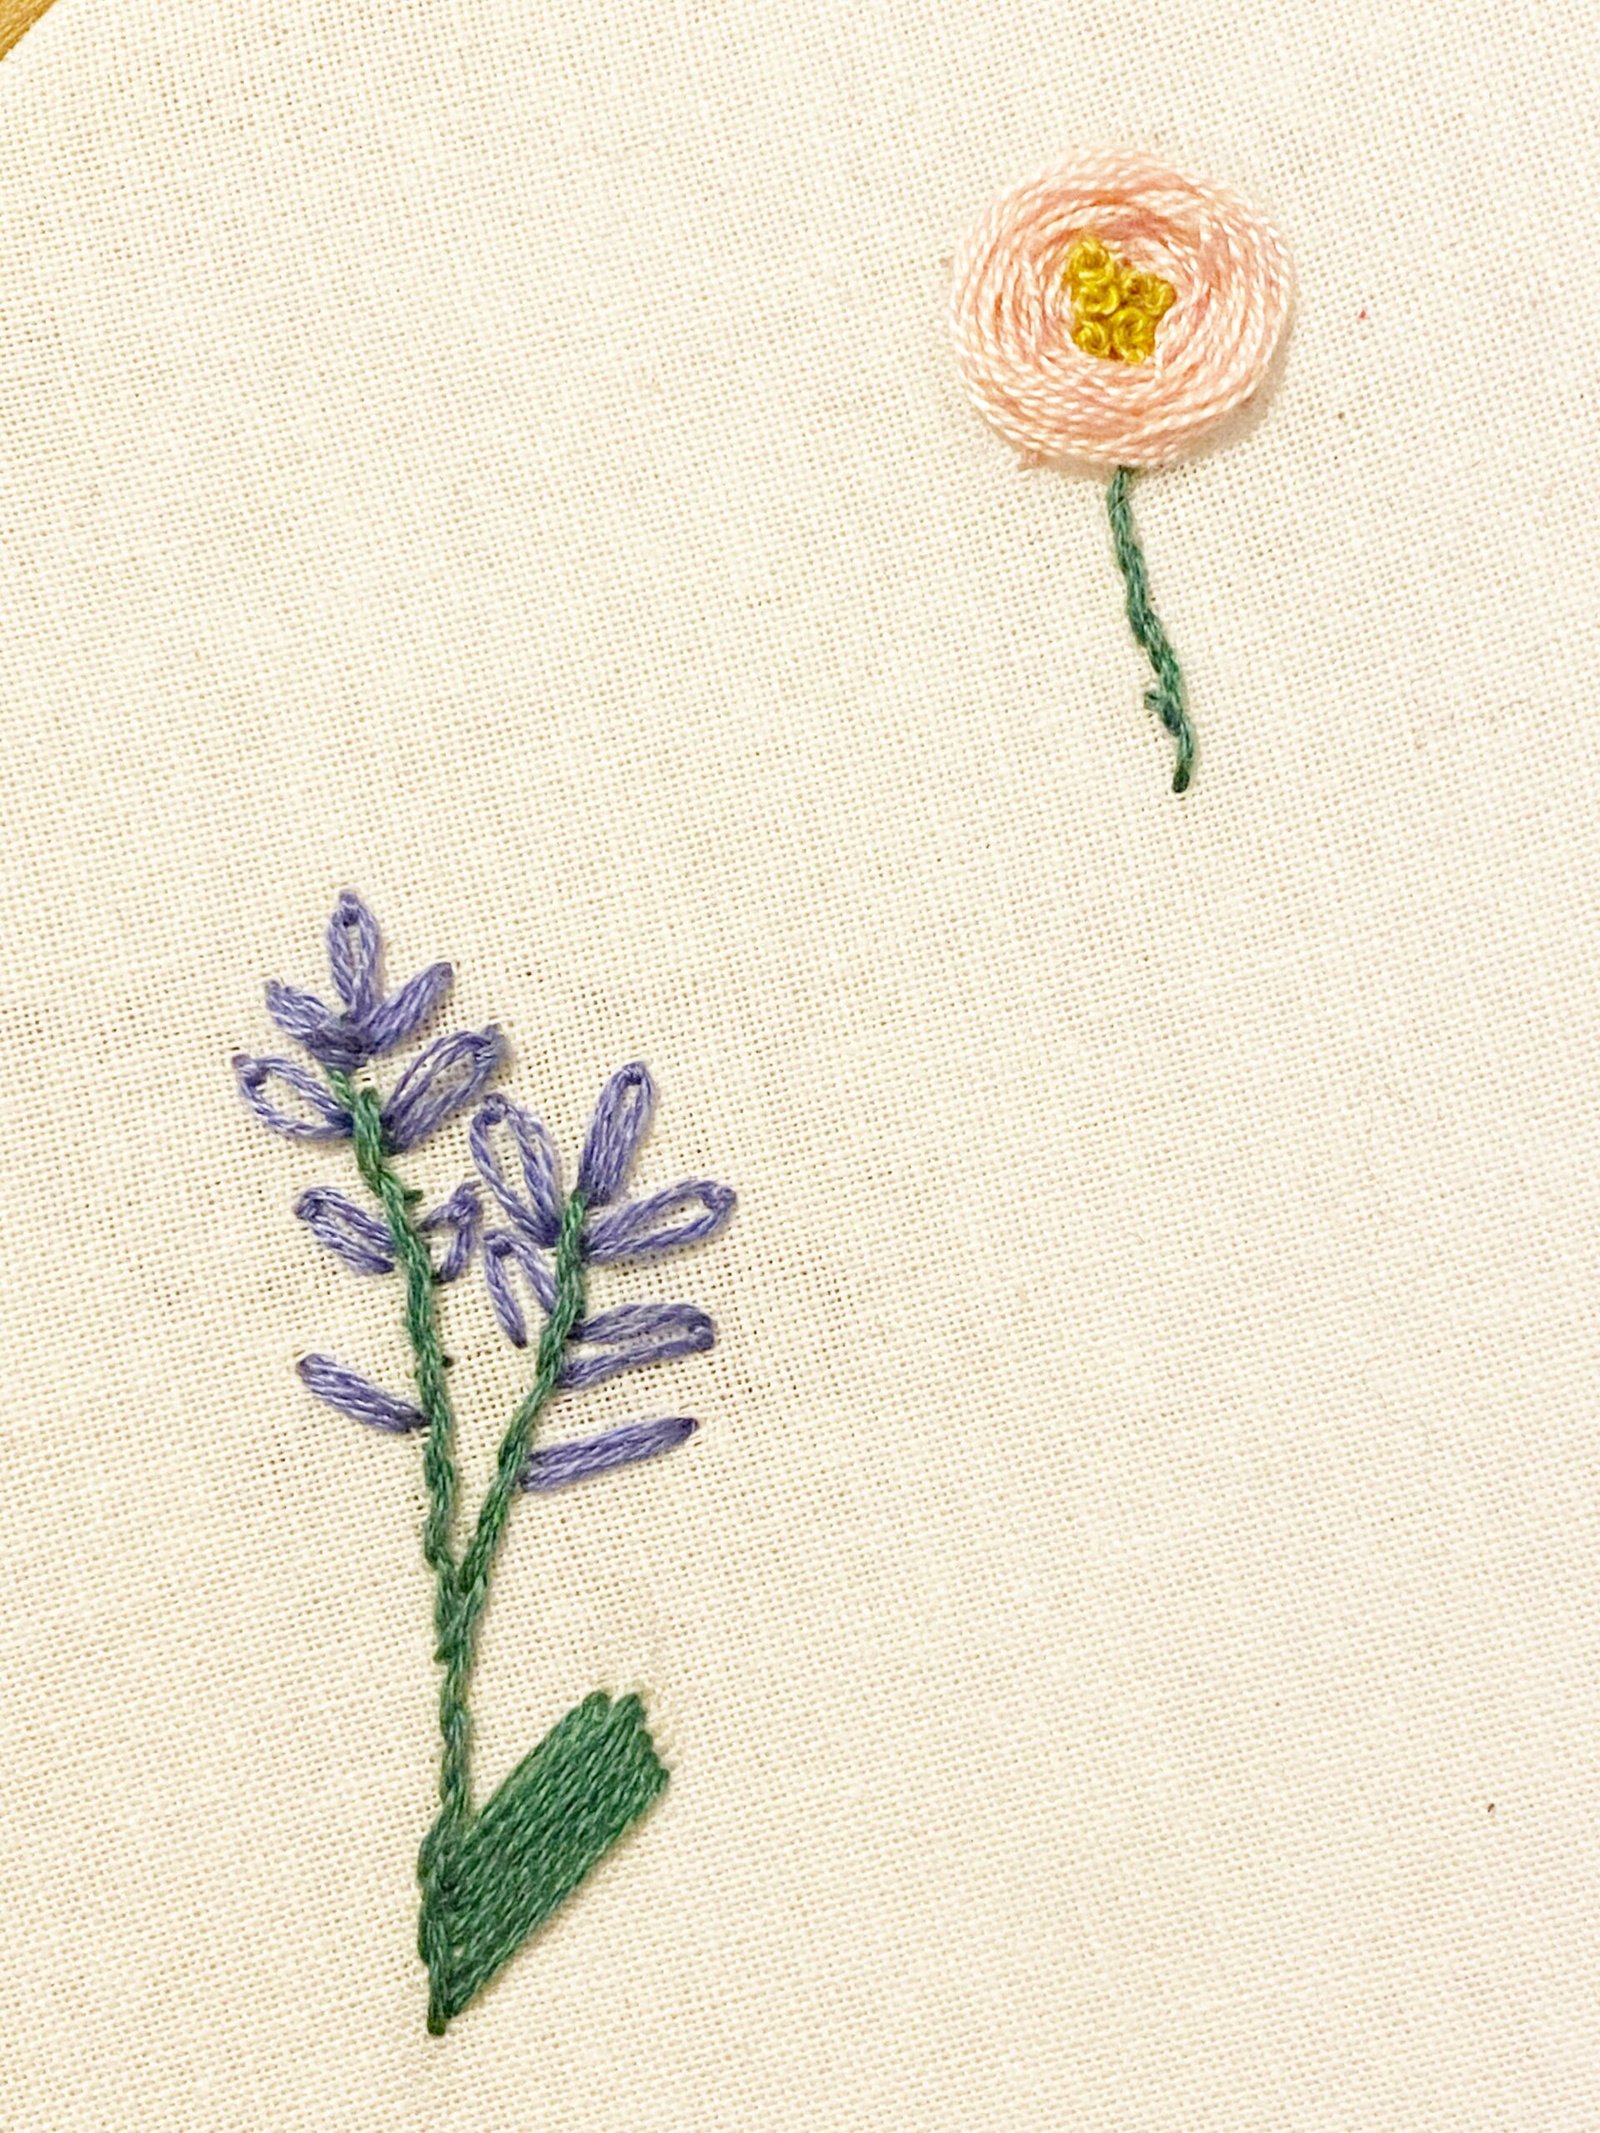
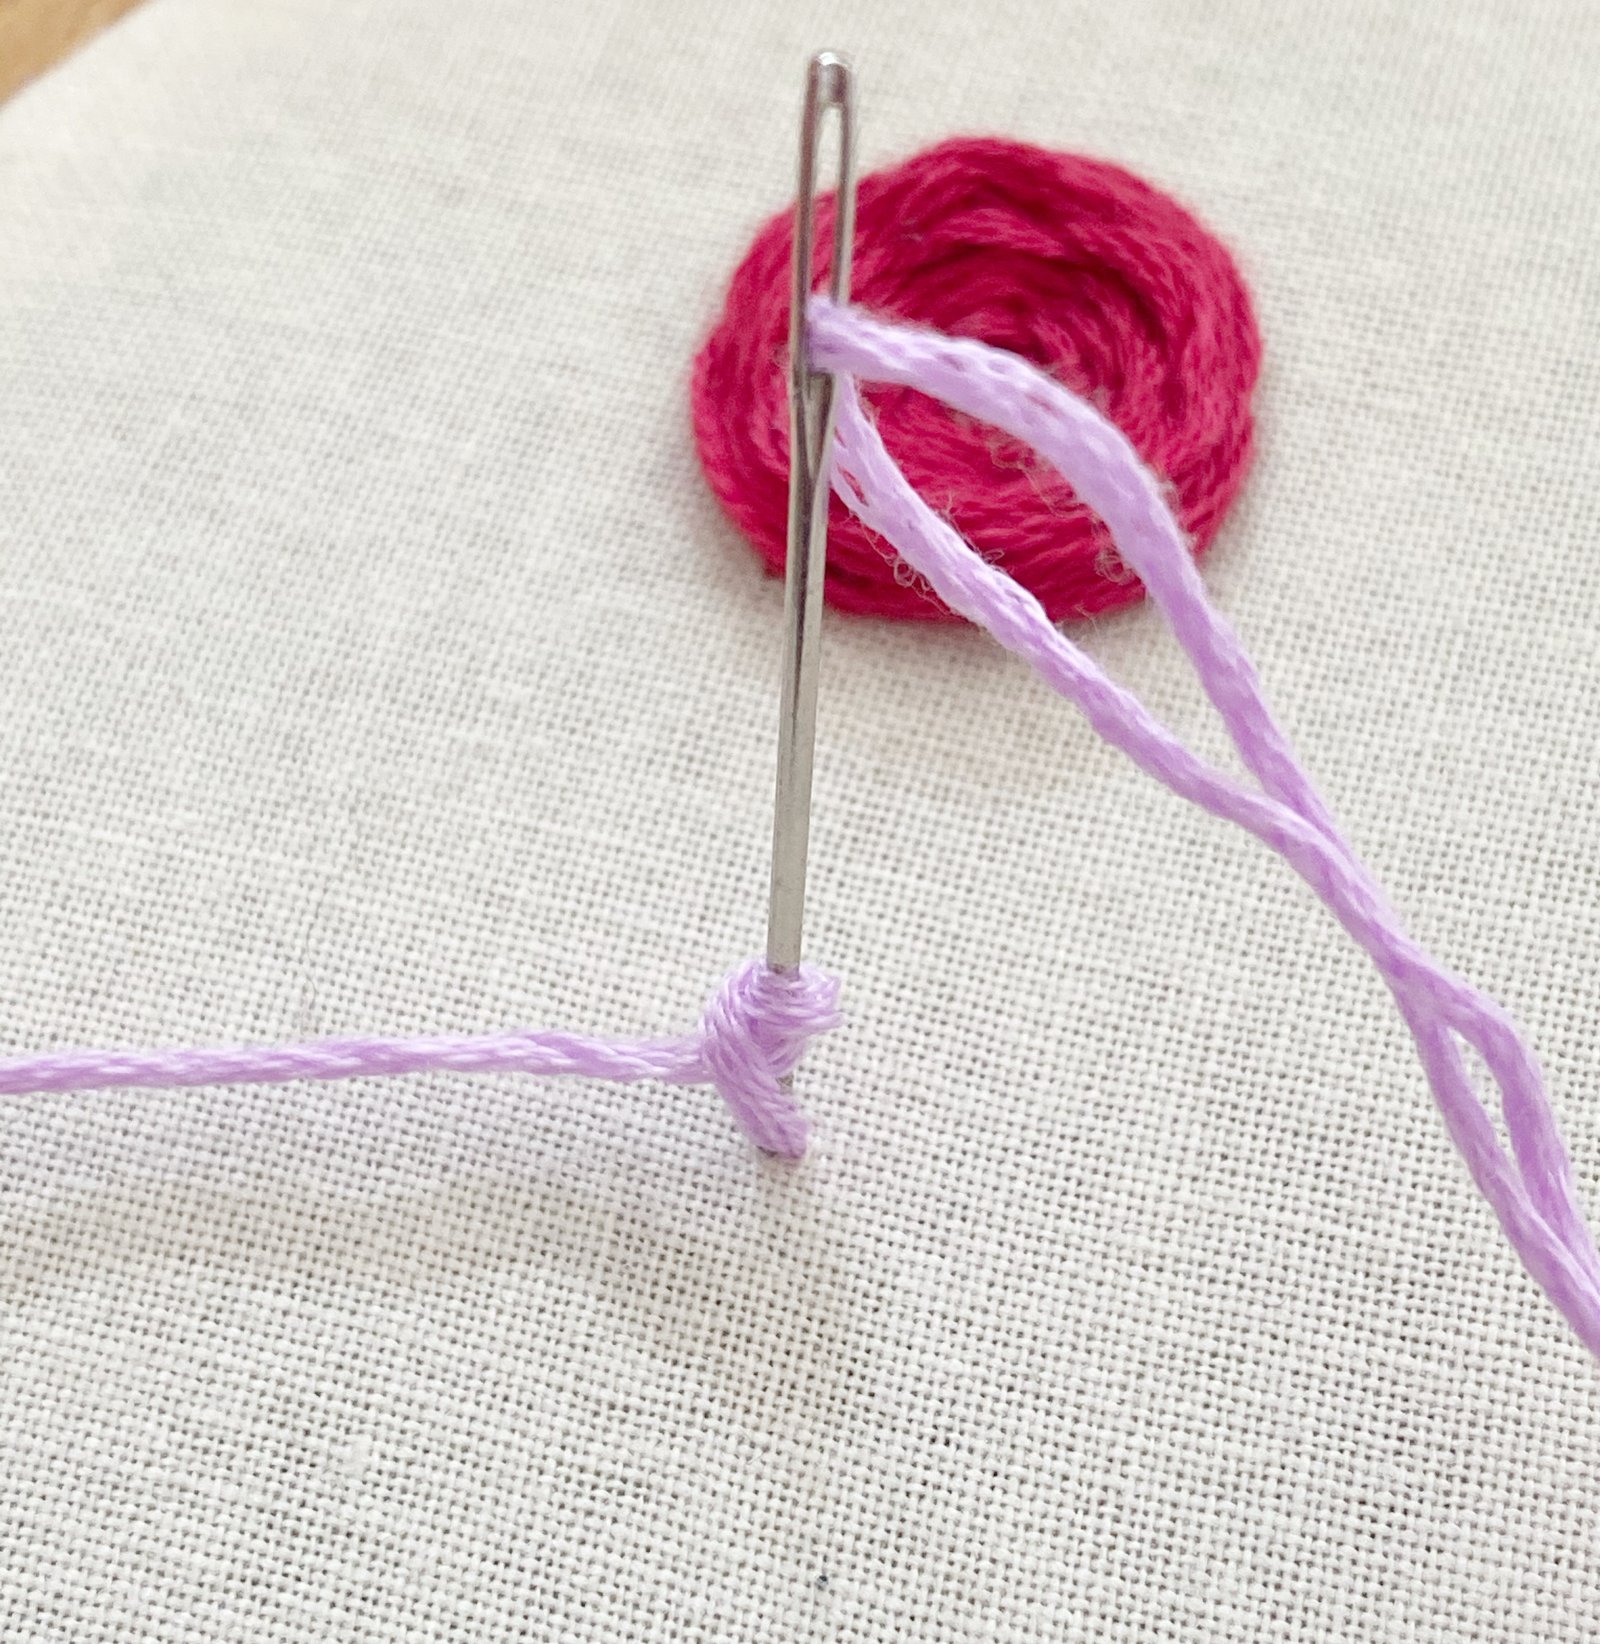
Woven Wagon Wheel
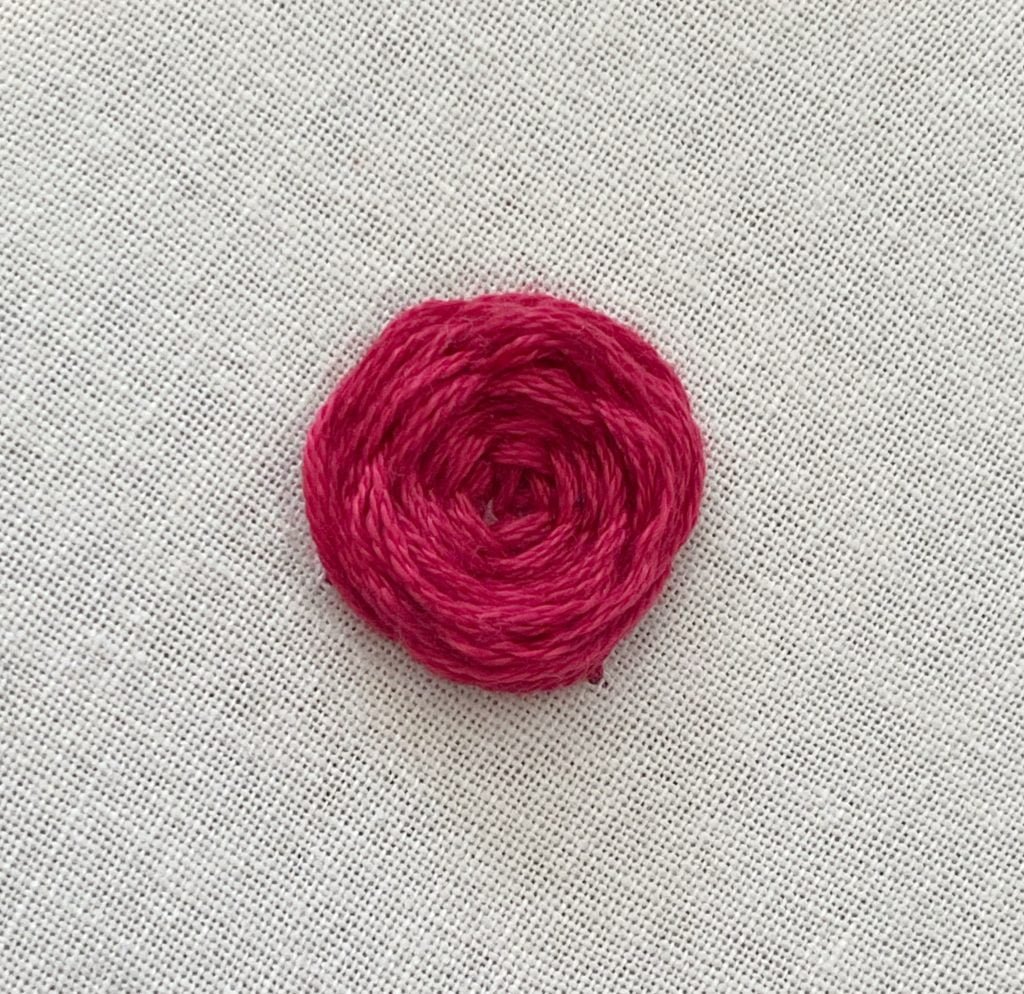
This stitch is called the wagon wheel, it is made up from usually 5 spokes of embroidery floss making a wagon wheel shape, then the embroidery floss is weaved under and over until the wheel is full. This embroidery stitch is commonly used for roses in floral embroidery.
Steps
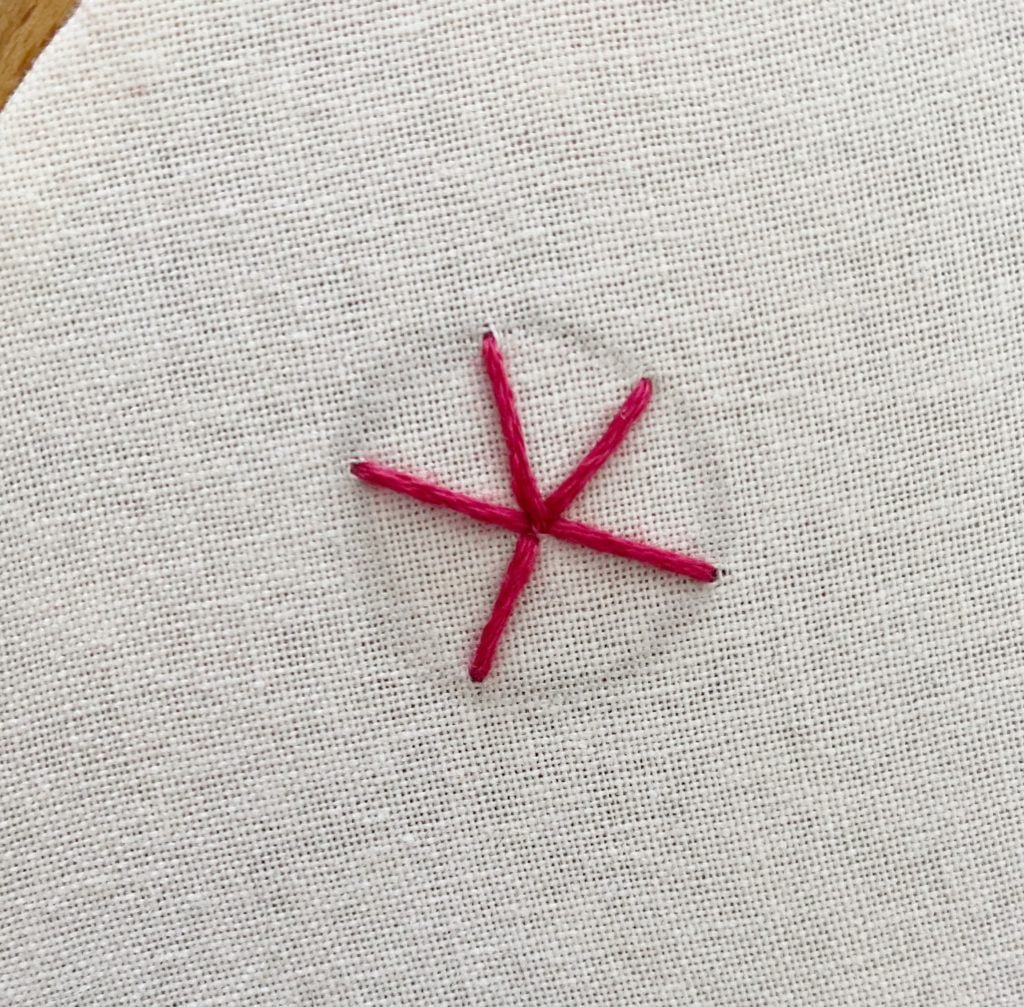
1:Bring the needle up from the back of the fabric directly in the middle of the circle
pattern
2: Make a simple stitch marking each line (5 lines)
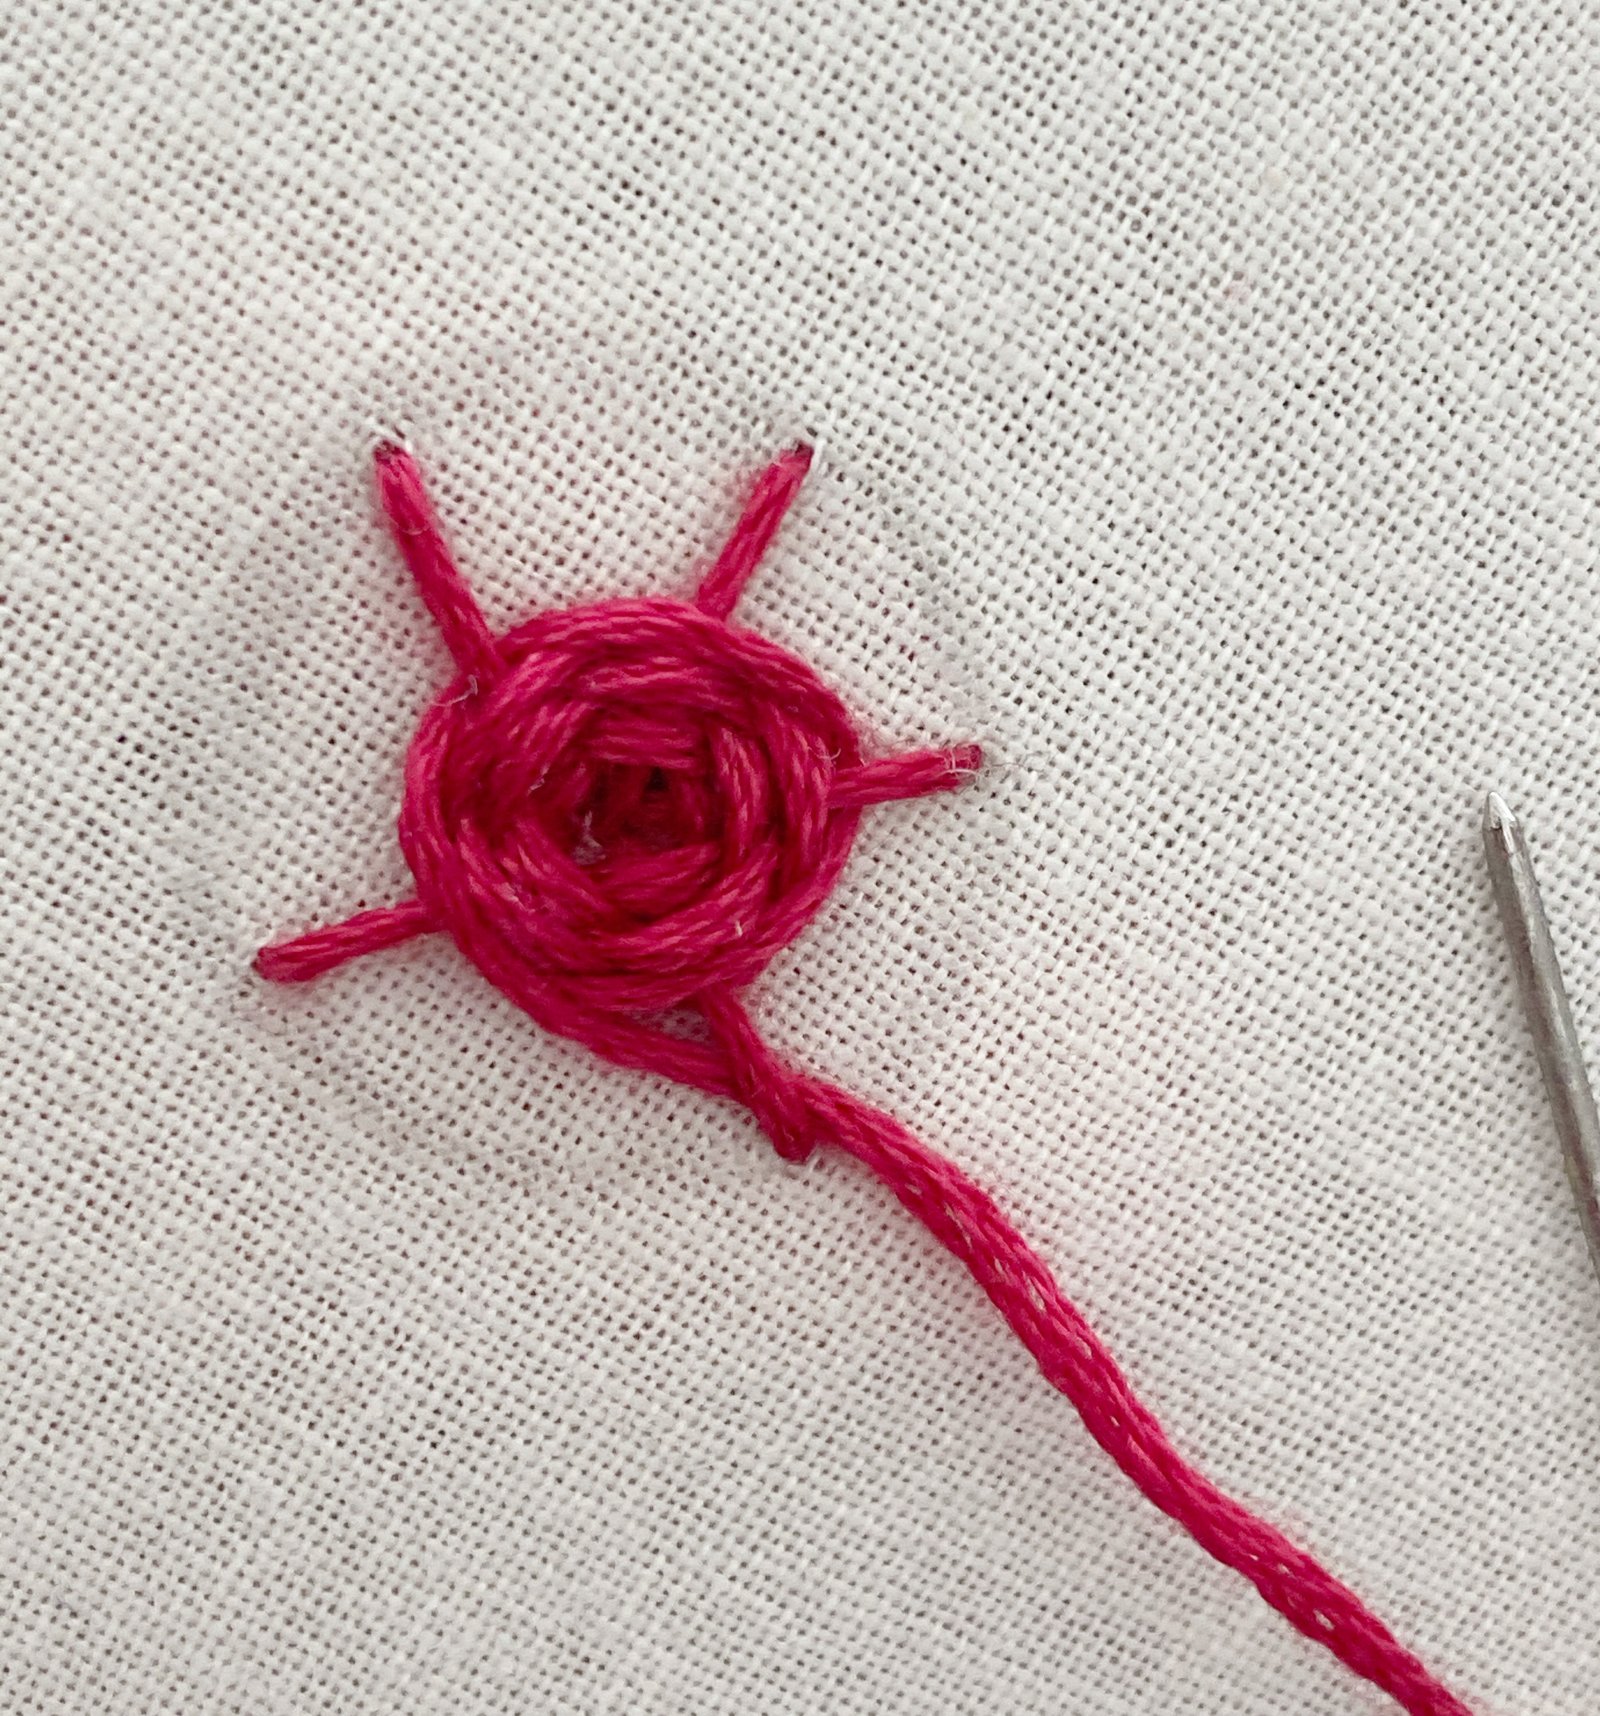
3: Bring the needle up from the back of the fabric close to the center
4: Weave the needle and floss over and under the stitched lines we made in Step 2
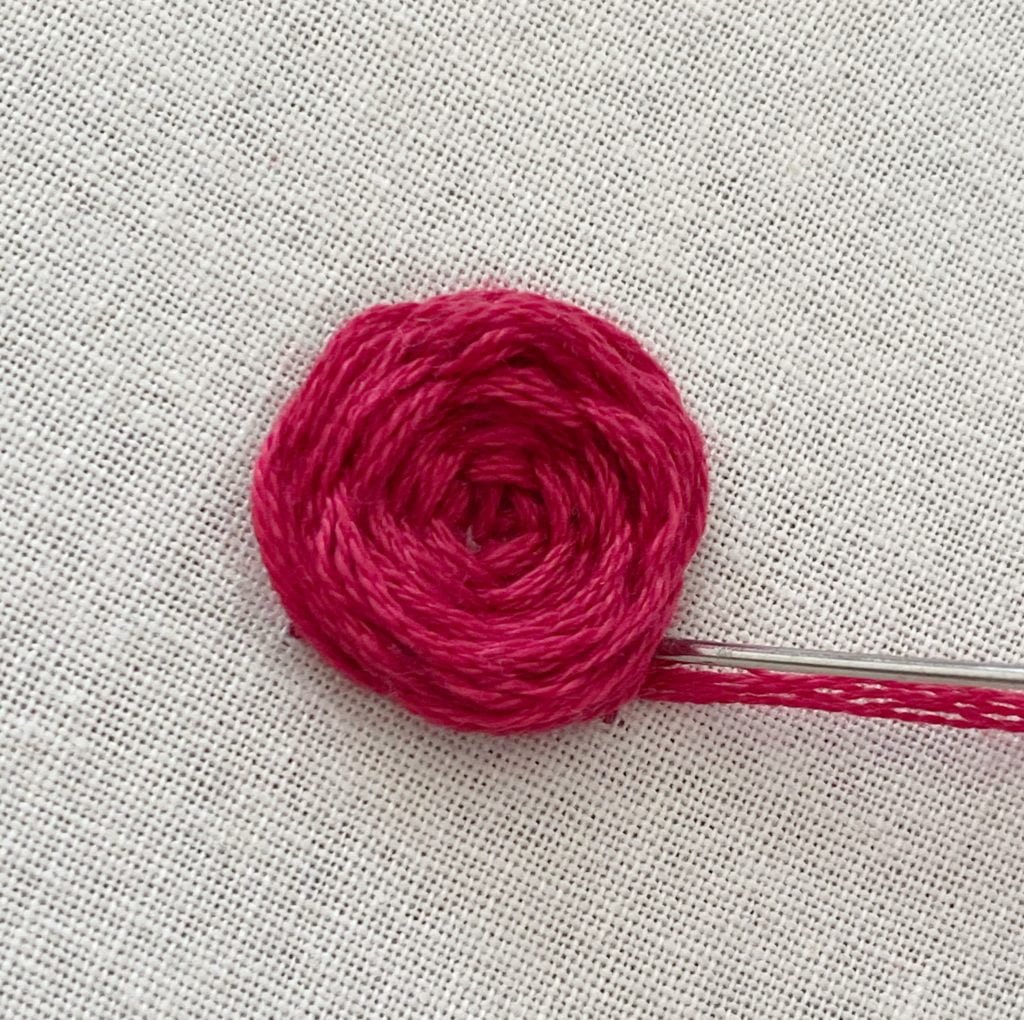
5: Repeat until the pattern is full
6: To complete the rose, put the needle slightly under the rose and push the needle
through to the back, tie off with a double knot.


The French Knot
This stitch is basically making a little knot on the fabric. This stitch is very commonly used in floral embroidery. It is used to make small flowers or for the middle part of the flower. This stitch is also used in embroidery to add texture.
Steps
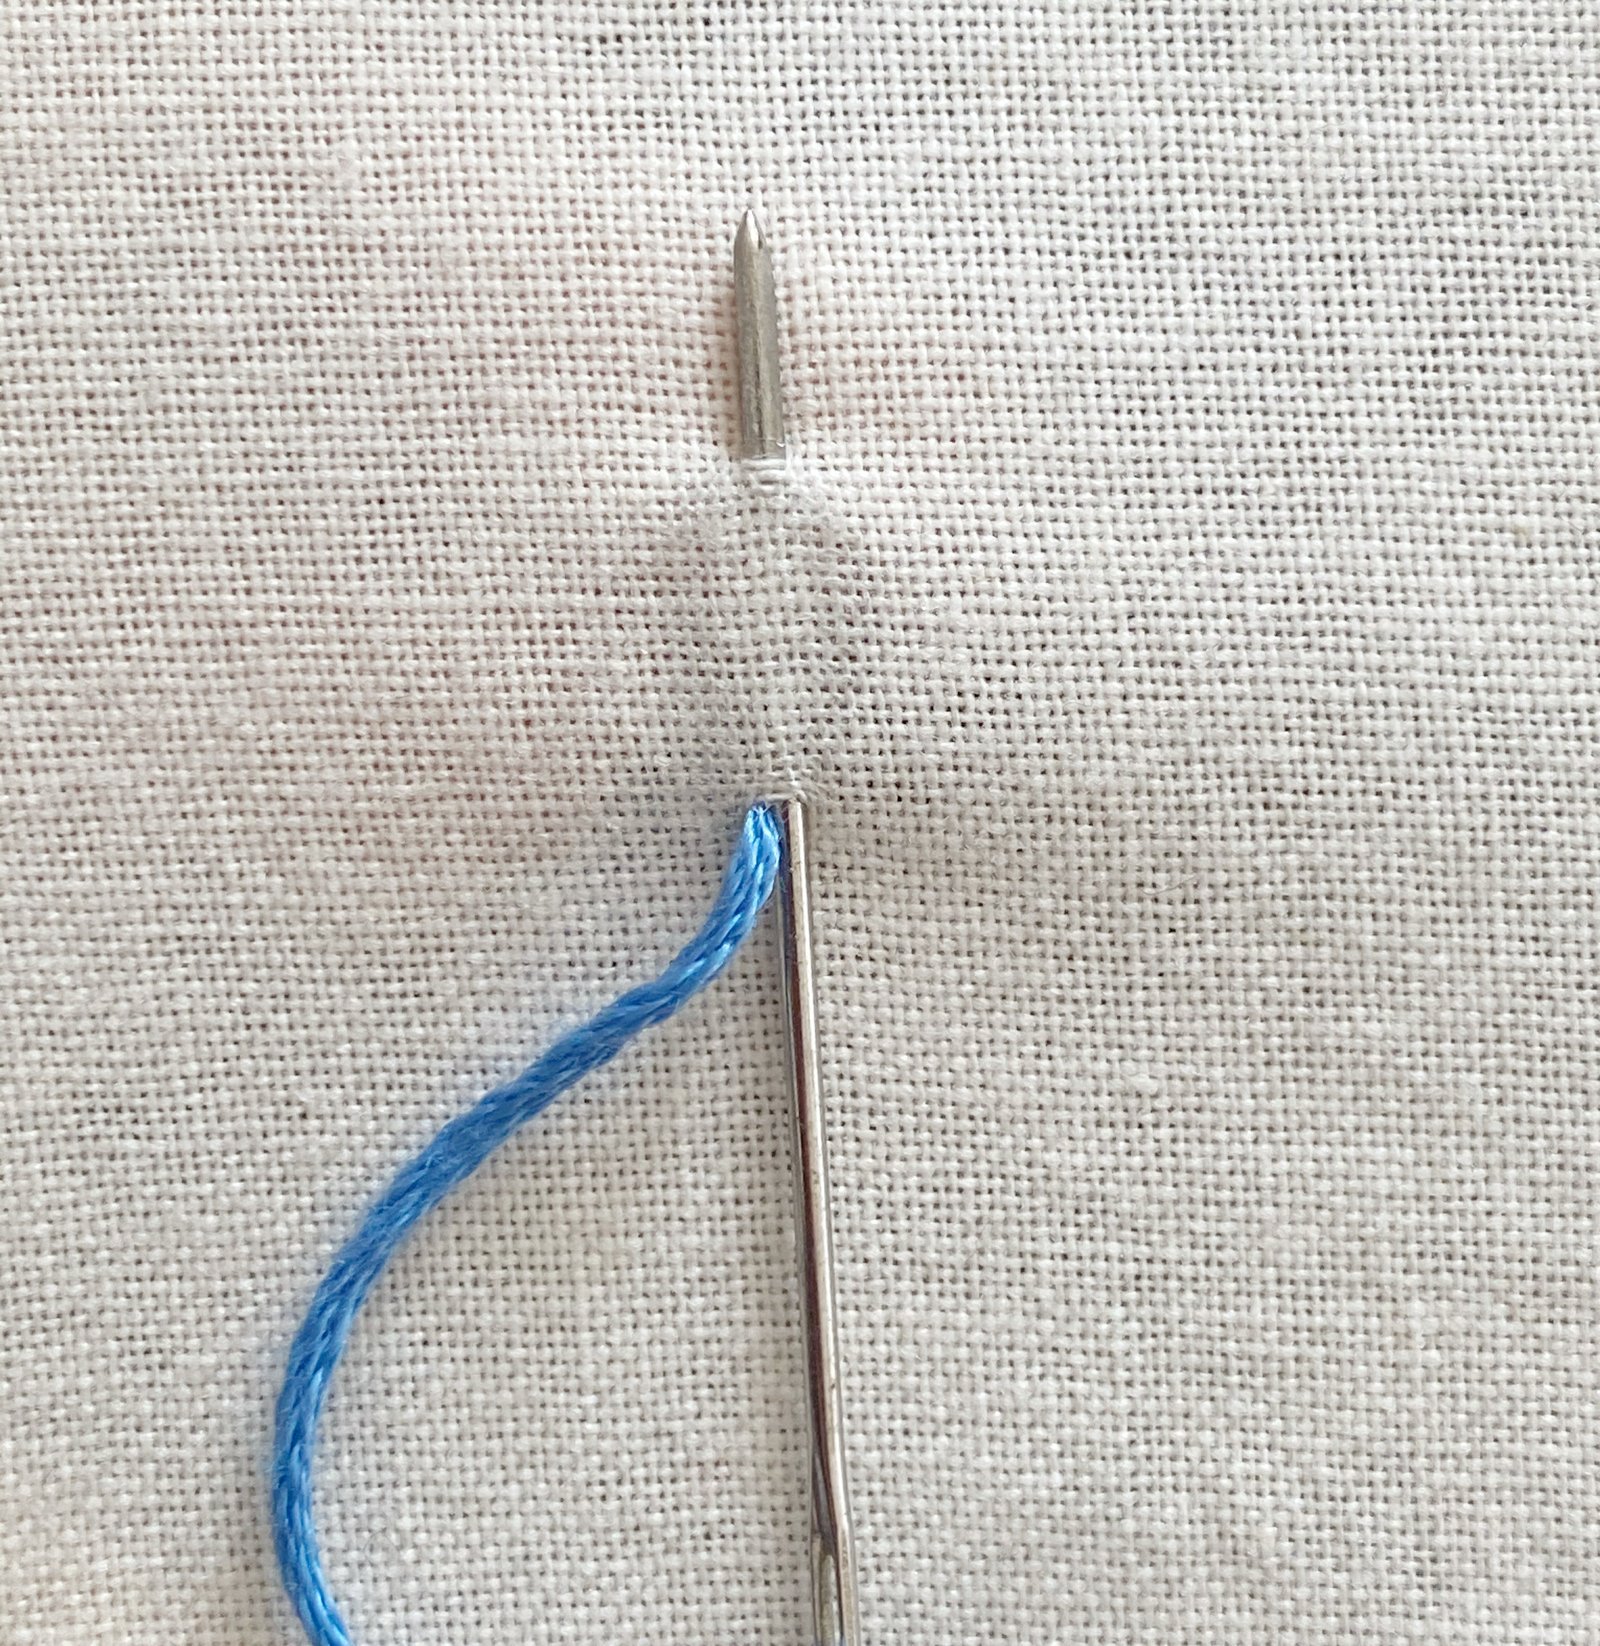
1. Bring your needle up through the back of the fabric where you want the knot to go
2. Wrap the embroidery floss around the needle 2 to 3 times.
3. Push the needle back into the fabric in the same place or close to where we initially pushed the needle through the fabric from the back.
4. Hold the embroidery floss gently whilst you pull the entire length of floss through.
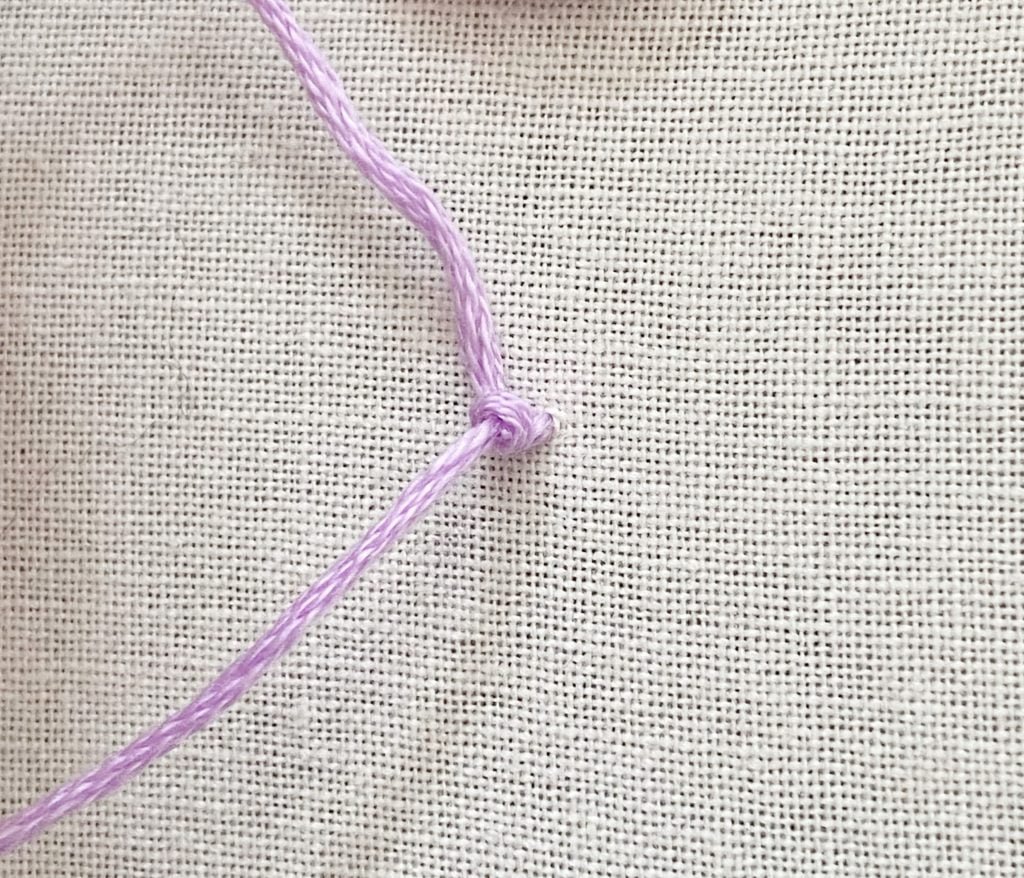
5. Double knot to tie the stitch off at the back


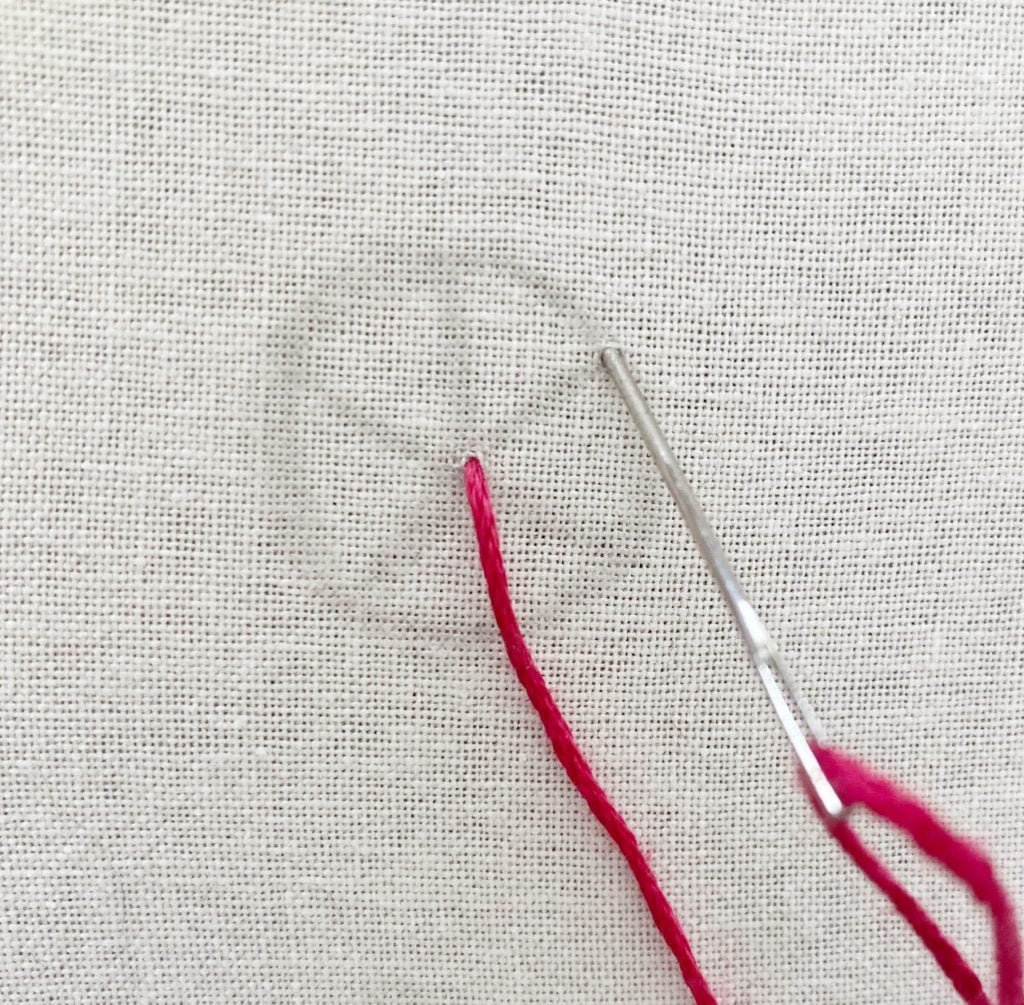
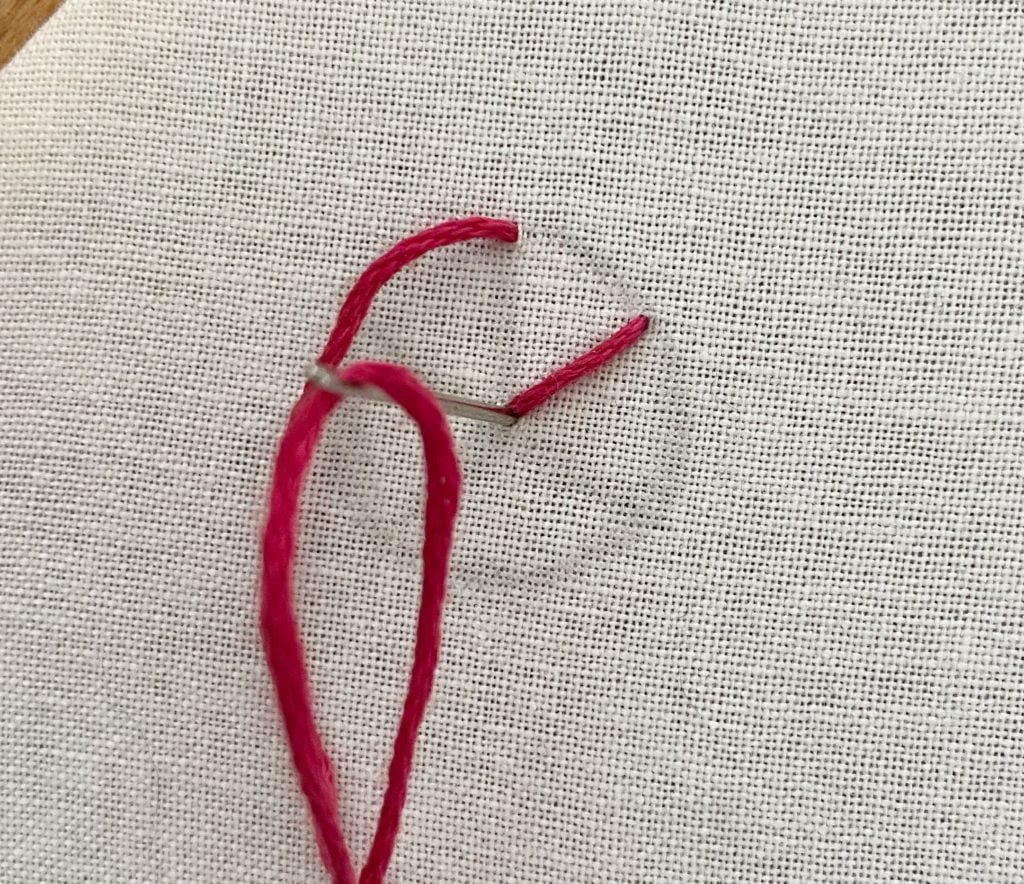
The Lazy Daisy Stitch
This basic hand embroidery stitch is called the lazy daisy stitch, it makes an outline of a petal. Very commonly used in floral embroidery for this reason. This stitch is quick and efficient and looks great too.
Steps
- Bring the needle up from the back of the fabric. The needle should come up at the bottom of the petal
2. Push the needle back down close to where it initially came from and put the tip of the needle where the top of the petal will be. The needle should be weaved into the fabric. Don’t pull the needle through completely
3. Wrap the floss around the tip of the needle
4. Pull the needle through holding on to the floss
5. To hold the loop in place, push the needle through to the back at the tip of the petal
6. Knot off the back with a double knot.


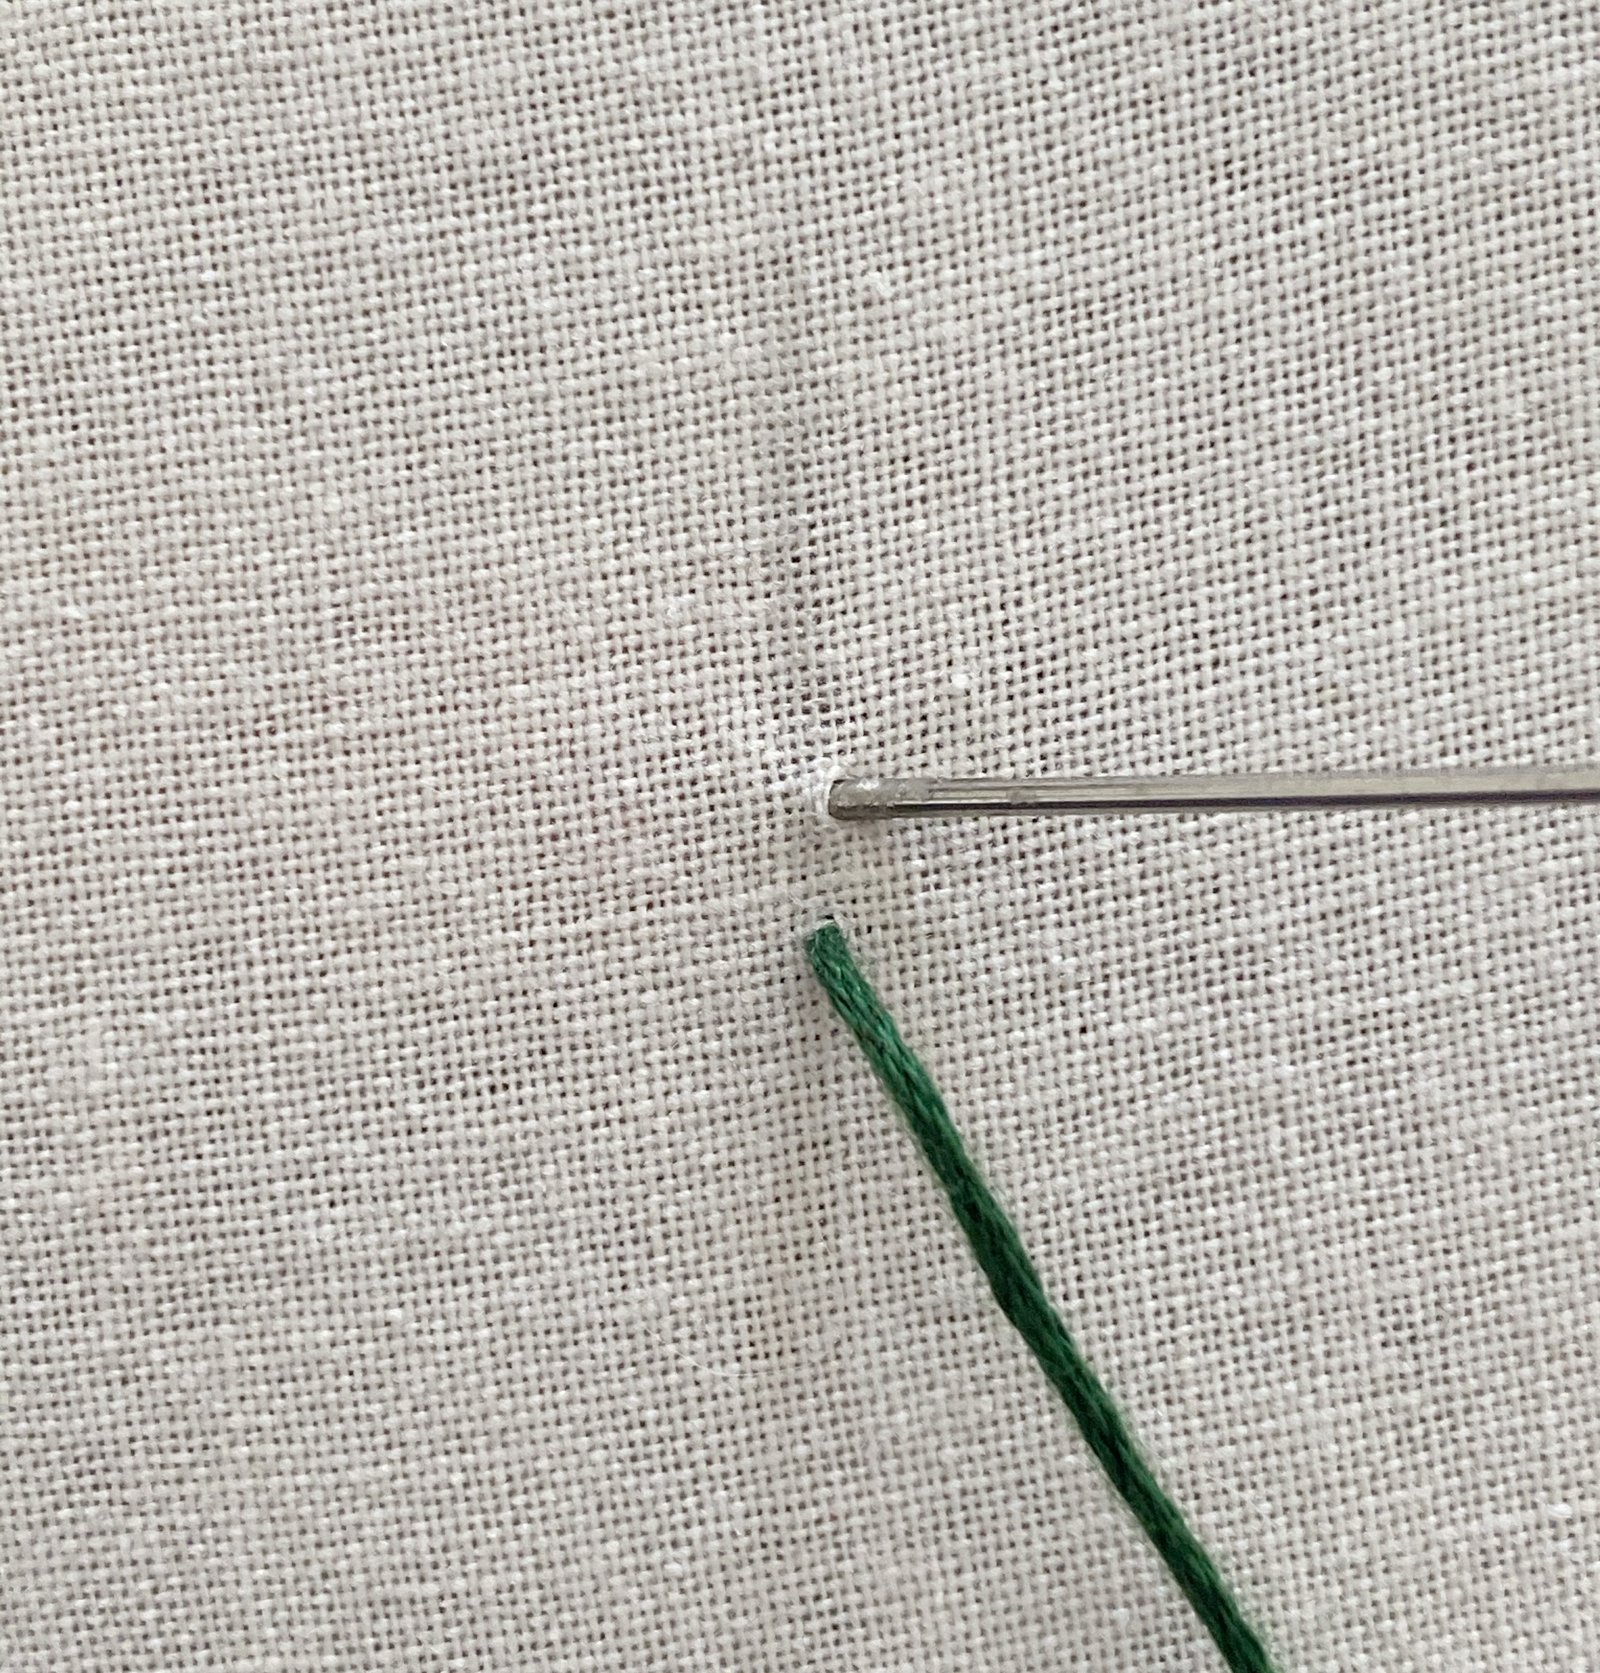
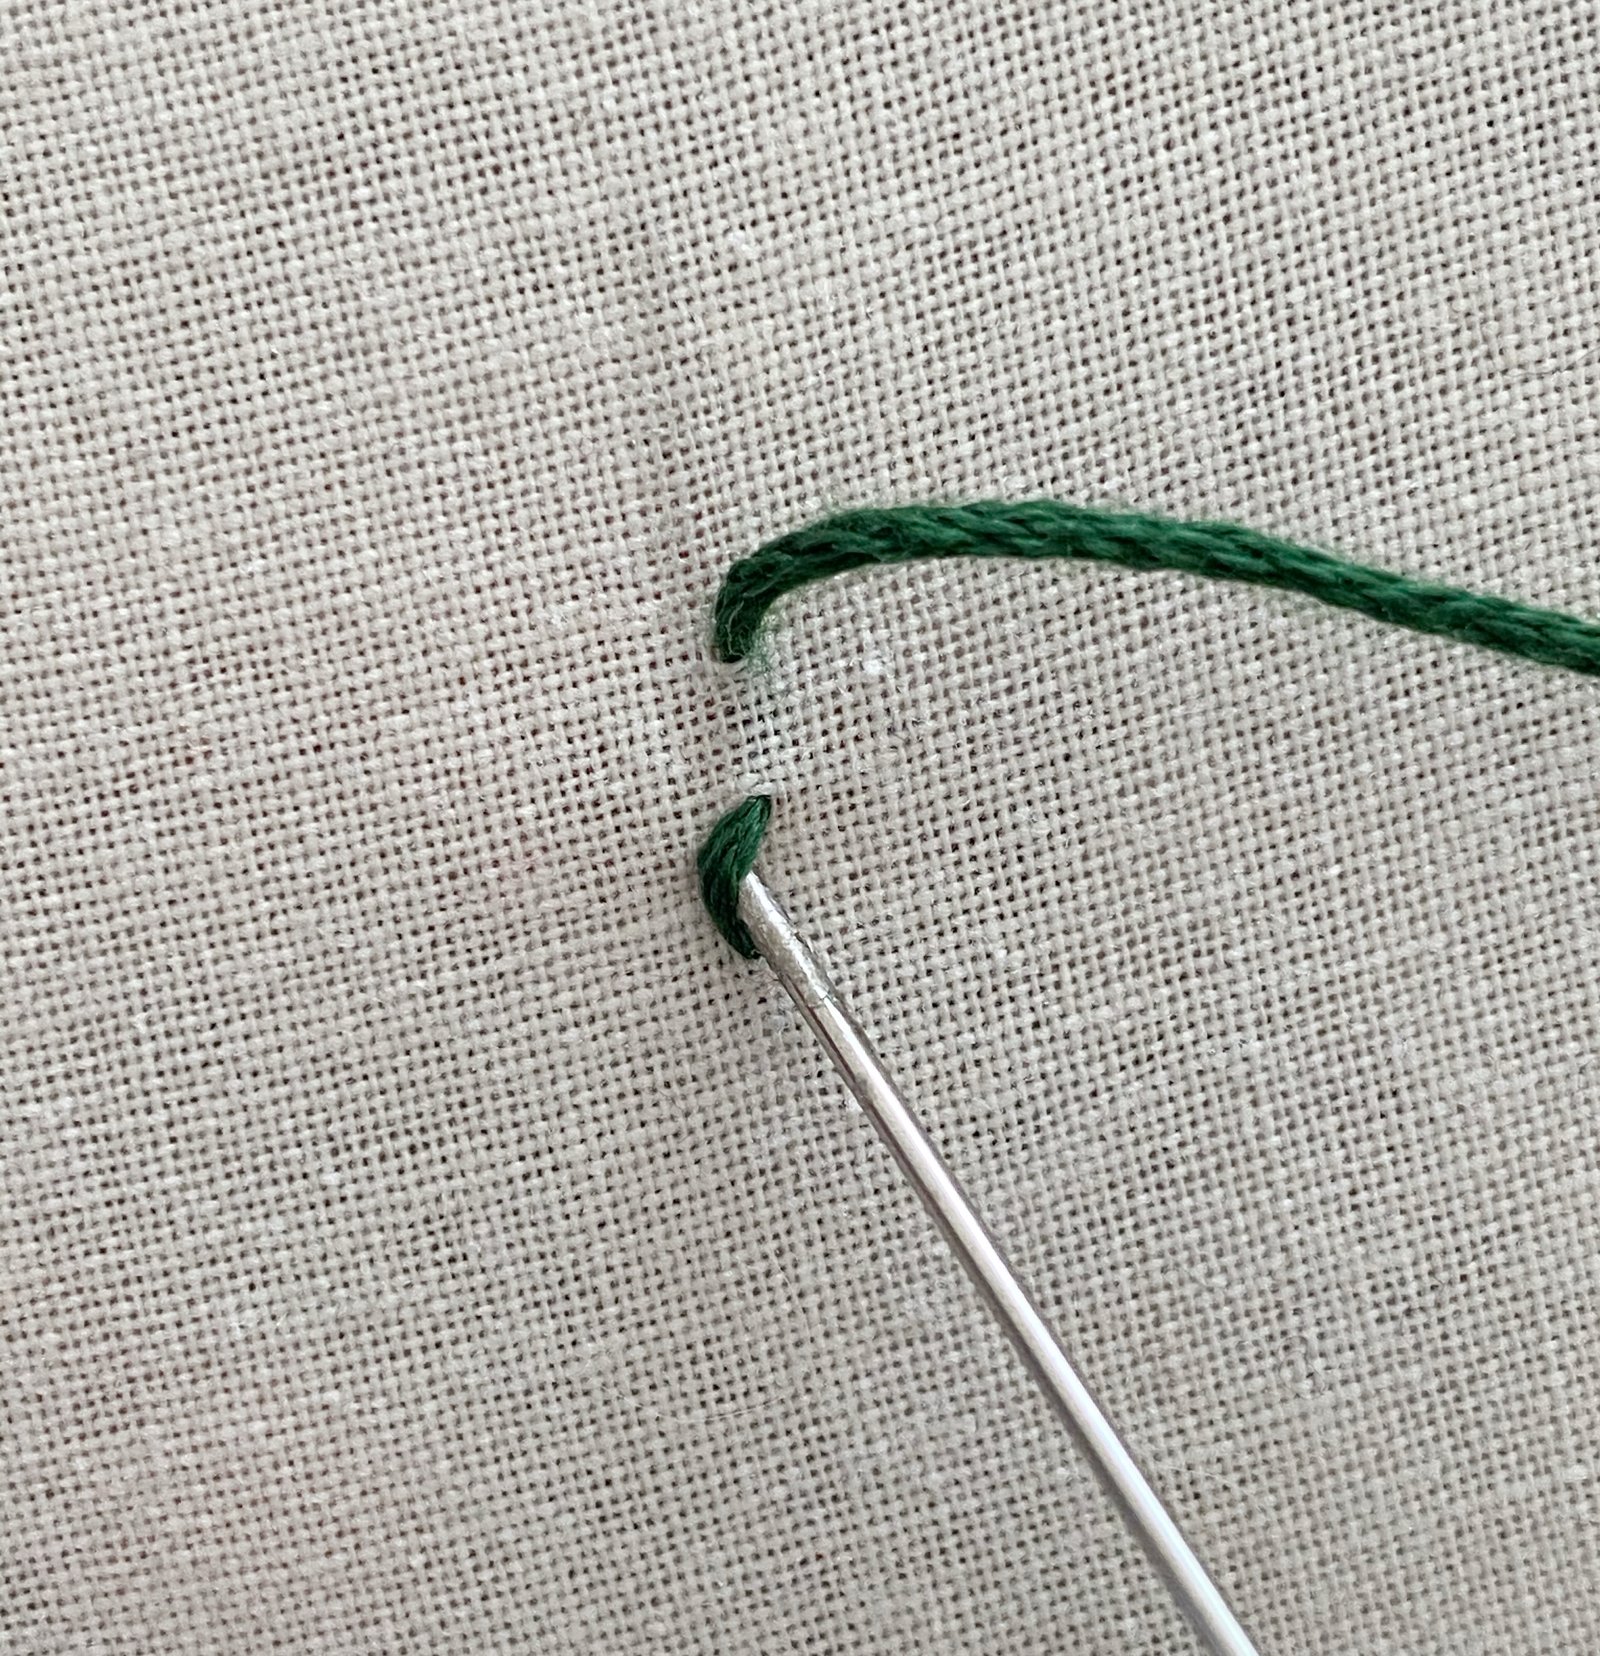
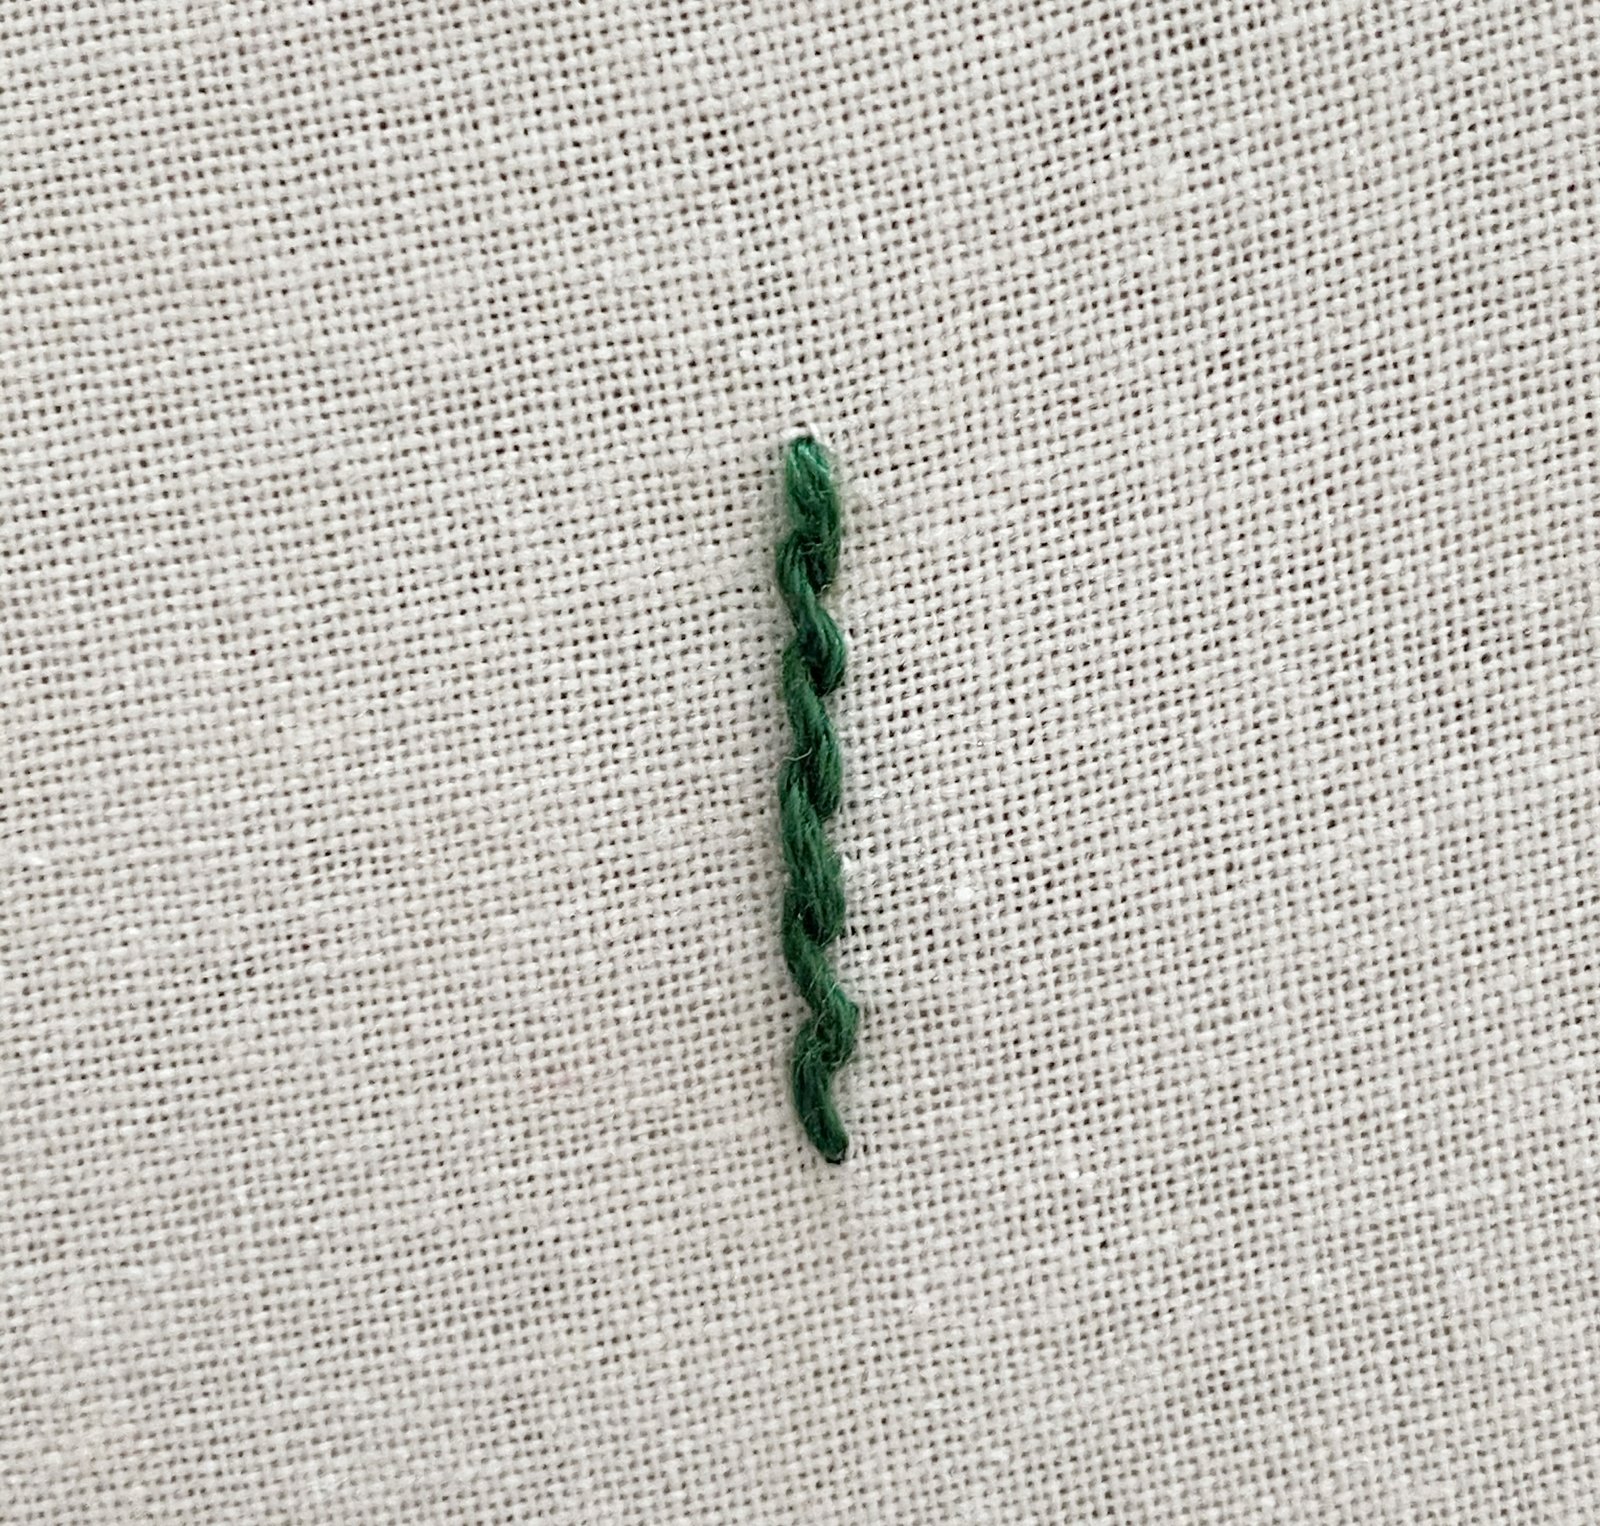
Stem Stitch
This next stitch is the stem stitch, which is used in floral embroidery and lettering. I guess you can tell which part of floral embroidery this is used for by the name… the stem! This stitch is also very good with embroidery fonts and lettering due to how easy it is to do and how it is very good at making organic natural looking curves.
Steps
1. Bring the needle up from the back of the fabric where you want the stem to start.
2. Make a simple stitch. Keep it small, but not too small
3. Bring the needle up from the back again, but this time leave a gap between the
needle and your last stitch. This gap should be about the same size as your original
stitch
4. Take your needle back to your previous stitch. With your needle lift up stitch slightly
and push the needle through close to the middle of the previous stitch.
5. Repeat until the stem is complete and tie off at the back with a double knot

The Back Stitch
This next embroidery stitch is called a backstitch or a straight stitch. This is used flower stems in floral embroidery, for letters and fonts, and for patterns that have outlined designs.
Steps
1. Bring the needle up from the back of the fabric where you want the stem to start.
2. Make a simple stitch. Keep it small, but not too small
3. Bring the needle up from the back again, but this time leave a gap between the
needle and your last stitch. This gap should be about the same size as your original
stitch
4. Bring the needle down to your previous stitch. Push the needle through the hole at
the end of your previous stitch.
5. Repeat until the stitch is complete and tie off with a double knot at the back.


That concludes my tutorial for 5 basic hand embroidery stitches for beginners…
I hope you learned basic embroidery stitches that you can take away and use for your own embroidery art. With practice, you will master these embroidery stitches very quickly and become fluent easily. Keep practicing and see the progress.
Happy Embroidering!