How to Transfer Embroidery Pattern onto Fabric
Let’s learn how to transfer an embroidery pattern.
Embroidery is a beautiful craft, but before you can start stitching, you need to get your pattern onto your fabric. Learning how to transfer embroidery pattern can seem difficult for beginners, but with techniques it’s easy! This guide will walk you through three simple and effective methods, perfect for beginners.
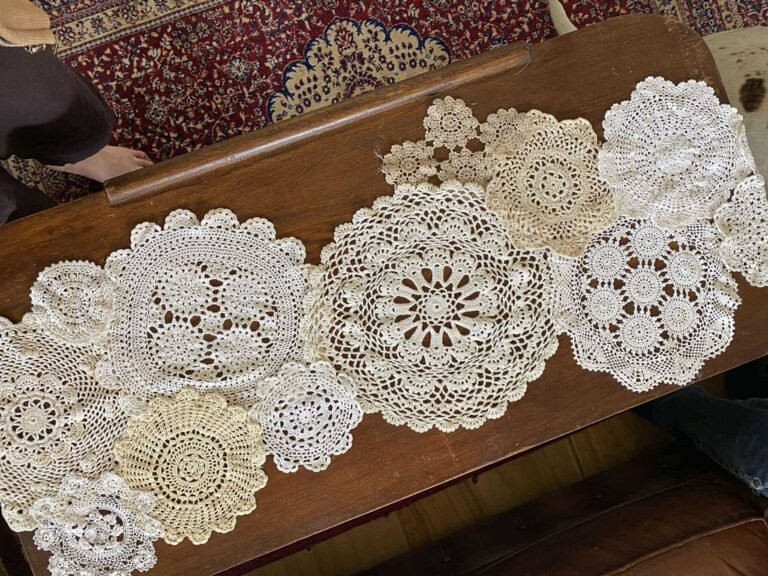
Here is a link for 25 FREE embroidery patterns to inspire you
Method 1: The Carbon Paper Method
Carbon paper offers a clean and precise way to transfer your embroidery designs, especially for intricate patterns.
If you don’t know what carbon paper is, it’s usually used for receipts and invoices to make duplicate copies while only writing up one.
You’ll need:
- Your chosen embroidery pattern: Printed on paper.
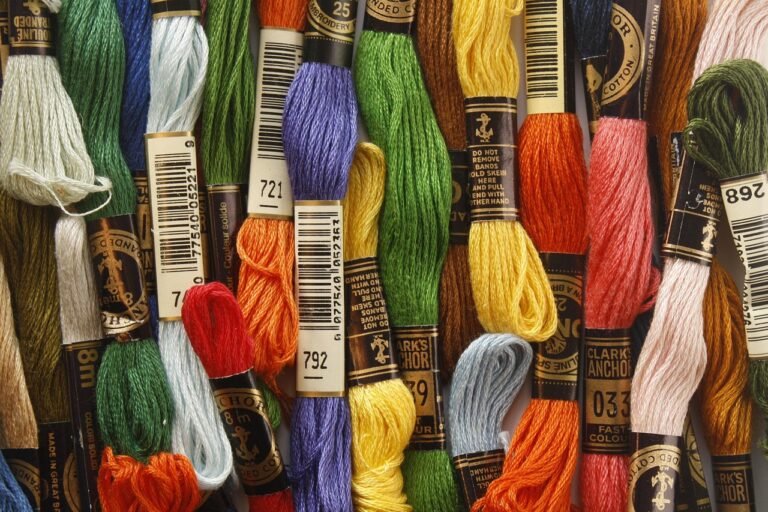
- Carbon paper: Choose a color that contrasts with your fabric.
- Fabric: Make sure it’s clean and smooth.
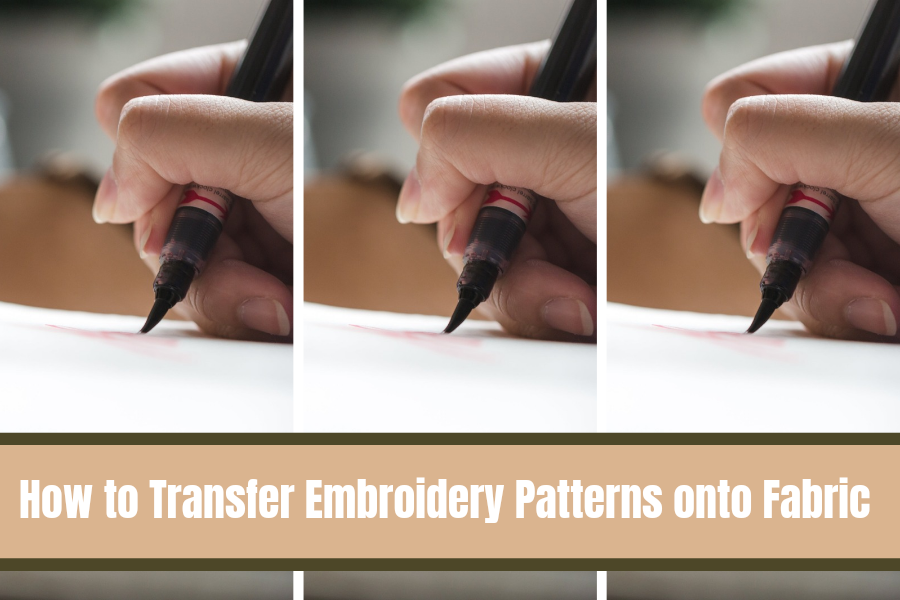
- Pen or stylus: A ballpoint pen or a stylus works well.
Steps:
1. Prepare your materials: Place your fabric, carbon paper (carbon side down), and your printed pattern in that order. Secure them with weights or tape to prevent shifting.
2. Trace the design: Using a pen or stylus, carefully trace over the lines of your printed pattern. The carbon paper will transfer the design onto your fabric. Use light pressure to avoid smudging or tearing the paper.
3. Check your work: Once traced, carefully remove the carbon paper and pattern to check the transfer.4. Embroider: Begin embroidering your design.
Method 2: Water-Soluble Pen Method
Water-soluble pens are a fantastic option for transferring patterns to fabric of any color. However this workswell for light fabric that is sheer.
You’ll need:
- Your chosen embroidery pattern: Printed on paper.
- Water-soluble pen: Choose a fine-point pen for detail.
- Fabric: Make sure it’s clean and smooth.
Steps:
1. Place the pattern: Position your printed pattern underneath your fabric. Secure it with weights or tape.
2. Trace the design: Carefully trace the pattern lines onto the fabric using the water-soluble pen.
3. Let it dry: Allow the ink to dry completely.
4. Embroider: Once dry, begin embroidering. The lines will disappear when washed.
Method 3: The Lightbox Method
A lightbox makes transferring intricate patterns easy. If you don’t have a lightbox, you can improvise with a window on a sunny day!
You’ll need:
- Your chosen embroidery pattern: Printed on paper.
- Fabric: Make sure it’s clean and smooth.
- Lightbox or sunny window: To illuminate the pattern.
- Pencil or pen: A light-colored pencil is ideal.
Steps:
1. Place the pattern: Position your printed pattern underneath the fabric on the lightbox or window pane.
2. Trace the design: Carefully trace the pattern lines onto the fabric using your pencil or pen. The light will illuminate the pattern through the fabric.
The best method for you depends on your pattern, fabric, and personal preference. For beginners, the water-soluble pen method offers a great balance of ease and precision. Happy stitching