How to Make a Hand-Embroidered Leaf with a Blanket Stitch
So you are learning hand embroidery and want to learn how to stitch a hand-embroidered leaf with a blanket stitch? Then you have come to the right place! Leaves are one of the most common things that people hand embroider. There are hundreds of different ways and techniques to stitch a hand-embroidered leaf. This is one of my favorite techniques. They are super quick and easy and you can change up the colors and make the leaf dual-colored without having to worry about blending your work like you would for a satin stitch!
This hand-embroidered leaf stitch is a basic blanket stitch with options of back-stitching or stems stitching for the outline.
Here below is the tutorial with pictures. Enjoy and have fun, I would love to hear how it goes!
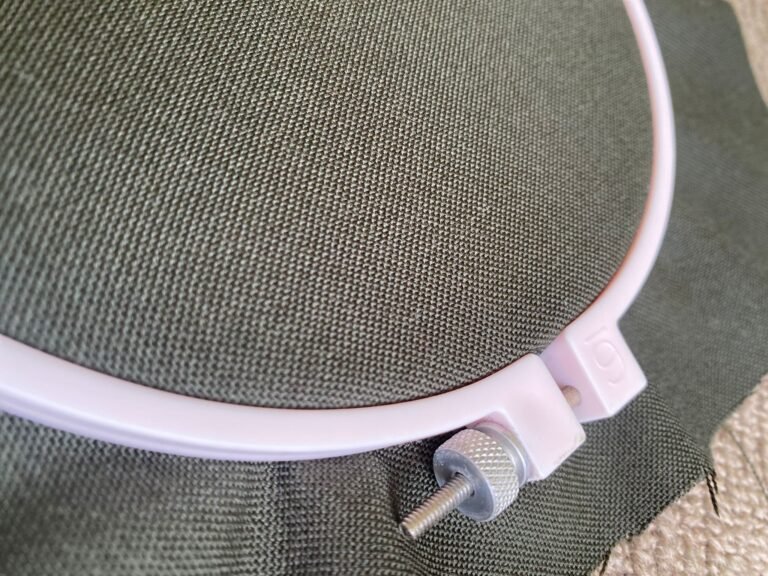
Hand-Embroidered Leaf: Pattern and Starting Point


Firstly draw up a simple leaf outline, it doesn’t need to be perfect. The rough outline is fine, we are just going to use it for guidance. The starting point for this technique is at the top of the leaf and on the outside edge.
Hand-Embroidered Leaf: The Blanket Stitch


Next, bring the in and out of the fabric. The start point of the needle is in the middle seam of the leaf and the endpoint is on the outside edge of the lead. Do not drag the needle right through yet.
Then wrap the extra thread under the needle tip. Refer to the picture. Once the thread is wrapped under the needle, drag the needle all the way through. You have now completed your first blanket stitch
The Second Blanket Stitch:


Next, you are going to continue with the blanket stitch. Simply just repeat step 2 until the entire side of the leaf is complete. Remember to follow the pattern lines we drew for guidance. You can do a simple back-stitch for the stem now or later, it is up to you.
The Other Side:


For the other side of the leaf, I followed the previous step 2 but reversed my starting and ending position of the leaf and where I drag the needle through. My needle starting point is now on the outside edge and the tip of the needle comes through in the middle. Wrap the thread under the needle tip and pull through. This is completely optional to reverse the stitch, you can completer the leaf without reversing it. I have done this for the purpose of showing you how to do it with pictures. In the end, I will give examples of other leaves with reversed and non-revered blanket stitches.
Complete the Other side:

You can leave your design like this or do a simple backstitch or a stem stitch along the outside edge of the leaf.
Step 6: Other options


Once the back stitch is completed, the hand-embroidered leaf is finished! Congrats.
Other Options for Your Hand-Embroidered Leaf Stitch
Check out these blanket leaf stitches from annascottembroidery Check out her blog for awesome tutorials and patterns!
The first image shows the blanket stitch not reversing the stitch so the middle of the leaf has no seam line and she uses two different colors which looks great! The second image shows that she did the reverse blanket stitch, as I completed on the other side then a stem stitch back stitch around the edge of the leaf!
I hope you enjoyed this picture tutorial and have fun trying it. I would love to see your hand-embroidered leaf and hear your thoughts about this method!
HAPPY EMBROIDERING!