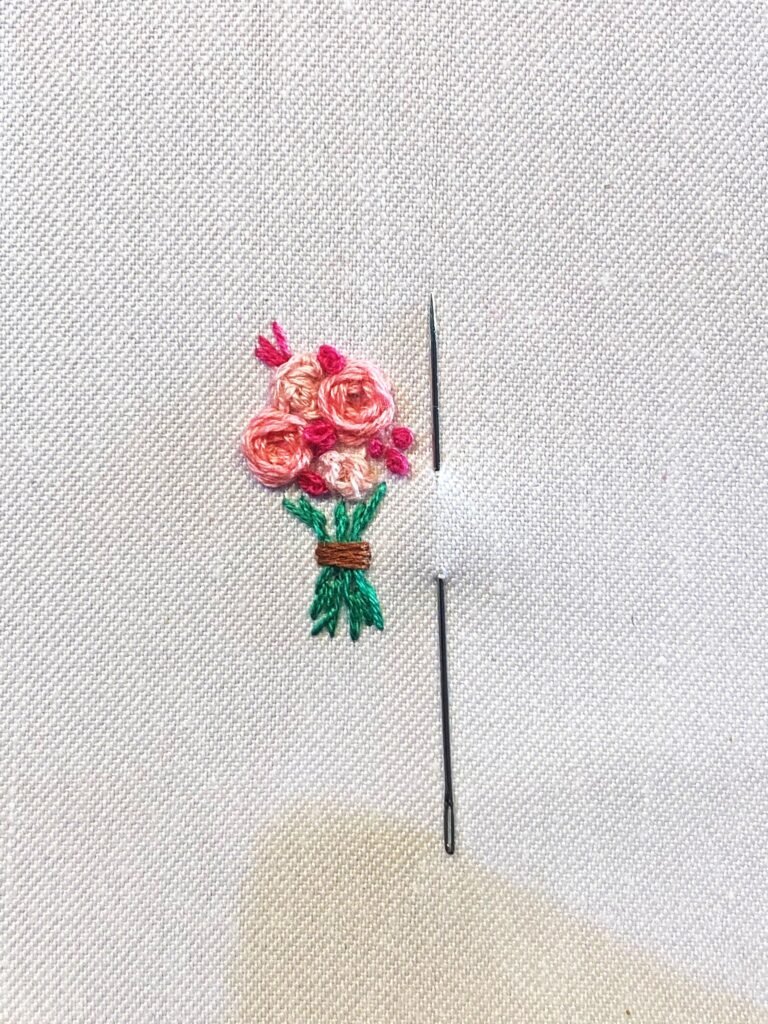
How to Make a Simple Satin Stitch Tutorial
Ready to learn how to satin stitch with this satin stitch tutorial? Satin stitches are a very useful part of hand embroidery art. It is a simple stitch that doesn’t take long to master. Embroidery artists tend to use satin stitches in floral embroidery patterns, for flower patterns and leaves. The satin stitch can be used to color/fill an entire object with one color.

This post is how to embroider a satin stitch tutorial
Materials:
You will need, fabric – a tight weave, disappearing marker for the pattern, your pattern, needle and embroidery floss, scissors.
In this tutorial, I will be filling the petals in my flower embroidery pattern. I will be using french knots for the center of the flower.
I drew this pattern freehand.
I drew this pattern using a disappearing marker, the lines are quite clear and solid but over time and with water they go away.
HOW TO SATIN STITCH
- Draw your pattern. draw a rough pattern with a marker of your choice.
- To start a satin stitch bring the needle and thread up from the back of the fabric. The starting point of the satin stich should be along one of the edges of the pattern.
- Push the needle back into the fabric at the opposite end of where the needle previously came out.
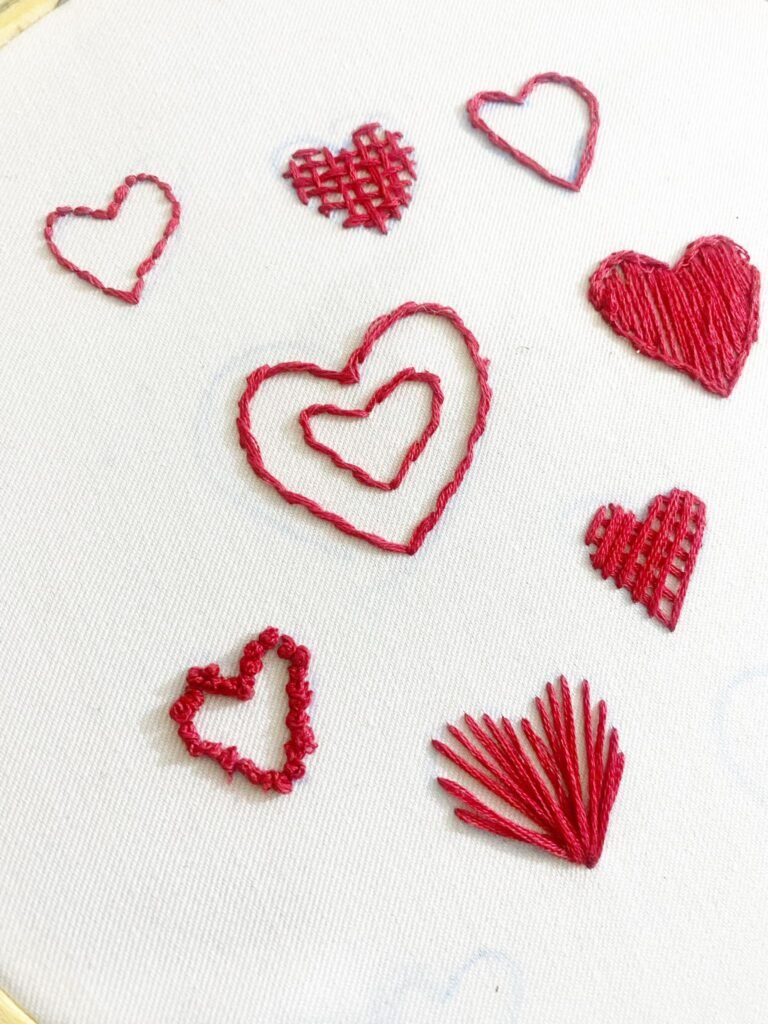
- Repeat this process until the shape is filled.
TIPS
- Follow the shape of what ever object you are embroidering.
- Don’t be afraid to overlap the embroidery floss. When following the shape of your pattern your embroidery floss may naturally overlap like mine. However, if you are doing a shape like a square don’t be afraid to overlap the embroidery floss. This will add more texture and depth to your embroidery artwork.


If you found this tutorial useful, check out my other blogs too…
For other embroidery tutorials…

