If you love making home décor but hate sewing zippers, this envelope pillow cover with Velcro is the perfect project. It’s beginner-friendly, removable for washing, and gives a clean, professional finish without complicated techniques making it beginner friendly for all people learning to sew.
For this project i used a thrifted piece of thick fabric, but plain cotton is works too.
If you are interested in making a envelope pillow with no Velcro and no zipper, then check this tutorial out for how to make an envelope pillow cover/ removable cushion cover.
How to make an Envelope Pillowcase in under 10 Minutes!
*This post may contain affiliate links*
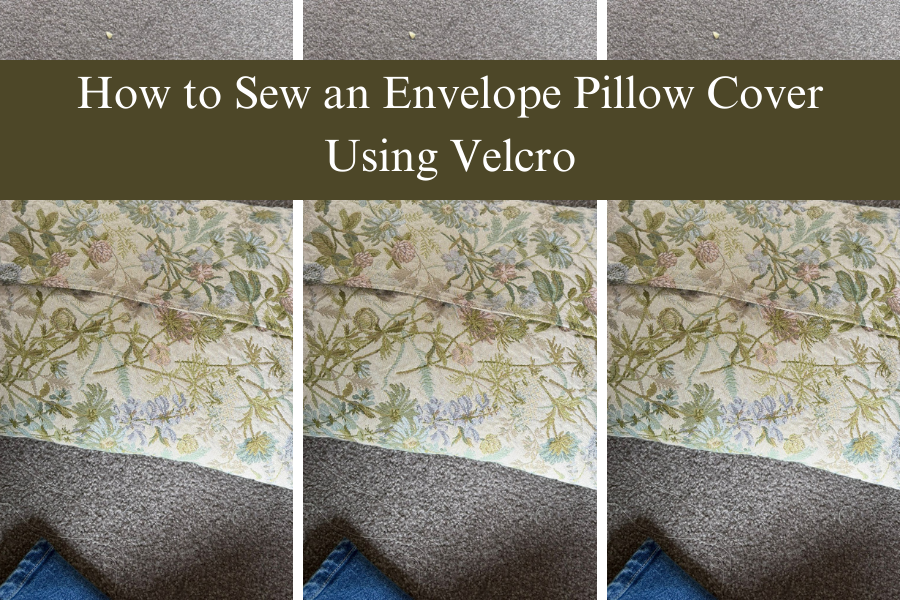
Why Choose an Envelope Pillow Cover?
- No zippers or buttons required
- Easy to remove and wash
- Beginner sewing friendly
- Customisable for any cushion size
- Velcro keeps the insert secure and hidden
Materials You’ll Need
- Fabric (pillow size is up to you!)
- Cushion insert (mine is a standard rectangular insert)
- Sewing machine
- Matching thread
- Scissors or rotary cutter
- Measuring tape
- Pins or clips
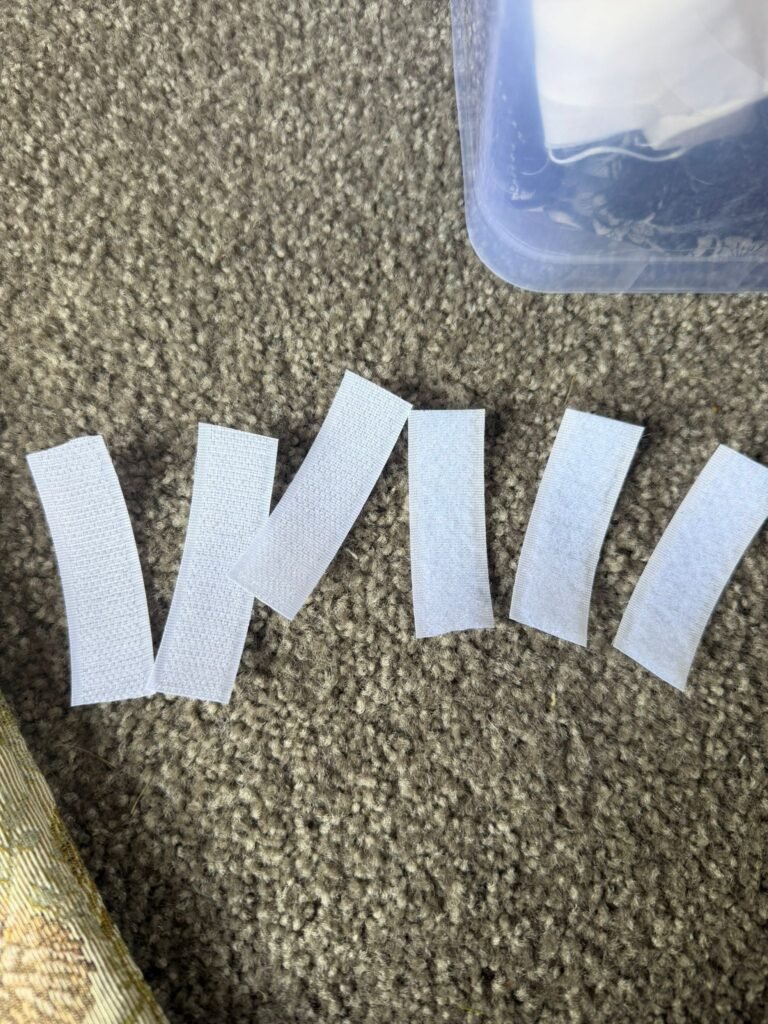
- Velcro strips (sew-on, not sticky-back) Non-adhesive velcro is super important
- Iron
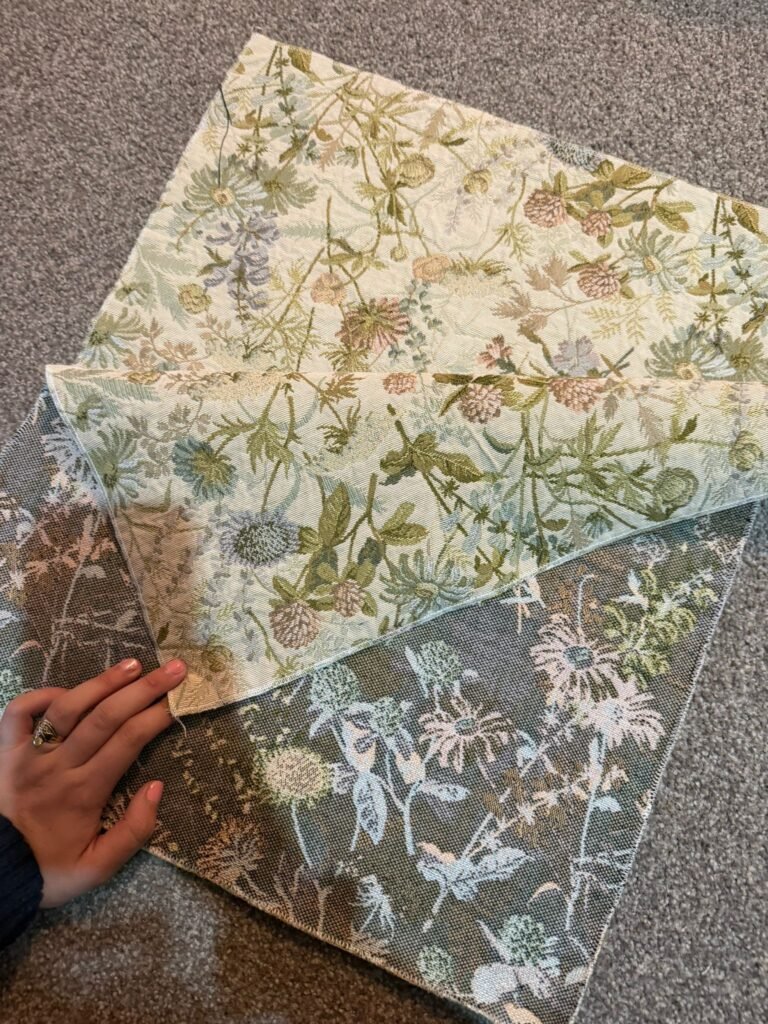
Step 1: Measure and Cut Your Fabric
Start by measuring your cushion insert.
For a snug, full-looking pillow, cut the fabric 2 cm smaller than the insert width and height.
You’ll need:
- 1 front piece: same size as your insert
- 2 back pieces:
- One piece slightly longer (this will be the envelope flap)
- One slightly shorter (this will sit underneath)
💡 Tip: The total width of both back pieces should overlap by about 8–10 cm so the insert stays hidden. But Velcro will do a pretty good job at hiding the insert so don’t panic too much!
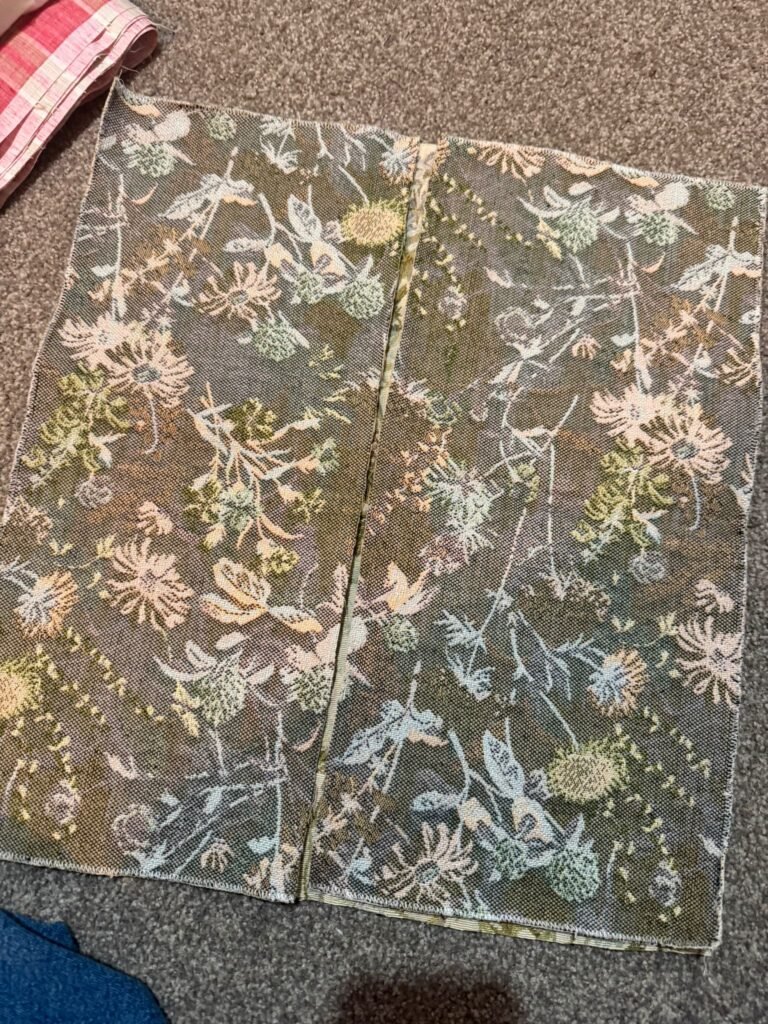
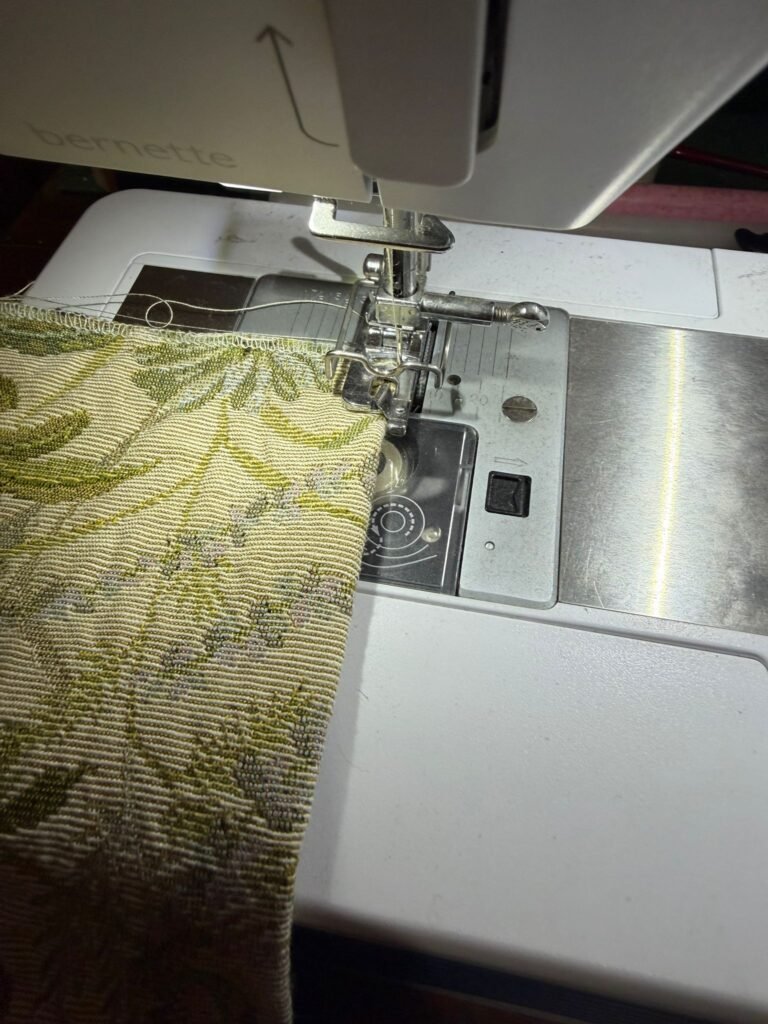
Step 2: Hem the Envelope Edges
Take the inner edges of both back pieces (the edges that will overlap).
- Fold the edge over 1 cm, press
- Fold again 1 cm, press
- Stitch along the folded edge
This creates a neat hem and prevents fraying.
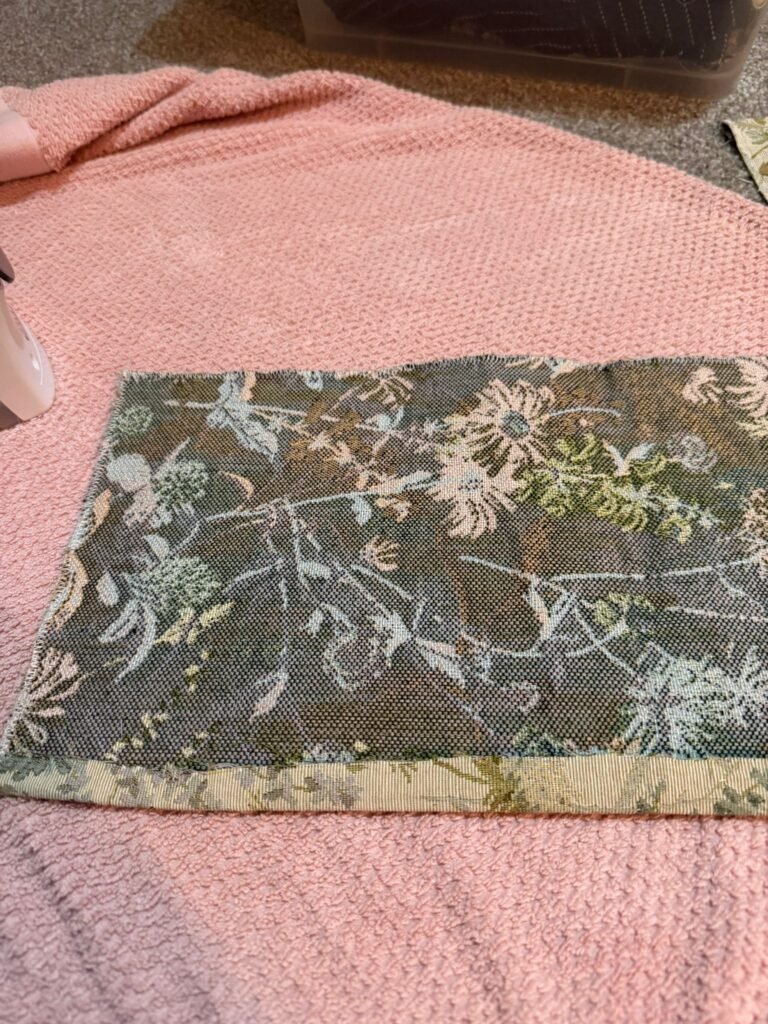
Step 3: Attach the Velcro
Sew the soft side of the Velcro to the inside of the envelope flap, close to the hem.
Sew the rough side to the underneath back piece, lining it up so the flap closes neatly.
Make sure the Velcro is centered and straight before stitching. I did three separate pieces of Velcro around 2-3 inches each piece, and spaced them out evenly, I find that this is enough Velcro to hold the everything securely.
💡 Tip: Always use sew-on Velcro — sticky-back versions can gum up your needle.
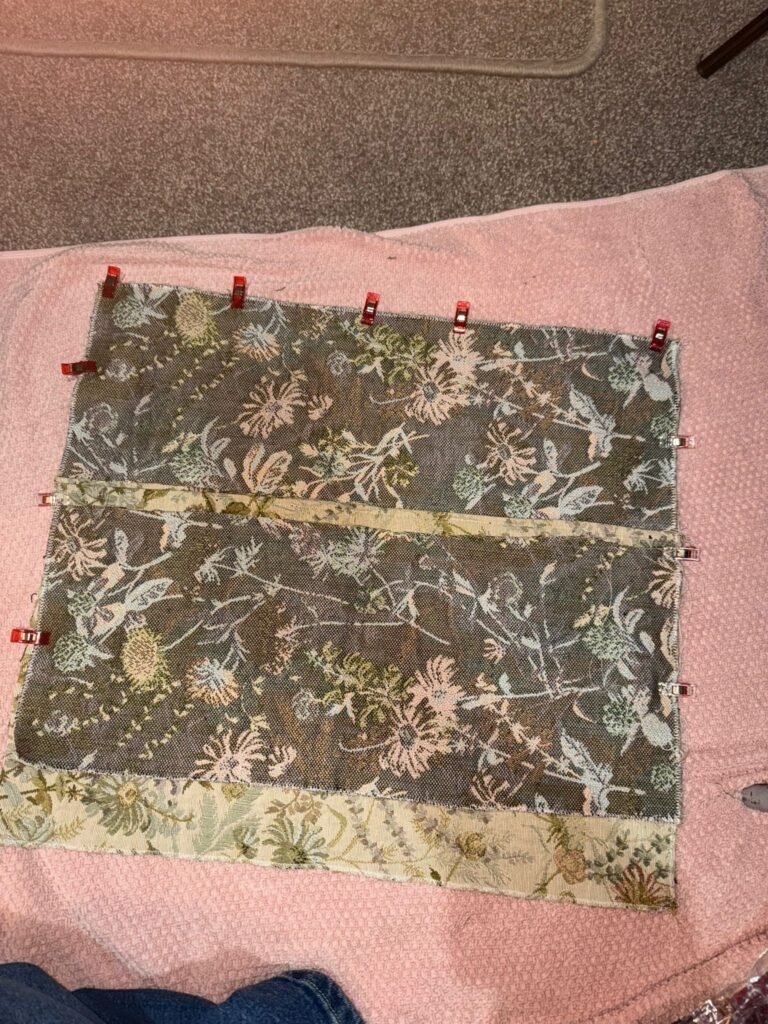
Step 4: Assemble the Pillow Cover
- Lay the front piece right side up
- Place the underneath back piece on top, right side down
- Place the envelope flap piece on top, right side down
- Align all edges and pin or clip in place
The Velcro should now be sandwiched inside.
Step 5: Sew Around the Edges
Sew around all four sides using a 1 cm seam allowance.
Backstitch at the beginning and end for strength.
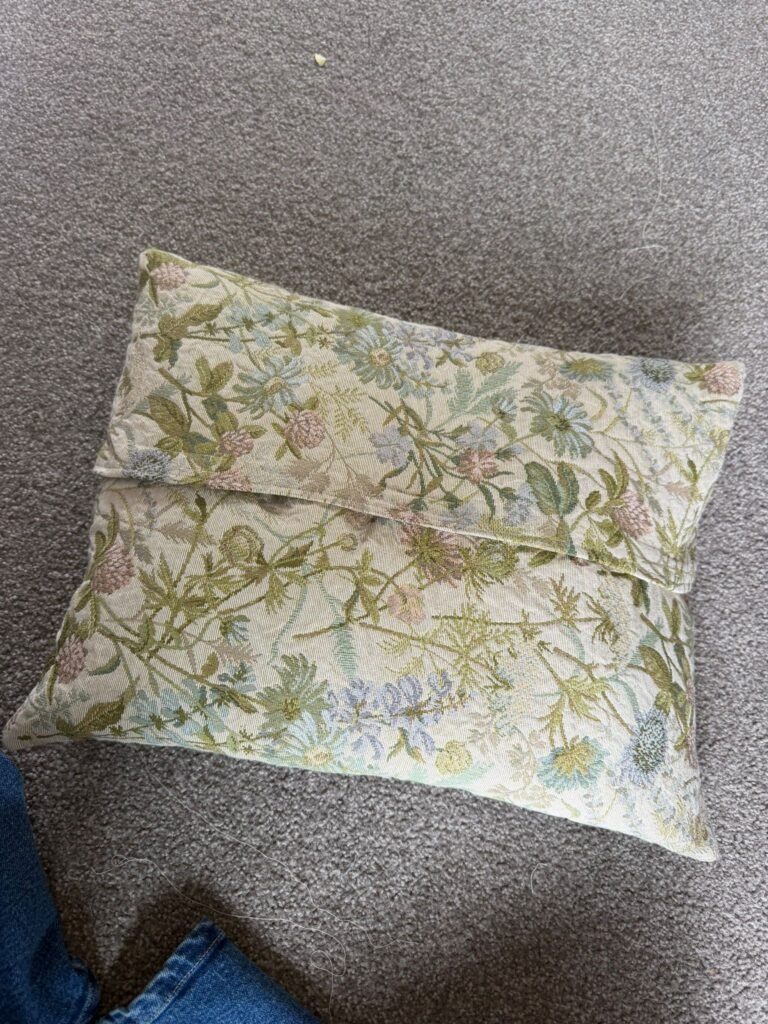
Step 6: Turn and Finish
Turn the pillow cover right side out through the envelope opening.
Push out the corners gently using your fingers or a blunt tool, then press with an iron.
Insert your cushion, close the Velcro, and you’re done!

Final Thoughts
This envelope pillow cover with Velcro is one of my favourite quick sewing projects. Traditionally an envelope [pillow can be made without velcro but having velcro makes it extra secure and if you are learning to sew velcro this is a great project to master that!