How To Organize Your Embroidery Thread (Without Losing Your Mind)
How to Organize Embroidery Floss…Okay, confession time: I used to have this cute little box of embroidery floss when I first started stitching. Just a handful of colours. Neat, tidy, innocent. Fast forward a few projects… and now my drawer looks like a rainbow crime scene. Pretty sure a unicorn died in there.
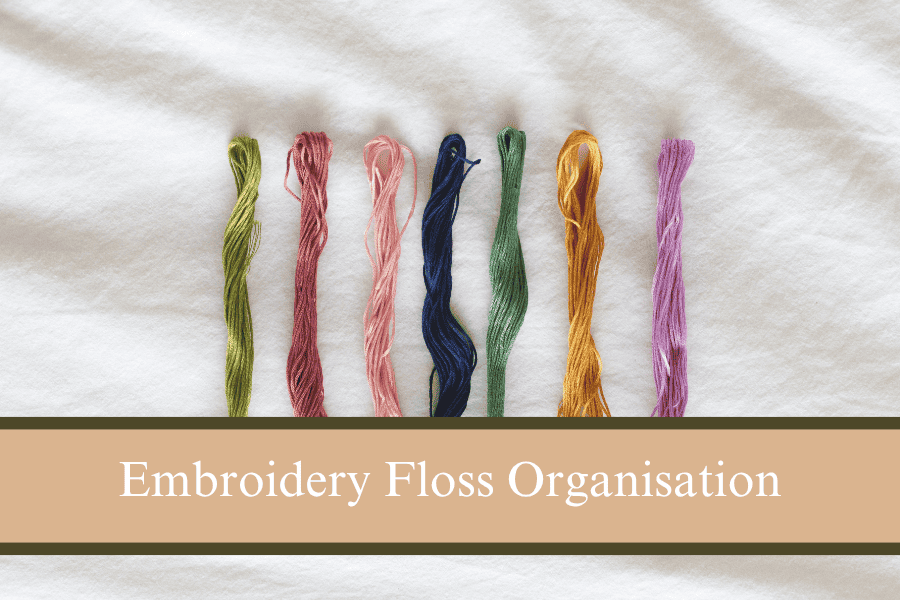
I used to shove all my thread into a zip bag and tell myself I’d sort it “later.” That was two years ago.
And honestly, it started driving me a little nuts. I’d be halfway through a project and spend 15 minutes digging through a tangled mess just to find one shade of blue. And let’s not even talk about how many duplicate colours I’ve accidentally bought.
So I finally gave in and started organising my stash—and I swear, it made everything feel 10 times easier. Not perfect. Just… less chaotic.
Here’s what actually helped. (No gatekeeping, I promise.)
Some links that appear on this page are affilaite links **
Bobbin Boxes – Yes, I resisted too
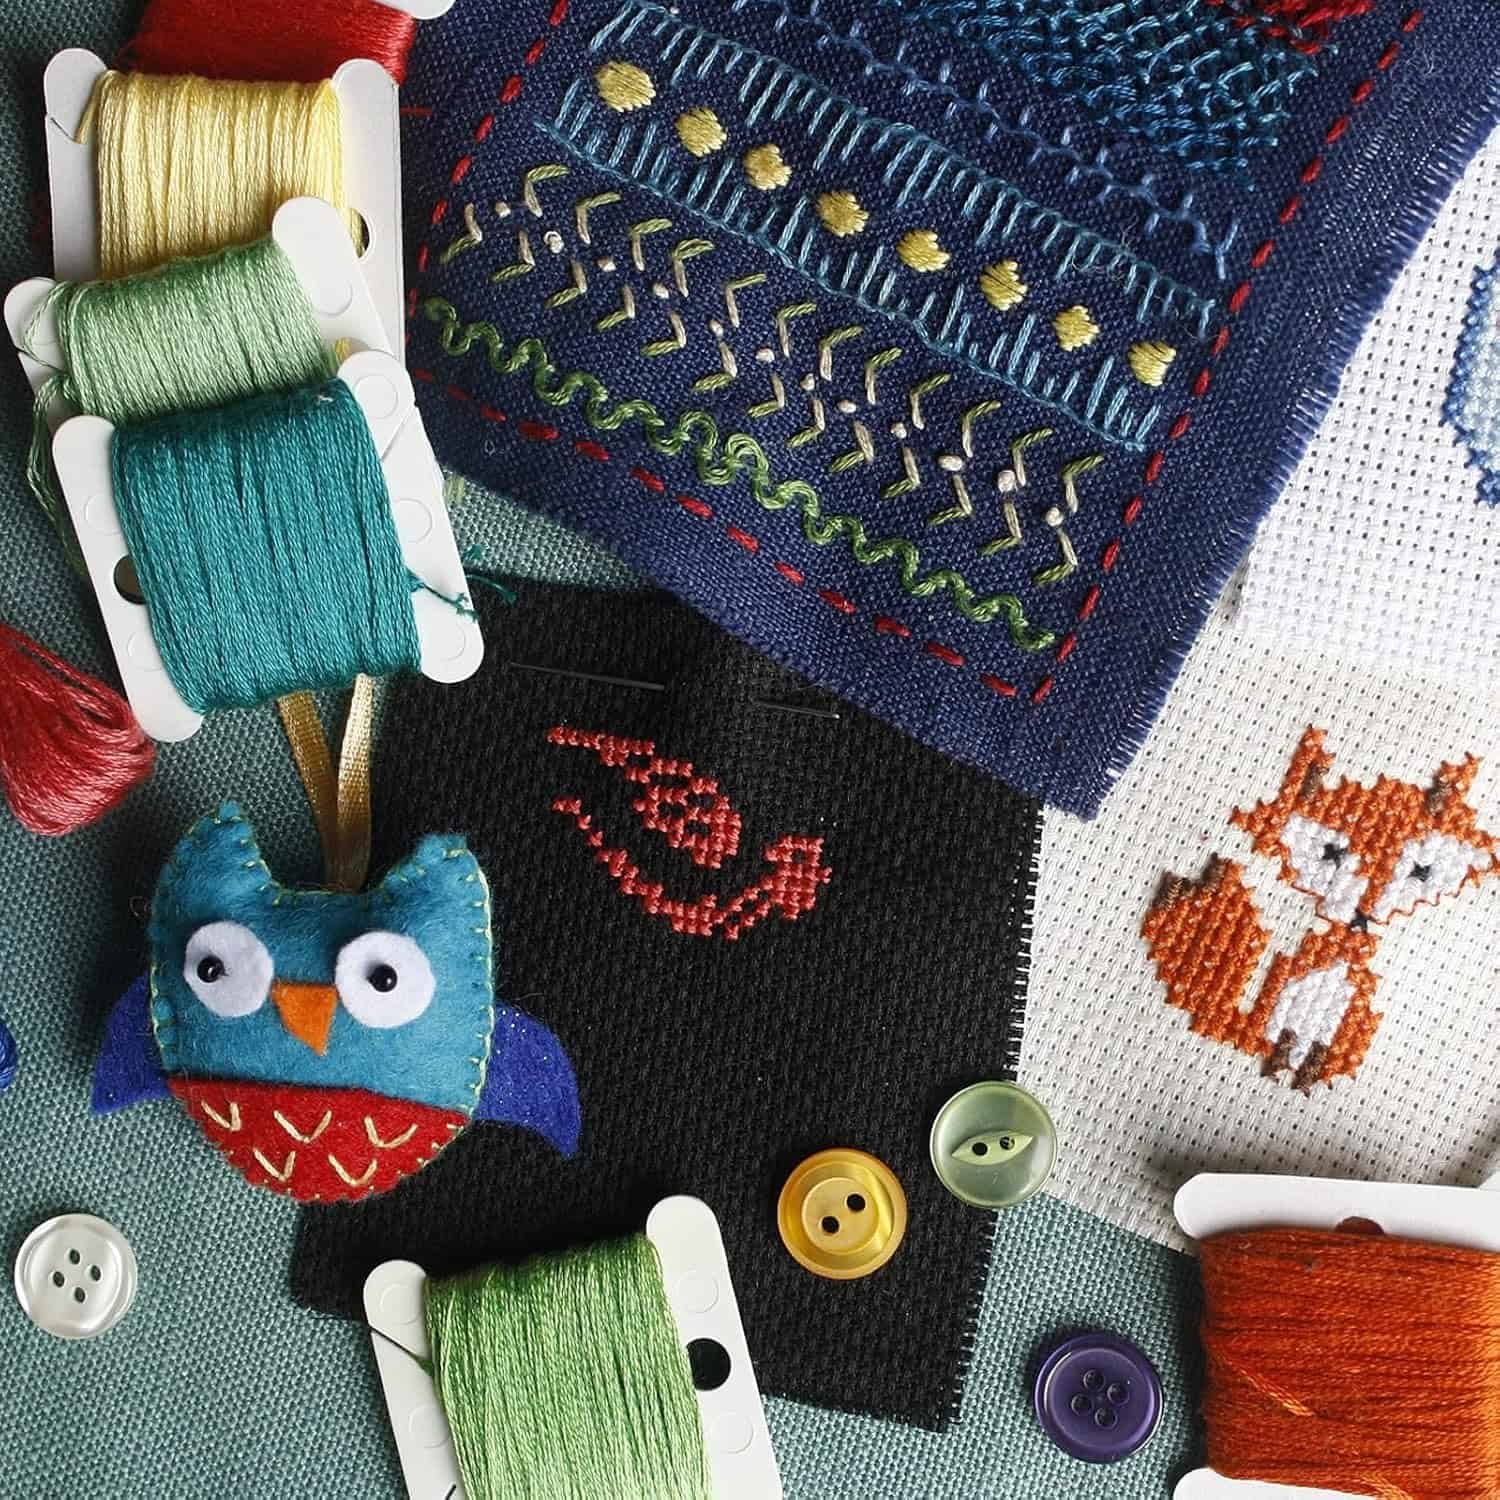
I didn’t want to wind floss onto tiny cards either. It looked like busywork. But once I did, I kinda loved it? Something about seeing all the colours lined up feels weirdly satisfying. It also saves so much space, and you can label each one with the floss number so you’re not playing guessing games later.
You can get plastic or cardboard bobbins at most craft stores. I use the plastic ones because I kept bending the cardboard ones by accident. I just scribble the number on with a Sharpie and chuck them in a little plastic box. Done.
Pro tip: don’t try to do your whole stash in one go unless you hate yourself.
If you are interested in buying some, check it out here…
Thread Rings – Lazy girl option (no shame)
Some days, I cannot be bothered winding floss. That’s when thread rings come in handy. You just loop the skeins through a card or floss drop and clip them on a ring. I use these when I’m working on a specific project and want to keep all the colours together in one spot.
You can totally DIY these with some thick card and a hole punch. I’ve done it while watching Netflix. Looks janky, works great.
Ziplock Bags – The zero-effort method
Honestly? These saved me when I was drowning in random skeins and had no time. I’d just toss each colour into a tiny bag, scribble the number on a sticky note, and keep them in a shoebox. Not cute, but it worked.
Perfect if you’re just getting started or organising with kids.
Wall Displays – For when you want to feel like an artist
Okay, I haven’t done this (yet), but I’ve seen people hang their floss on mini clothespins on pegboards and it looks so good. Like, frame-worthy. It also makes it really easy to see your colours at a glance, which I imagine would save a lot of “where the heck is my gold thread?!” moments.
If I ever get my dream craft room, this is going on the wall.
Honestly, there’s no “right” way on how to organize your embroidery floss. Try a few things and see what actually works for you. I use bobbins for the bulk of my stash and thread rings for whatever I’m currently working on. And yes, there are still a few rogue skeins floating around because… life.
But hey—if your thread’s in slightly less of a disaster zone than before, I’d call that a win.
