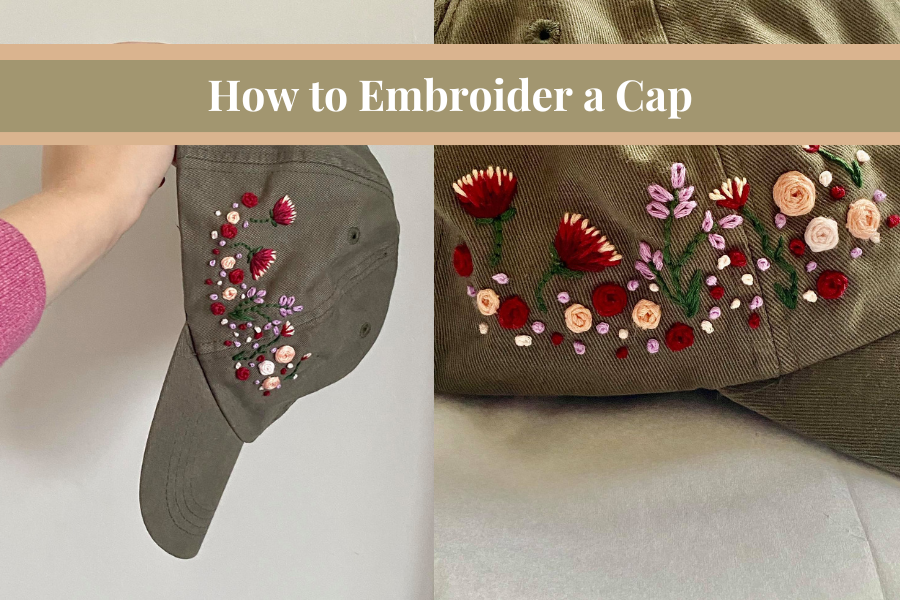
How to Embroider on a Hat or Cap | Simple DIY
With Summer just around the corner, hats are a must, with saying that, this tutorial will be usable for winter beanies too. So let’s learn how to embroider on a hat.
How to Embroider on a Hat or Cap | Simple DIY
Let’s get started with this basic embroidery DIY on how to embroider a hat or a cap.
Step 1: Choosing your design
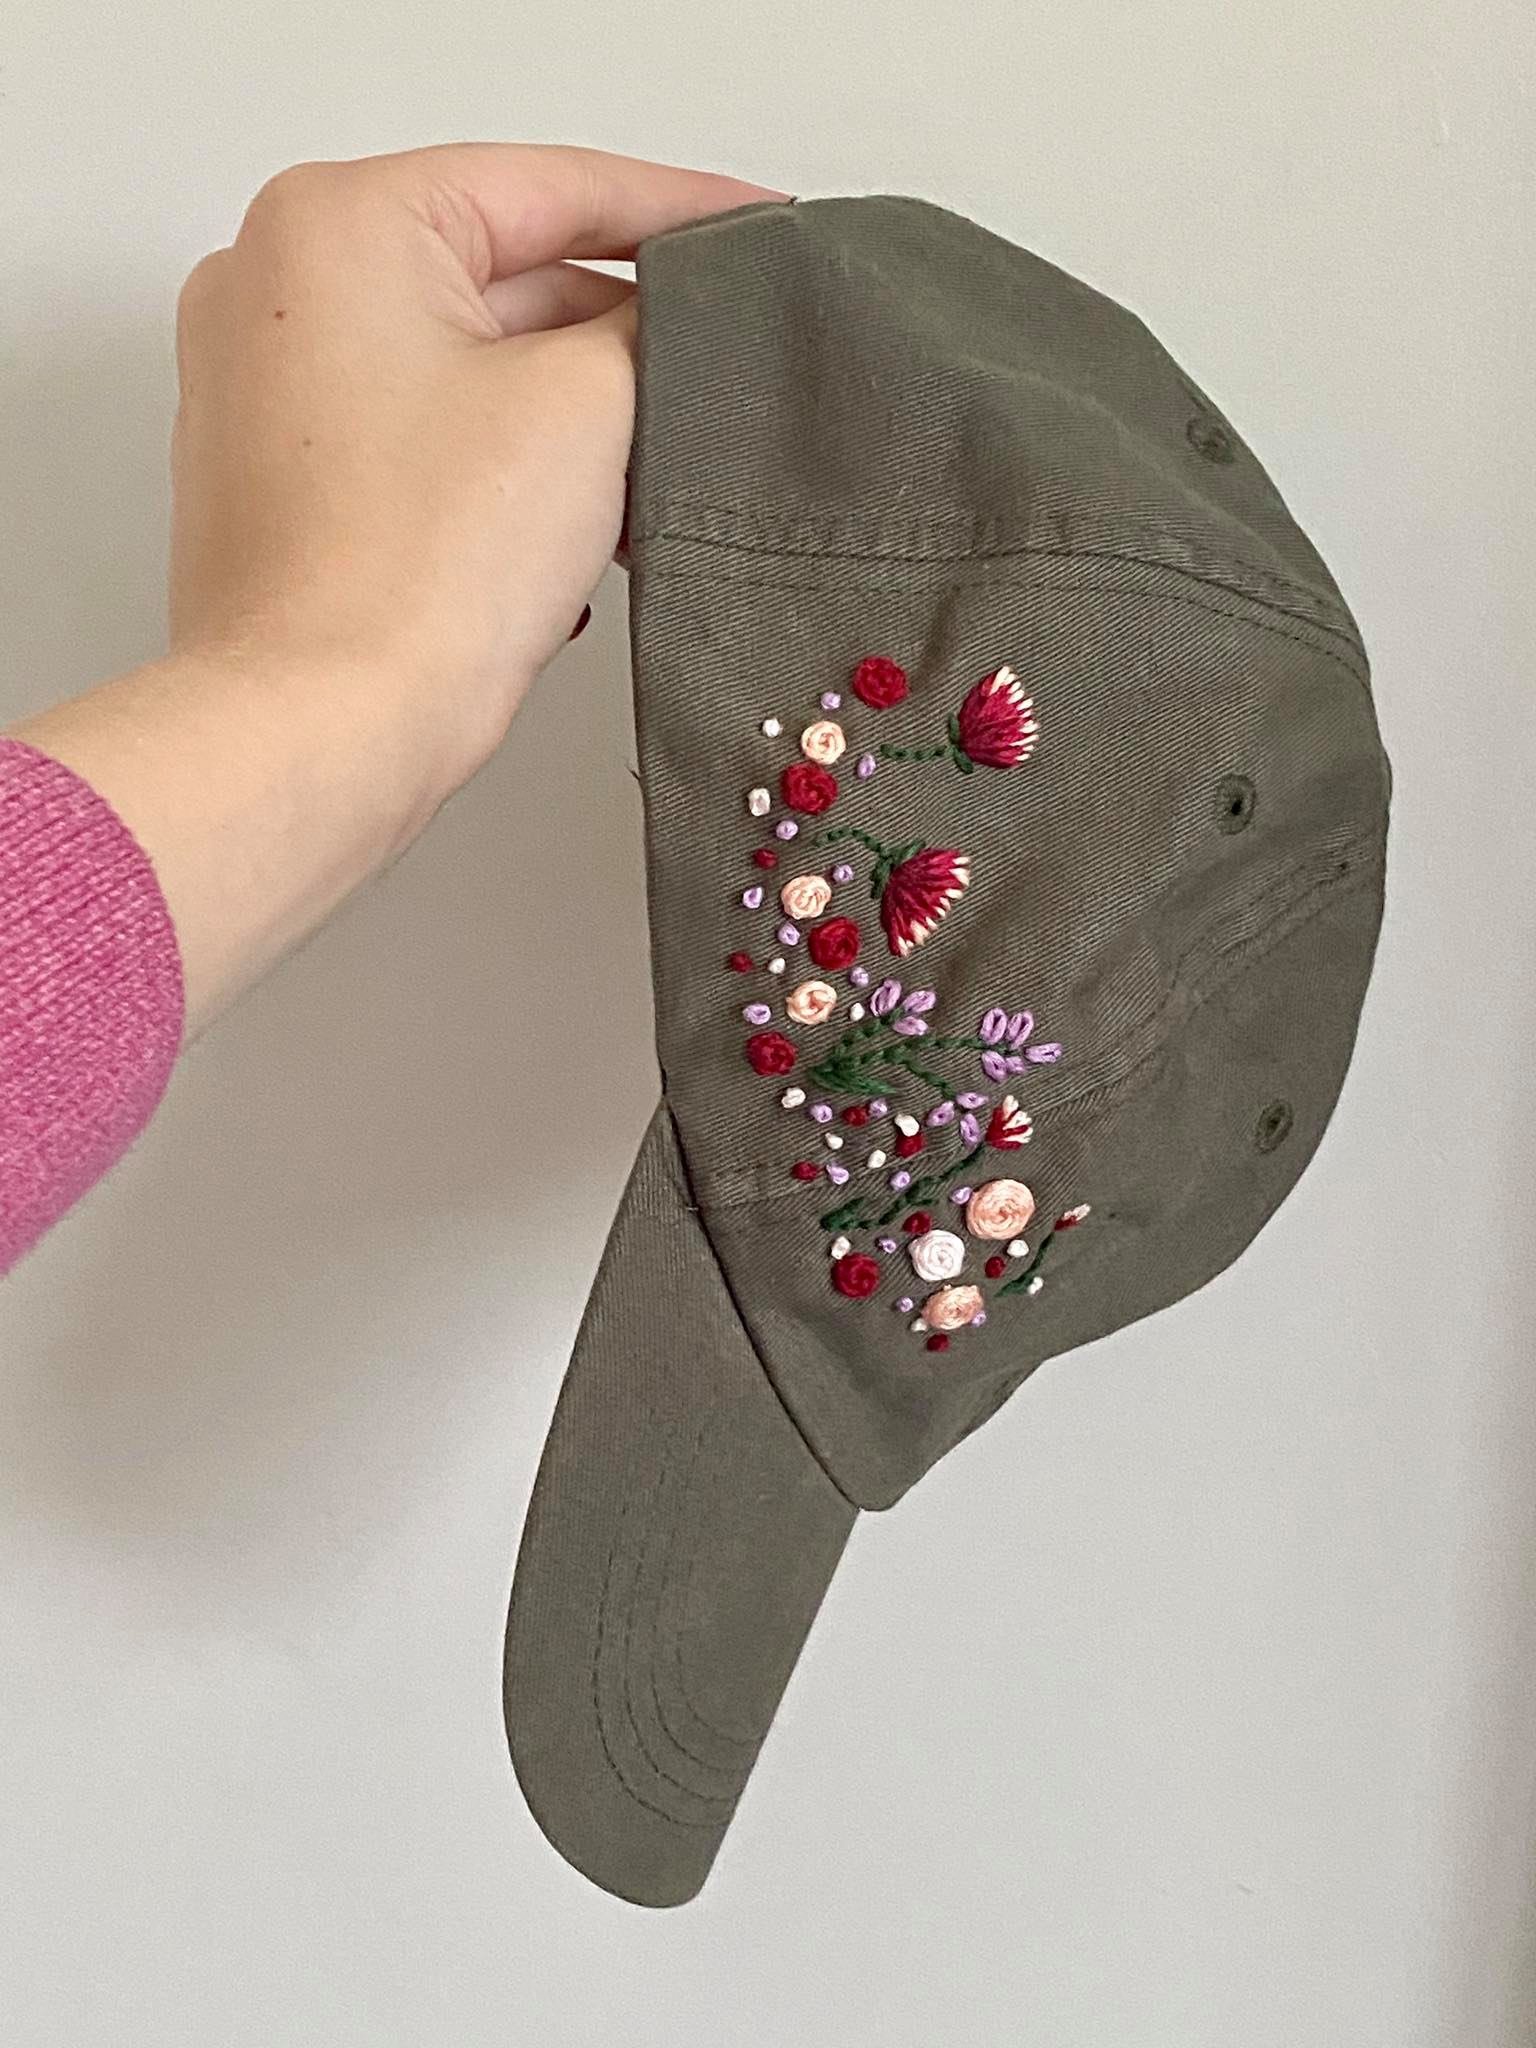
I recommend planning your design before you start threading your needle, but if you are confident, go for it. I love floral embroidery so I did floral embroidery on my cap.
A few Design Ideas
- A simple daisy in the middle
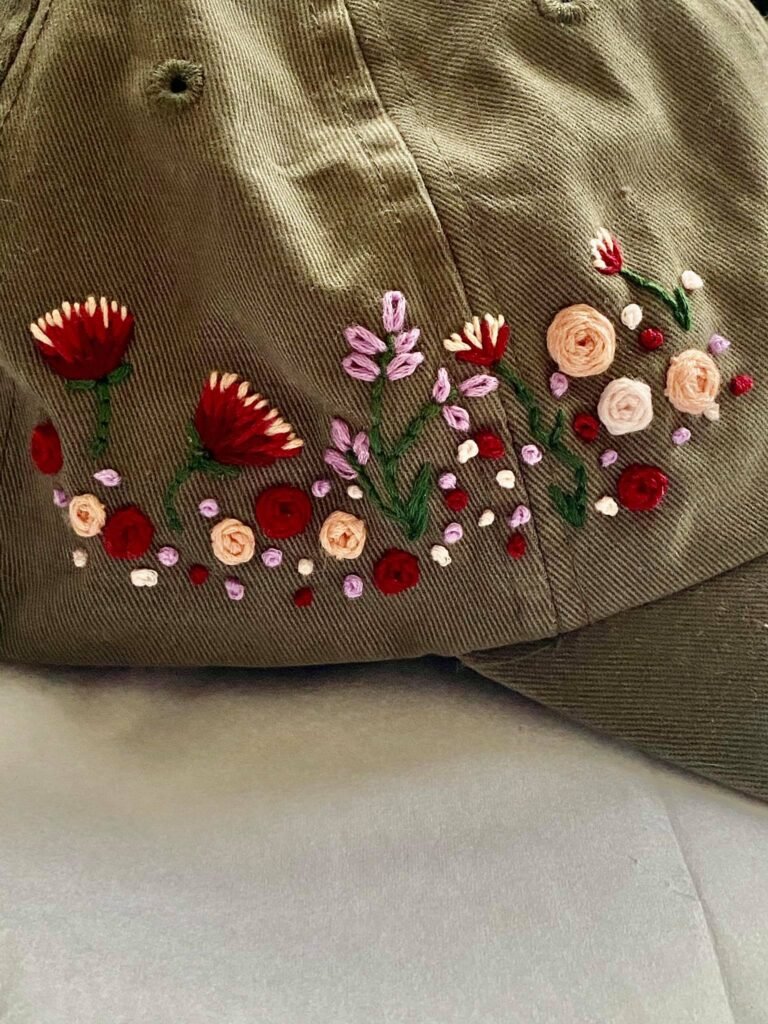
- Rosebush across the side (this is what I did)
- Embroider Outline of stars, planets, etc.
Here is a list of free embroidery patterns. A lot of these patterns can be shrunk down and used to go on a hat or cap. 25 Free Embroidery Patterns for Beginners | PDF Download. If you are still struggling to find a design, hit up Pinterest they have lots of great inspiration.
Step 2: Prep Your Hat
Draw your design onto your hat, depending on the size of your design, this will be done before or after placing the embroidery hoop. I recommend drawing the design with chalk or a vanishing marker. Here is a vanishing marker and here is some suitable chalk.
For the best results you will want to use an embroidery hoop, mini ones are available online. Placing the embroidery hoop on the hat will be the hardest and most frustrating part of this entire process. Here is a good option for a small embroidery hoop. Remember you can move the embroidery hoop around if need be.
- Place the smaller inner hoop in the inside of the hat
- Line up the larger hoop on the outside
- Tighten the screw
- The fabric should be like a drum, this may be difficult to achieve with a hat without ruining the hat fabric so be careful and work slowly. if you can’t get the hat tight-tight, it doesn’t matter.
Step 3: Start Stitching
You are good to start stitching now. If you need to follow tutorials, then go for that. I will let you know which stitches I used. When I made my embroidery hat, I used 6 strands of the embroidery floss for my hat, but this is up to you. Remember to remove and re-adjust the embroidery hoop as needed. Also once your design is complete there may be a mark where the hoop has been, this will go away over time or can be removed with ironing or in the washing machine.
Stitches I used:
- Wagon wheel Rose
- Lazy daisy
- Short-long
- French Knot
- Stem Stitch
If you would like to try any of these stitches, here are some tutorials you can follow


Step 4: Finishing the Back/inside of the Hat
There are two options here, leave the back open with the thread as this will be on your head and not seen, or cover it with fabric. If you choose the second option I will give you the steps now.
- Fold the hat the wrong way out
- Cut a piece of fabric to match the size of the area you want to cover
- carefully glue with fabric glue the fabric to the hat. Glue just around the outside so the hat isn’t so stiff
- Let dry and turn the right way out
Tricks and Tips on Hat Embroidery
- Keep the design simple (sometimes less is more)
- Plan your colors beforehand
- Don’t stretch the fabric
- Pinterest has a lot of great inspiration
- If your hat didn’t turn out as planned it’s okay. You can always try again
- Practice makes perfect.
- Practice your design before embroidering your hat if you aren’t confident.
How to Embroider a Hat
And that’s a basic tutorial on how to do it. I would love to see and hear about your results. If you enjoyed this post why not check out some of my others