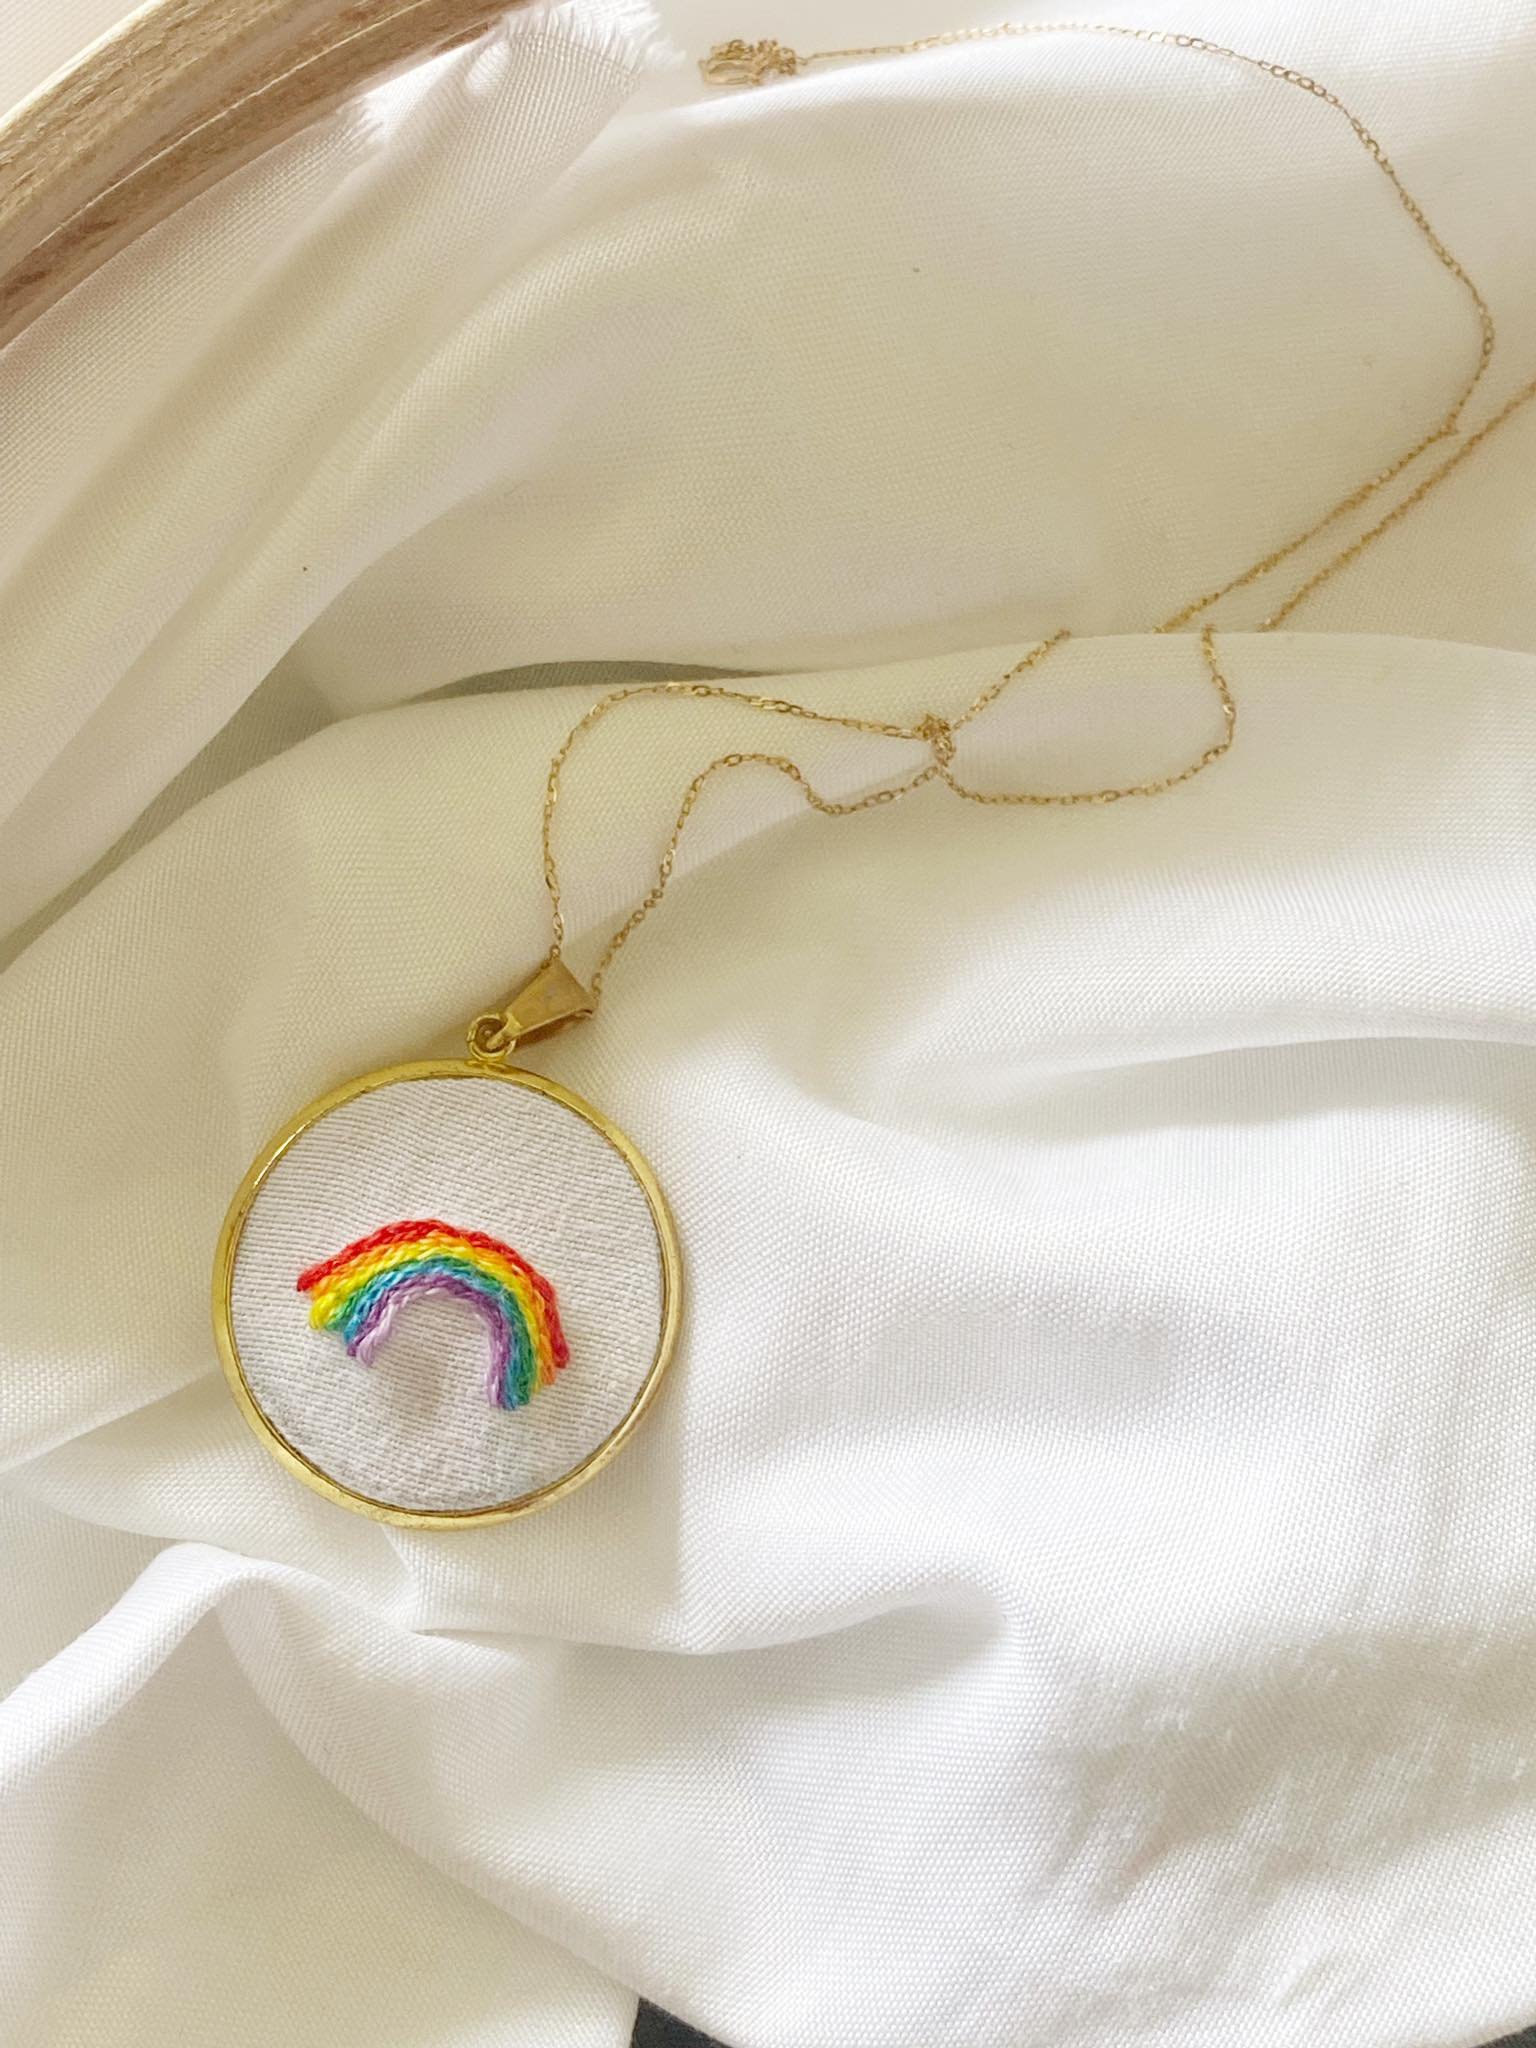
How To Make a Hand Embroidery Rainbow Necklace
Hand embroidery necklaces are very intricate and delicate looking. With this free-hand embroidery rainbow necklace tutorial. You can make your very own. Hand-embroidered jewelry is quite an art but is a lot easier than it looks. The details and the stitches are very small and detailed but very possible with the right equipment, tutorial, and a little bit of patience and practice.
Free Hand Embroidery Rainbow Tutorial | Happy Pride
I have created this Embroidery Rainbow Necklace especially to celebrate pride. You are loved, You are needed and You are you, Be who you are, and don’t change for anyone. Enjoy this tutorial and happy pride, stay safe.


What you Need
- Pendants ( these come in a variety of different sizes. For this pattern I have used 25mm, however, if you feel more comfortable starting bigger or you want something more dainty, this tutorial is straightforward to adapt to the different sizes.
- Necklace, the chain that matches the pendant
- Super glue (quick dry)
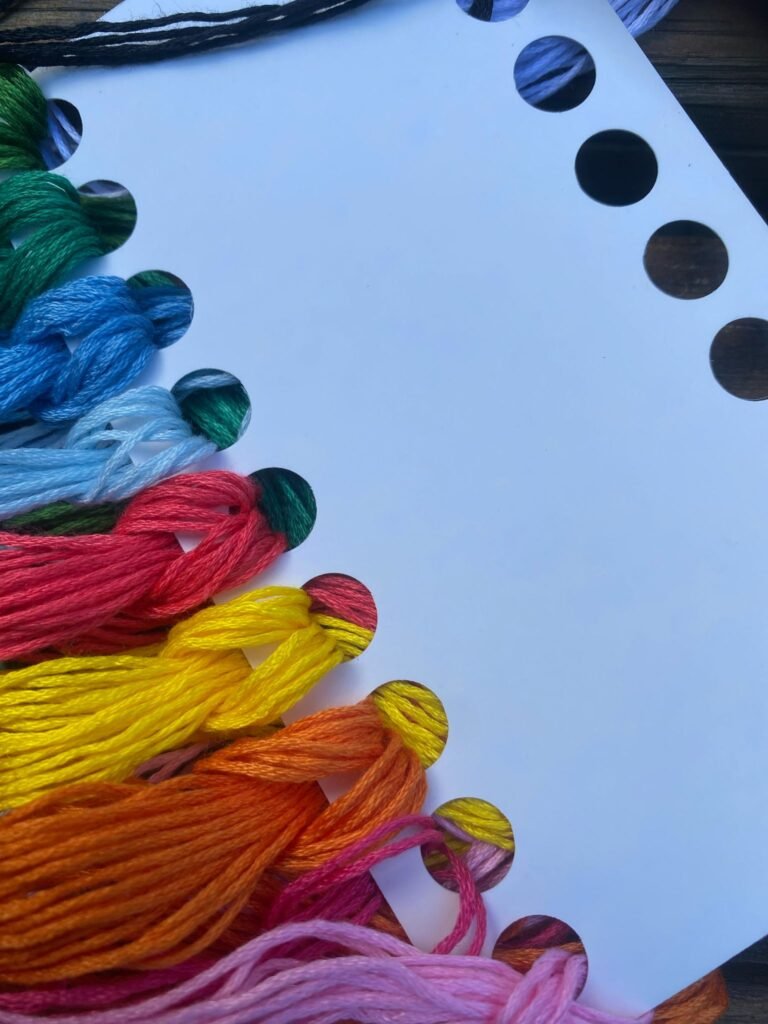
- Embroidery floss
- Fine needle
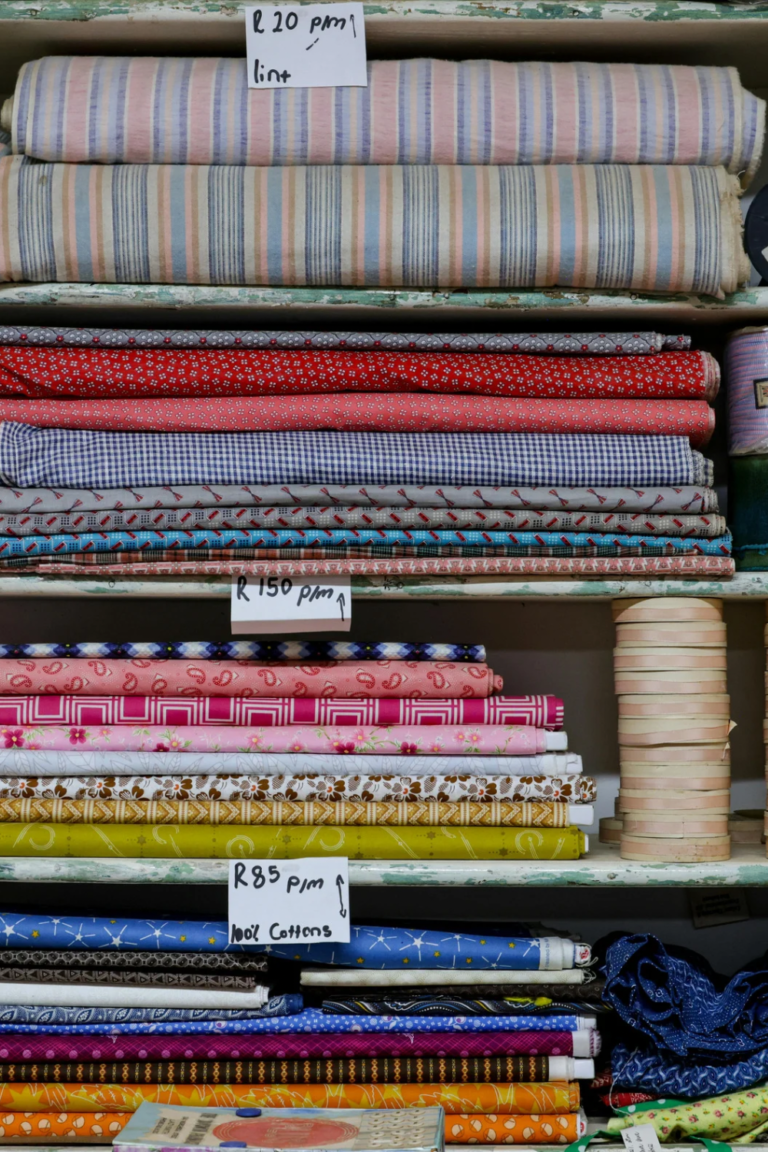
- Fabric
- Cardboard
Step 1: Prep
Firstly, draw the size of the pendant on your fabric, this will give you a guide on how nig to embroider the rainbow. I used a pencil to draw the circle, but a fabric marker works well too. Cut out the size of the pendant base on cardboard. Indent the pendant into the cardboard then cut around the marks to get the size right.
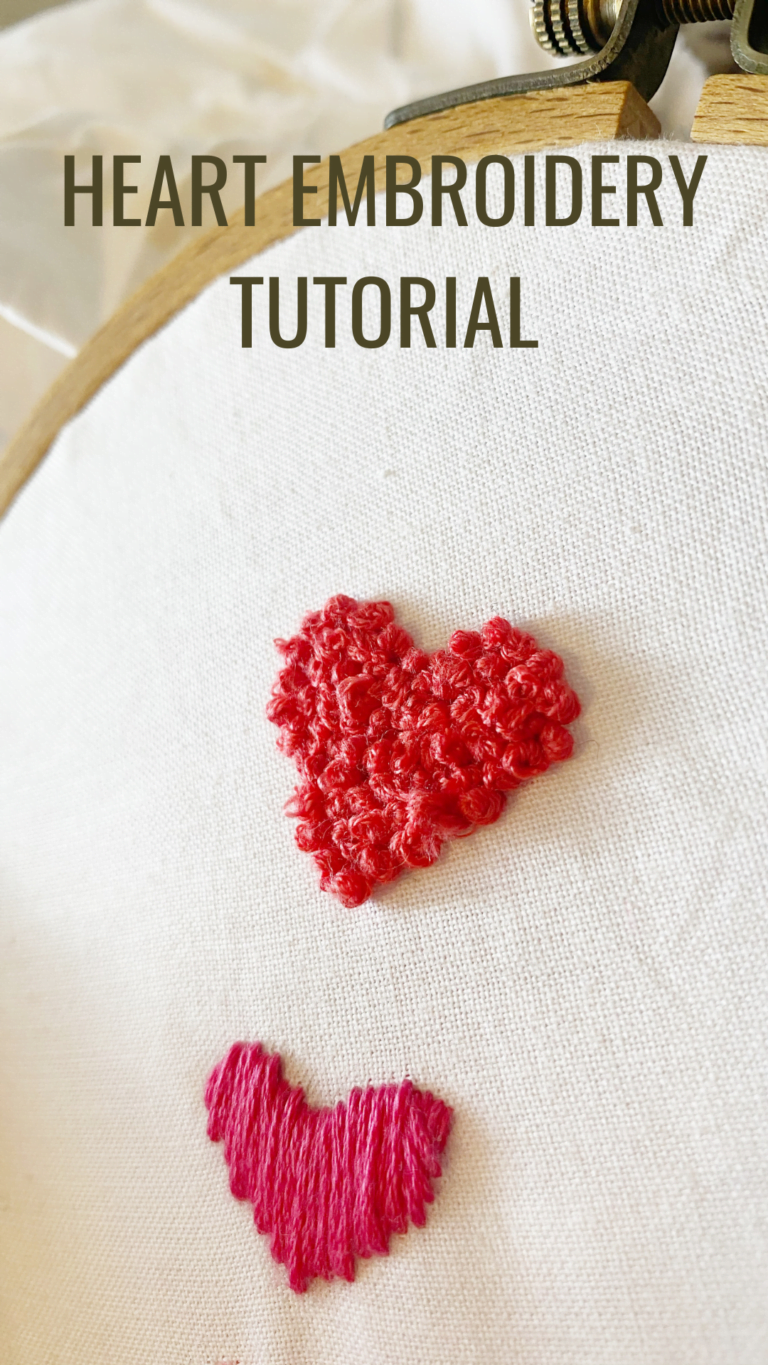
Step 2: Embroider the Rainbow
Now, we are going to start embroidering the rainbow, the colors of the rainbows are: Light purple, purple, blue, green, yellow, orange, and red.
Thread your needle using only two strands of embroidery floss, because the pendant is so small, using two strands will make the embroidery look more delicate.
For the rainbow, I used a chain stitch, You can find an indepth tutorial here. But check the pictures below for a simple guide.


Step 3: Make the Fabric Pendant
Once the embroidery rainbow is complete, cut around the penciled circle leaving around a 2cm border.
Step 4: Make the fabric pendant, part 2
Using a needle and thread, gather the fabric around the edge of the circle, use a gathering stitch (simple stitch) Once you have stitched right around the edge, pull the two ends to gather and tighten
Step 5: Finish making the pendant
Insert the circle cardboard cut-out in the middle of the fabric and tighten the fabric more and then tie it off to secure it.
Step 6: Finish the Necklace
Glue the pendant into the pendant base and let dry. Add the chain to the pendant and your rainbow pendant necklace is ready to wear!


I hope you enjoyed this simple embroidery rainbow, happy pride everyone, and remember you are loved. If you need to talk, please reach out to a loved one or a LGBTQA support line. Stay safe, have fun and be proud of who you are.