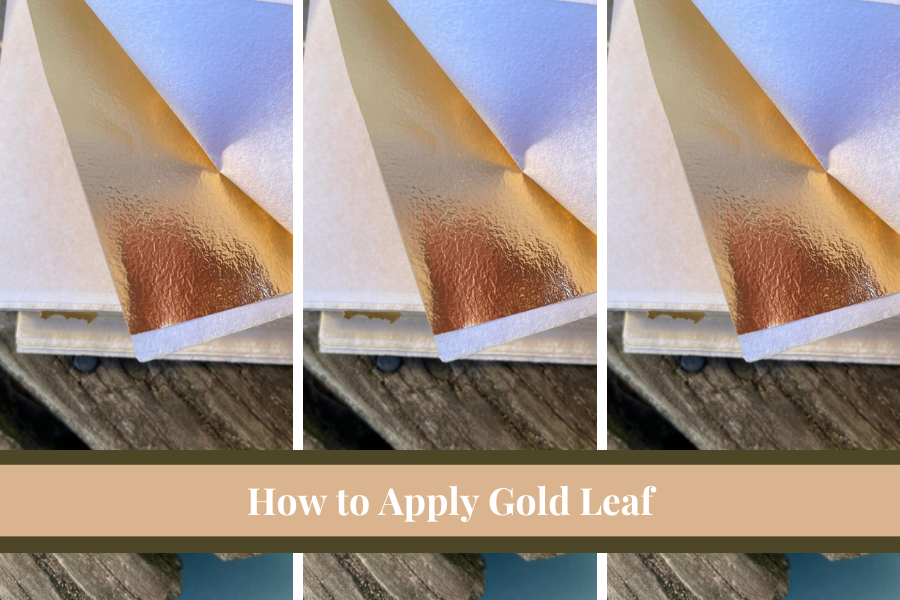
How to Apply Gold Leaf to Almost Anything
Gold is timeless, it’s elegant, bold, and noble. Gold leaf is a medium that can be used on nearly all elements, from wood to canvas, to candles and more. Below I am going to talk about basic information, supplies, and equipment needed and I will go through the basic instructions on how to gold leaf pretty much anything. So let’s get started before we learn exactly how to apply gold leaf, let’s talk about the basics. CLICK HERE TO JUMP TO HOW TO APPLY GOLD LEAF INSTRUCTIONS
What is a Gold leaf?
Flattened Gold is a gold leaf. Yes! Some gold leaf is real gold, although a lot on the market out there these days is just aluminum. If you do use the aluminum one, no worries, it can tarnish but this can be avoided by using a varnish at the end of your gold leaf DIY project. Gold leaf made from real gold, won’t tarnish.
What is the Practice of adding Gold Leaf to things called?
Gilding is the name of this practice. You are probably familiar with this word. This is because it is common to see on frames. Frames are often gilded with gold, silver, or bronze leaf, especially in the 1800s-1900s. Unfortunately, professional gilding practices are dying out, although it seems that people still enjoy the art but rather do it themselves at home! Isn’t it funny how time changes things?
What Type of Gold Leaf is Available
Gold leaf, silver leaf, bronze leaf, rose gold leaf. These are all the types of gilding leaves available. If you have an interest in using real metals in your DIY project, be sure to check the packaging carefully. Original metal leafing will cost more than aluminum ones. Be careful buying leafing from sites like Temu and Ali-express, just because it says it’s 24k gold doesn’t mean it is. Always buy from trusted businesses.
What You Need to Apply Gold Leaf:
- Gold, silver, or bronze leaf
- Gilding Paste
- Paint brushes ( one for applying the paste and one for soft one for brushing gold leaf (a makeup brush is a good choice)
- Varnish or Sealer
What is Gilding Paste?
Gilding paste is what makes the leaf stick to whatever you are gilding. There is a technique needed to use the paste correctly for the best results. We will be discussing that a little bit later. For now, Just giving you a heads up, gilding paste smells very strong, so it is best to do any gilding project outside in a well-ventilated area.
Why are Paint Brushes important?
You will need a soft paintbrush and a rough-bristled or used one. The soft paintbrush mustn’t get wet. We will be using this to brush away the excess gold leaf. It must be very soft to ensure it doesn’t scrap and scratch the gilding. The other brush is for applying the gilding paste. Gilding paste can be difficult to clean off, so the paintbrush will most likely ruin after this DIY.
Why should Gilding be varnished/sealed?
While not compulsory, many people recommend, that the gilding should receive some sort of varnishing or sealing at the end, especially when doing it yourself at home. Sealer or Varnish has many purposes the main one being to help maintain the original state and prevent damage happening to the art or whatever it is you are gilding. Also, a varnish or sealer will prevent any extra gold flakes from flaking off.
How To Apply Gold Leaf
- Clean the surface. Make sure the area is well dry before moving on to the next step.
- Now apply the gilding paste. Apply a decently thick coat of the paste. Make sure the gilding paste is covering all the areas where you want to use the gold leaf.
- Wait until the gilding paste feels tacky, this should take 10-20 minutes depending on the temperature where you are.
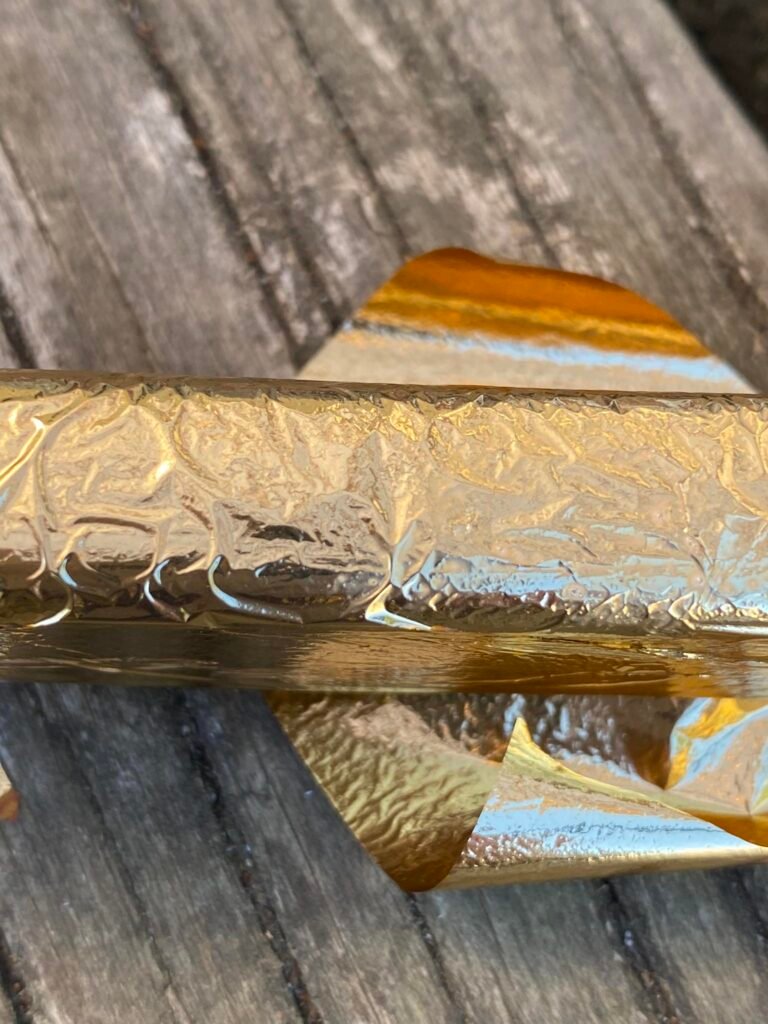
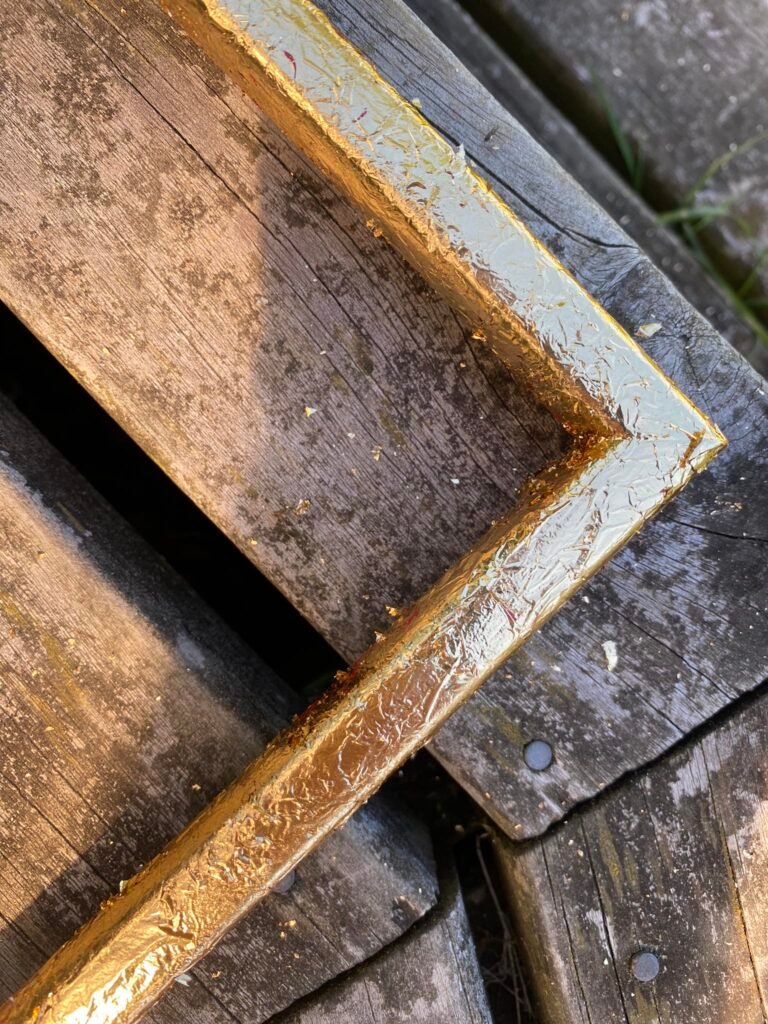
- Now apply the gold leaf over all of the gilding paste. Make sure the gold leaf is sticking down properly. Very carefully dab the gold leaf down with your finger. Let sit for 10-20 minutes and then with the soft brush, delicately brush away the excess gold leaf. Keep brushing until there are no excess gold flakes.
- If there are still gaps where the gold flake has fallen off apply more gold leaf, and keep working with it until you are satisfied. This can be a little frustrating but trust the process.
- Once you are happy, it is time to varnish. I am recommending waiting at least 2 hours after you finish gold leafing before varnishing. This is to ensure the gilding paste is completely dry. Gilding paste takes a long time to dry or set, around 60 minutes or more.
- Using a different paintbrush, apply a thin layer of either gloss or matte finishes varnish, you can use varnish made especially for gilding with gold leaf or just a regular varnish will do.
- Once the varnish is dry. Your DIY gold leaf project is ready for display.