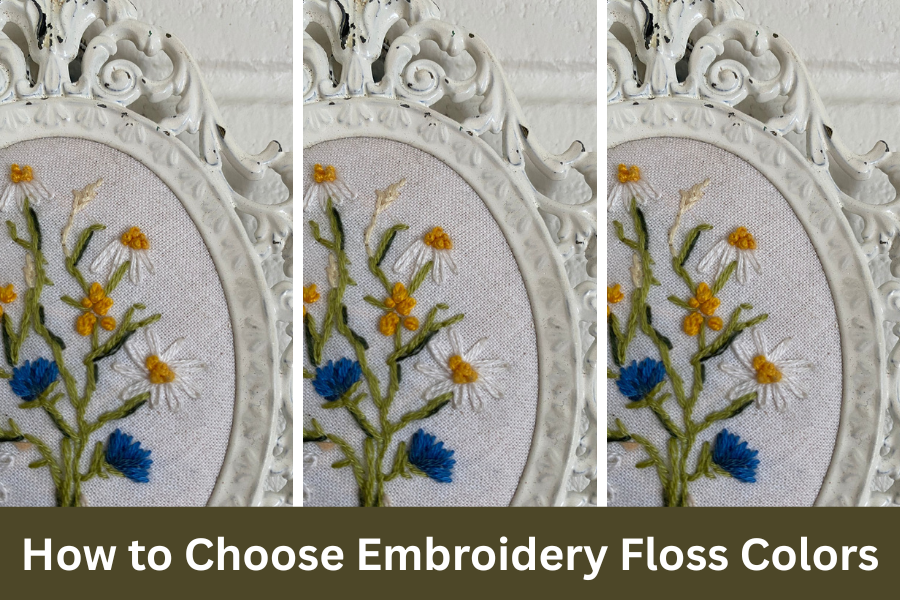
How to choose embroidery floss colors? This can feel surprisingly difficult, especially if colors don’t come naturally to you. You’re faced with dozens of shades that look almost the same, but are way different.
If you’ve ever stood in front of a floss display thinking “Which one do I pick?”, this guide is for you. Below is a simple, beginner-friendly way to choose embroidery color’s, even if you are bad with colors like I was.
Here are some beginner posts about hand embroidery if you are learning
Start With a Limited Palette
One of the biggest beginner mistakes is choosing too many colors at once. While complex palettes look beautiful, they’re harder to balance, and everything might not harmonize as expected.
Beginner tip:
Start with 3–5 colors for a project. This keeps your design easy to manage and color coordinated. It will be tempting to go wild and choose more, but don’t give in!
Use One Main Color First
Choose:
- One main colour (the star of the design)
- 1–2 supporting colors (accent colors)
- 1 neutral (white, cream, grey, or beige)
This structure helps your design feel intentional rather than random.
Choose Shades From the Same Color Family
Using different shades of the same colour creates depth without chaos.
For example:
- Light pink, medium pink, deep rose, will create depth in an embroidered rose.
- Pale blue, denim blue, navy, will create depth in an ocean scene.
Don’t Ignore Neutrals
Neutral colours are just as important as bright ones.
Useful embroidery neutrals include:
- White and off-white
- Cream and beige
- Light grey and charcoal
- Soft brown
Neutrals help break up the bright colors and relax the overall feel.
Test Colors Together Before Stitching
Colours that look great on the floss card don’t always work once stitched.
How to test:
- Lay floss strands next to each other on your fabric
- Stitch a few small test stitches on scrap fabric
- Check colours in natural light
This quick step can save a lot of regret later, remember always check the floss color against your fabric color.
Consider Your Fabric Color
Fabric colour changes how floss colours appear.
- Light fabric makes colours pop
- Dark fabric deepens and dulls lighter shades
Always choose floss after deciding on your fabric.
Use Reference Images for Inspiration
If you’re unsure where to start, inspiration helps. Pinterest is full of inspiration!
Good reference sources include:
- Nature (flowers, leaves, landscapes)
- Existing embroidery patterns
- Colour palettes on Pinterest
You don’t need to copy exactly — just use them as a guide, that’s what I do!
Trust Your Eye (Not the Number Chart)
Floss numbers are helpful for reordering, but aren’t always right. Two colors next to each other on a chart might not look good together in real life.
If it looks good to you, it is good.
Common Beginner Colour Mistakes
- Choosing too many bright colours
- Skipping neutrals entirely
- Not testing colors first on fabric
- Overthinking every decision
Remember: embroidery is forgiving. Colors can adjusted always.
Final Thoughts
Choosing embroidery floss colors gets easier with practice… well no really, haha. Start simple, trust your instincts, and don’t be afraid to experiment.