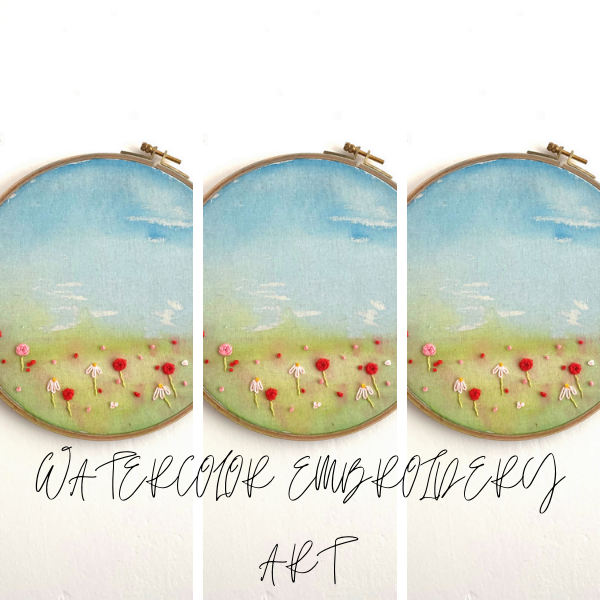
How To Make Your Own Watercolor Embroidery Art
I think watercolor embroidery art is my new favorite craft to make! It is seriously addicting. Watercolor and Embroidery are two of my favorite arts. My aunty taught me watercolor from a young age and I learned hand embroidery myself after finding a book about it in my mother’s wardrobe. These two crafts are surprisingly easy to combine as well! I created this beautiful hoop art using a watercolor background with hand embroidery details. This hoop art didn’t take long at all, something like this would make a great gift or a perfect wall piece for a children’s bedroom or a nursery.
The best part of this watercolor hand embroidery project is that you don’t need to be good at watercolor to make it look great, in fact, you could easily make this look great without even touching watercolor in your life before. As for the hand embroidery work, you can make this as detailed or as simple as you want. In the hoop I made, I did very simple stitches, and easy beginner floral stitches, and just placed them randomly where I thought they looked best. This art is so basic and doesn’t require any technical skills but the end result is amazing!
For this WaterColor Embroidery Art DIY, you will need…
- Watercolor paints (or fabric paints)
- Water
- Brush
- Embroidery Hoop
- Fabric
- Needle
- Embroidery floss
- Scissors
- Felt ~ for the back
- Super Glue
- Embroidery Frame
Now on to the Watercolor Embroidery tutorial
Let’s Start!
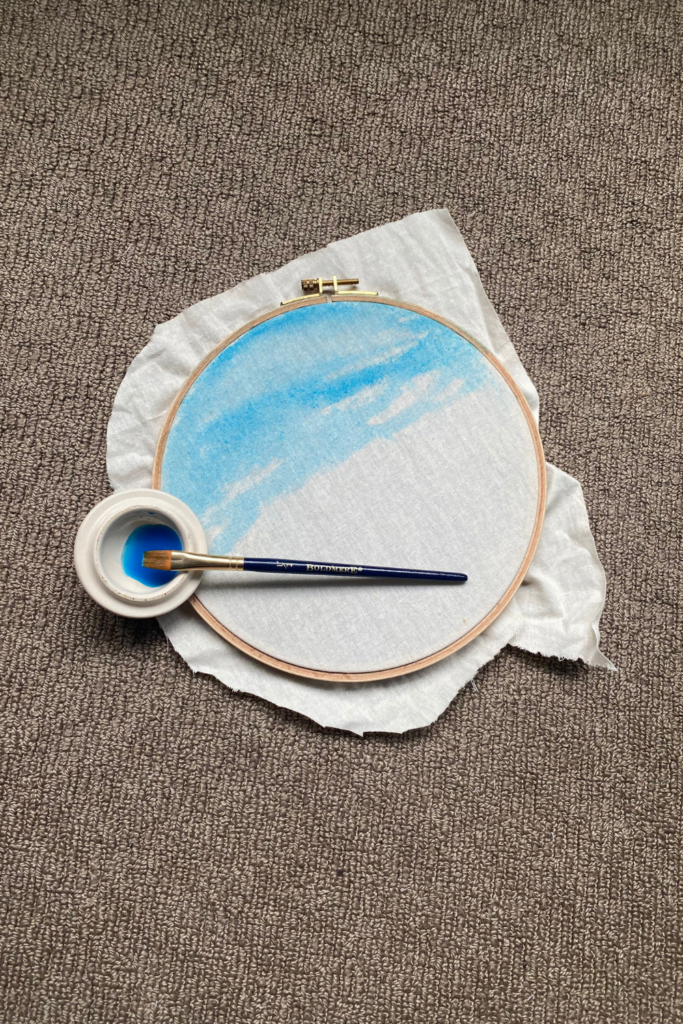
Step 1: Paint your Fabric
Watercolor your fabric. I used a wight weave white fabric. When doing the watercolor make it very watery. This will make it easier to spread and your colors more pale than bright. However if you want your colors bolder, add more color with less water. If the paint isn’t spreading as easily as you would like add more water.
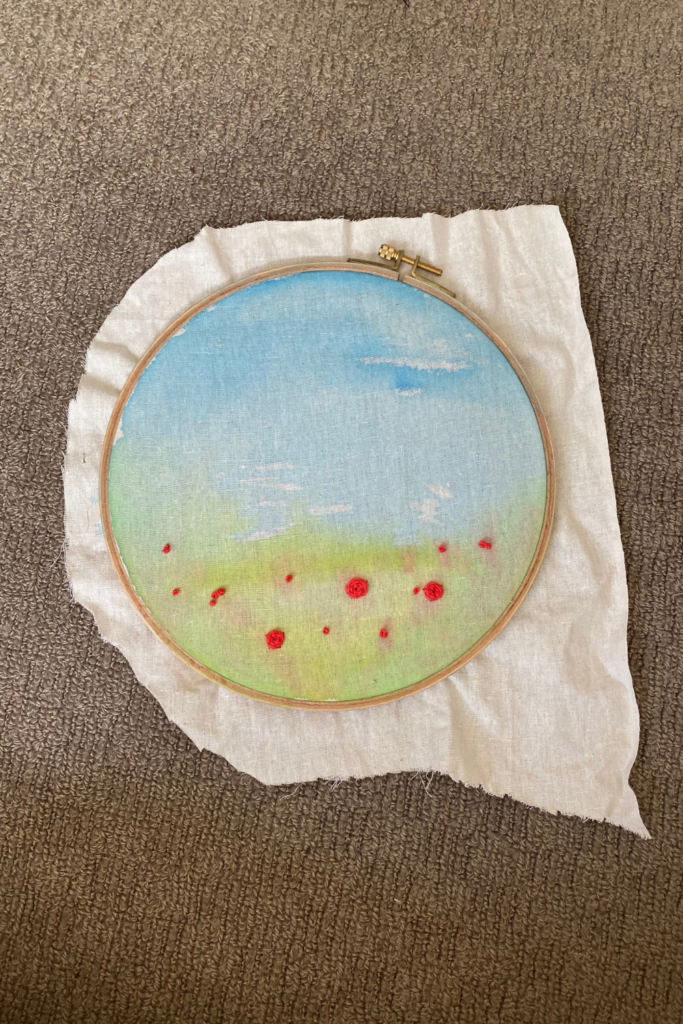
For the design, I started with a blue sky, leaving bits of white for small clouds, I then went and added light green for grass and then dark green around the edges. The last thing I did was add red dots for floral areas. It’s important to paint the red paint on the green when it’s wet. If you want a blended background like mine then paint wet to wet on wet. If you want more define lines, wait for the color to dry before starting a different color.
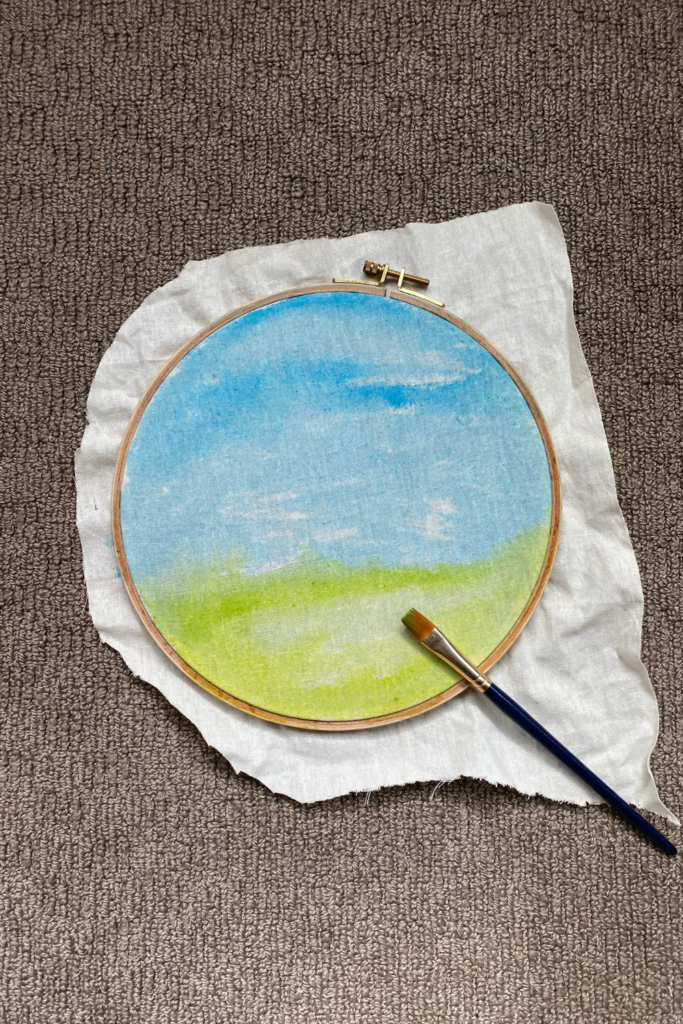

Step 2: Dry the Fabric
Wait for the fabric to dry completely. Leave it in the sun, in front of the heater, hot water cupboard, or fan or just let it air dry, but don’t start your embroidery work until the fabric is completely dry. This is very important if you want to wait and the fabric is even a little bit wet the color will come off and you will be left with a very pale or white fabric… learned this the hard way! The fabric may take longer to dry than expected if you used a lot of water.
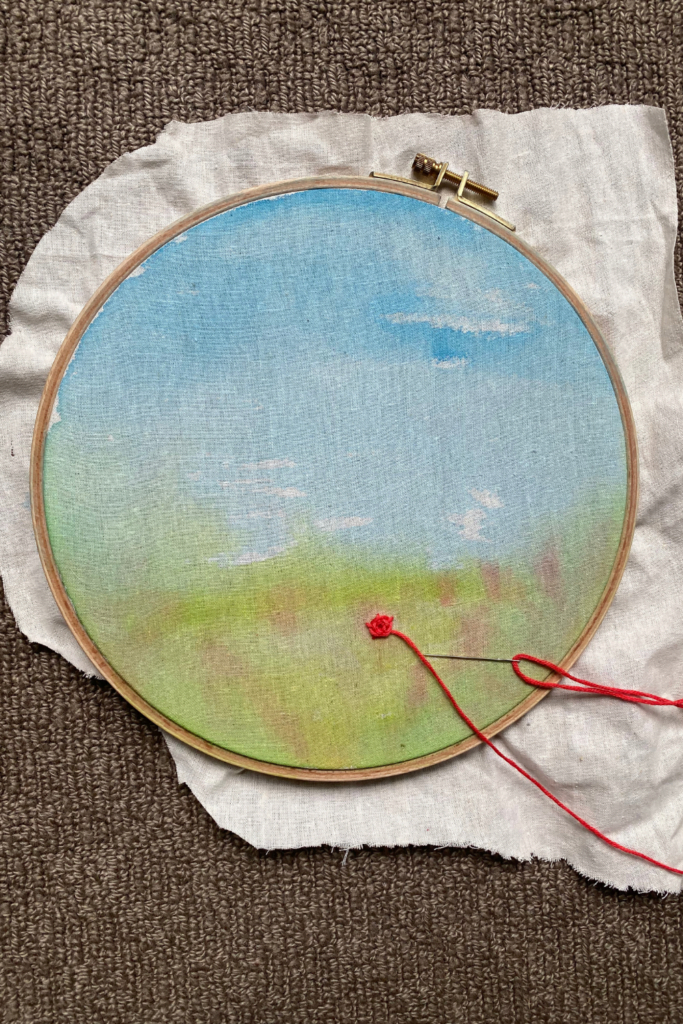
Step 3: Add your Embroidery
For my pattern, I made a field of flowers using the following stitches
- Wagon Wheel
- Lazy Daisy
- French knot
- Stem Stitch
You can learn all of the above stitches using this step-by-step tutorial with pictures
These stitches can be added together to make very cute flowers.
How to Make the Flowers
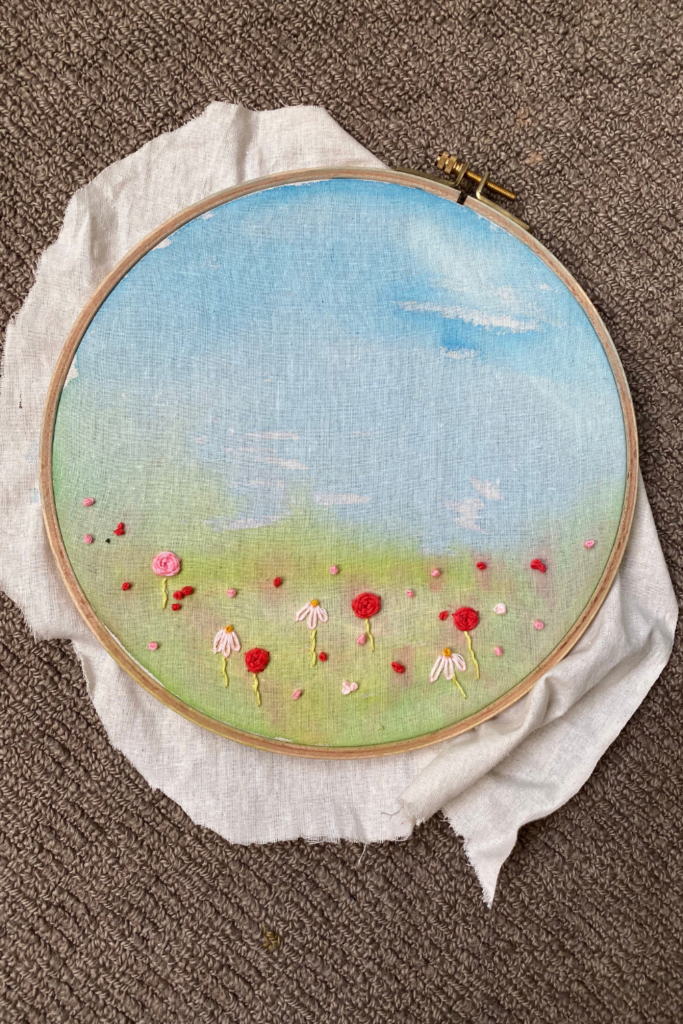
For all the flowers I used all 6 strands of embroidery floss, feel free to use less if you want more delicate flowers or if your embroidery hoop is smaller. All of my flower stitches are completely randomly placed. I first started with a wagon wheel rose stitch.
I started by making roses using the wagon wheel stitch for the rose head and a stem stitch for the stem. I then added lazy daisy stitches with a simple stem stitch. I then added French knots on the lazy daisy petals for the head of the flowers. Lastly, I scattered French knots to give the effect of small flowers.
For the color choices, I used pink and red, I decided not to use any color that would blend with the sky. Once I was completely happy with the embroidery flowers I had placed I decided its time to finish the back of the hoop.
Step 4: Finish your Hoop
Finishing the back of an embroidery hoop. You can transfer to an embroidery frame or just use your embroidery hoop if you can afford to use that. For this project, I am using my embroidery hoop as a frame. Firstly I cut my edges down a little. Then with super glue, I glued the edges down. then I simply cut a felt circle the size of the back and glued it over. Remember only to use a little bit of glue, the glue can spread onto the good side of your fabric( another reason why I use super glue) if you use too much, you only need a dot, don’t let it leak over your artwork. A little goes a long way.
You are Finished with your Watercolor Embroidery Art!

Your finished watercolor embroidery wall art is complete, and how stunning does it look? I placed mine on my wall for a few pictures but actually, I made this one as a gift. The possibility of what you can do with the combination of watercolor and embroidery is endless. A floral design is truly just the beginning of the possibilities. For example, you could paint things like a night sky, garden, water, house, and people and then add embroidered details. Hand embroidery really does add another texture creating a more in-depth piece of art which is why I really love it. This combination of watercolor and floss really does make the embroidery pop!
I hope you enjoyed this tutorial and I would love to hear about your watercolor embroidery art results in the comments below.