9 Embroidery Stitches for Beginners with Free Pattern
Let’s learn 9 hand embroidery stitches for beginners. Here is a tutorial for 9 hand embroidery stitches. This tutorial is great for all levels of embroiderers but is more useful for beginners so we will be learning the following beginner stitches. Wagon wheel, French knot, Chain Stitch, Short-Long Stitch, Lazy Daisy, Back Stitch, Satin Stitch, Stem Stitch, and Fern Stitch.

9 Hand Embroidery Stitches for Beginners with Free Pattern
Here is the Free Printable Pattern for this tutorial. If you don’t have a printer you can simply hand draw this pattern.
FREE PATTERN PDF DOWNLOAD HERE
Transferring and Drawing the Pattern on Fabric
The prick and pounce method is great for pattern transfer initially and to draw this pattern on fabric I use vanishing markers that wash away with water. This type of marker is my go-to for embroidery projects.
Beginner Embroidery Stitches | What You Need:
To complete this tutorial, you will need the following things:
- Hoop
- Embroidery Floss
- Embroidery Needles
- Fabric Vanishing Marker (optional)
- The Embroidery Pattern
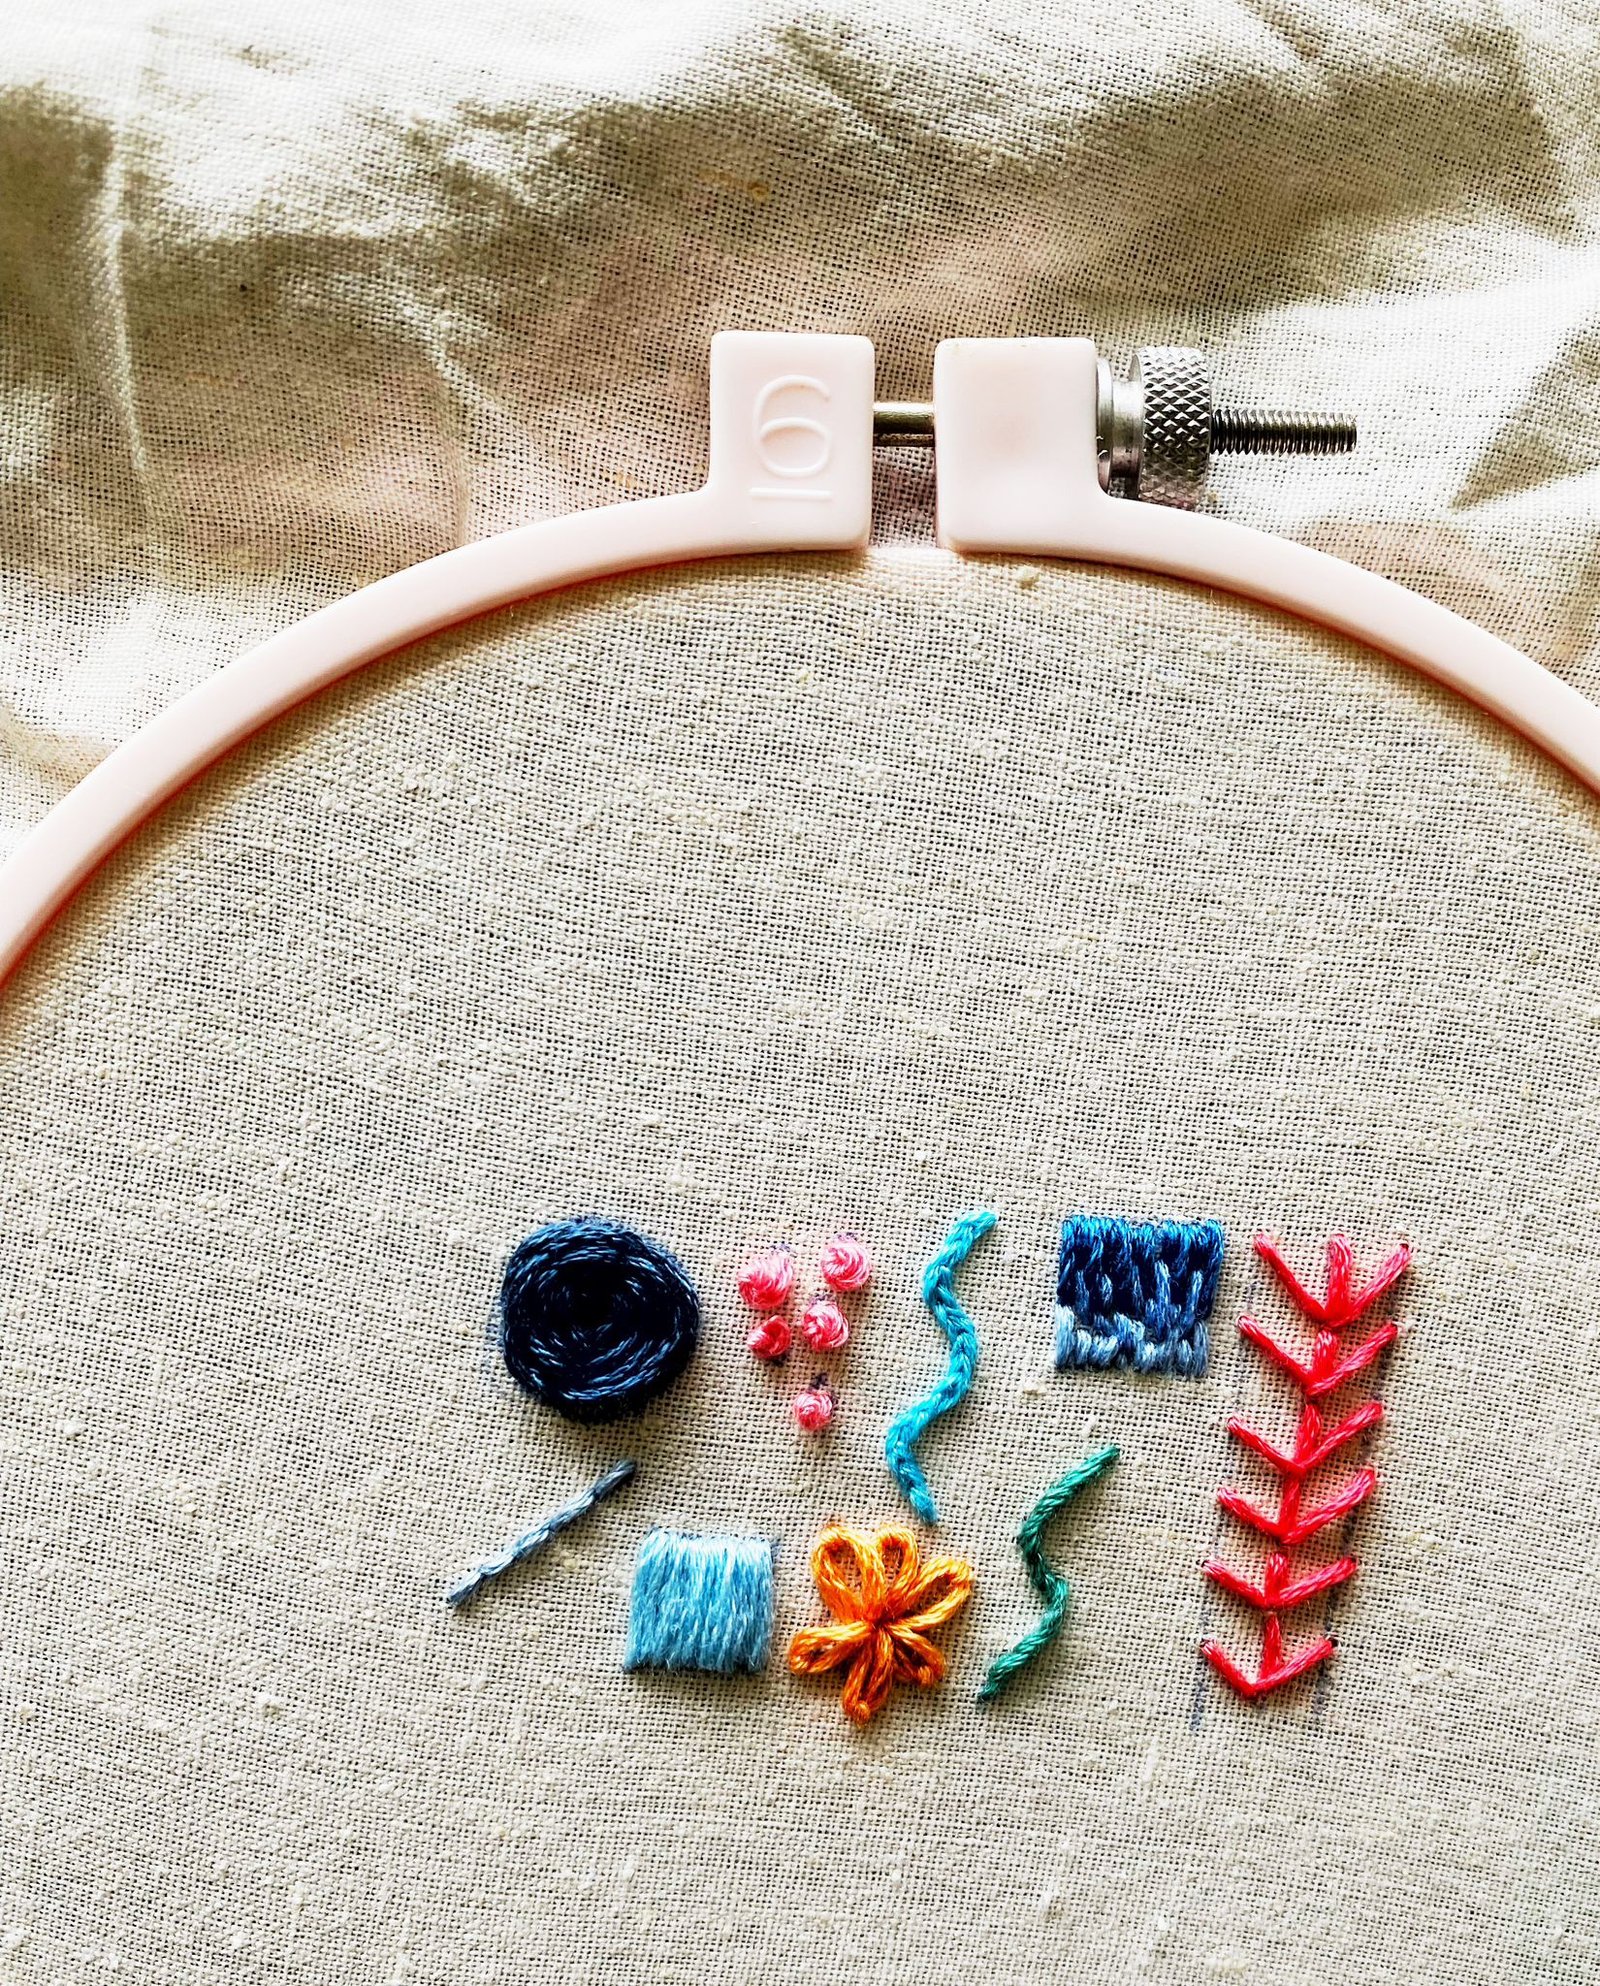
9 Hand Embroidery Stitches for Beginners

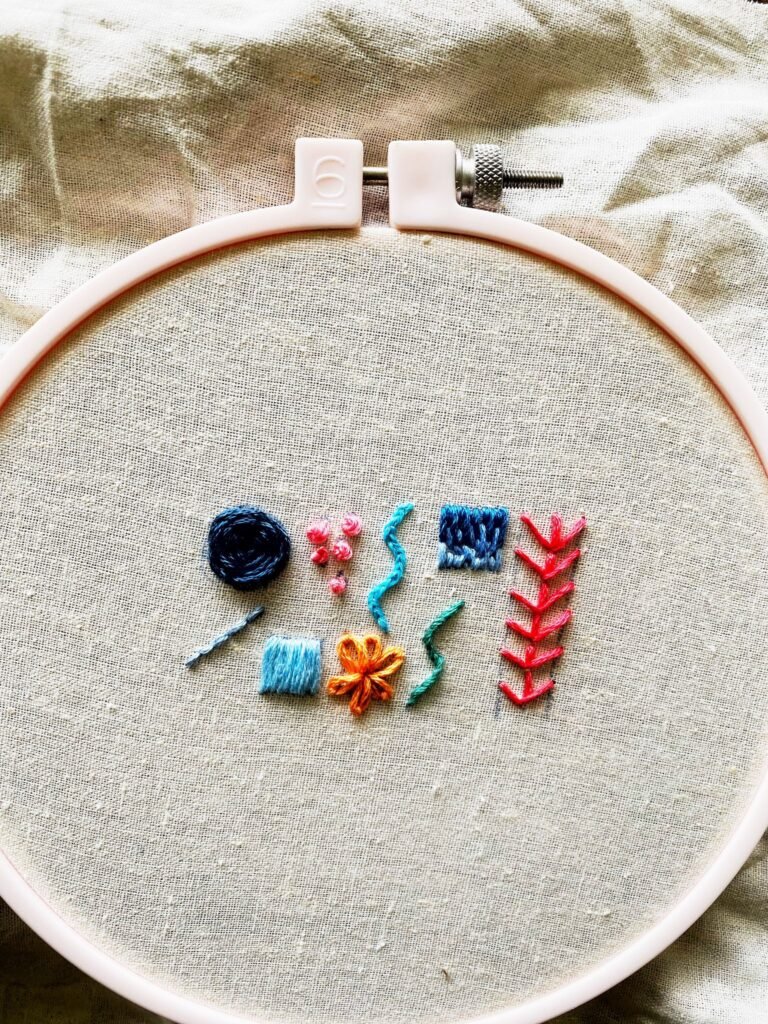

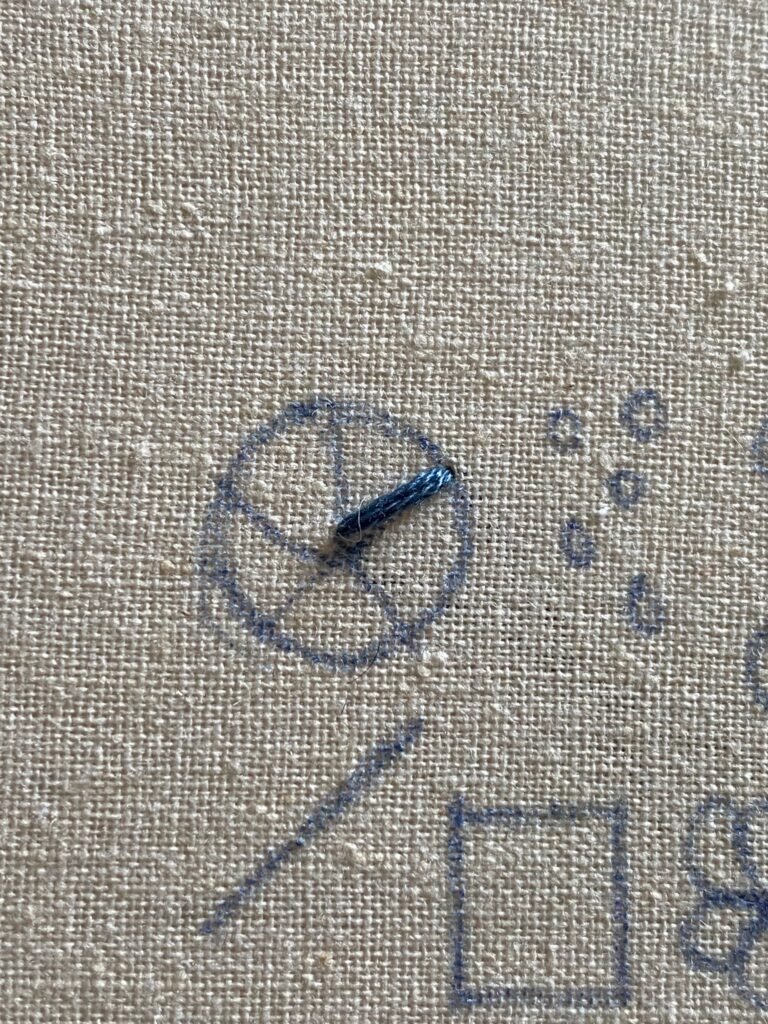
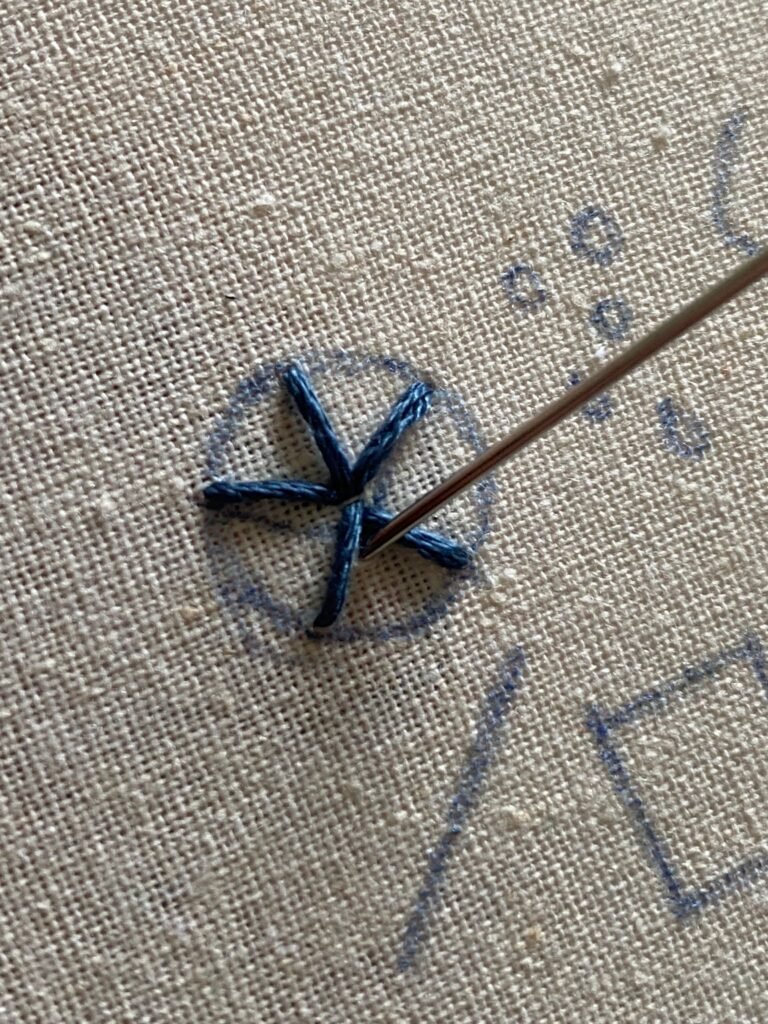
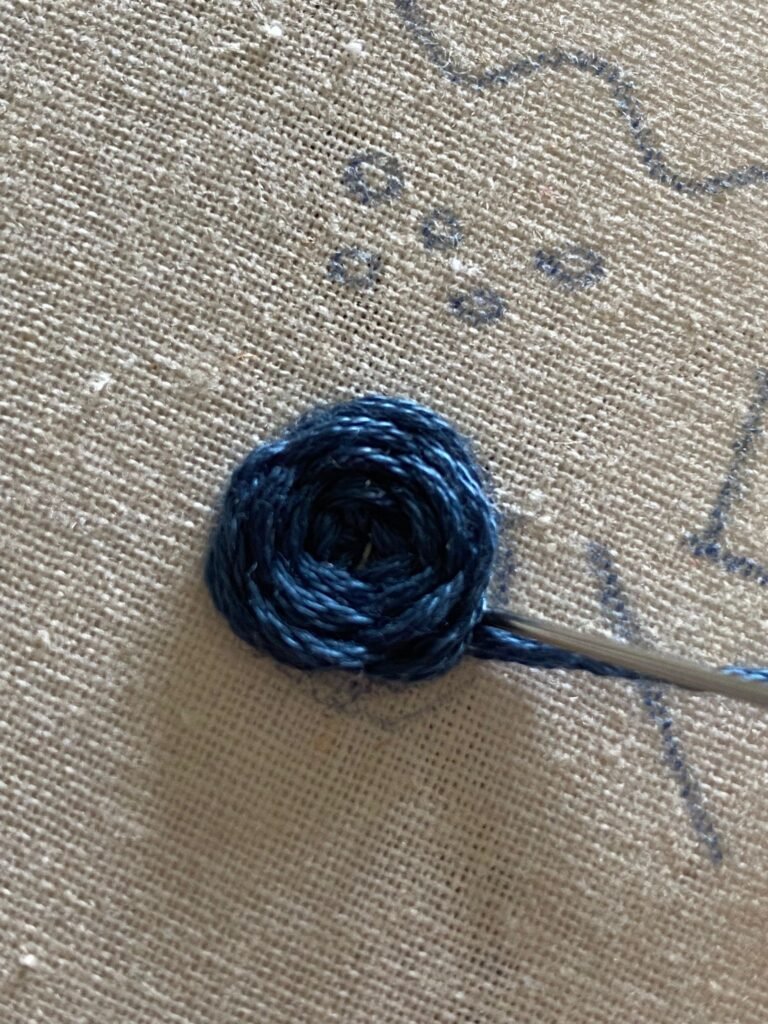
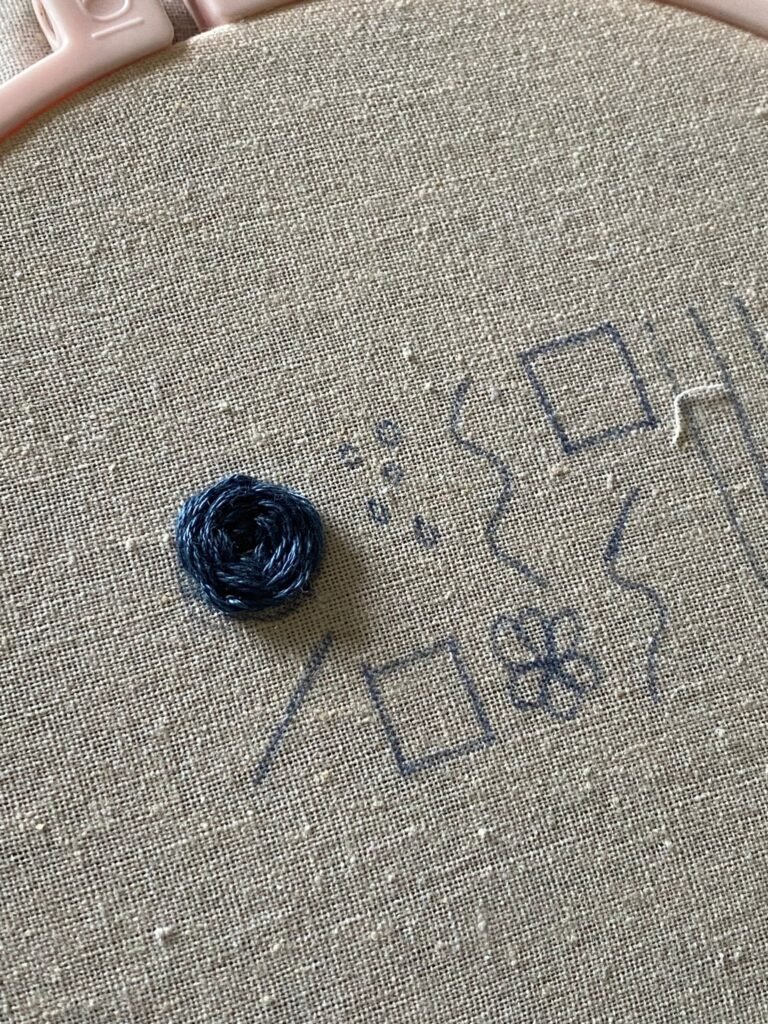
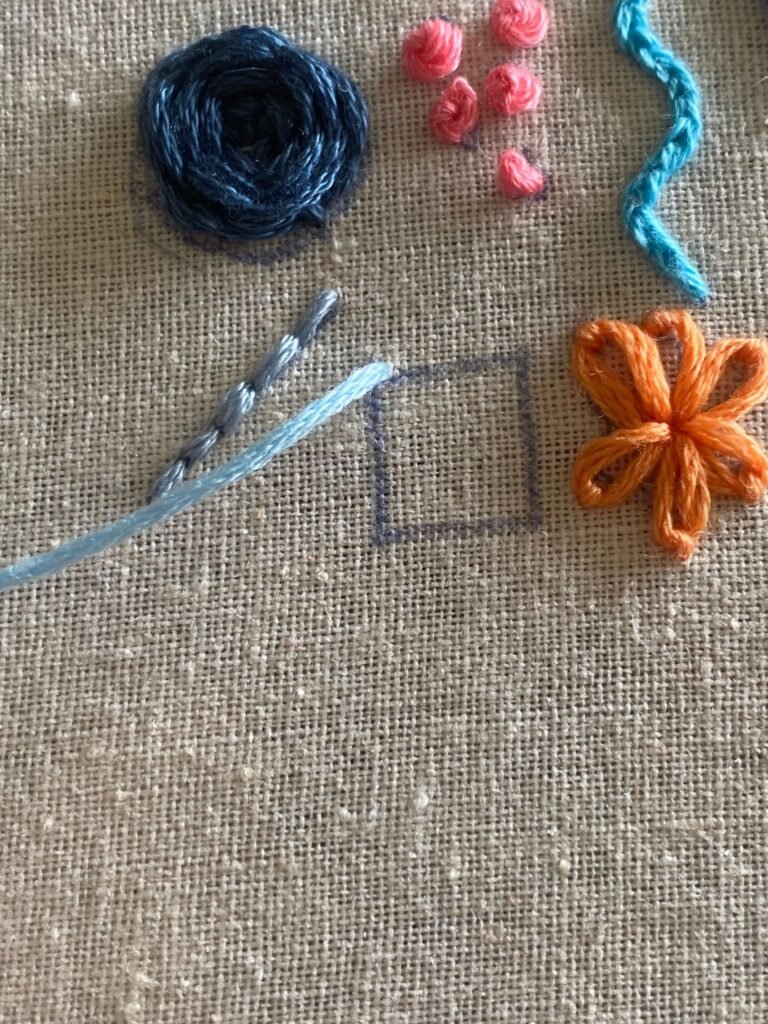
Wagon Wheel
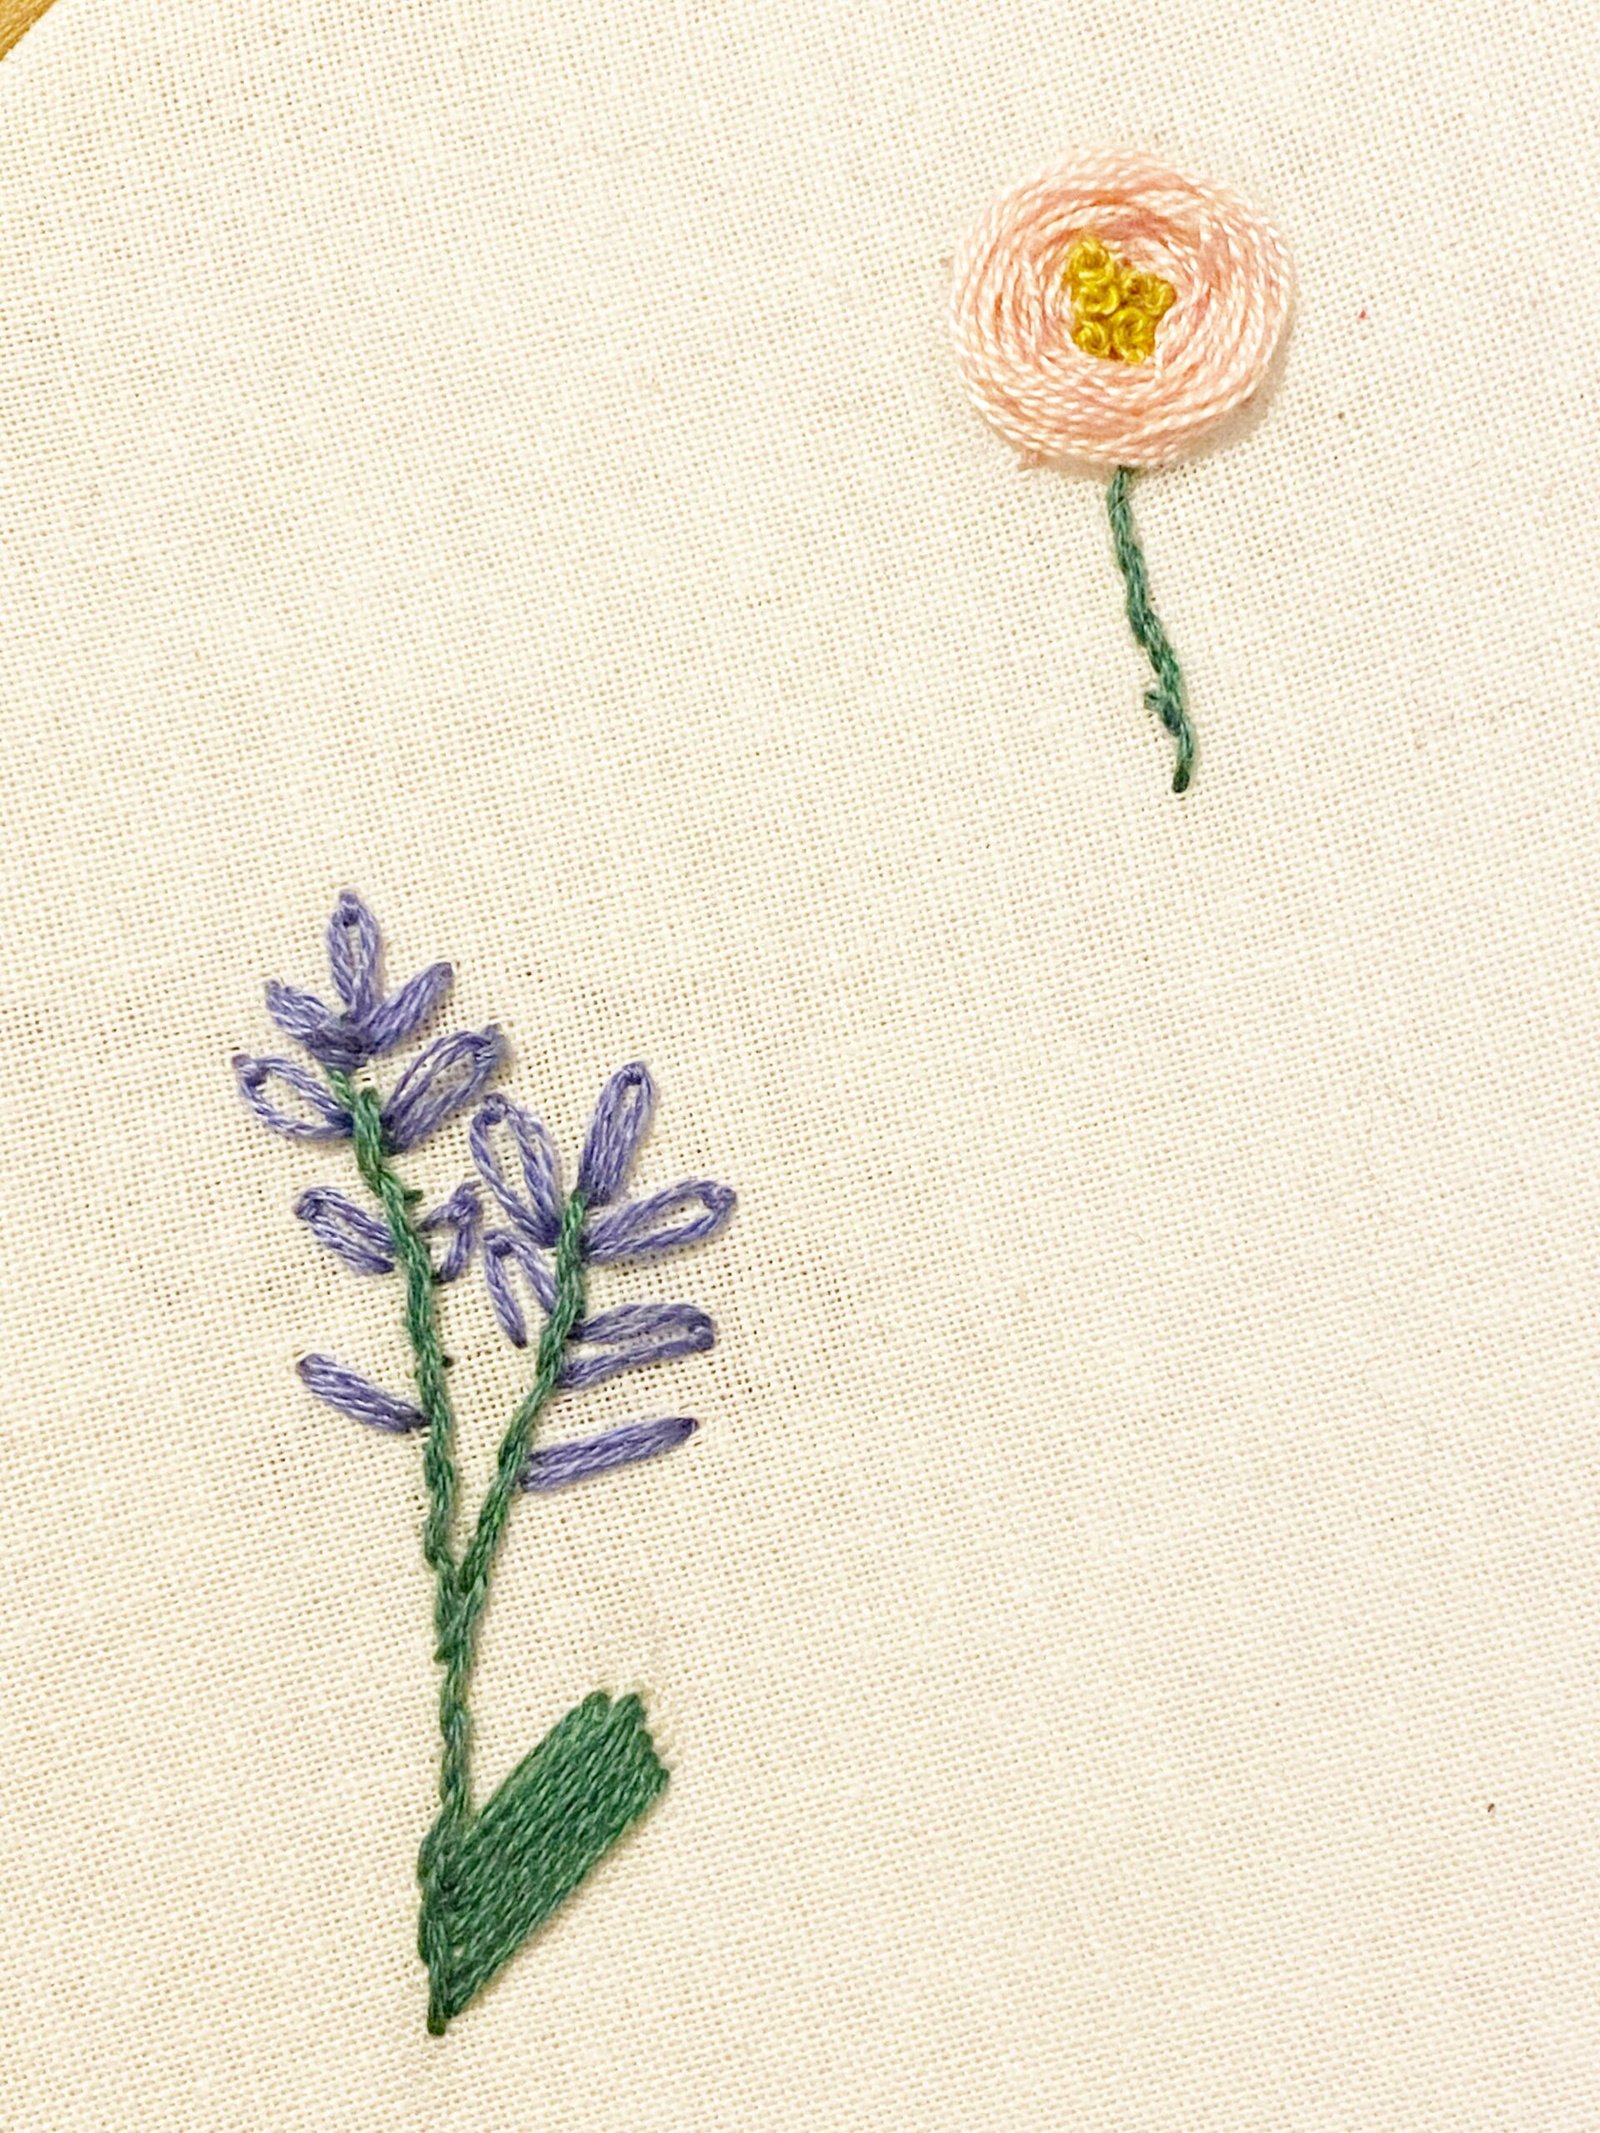
Wagon wheel stitch is commonly used to depict roses and flowers in hand embroidery. This stitch can be succesful by starting with an uneven amount of spokes and then by weaving the embroidery thread over and under the spokes until the wheel is complete.


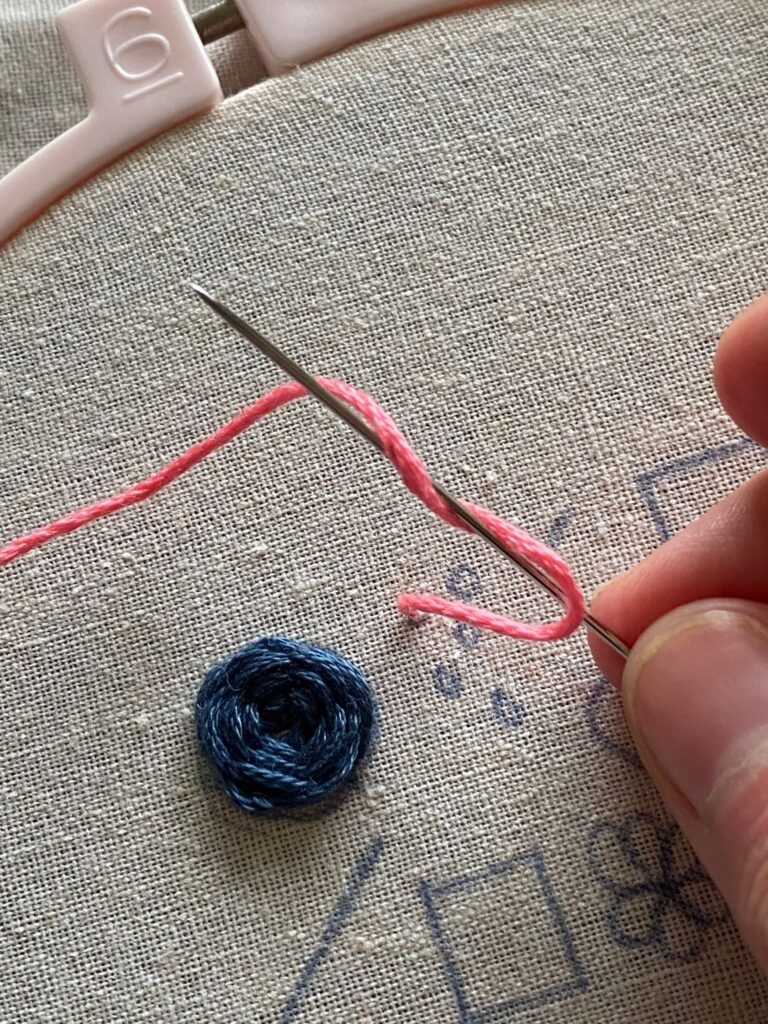
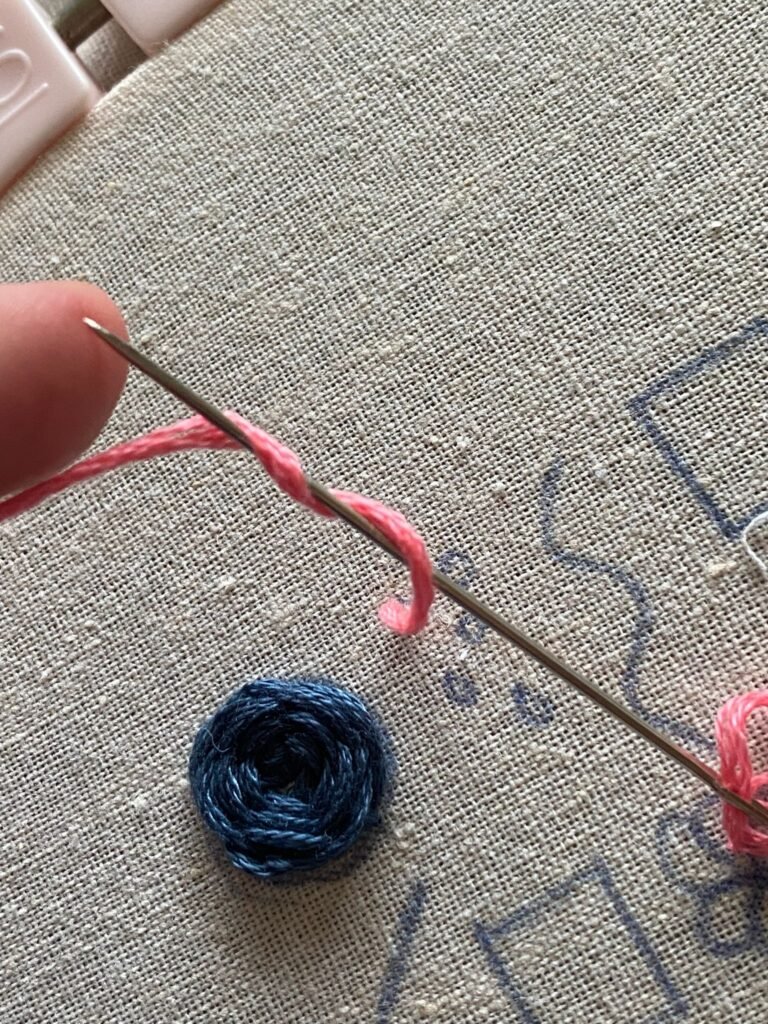
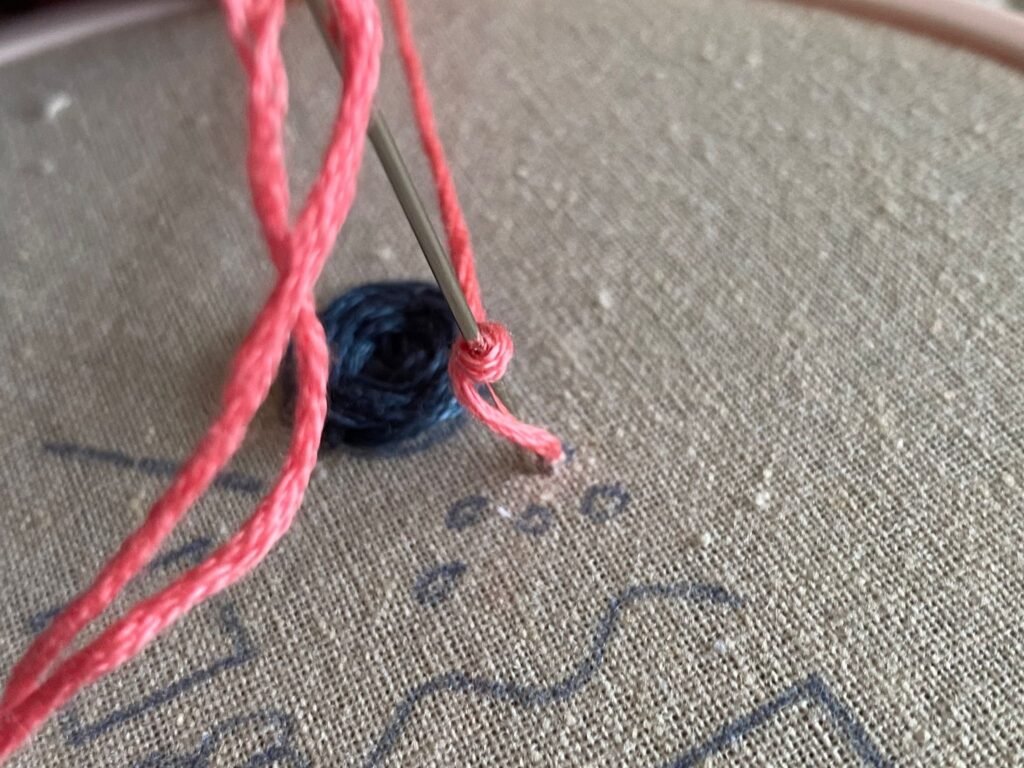
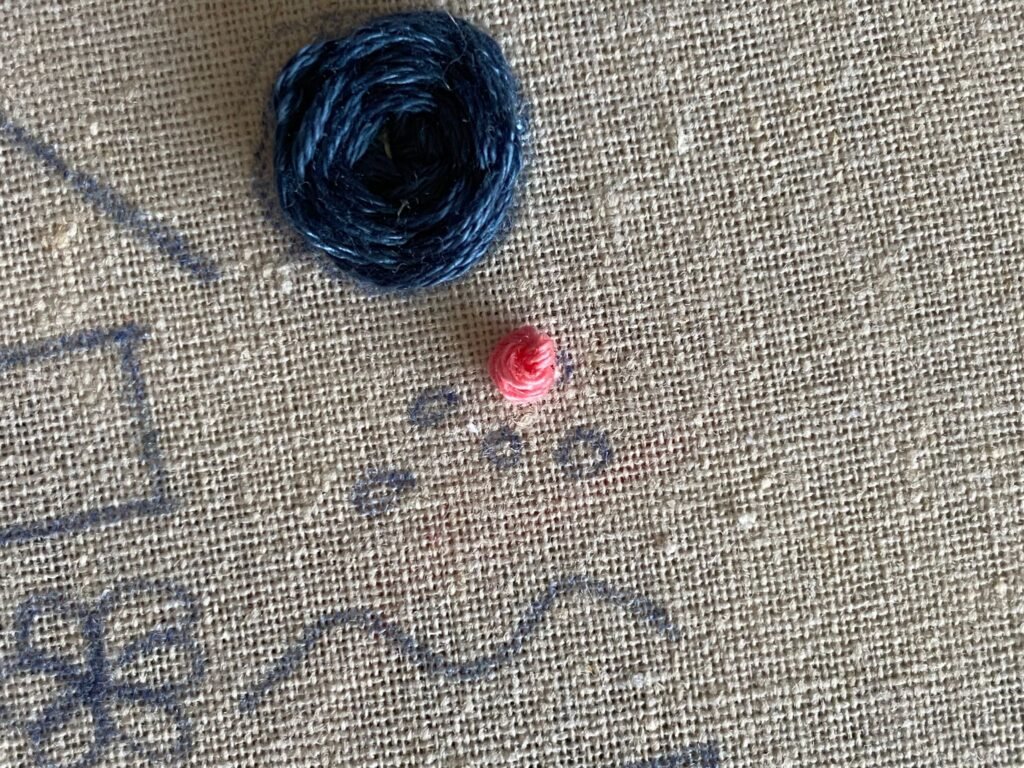
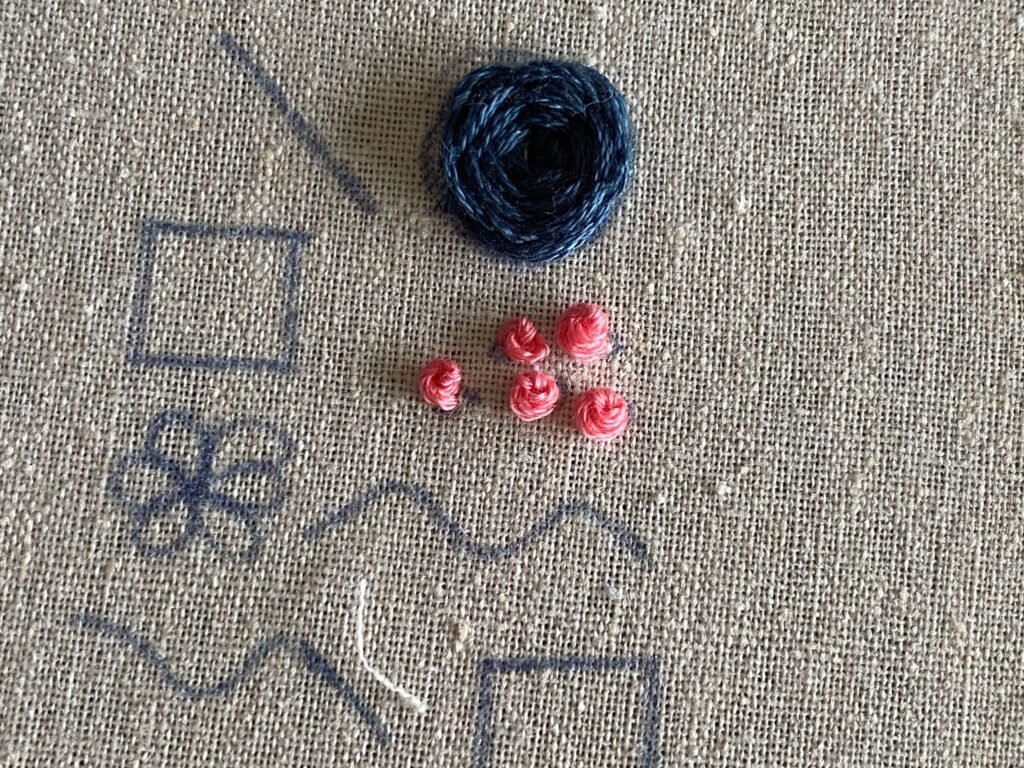
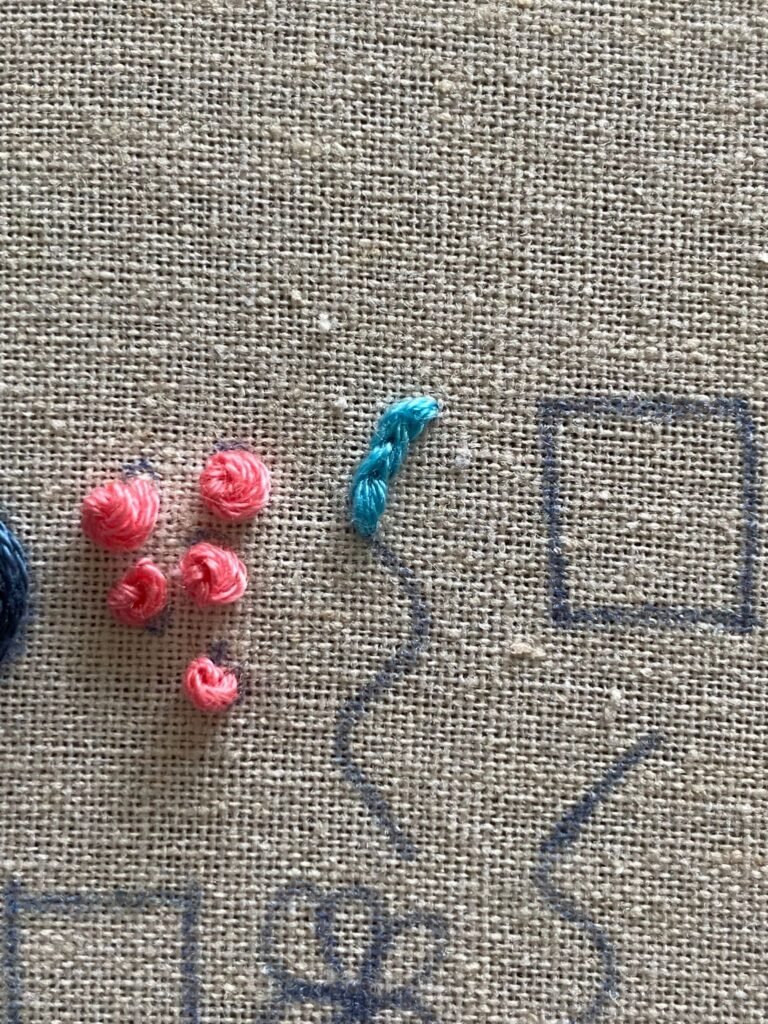
French knot
The French knot is commonly useful to depict florals in hand embroidery but can be useful for other things too. The French knot is basically a knot that is too big to go back through the fabric. To complete a French knot. bring the needle and thread up from the back of the fabric, wrap the embroidery floss around the needle twice, and push the needle back where it came from.

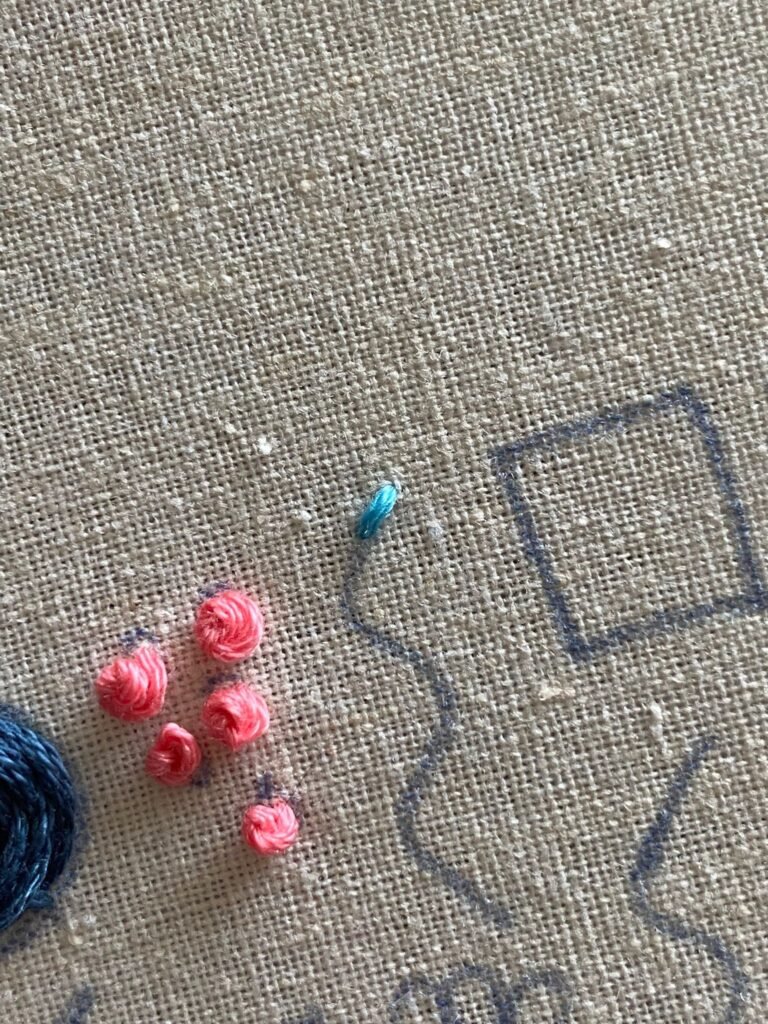
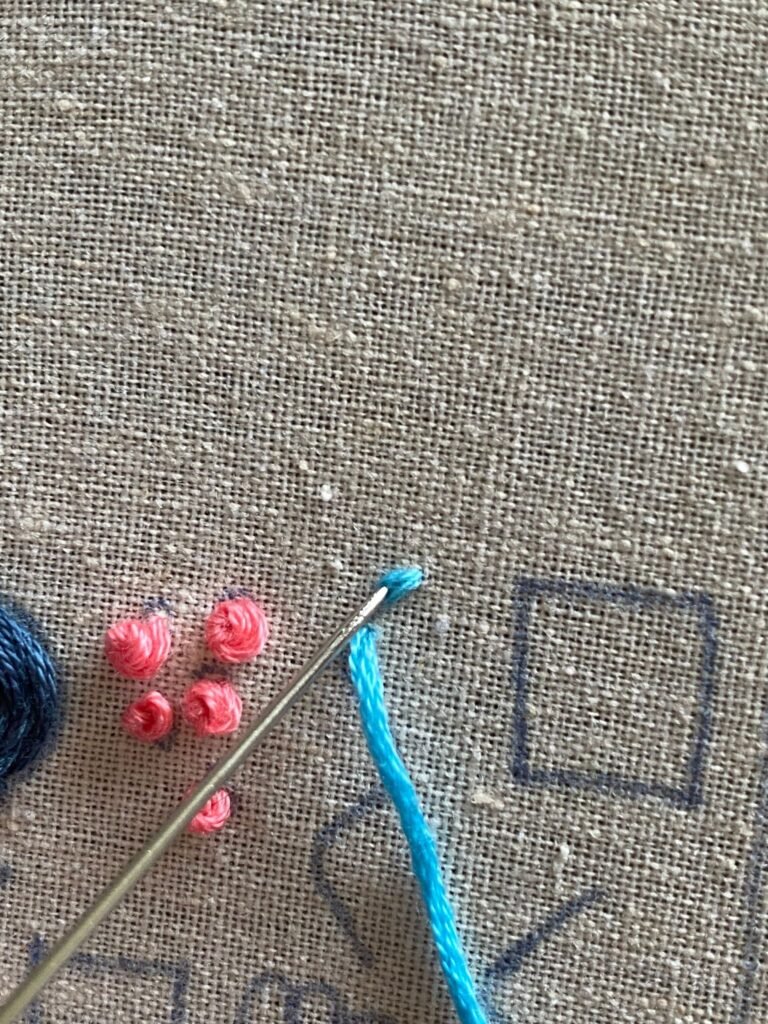
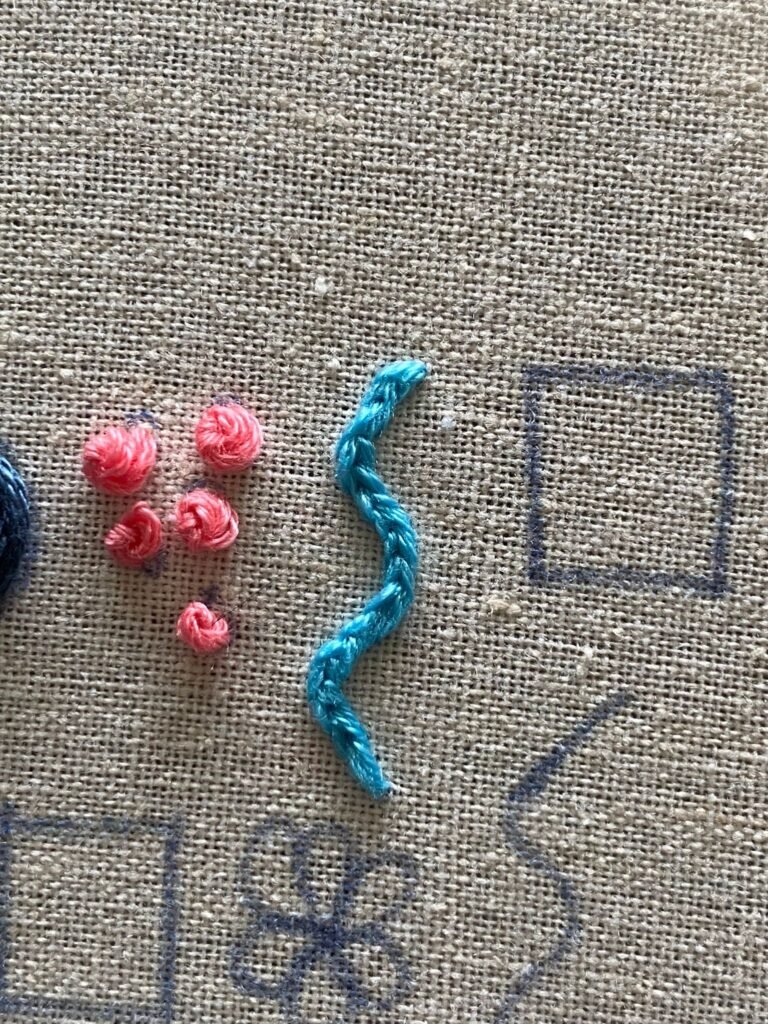
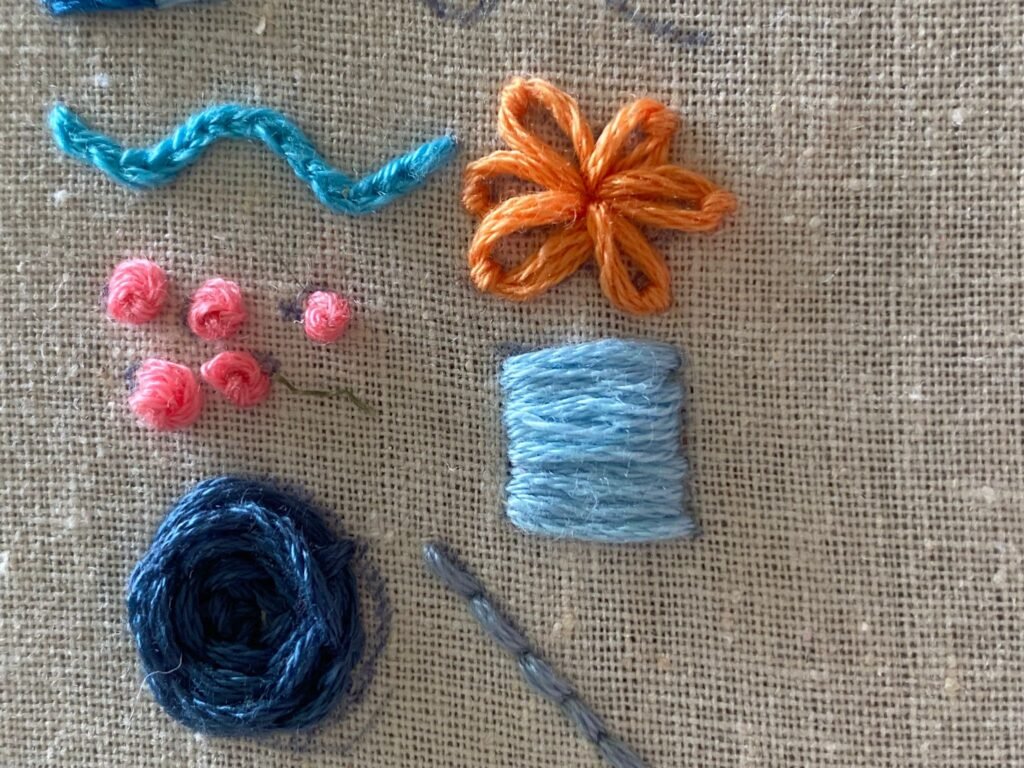
Chain Stitch
The chain stitch is commonly used in hand embroidery lettering and for outlines. This stitch is easy to complete. Start by making a straight stitch, however for the next stitch separate the embroidery floss with the needle. This creates a chain-like effect.

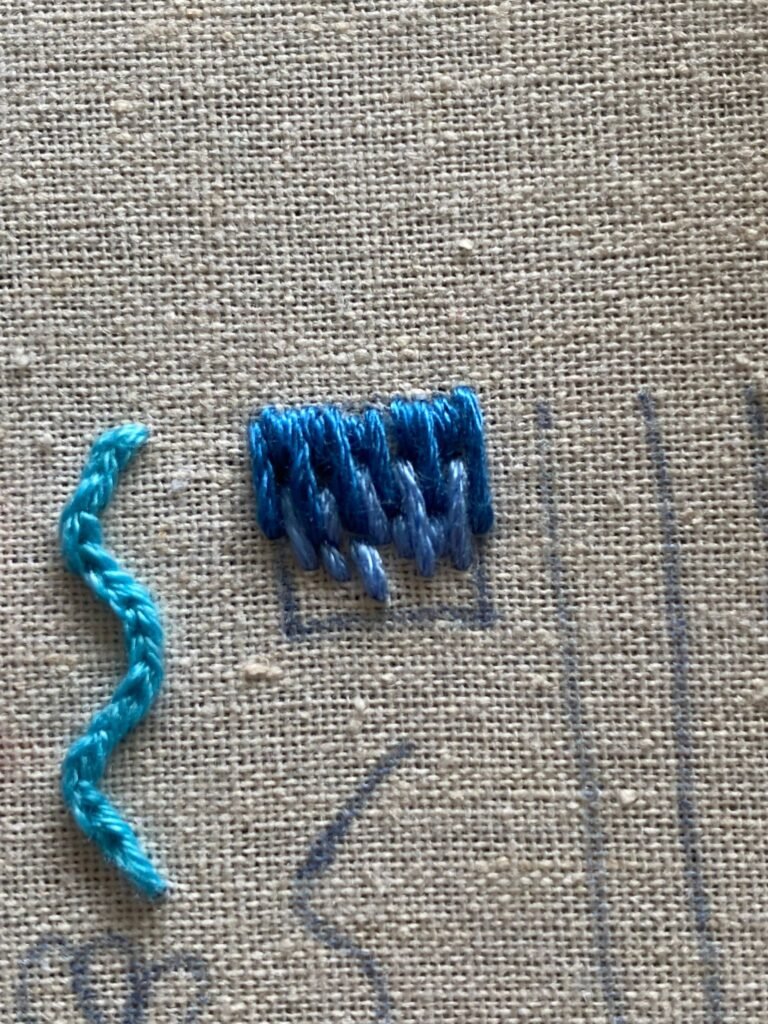
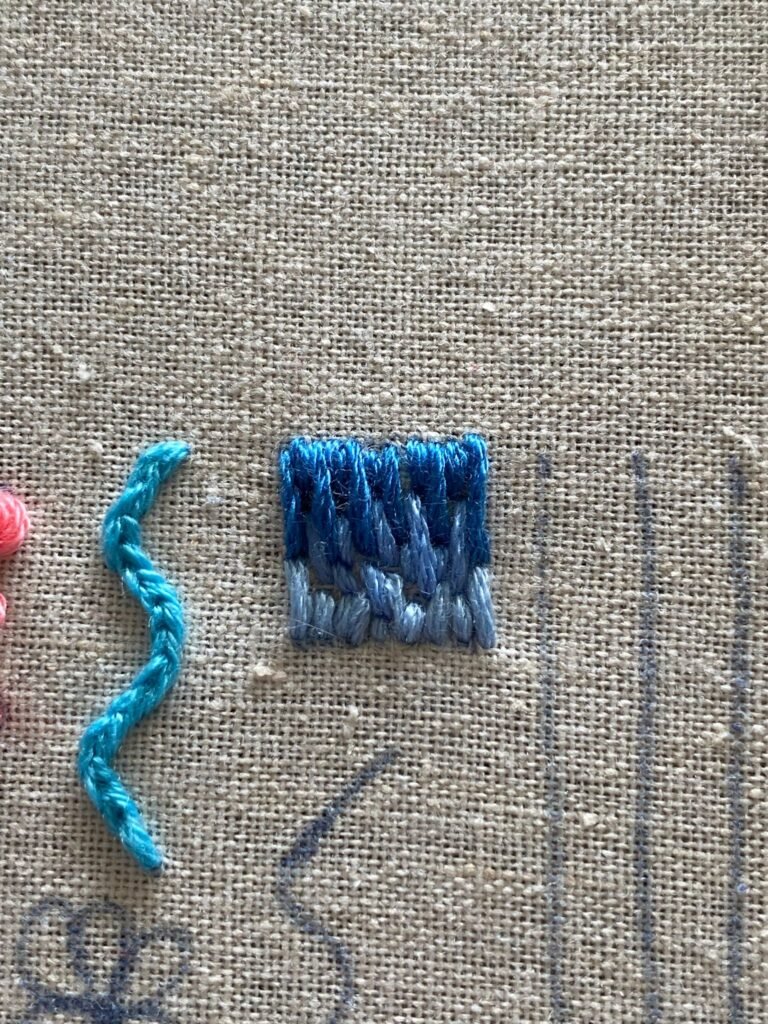
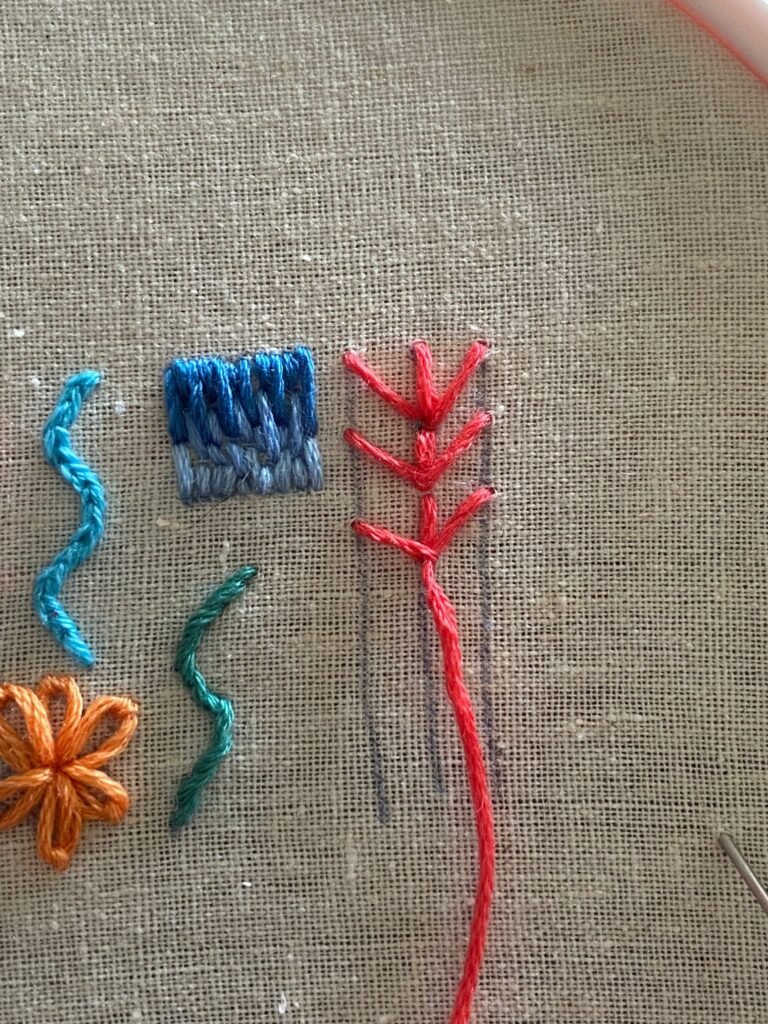
Short Long Stitch
This stitch is used for shading and coloring. Use 3 colors to practice this stitch, but one color can be used. Like the title, make short and then long stitches until the block is full transitioning through the colours to create a gradient effect or gradual color change.

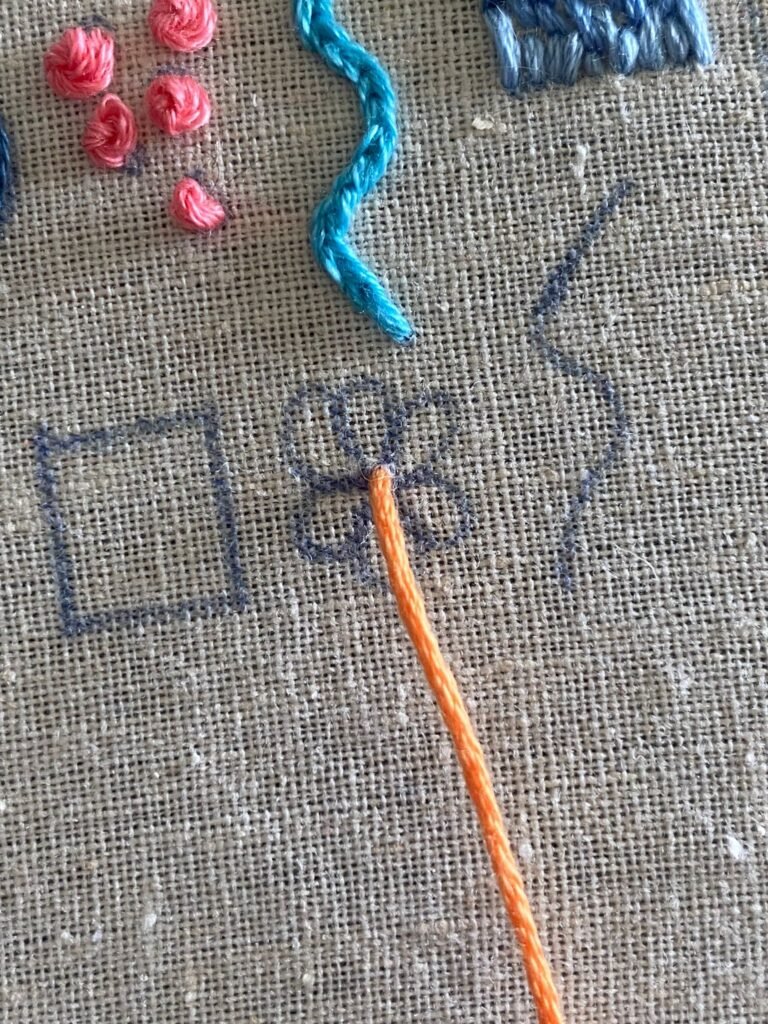
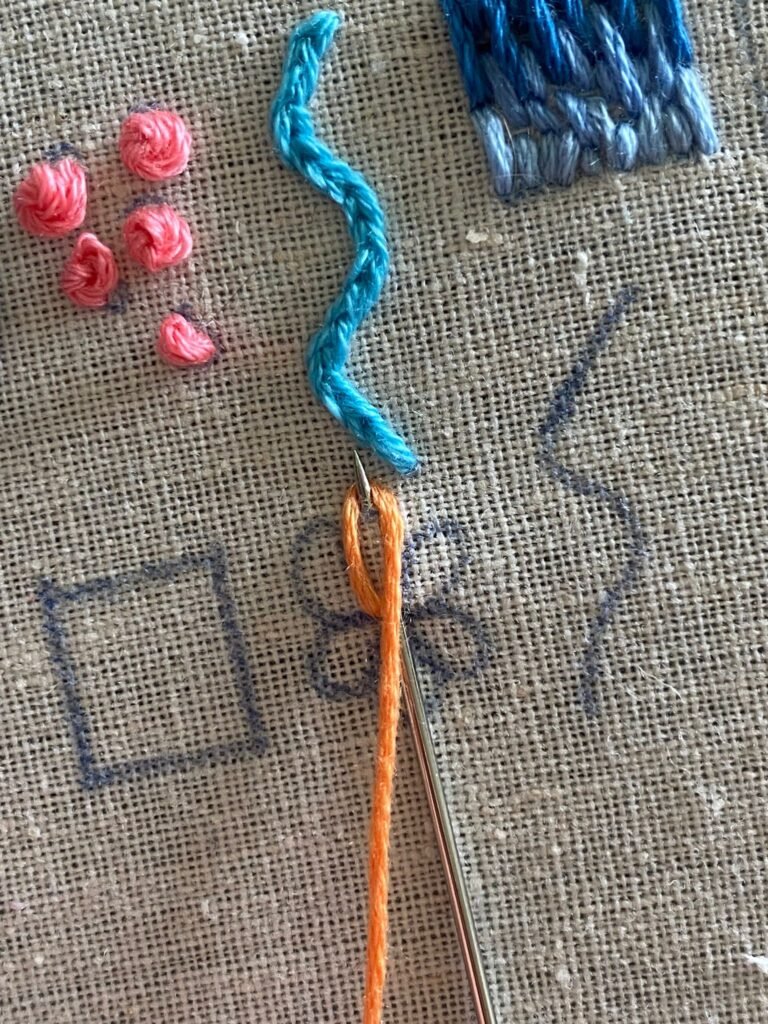
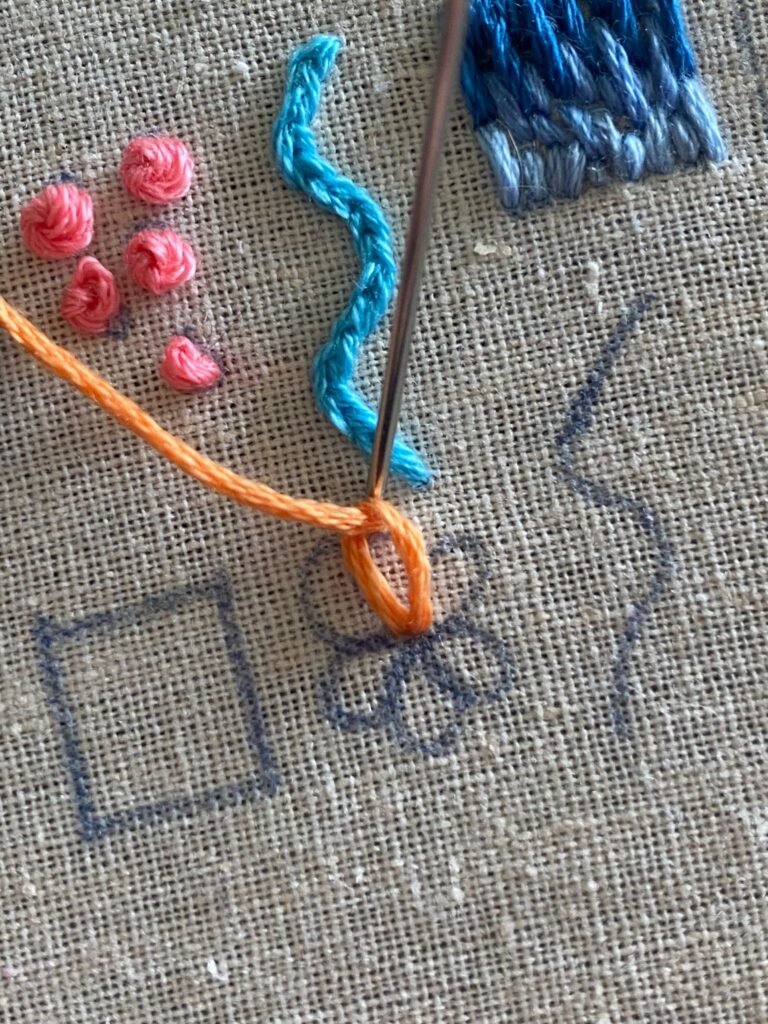
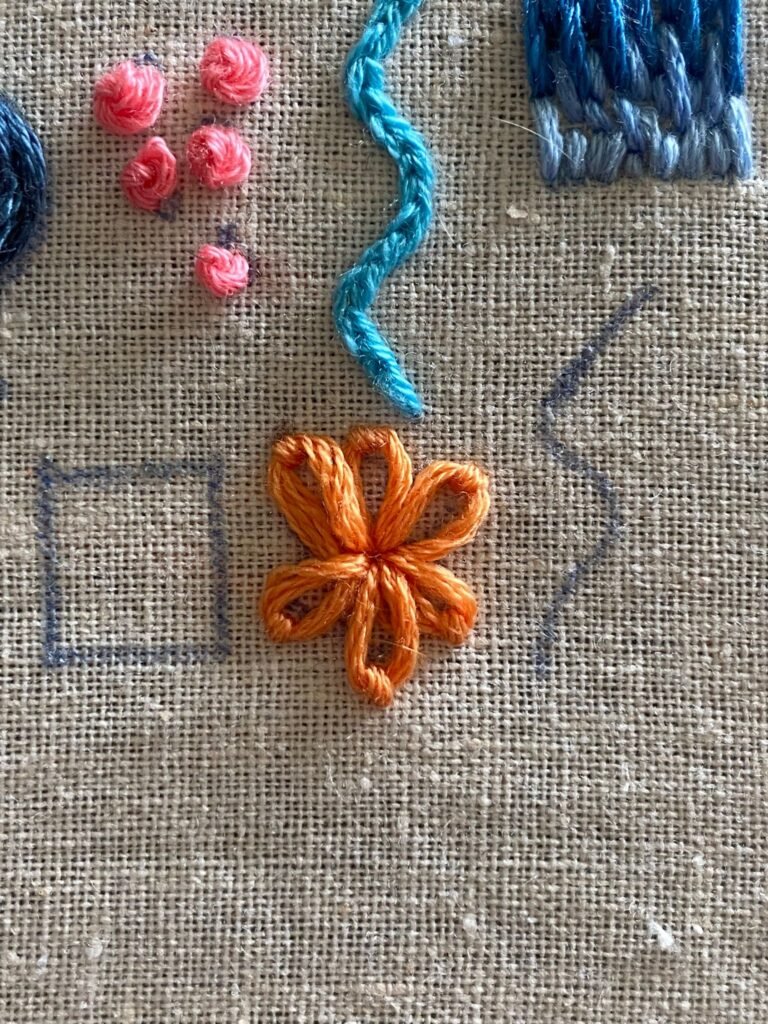
Lazy Daisy Stitch
In embroidery, you will probably use this stitch for flowers. This stitch is an extremely quick and efficient way to make flower petals. From one end of the petal to the other, push the needle through, wrap the floss around the tip of the needle, pull the needle through, then push the needle into the outer end of the petal securing the floss in place. Repeat until the daisy is complete.

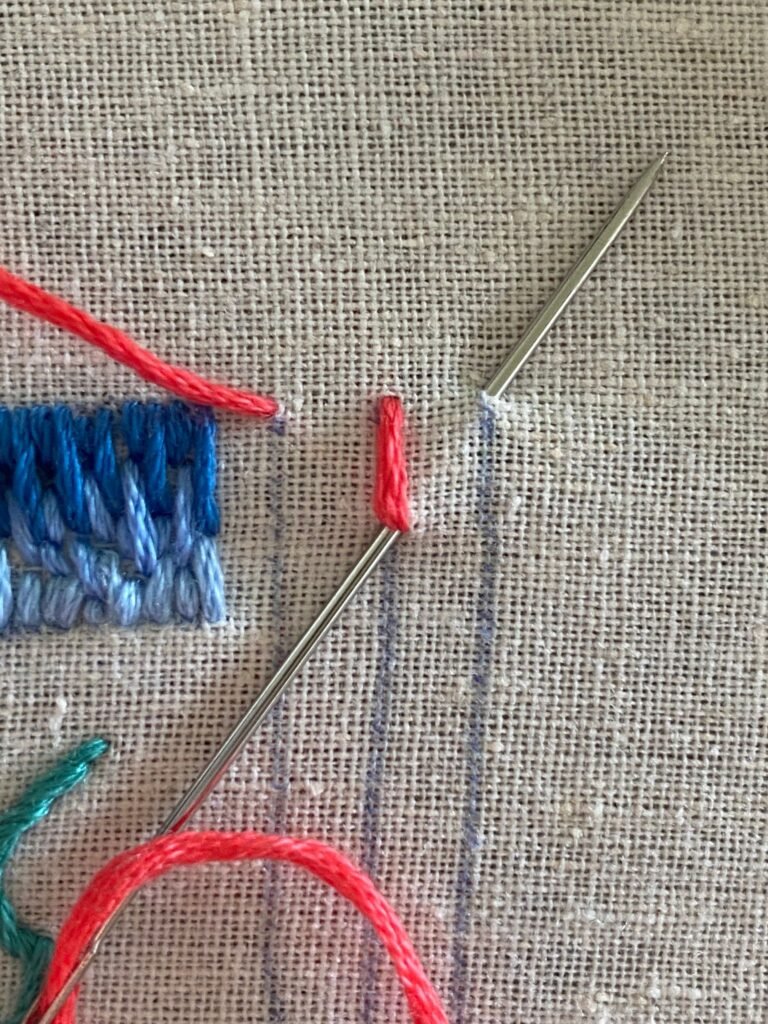
Hand Embroidery Backstitch
The back stitch can be useful for outlines in hand embroidery. Probably the easiest stitch to ever do in embroidery. Make sure the stitches are even and the same size.

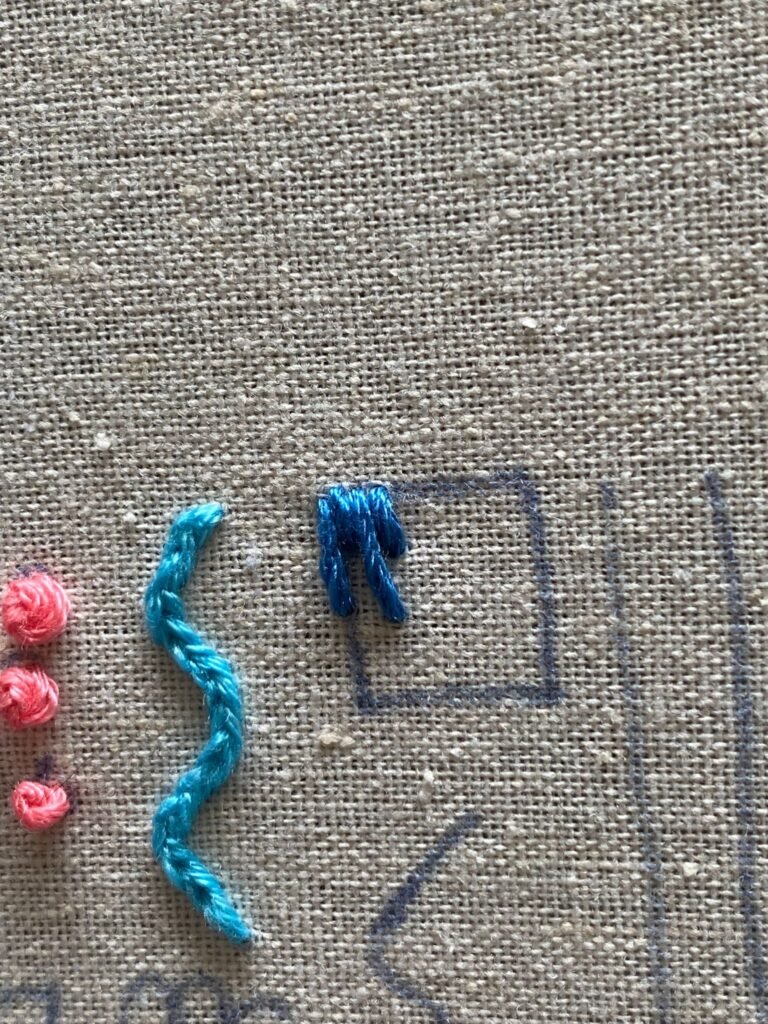
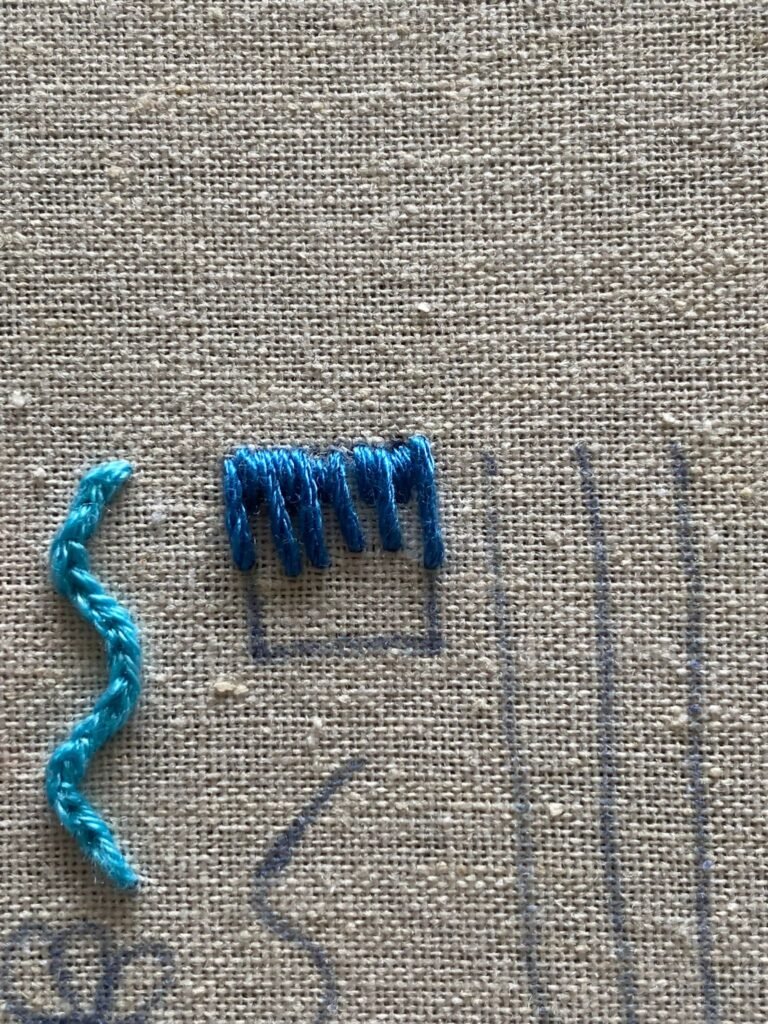
Satin Stitch
In hand embroidery, the satin stitch is used for blocking and coloring areas. Simple start on one side, bring the needle directly through to the other, and repeat. This is a very fast and efficient way to color an area of a pattern.

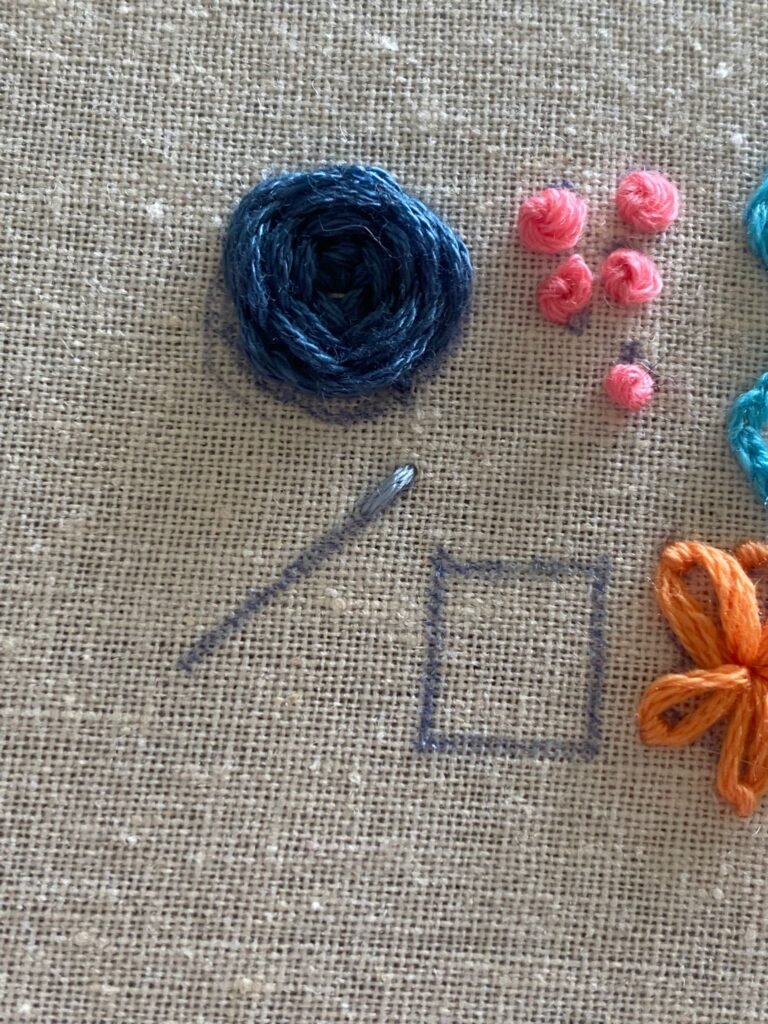
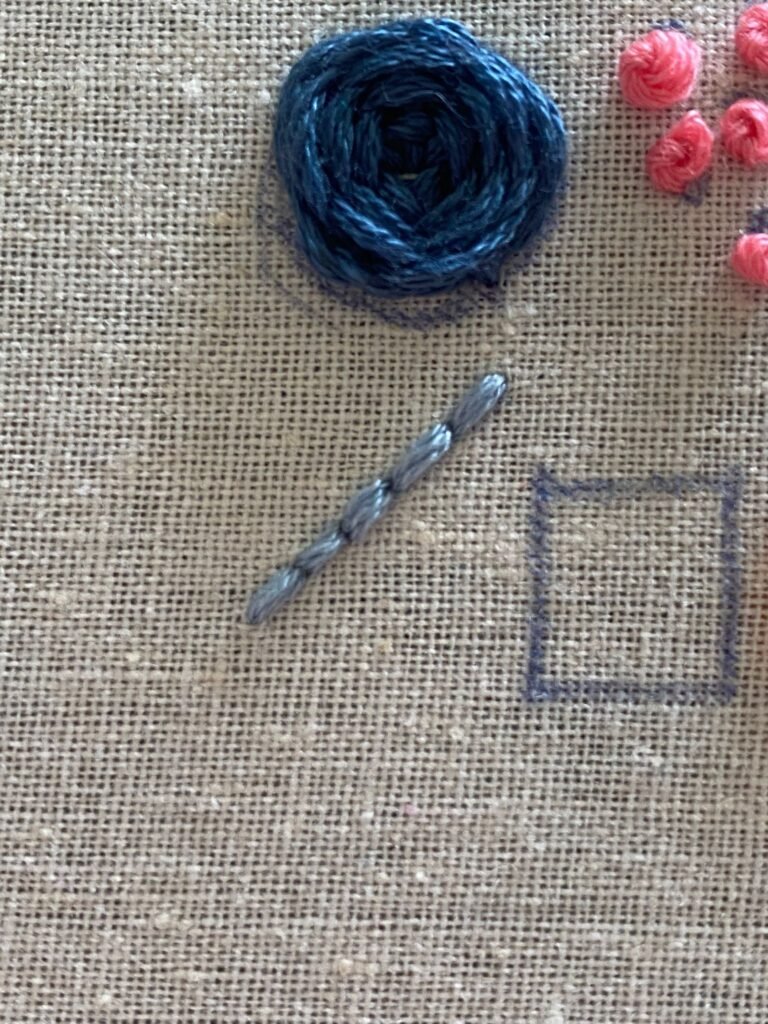
Stem Stitch
The stem stitch is used for stems of flowers and other plants but also for outlines and lettering. start with a simple back stitch, this time push the needle back through the fabric slightly to one side of the middle of the previous back stitch and repeat.

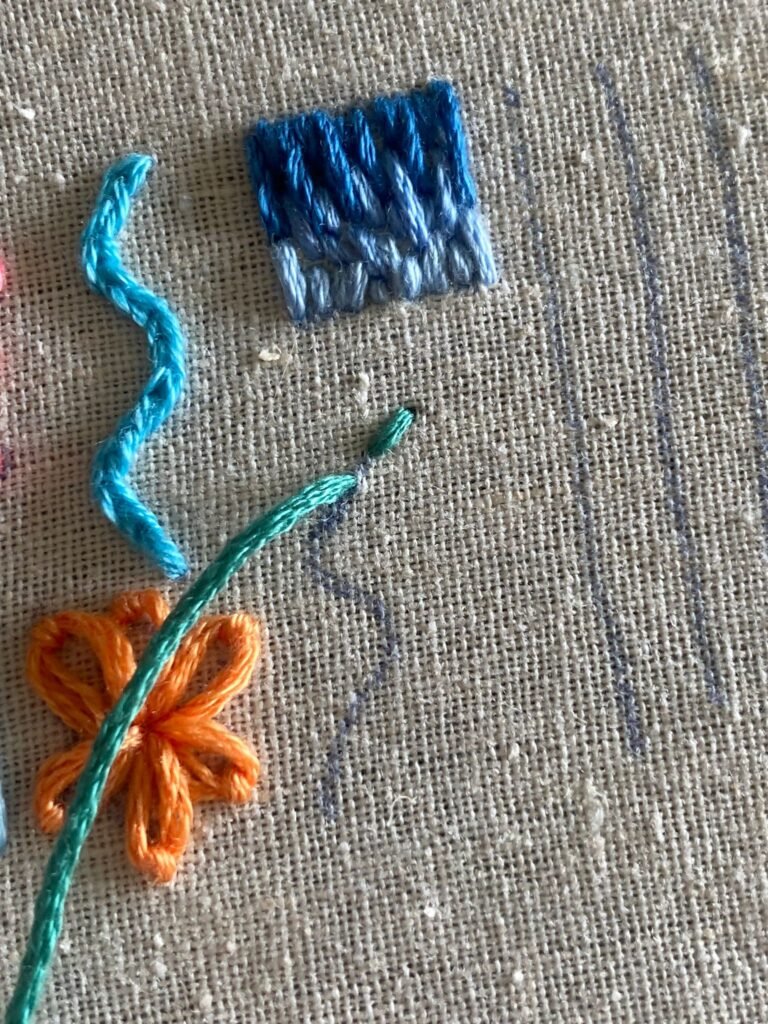


Fern Stitch
The fern stitch is as the title says, used to make fern-like patterns. Photos make it easier to describe how to complete a fern stitch than words. So follow the tutorial below. Basically with this stitch what you do to one side do it to the other.


9 Embroidery Stitches for Beginners
The tutorial is complete! I would love to hear what you thought of the patterns and what your results are. Remember practice makes perfect and don’t give up after the first try.
Happy Stitching.