How to make Hand Embroidery Brooch DIY Tutorial
Hand Embroidery Brooches are currently one of my favorite things to make. I make these for my friends, family, and myself! I also sell these at craft markets and in my Etsy shop! They add the perfect amount of quirkiness to any outfit. I will be showing you the method I use to make these cute handmade brooches.

This blog is about how to make a hand embroidery brooch DIY.
MY FAVOURITE HAND EMBROIDERY BROOCHES
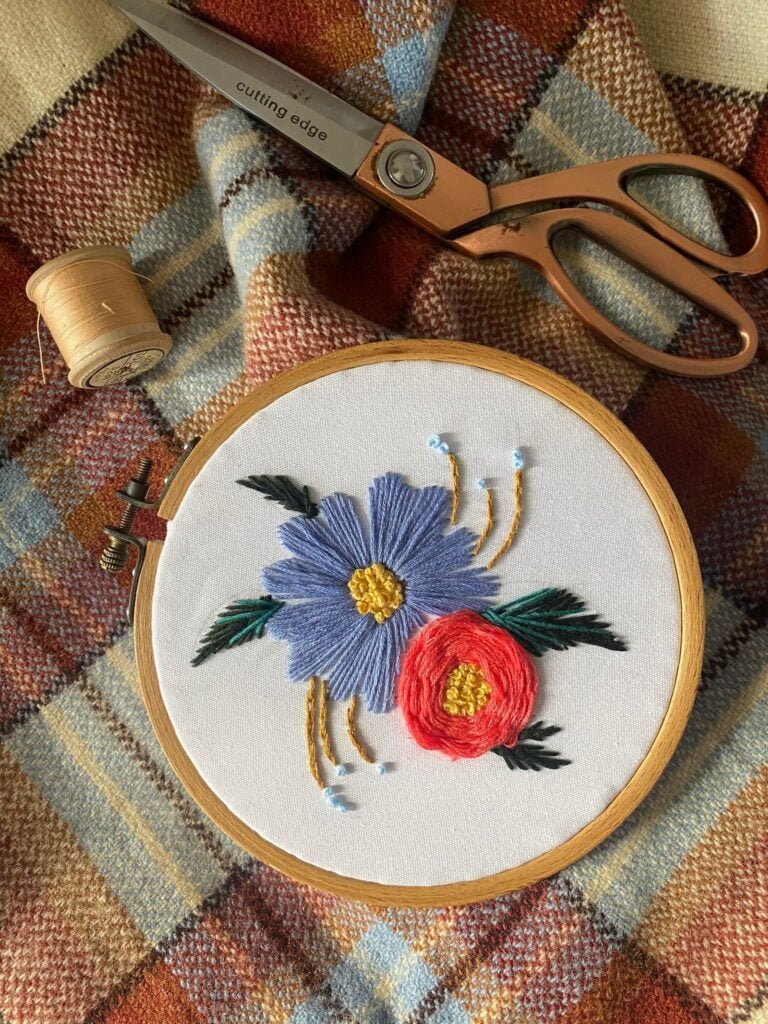
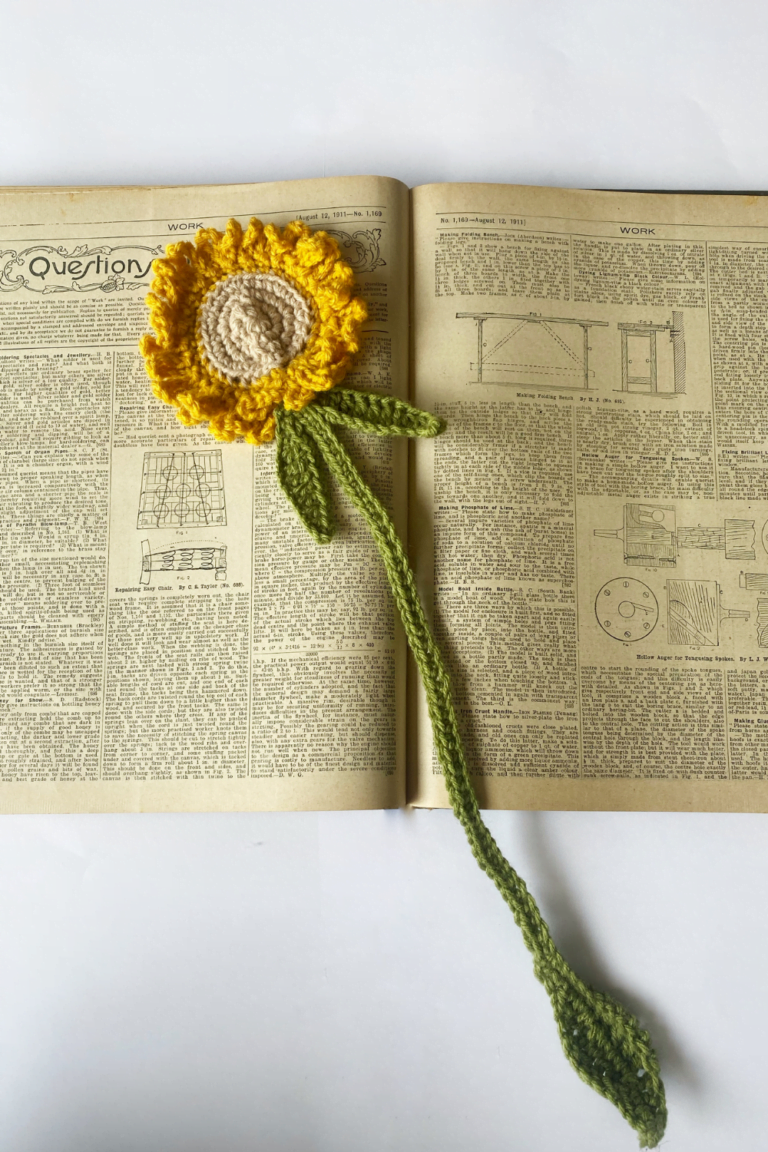
Below are some of my favorite hand embroidery brooches I have made. My personal favorite is the fox, I think he looks very neat.


THE METHOD
HAND EMBROIDERY PATTERN
As for patterns to make these designs, I first sketch out my design on paper, once I am happy I will transfer the design to the fabric which I will be working on, I use disappearing markers to do this. You can find these markers on amazon for a decent price. Tip: buy many different colored ones so they are visible on all fabric colors!
I then embroider my design on the fabric. The best thing about making things yourself is you can make them exactly how you want! I am currently working on a coin purse for my mother, and I plan to have a hand embroidery design on the front of that… blog post coming soon!

ADDING THE PARTS TOGETHER

I then cut out a piece of thin cardboard (cardboard from a cereal box works great, we LOVE reuse, reduce, recycle!) just smaller than the size of the brooch base. This can be tricky to do at first. What I do I press the brooch base into the cardboard so there is a faint outline, I then slightly in front of the indented line.
The next step is to place the cardboard cutout on the back of your fabric and make it tight but weaving the thread and needle in and out around the outside then pulling the end pieces of the thread tight and tieing off. If it’s not tight enough you can weave across to adjacent sides.
The last step is to glue the piece to the brooch base. make sure you are happy with how the fabric piece is looking, I use fast drying super glue, so once it’s stuck there is no going back. Make sure it’s stuck straight and that the fabric isn’t too loose. Tip: You only need a tiny amount of glue, if you put too much glue it can soak into the fabric too much and make its way to the front design… I learned that the hard way…
IT’S FINISHED!
Let dry and set for 5-15 mins and then the brooch is ready to gift or wear!
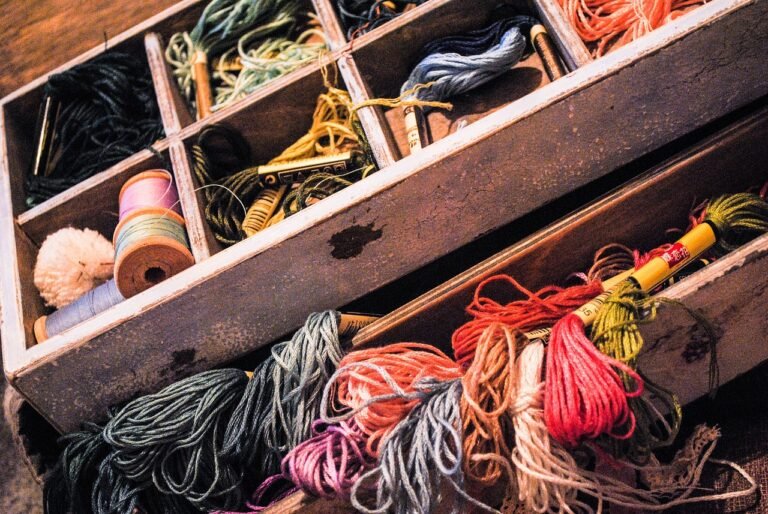
Below are some supplies I use to make these! These brooches are actually quite cheap to make, however, they do take a fair amount of time due to the embroidery. Still, such an enjoyable fun thing to make.
The Supplies I used in this DIY:
*Some items below may be affiliate links, which just means I get a small percentage of the purchase at no extra cost to you!*
The Brooch Base:
These are the brooch bases I used in the above examples, they are pretty vintage and antique looking which is what kind of look I was going for, they also have more modern brooch bases too!
That’s all for now…
I would love to see your results from this DIY! Please share your thoughts below in the comments, I love hearing from you all…
This blog has been about how to make a hand embroidery brooch DIY tutorial.