HOW TO: Crochet Magic Ring for Dummies
~Crochet Tutorials for Beginners ~
This is the Crochet Magic Ring for Dummies! If you are reading this blog post, I am guessing you have a hard time making a magic ring. No worries. I have a video tutorial and written instructions available to you. This is the way I always use to make a magic ring/circle for my crochet projects. Learning to make a magic ring/circle can be daunting, and it may even out you of your next project, but in reality, the magic circle is really easy with a little practice and the following tips to get a perfect circle/ring every time! P.S. Magic ring and magic circle are exactly the same thing and are interchangeable terms!
- In this post, you will get a video tutorial, written instructions, and Tips and tricks on the crochet magic ring
Crochet Magic Ring For Dummies!
Video Tutorial for Crochet Magic Ring
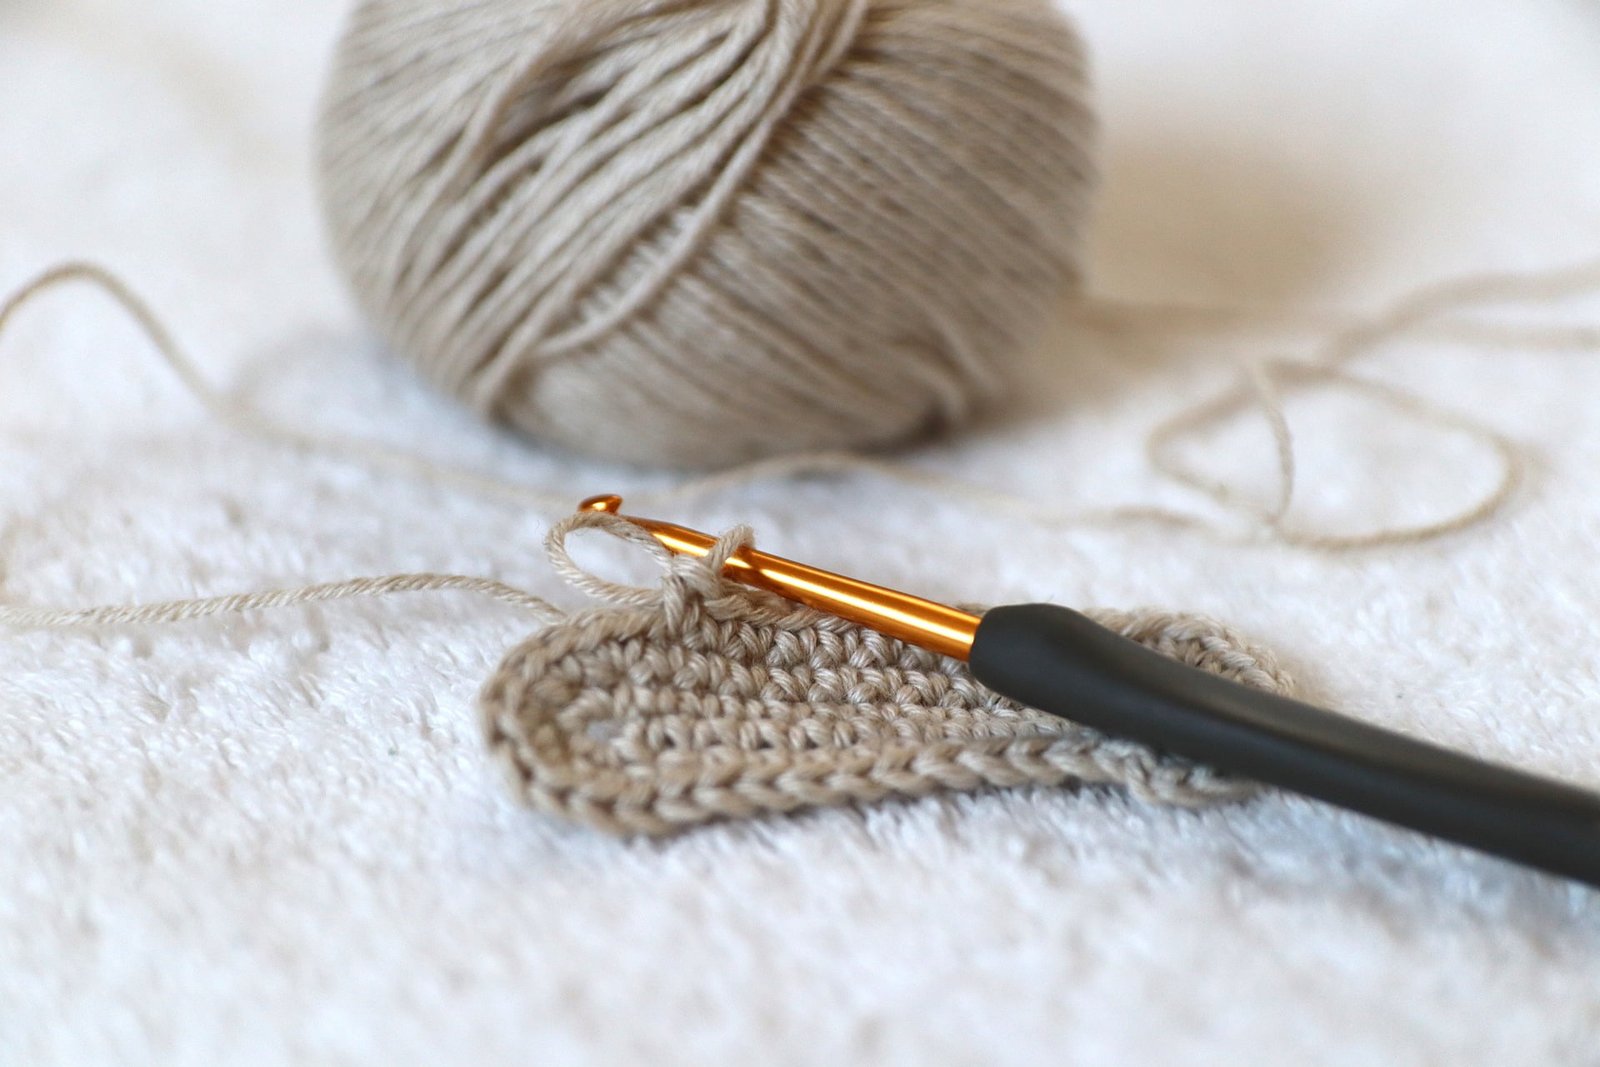
Here is the video tutorial I made on making a crochet ring/circle for beginners. When you see a magic ring or magic circle written in instructions, these are exactly the same thing!
Written Instructions for Crochet Magic Ring for Dummies
Step 1:
With the short end of the yarn closest to your body, wrap the yarn around two fingers, making a cross on top of your fingers. The short end of the yarn should still be closest to your body.
Step 2:
Get your crochet hook and go under the first yarn and hook the second and pull through,
Step 3:
With one loop on the hook, go over the front yarn and pull the back yarn through the hoop
Step 4:
Chain one
Step 5:
Adjust how you hold the yarn, you should now have a circle, I hold the circle open using my thumb.
Step 6:
Single crochet into the ring. So how many single crochet stitches are needed in the pattern? if you are just practicing, I recommended making 4-6 single crochet stitches.
IMPORTANT:
When making the single crochet stitches into the loop, make sure you are crocheting over bother yarn pieces including the short one, the magic ring/circle won’t work if you don’t stitch over the end yarn.
Step 7:
Pull the yarn tail while holding the single crochet stitches
Step 8:
either slip stitch to join or begin single crochet increase in the single crochet stitches that are in the ring.
Now let’s go over some Tips you can use to get it right every time!

TIPS for LEARNING THE CROCHET MAGIC RING FOR DUMMIES
Tip 1: When practicing making a magic ring, use light-colored yarn. Having light-colored yarn will make it easier to see your stitches compared to dark-colored yarn.
Tip 2: Always make your stitches over the short tail as long as the long tail. When you are crocheting your 4-6 single-crochet stitches into the magic ring/circle, make sure you are crocheting over both the short and long tail
Tip 3: When you are pulling the short tail, hold your stitches. Holding your stitches ensure your stitches don’t overlap or go astray.
Tip 4: Try different techniques. There are many different techniques used to make a magic ring, below is the technique which works best for me, if you not quite feeling this technique don’t be afraid to try a different way!
And that is all I have to say about Crochet Magic Ring For Dummies!
By the end of this post on crochet magic ring for dummies, I hope you are now able to crochet a magic ring! Once you learn how to crochet a magic ring you will never look back. The magic ring is so fluent to me now, it’s really the only method I use for my crochet projects.