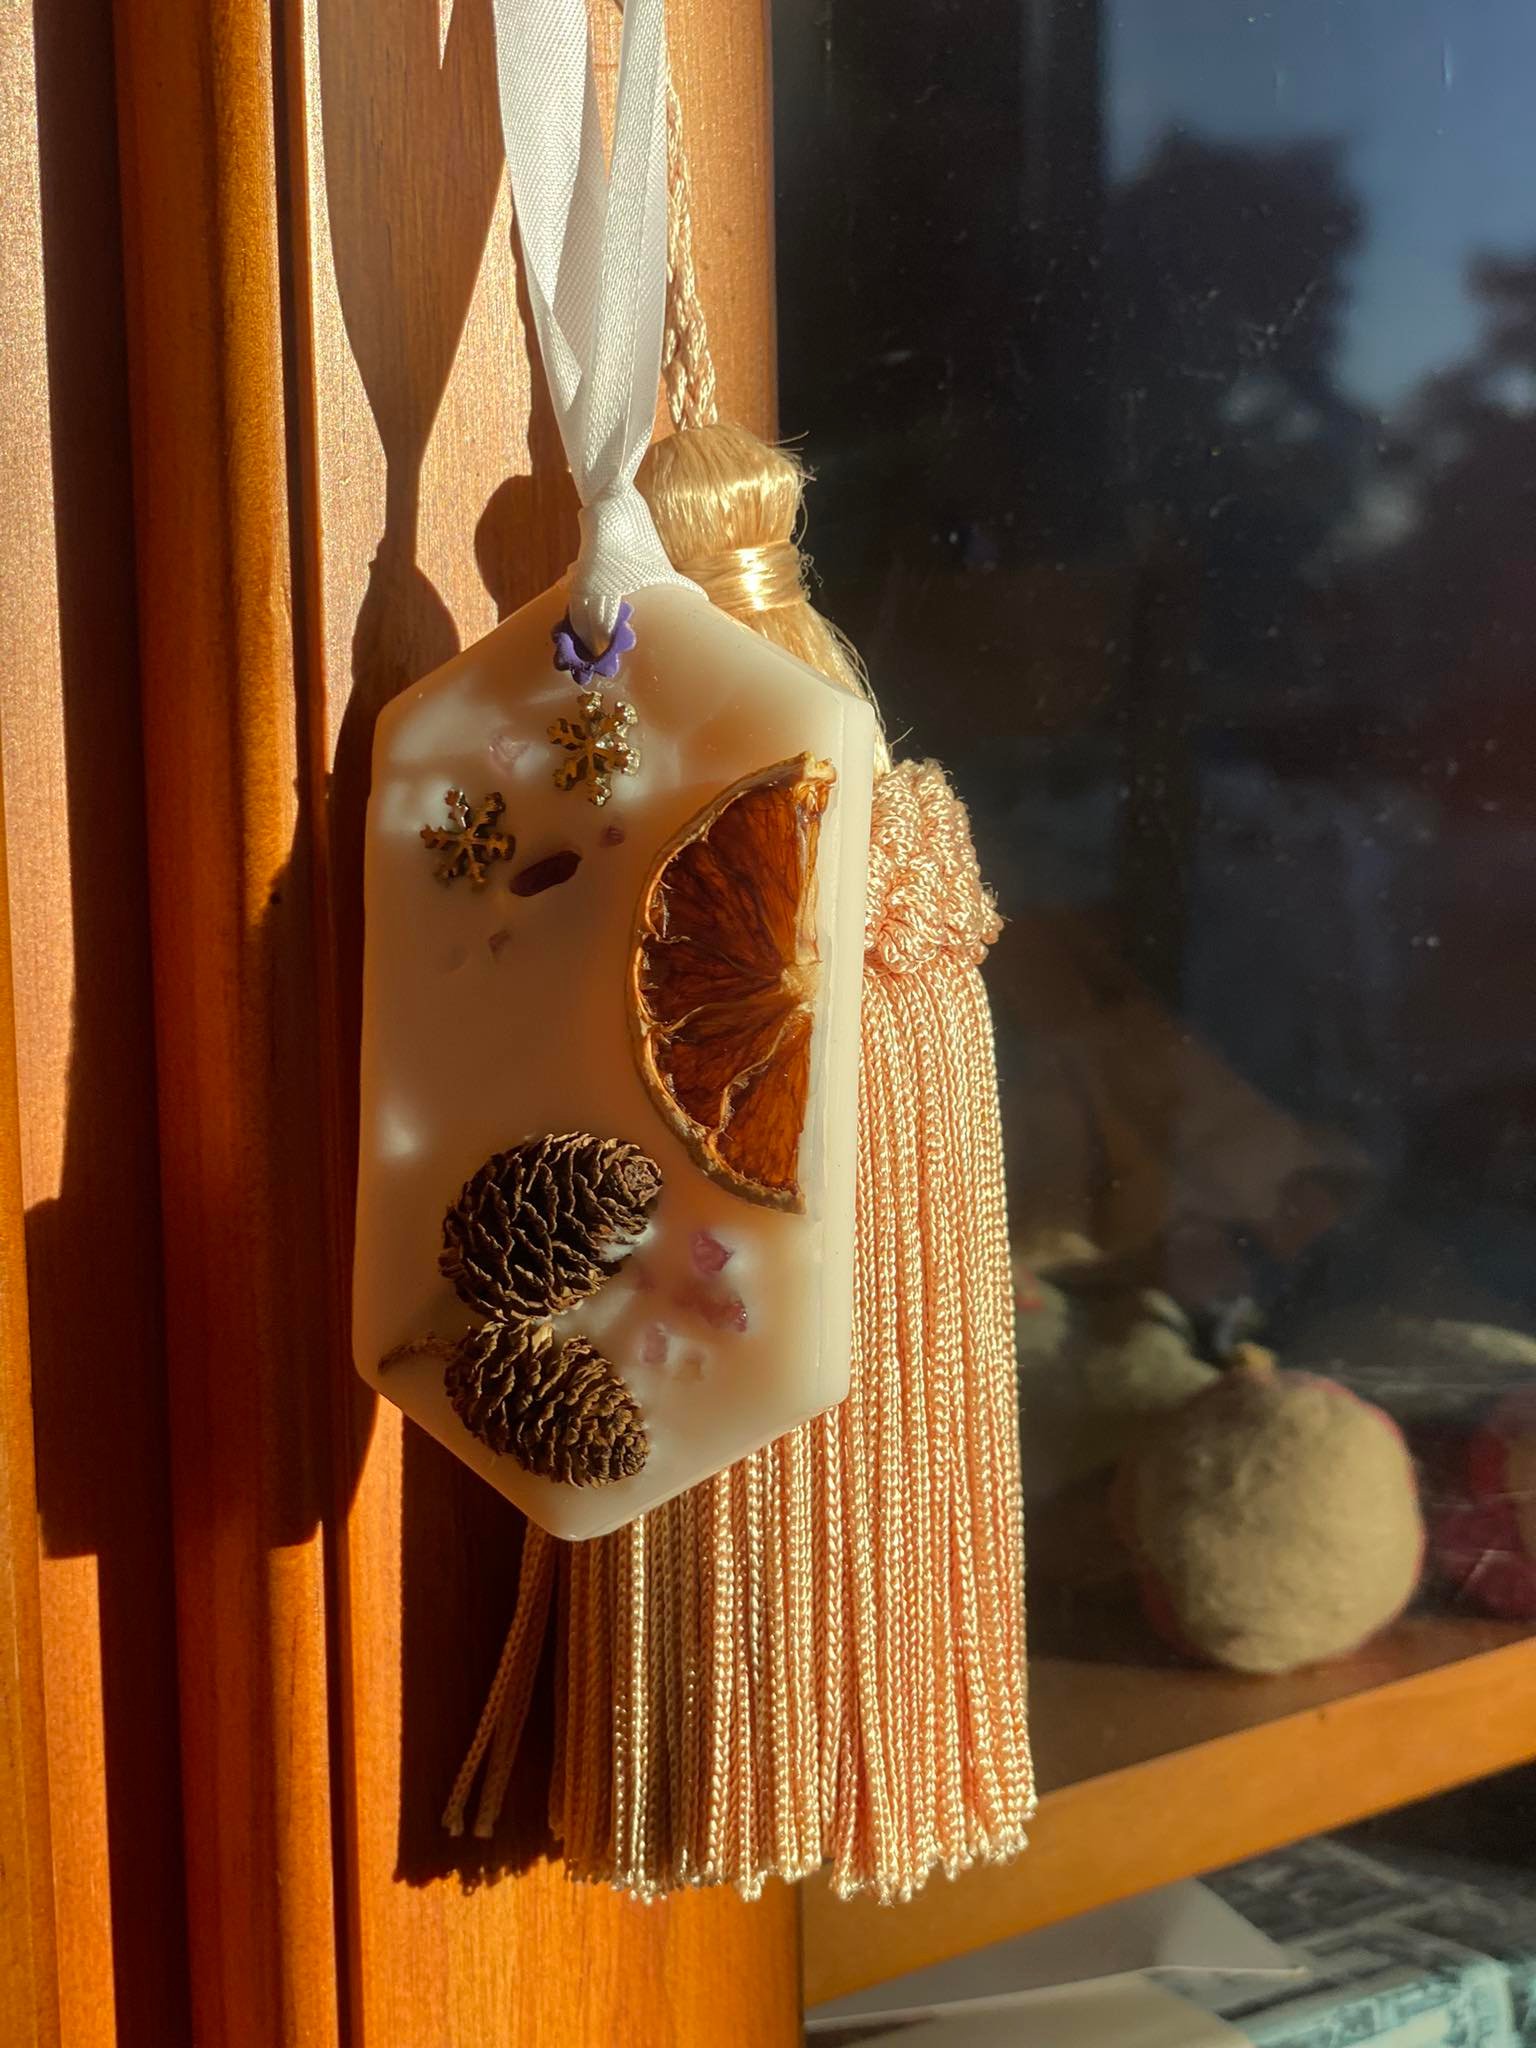
How to make a DIY Wax Air Freshener
Today I will be showing you how to make this simple DIY wax air freshener using only two main ingredients plus a few optional other ingredients just for decoration. These DIY wax air fresheners are great for the closet or bathroom. I even store some in my partners work boots when he isn’t using them. I find these wax air freshers really freshen places up elegantly and quickly. The smell is quite subtle but will last a long time. There is a lot of freedom to decorate with these air fresheners. Dried lemon, lime and oranges are very popular, cinnamon sticks and sparkles too however if that inst your style, you can always use crystals and rhinestones and other charms.

Homemade DIY Wax Air Freshener
Lets get started with what we need to make these. Remember the scent will be subtle but last a long time, so these DIY wax air fresheners are made really for small spaces such as closets, bathrooms or draws.
What You Need:
- 100 grams soy wax
- 1 TBSP fragrance (I used citrus blend)
Silicone Wax mold (I have linked some suitable ones below - Ribbon or String
- Decorations( dried flowers, fruits, crystals, gemstones etc.)
Directions for making DIY Wax Air Fresheners
- Melt the wax in a double boiler, stir slowly
- Once melted remove from heat and add the fragrance, stir to combine. *(REMEMBER ADD FRAGRANCE SAFELY, TOO MUCH ESSENTIAL OILS OR FRAGRANCE ISN’T SAFE!)*
- Pour carefully into molds, knock the molds gently so the wax settles flat.
- Delicately place the decorations on the wax, the decorations should sink to the bottom but rather sit on the surface. Push them down a little bit so they wont fall loose.
- Let set.
- Once set, remove from mold and tie string or ribbon in place.


Decoration Ideas
There are so many different ways to decorate these DIY wax air fresheners. Lets brainstorm and see what we can come up with!
Decorate for the Seasons
I love the idea of decorating them for the seasons. Having colors and scents that match the season is a great way to subtle make your house more festive.
Decorate for the Holidays
These actually make amazing gifts. I usually make Christmas themed ones and use these as gift tags too. candy cane fragrance is great and I put letters on the wax to spell the receivers name.It does take more effort but its like an extra little thoughtful gift that i know will get used.
Decorate in a color scheme
Who says you cant dye the wax! If your child loves the color pink, who says you can dye the wax pink and add pink jewels to the mix! Super easy to do and will look super cute in a girls room!
So how did your wax air freshener turn out!