French Knot Embroidery Tutorial (Easy Step-by-Step)
Let’s learn how to do a French knot in hand embroidery! The French Knot is one of the most common stitches in hand embroidery. They are very simple and look great in floral embroidery. If your knots keep slipping, tangling, or looking messy, this easy French knot embroidery tutorial will show you how to do a perfect French knot step by step. With a few simple tips, you’ll be able to create neat, secure French knots in seconds.

French Knot Embroidery Tutorial (Step by Step)
Let’s start learning how to make this embroidery stitch, firstly in this tutorial, I am using all 6 strands of embroidery floss. If you are a beginner I recommend using all 6 strands.
To Start your French Knot
- Thread your needle and knot off the end of the floss. For a beginner, use quite a decent length of embroidery floss. This will be easier to wrap around the needle which we will do later on.
2. Bring your needle up through the back of the fabric where you want the knot to go
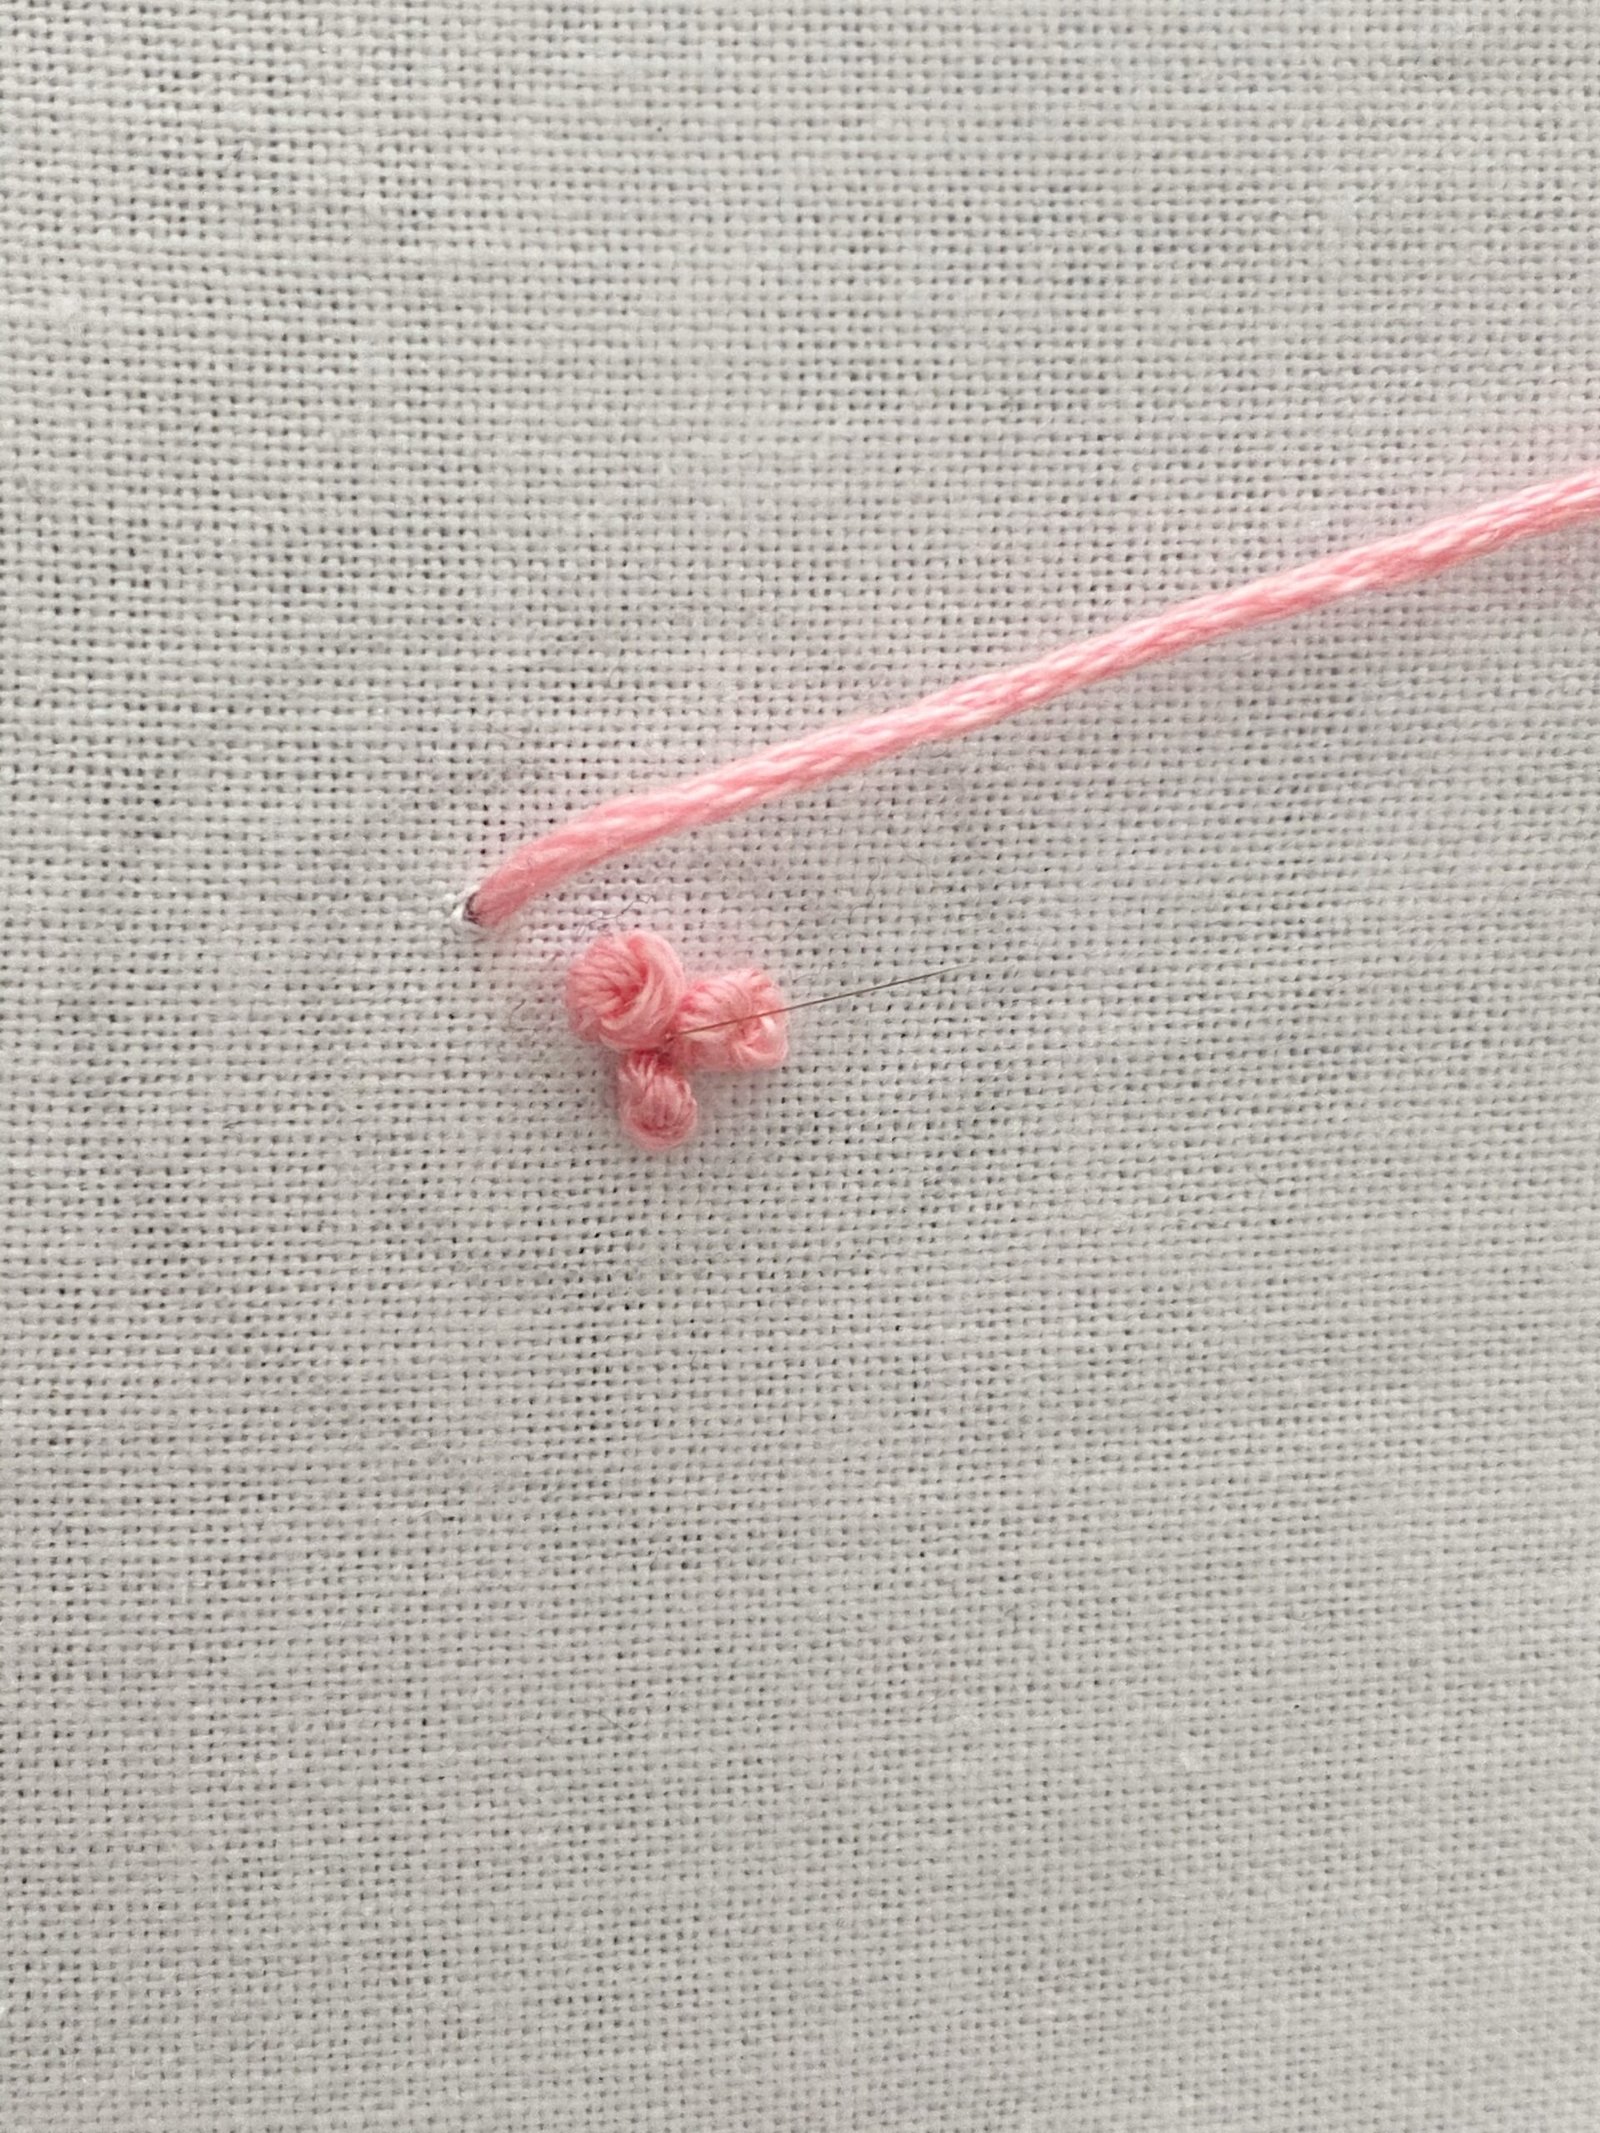
3. Wrap the embroidery floss around the needle 2 to 3 times.
4. Push the needle back into the fabric
5. Hold the embroidery floss gently whilst you pull the entire length of floss through.


Useful blog posts for Beginners in Embroidery
Here are a few useful blog posts for those that are learning embroidery
- The Best Embroidery Stitch for Lettering
- Free Printable Beginner Embroidery Pattern
- Avoid These 10 Common Beginner Mistakes in Hand Embroidery
And that’s it!
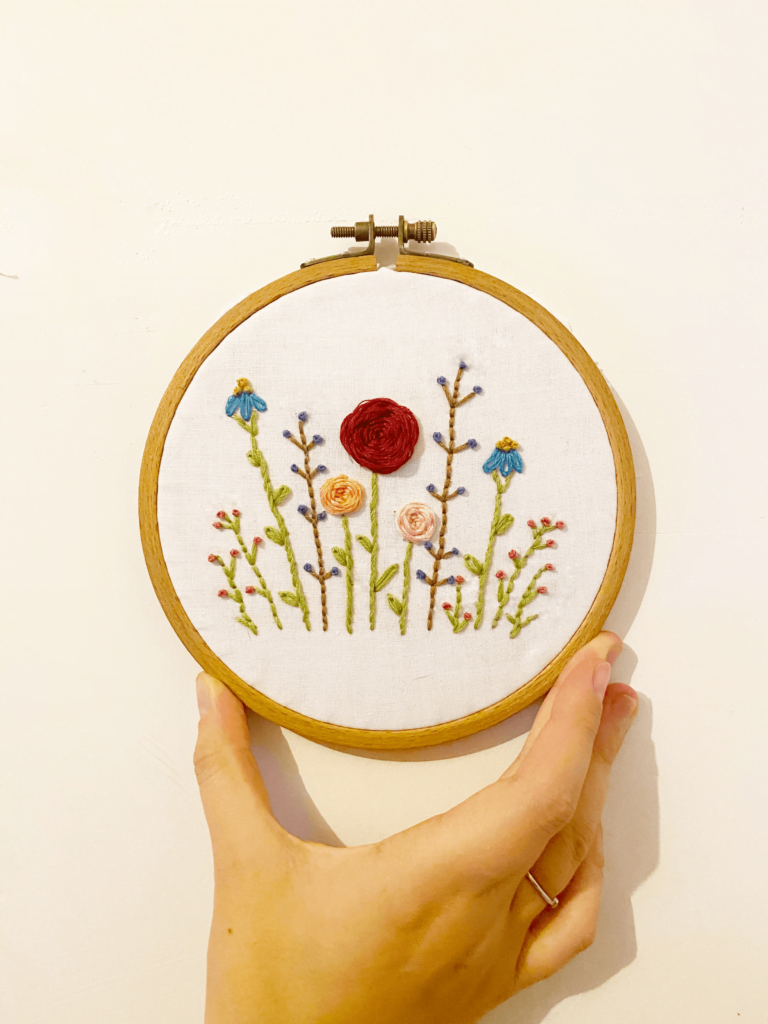
You should now have a perfect French knot. It may take a couple of goes to completely master this type of hand embroidery stitch. Once mastered it will definitely be one of your most-used stitches, especially in floral embroidery.
The Most Common Problem found when Making a French Knot
This is the most common problem people face when learning how to make a French knot…
The needle is Bigger than the Floss
If your needle is bigger than the floss, the knot can end up going through to the back of the fabric rather than sitting on the surface. To fix this, simply use a skinnier needle or use more strands of embroidery floss. With practice, you will most likely come across this problem. It is very easy to fix and the knot can be easily undone so your work won’t be ruined.
Tips and Tricks to Succeed
- Try holding different tensions on the floss for different-looking knots.
- Don’t wrap the floss around the needle more than 3 times.
- Don’t Wrap the floss around the needle less than 2 times.
- Push the needle back through the same hole or very very close to the same hole the needle came out of.
- For a floral effect try doing many French knots together.
French Knot Embroidery FAQs
Why do my French knots come loose?
French knots often come loose if the thread isn’t held taut while inserting the needle back into the fabric. Keeping gentle tension helps secure the knot.
How many times should I wrap the thread?
For most embroidery projects, wrapping the thread around the needle once or twice creates a neat French knot. More wraps make larger knots.
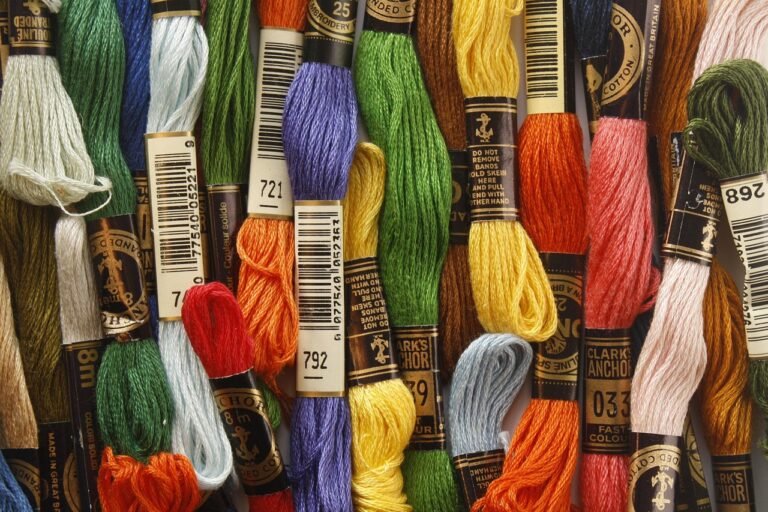
What thread is best for French knots?
Embroidery floss, perle cotton, or a single strand of floss all work well. Thicker threads create bolder kno
To conclude…
I hope by the end of this you were able to make a perfect French knot, I know at first it will be challenging but if you stay consistent with practice you will succeed in no time. The French knot is such an important stitch in the hand embroidery world and is a lot easier than it looks.
You can support me by checking out my Etsy Store, I have a variety of things from paintings to patterns to handmade things.