Free Floral Embroidery Pattern | A Step-by-Step Tutorial |Easy for Beginners | PDF DOWNLOAD
Free Floral Hand Embroidery Pattern and Tutorial | PDF DOWNLOAD
If you are a beginner in Hand Embroidery or you have the skills and are just looking for a little inspiration try this free floral hand embroidery pattern and tutorial.
Free Floral Embroidery Pattern and Tutorial | Beginner Friendly | Step-by-Step
This hand embroidery pattern and tutorial is extremely beginner-friendly as it uses easy stitches and has photo instructions so you have help along the way. If you are still struggling with this tutorial I have added a more in-depth tutorial on the stitches to ensure you succeed.
Stitches we will be using:
- Wagon Wheel
- Satin stitch, Back-stitch
- Chain Stitch
- French Knot
- Leaf Stitch


What You Need:

You can download the pattern here or you can free hand it. The pattern is very adjustable as it is a beginner pattern.
DOWNLOAD IT HERE
Step 1: Prepare Fabric and the Hoop
Iron the Fabric
Before placing the fabric into the hoop, I recommend ironing any creases and folds. It will make the finished project look very stunning.
Putting the Fabric in the Hoop
When placing the fabric in the hoop, make sure that the fabric is taut. The fabric should be taut so much it can be used as a drum when lightly tapped. Make sure it’s not over-taunted and stretching the weave out. With practice getting the tautness right becomes easier and less of an issue.
With the fabric positioned properly in the embroidery hoop, you’re now ready to move on to selecting colors and creating the pattern
Step 2: Choosing the Colours and Drawing the Pattern
With the fabric secured in the hoop, you can now focus on selecting the colors for your embroidery design.
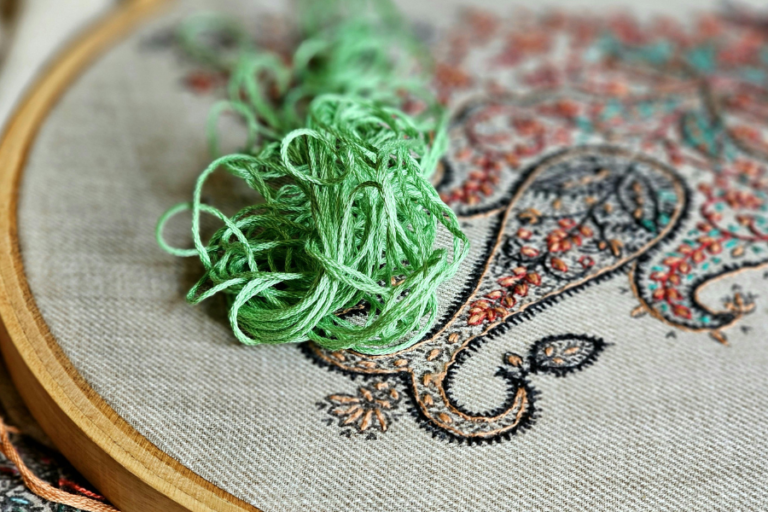
Choosing the Colours
The colors are completely up to you. You can use colors similar to what I used or go wild with your own. Have fun with it, the world is your oyster.
Drawing the Pattern (Prick and Pounce or Free Hand)
To draw the pattern, you can use a pencil, chalk, or a vanishing marker. I used a pencil for this pattern. You can poke holes in the pattern paper around the pattern border and then place the fabric underneath and go over the holes with a pencil or chalk. The actual name of this method is called prick and pounce. If you don’t want to do that, just free-hand the pattern as it is quite simple and a very organic pattern with a lot of room for movement and changes.
Now that you have your colors and design set, it’s time to move on to executing the stitches and bringing your vision to life.
Step 3: Start Stitching
Now that you have your design ready, it’s time to start stitching. It’s crucial to have the right tension and use the right stitches to create a smooth and even look.
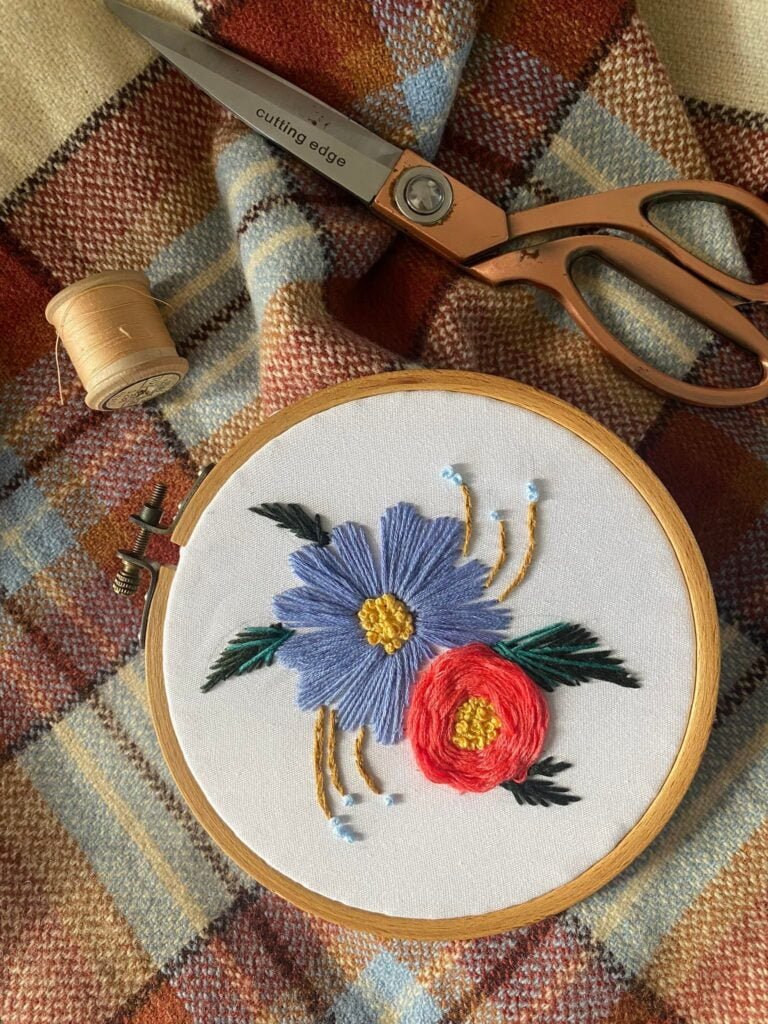
This design uses French knots, wagon wheels, chain stitches, and simple back stitches.
Free Floral Embroidery Pattern and Tutorial
Step 1:
Sketch the design onto the taut fabric in the embroidery hoop. I used a pencil and just penciled in the shapes until I was happy.


Step 2:
Let’s Start with the Wagon Wheel Rose. Make an odd number of spokes around the circle, then weave the floss under and over, around and around again until it is completely full


Step 3:
Now we will use the French knot stitch to add the middle of the two flowers. There is a tutorial on how to do French knots here How To Make The Perfect French Knot in Seconds


Step 4:
Now we will do the other flower petals with a satin straight stitch. Simply make straight stitches following the curve of the petals.


Step 5:
Let’s make the leaves. I made my leaves multi-colored, but this is totally optional. I have a full tutorial on how to make a leaf stitch here The Easiest way to make a Hand Embroidery Leaf
Step 6:
Let’s make Chain stitch branches. For the chain, stitch tutorial see here Hand Embroidery Letters | HOW TO Tutorial | Beginner Guide Chain stitches are commonly used in embroidery lettering.
Step 7:
For the flower buds at the end of the branches, we will use the French knot stitch again.


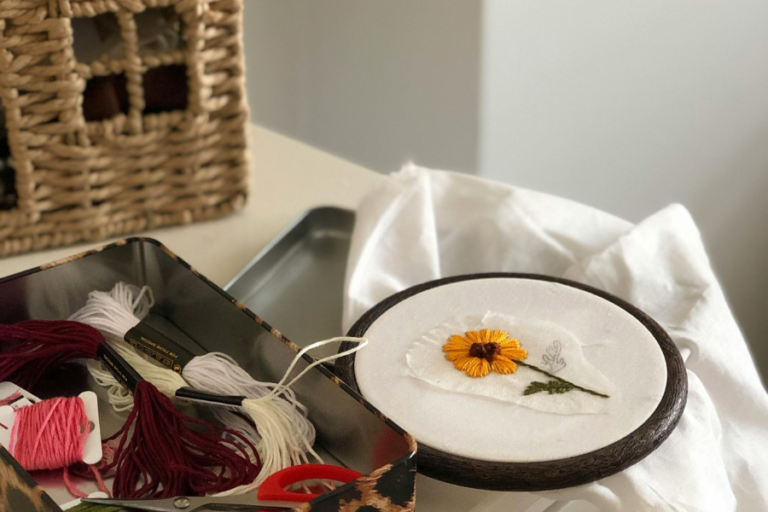
It’s Complete! Complete the back and it’s ready to hang.