These adorable DIY cheesecloth ghosts have taken over social media and for good reason…They are so adorable, and affordable to make. When I say this viral craft I just had to try it myself. I had decided to do things slightly different than what I saw online and the results turned out great! These cheesecloth ghosts are probably my favorite Halloween DIY this year!
This post contains affiliate links, which means I may earn a commission if you make a purchase.

What You’ll Need
- Cheesecloth (or similar lightweight cotton fabric) – plan for three layers per ghost
- PVA glue and water (equal parts mixed together)
- A small object to use as a base (foam ball, eggs, ping pong ball, or similar)
- Support structures (candlestick holders, medicine bottles, or other household items)
- Crafting wire for arms
- Black felt for eyes and mouth
- Hot glue gun or fabric glue
- Scissors to cut cheesecloth to size
Step-by-Step Instructions
Step 1: Prepare Your Base
Lets make the base, now I wasn’t prepared for this and to be honest I couldn’t remember what other creators used. From memory they used foam balls, I definitely did not have any of those lying around, I did however have some eggs and a ping pong ball. Get creative with what you have around your home! To support your chosen base, use household items like candlestick holders, medicine bottles, or whatever you can find. Honestly the Vitamin container worked very well!
For added personality, consider adding arms! I personally decided I wanted to do this just because I had some crafting wire laying around but I’m so glad I did, it made this Halloween DIY so much better. Wrap crafting wire around the base of your support structure, then curve and position the wire however you like. Raised, lowered, waving, or in any pose that appeals to you.


Step 2: Soak and Apply Fabric Stiffener
Mix equal parts PVA glue and water to create your fabric stiffener, not sure what to do, i have a tutorial. Cut your cheesecloth into appropriately sized pieces (if working with a large piece, cutting it into quarters works well, this is what I did). I noticed other creators layered fabric once, but I decided to do it three times. Soak each piece of cheesecloth in the PVA solution, making sure it’s fully saturated. Then gently wring out the excess liquid so the fabric is damp but not dripping wet. This ensures the stiffener is evenly distributed throughout the entire piece.


Step 3: Drape the Cheesecloth
Place your base on a flat surface, then carefully drape all three layers of wet, cheesecloth over it. Add one layer at a time and place each layer slightly differently so you can see all three layers. Let the fabric fall naturally around the base, creating flowing, ghostlike shapes. Arrange the cheesecloth so it falls at least a few inches down on all sides. The multiple layers add nice body and dimension to your ghost.


Step 4: Let It Dry
This is the hardest part! Let your ghost dry completely. Drying time varies depending on humidity, temperature, and your specific environment, but typically takes 12-24 hours or longer. You can try to speed this up by placing it in a warm spot like direct sunlight, near a fan, or in a warm cupboard. Don’t move it around while it’s drying, or you might disturb the shape. Mine took just over 24 hours, and don’t forget just because the outer layer is dry doesn’t mean the first layer will be!
Step 5: Add Facial Features
Once your ghost is completely dry and stiffened, it’s time to bring it to life! Cut out two oval eyes and an “O”-shaped mouth from black felt, then hot glue them onto your ghost’s face. The positioning is totally up to you. I like it with the eyes slightly close together.
You can use any fabric scraps you have on hand and any glue method that works for you. Fabric glue, hot glue, or even a needle and thread all work great. You could also use markers, fabric paint, anything works really!


Step 6: Display and Enjoy
Arrange them on a shelf, bookcase, desk, or anywhere you want a touch of Halloween spirit. Since they’re lightweight and sturdy, they’re easy to move around and rearrange. I will be using my ghosts as a center piece for my Halloween Dinner Party.
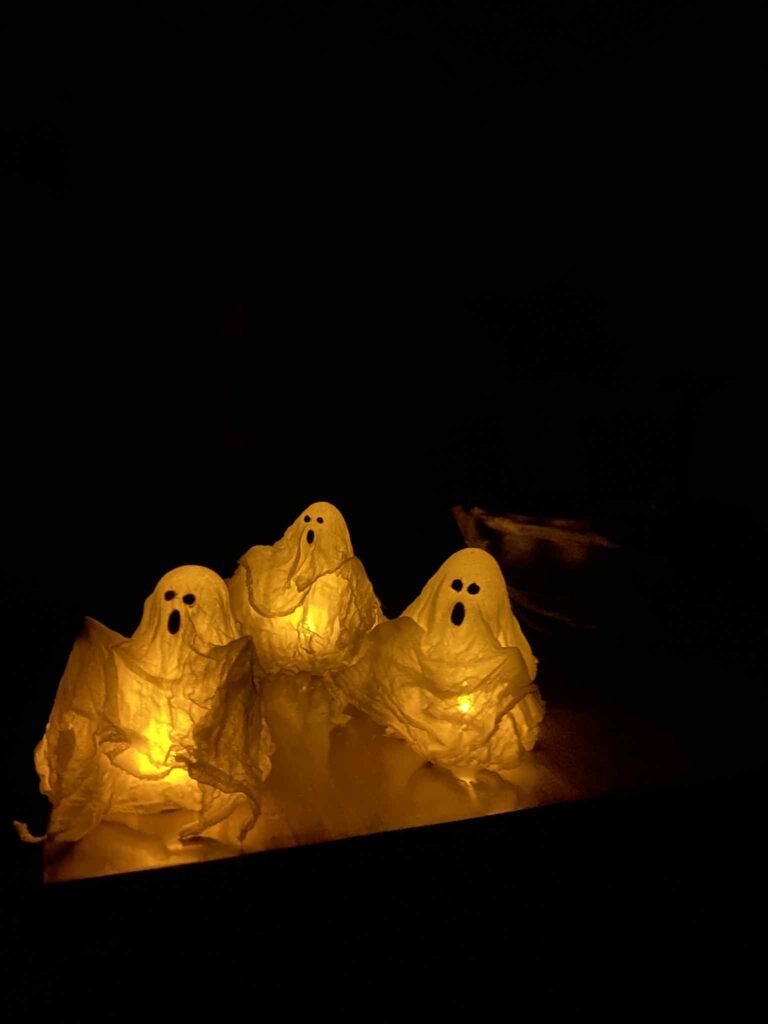
For an extra magical touch, try placing LED tealight candles underneath each ghost. The light will glow beautifully through the cheesecloth, creating an ethereal effect. This is especially stunning in a dimly lit room or dark room. Check out my ghosts in action below!


Tips for Success
Size Variations: Different sizes are great for adding more dimensions when grouped. Use a golf ball, a balloon, scrunched up newspaper, for the base and see what happens.
Fabric Options: Cheesecloth works best, but you can also use gauze, thin cotton muslin, or even old white t-shirt material. I think doilies would look super vintage and cute too.
Storage: When you’re done with Halloween, carefully place your ghosts in a box with tissue paper between them. They’ll keep for next year!
Why Learning How to Make Cheesecloth Ghosts Is Worth Your Time
They’re budget-friendly, quick to make, surprisingly durable, and absolutely adorable. Once you learn how to make cheesecloth ghosts, you’ll realize how simple the process is. This DIY is a Halloween project that elegant and spooky, its classical and haunting, seriously one of my all time favourite Halloween DIYs!
Happy ghosting!
Loving the Halloween Decoration DIY Posts, try these ones…