How to Set up an Embroidery Hoop
If you are reading this blog post, it probably means you are taking an interest in learning the art of embroidery. The first step is to set up an embroidery hoop. With any embroidery project you work on, you will need to use an embroidery hoop in all of them, so it’s best to make sure that the embroidery hoop is set up properly for the best results.
Setting up an Embroidery Hoop
Despite what many people think, it is best to always use an embroidery hoop, if you don’t believe this try to embroider a simple pattern without a hoop and then try again with a hoop and you will see a huge difference in the end result.
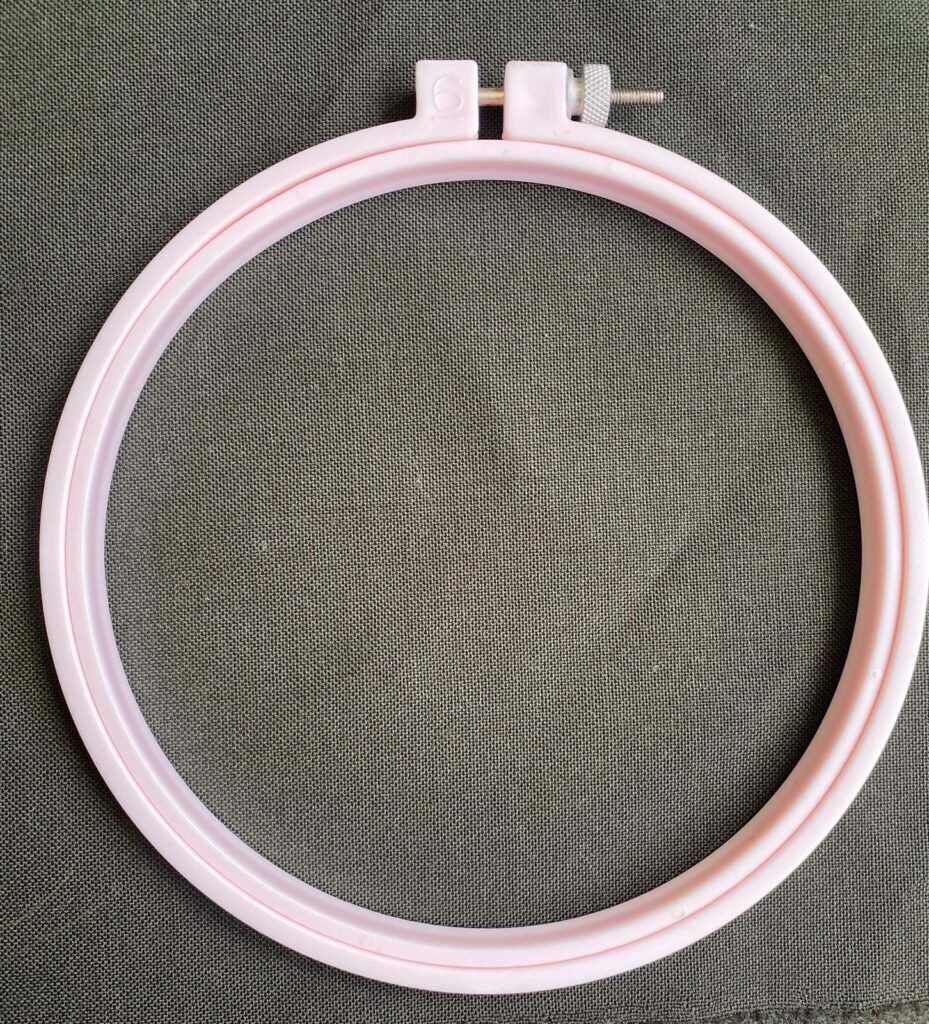
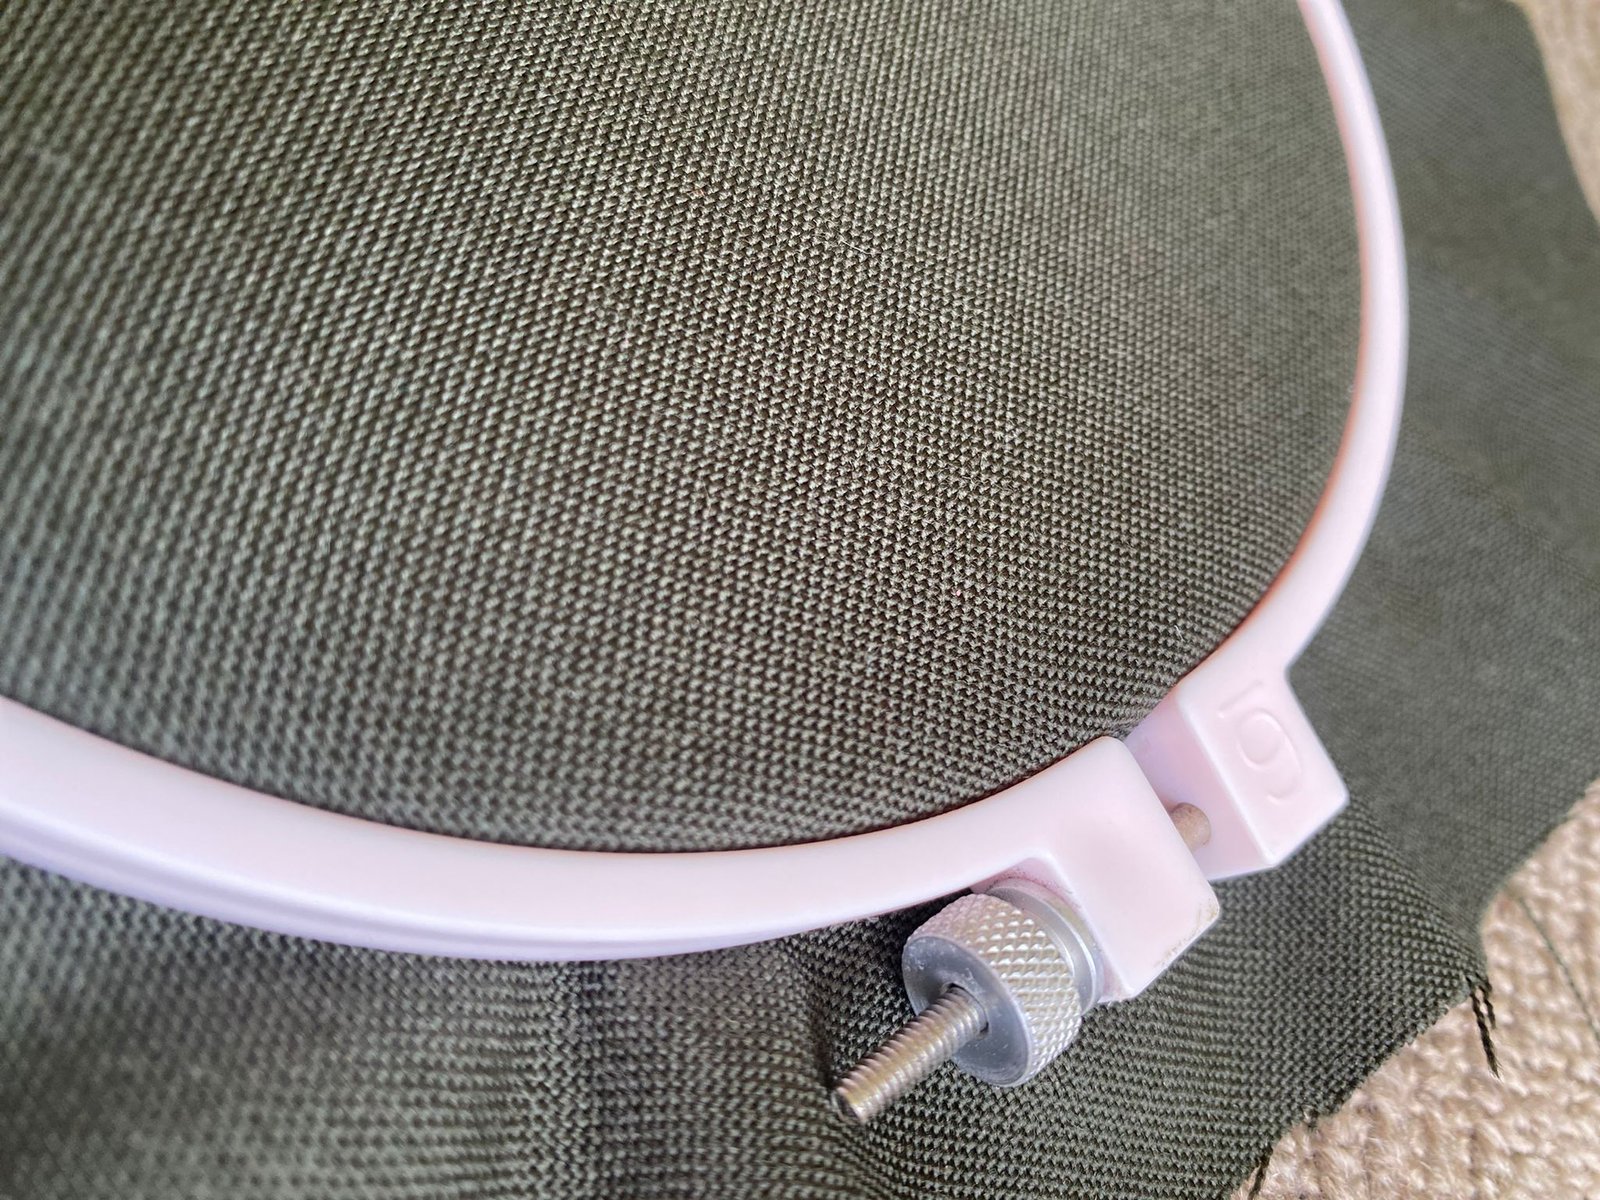
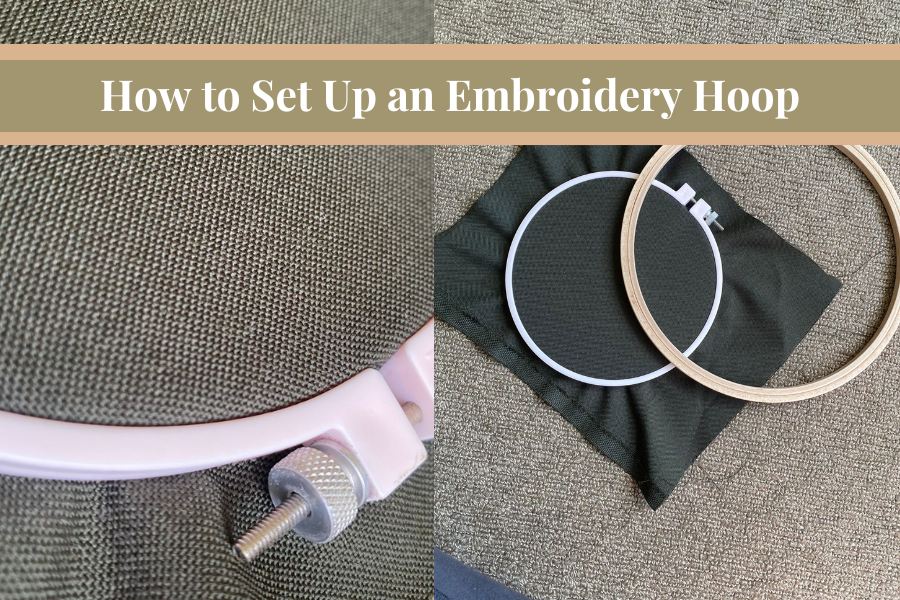
Parts of the Embroidery Hoop
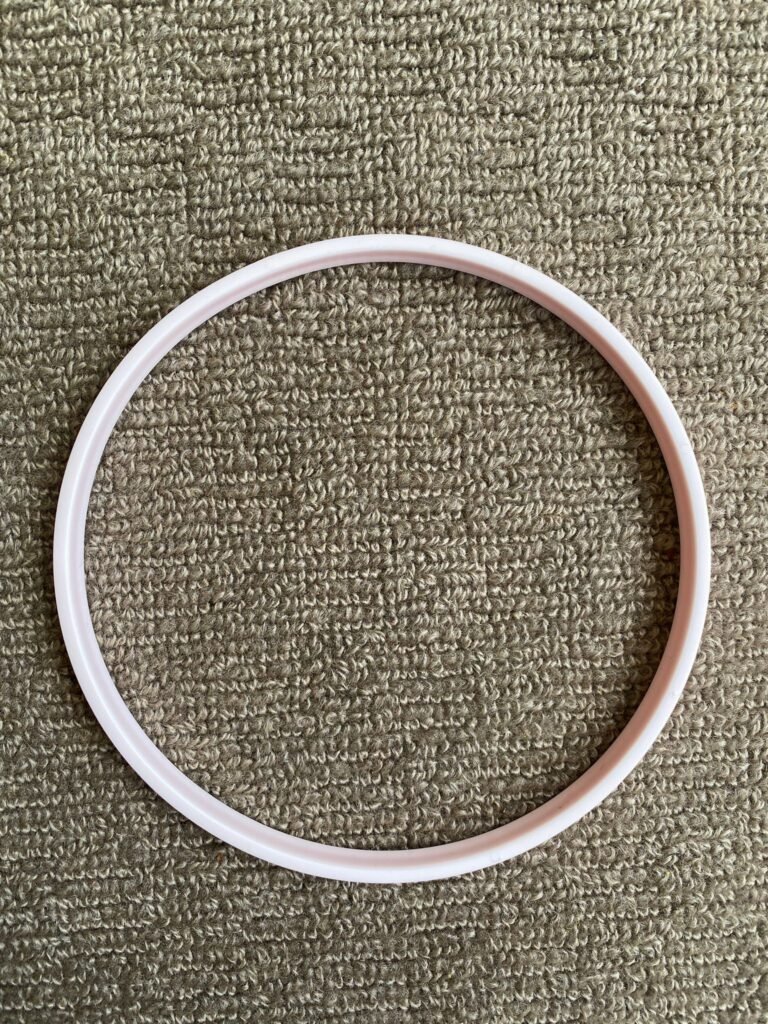
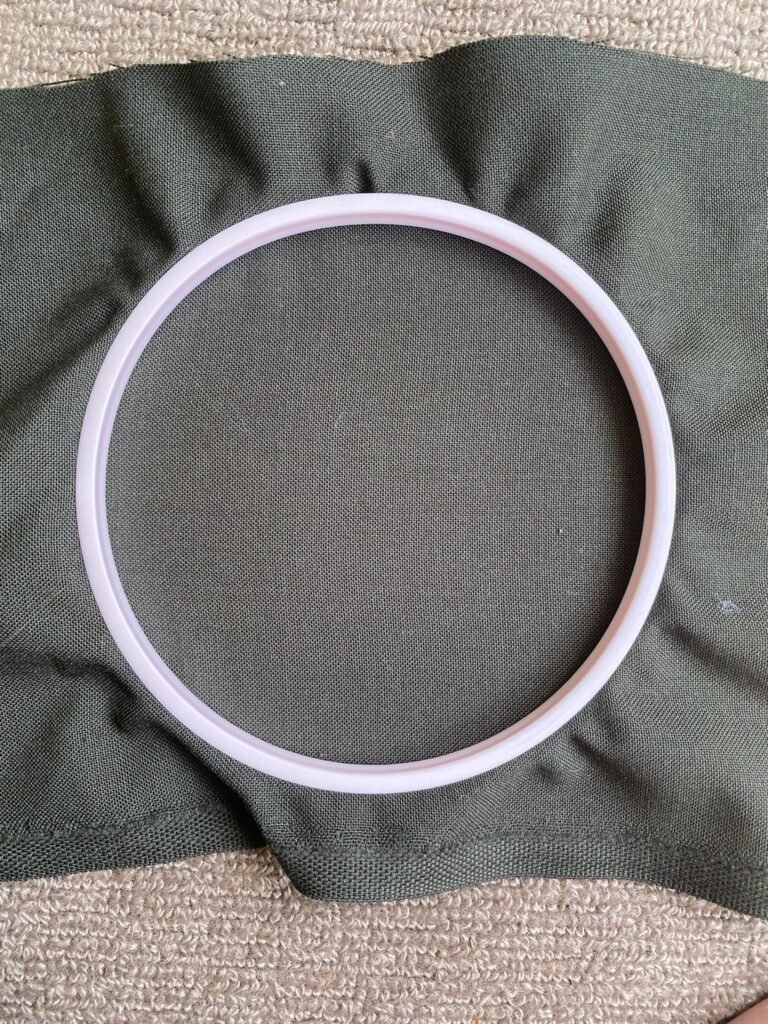
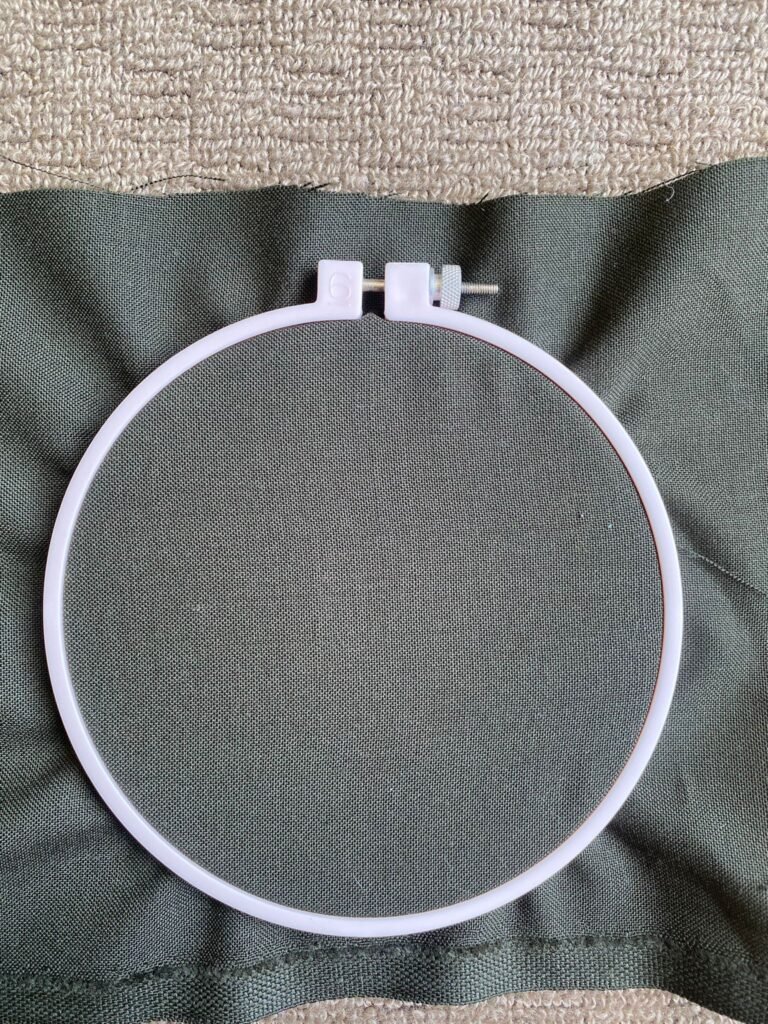
An embroidery hoop consists of three parts, two hoops, and a screw. One hoop is slightly smaller than the other and the screw is used to tighten and loosen the hoops to each other.
The Steps
- Separate the two hoops
- Place the smaller hoop on a flat area
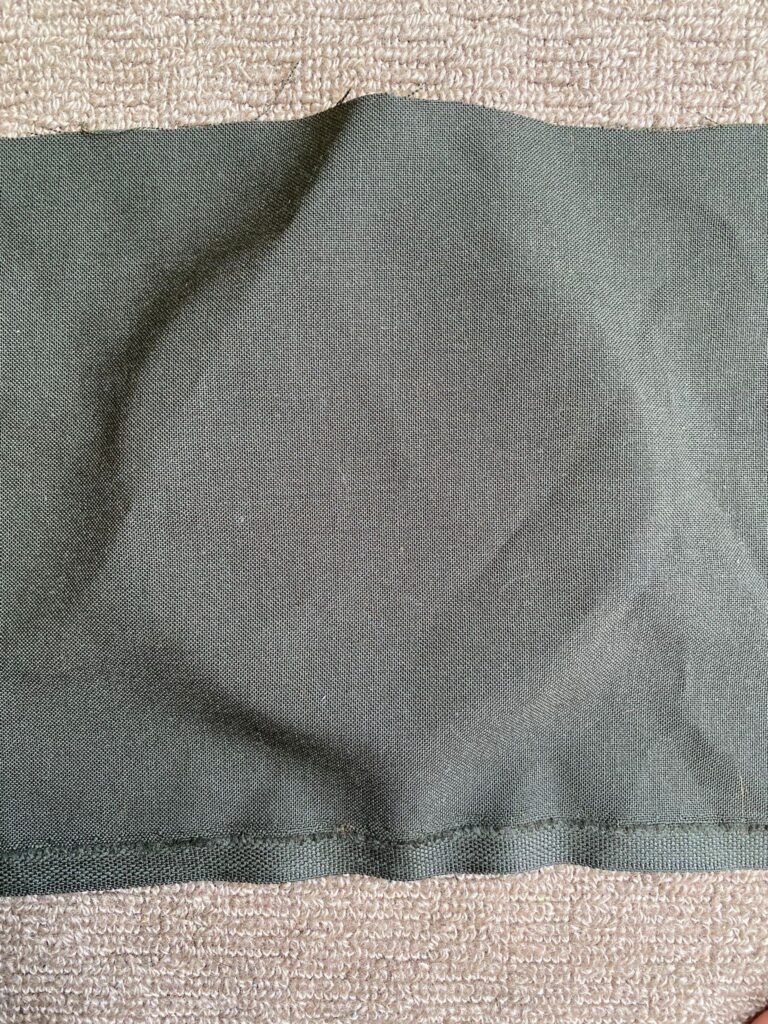
- Place the fabric on top (line it up how you want it to be)
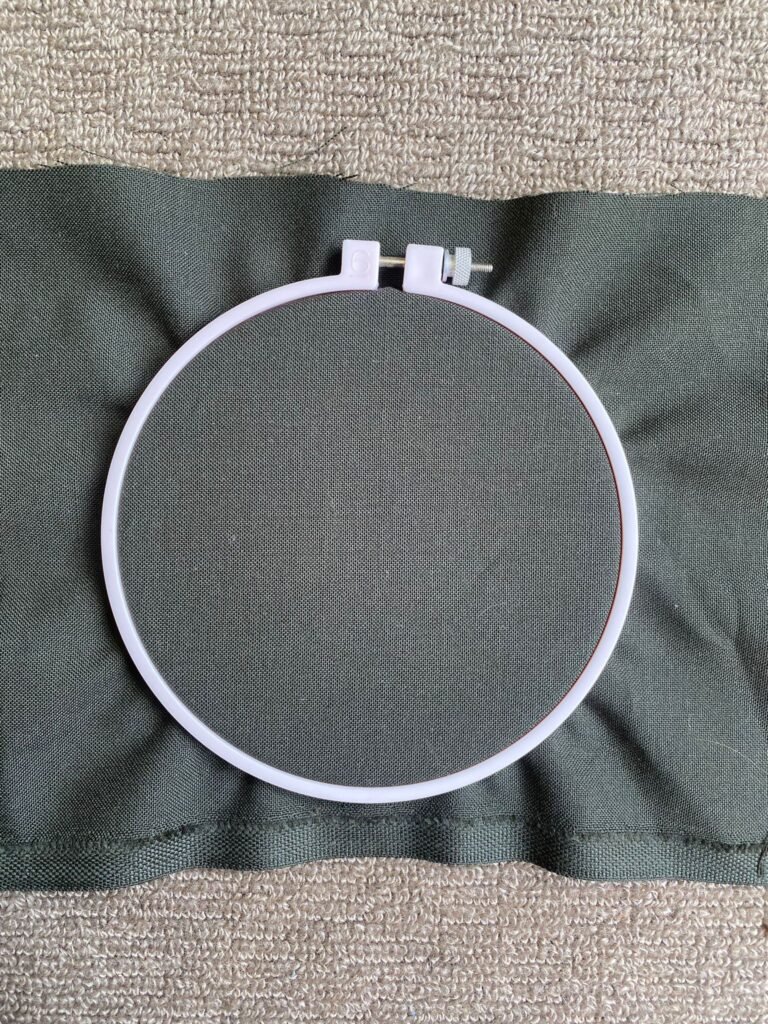
- Place the larger hoop on top and press down
- Tighten the screw
- Make sure the fabric is taut (you can pull the fabric a little so it is taut)
- Remove fabric from the hoop when not stitching.