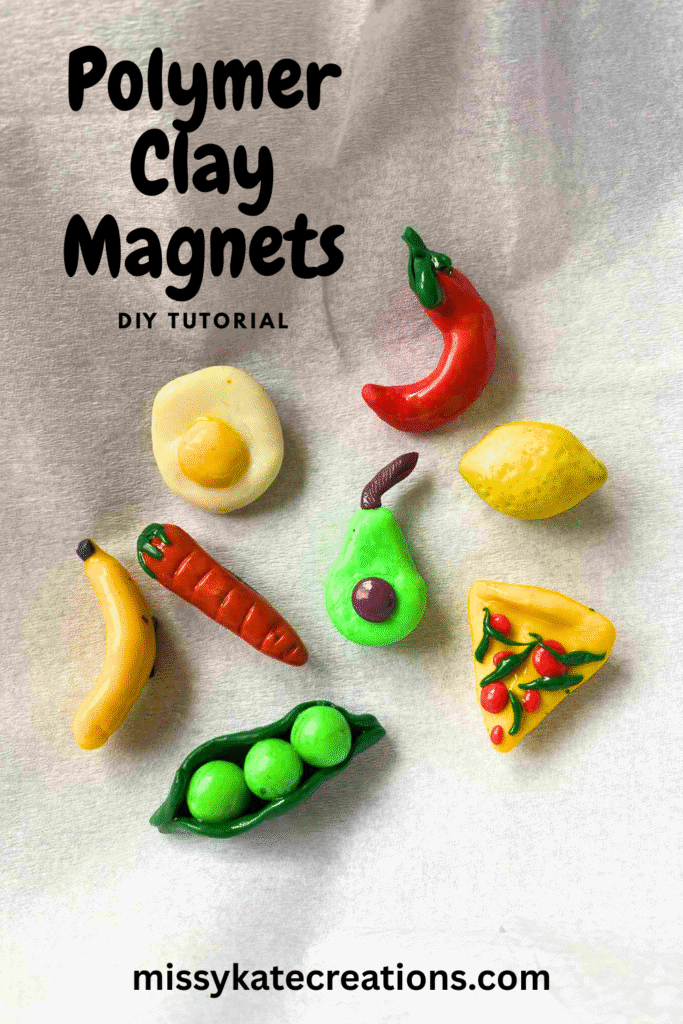
This is how I make these cute little DIY polymer clay fridge magnets at home. These polymer clay fridge magnets are the perfect craft. They’re small, easy to make, and completely customizable… I actually put mine in the air fryer and not the oven…. my oven is broken and to be honest, the air fryer works even better to my surprise, but it’s way faster, so be wary of that!
To varnish these magnets, I used nail polish top coat, and it worked so so so well! So let’s make your fridge into a piece of art, let’s get started!
This post contains affiliate links. If you purchase through these links, I may earn a small commission at no extra cost to you
What You’ll Need
- Polymer clay (any colours you like)
- Small clay tools (or use a butter knife/toothpick for shaping)
- Air fryer
- Baking paper/tinfoil
- Gel nail polish varnish (and UV lamp if required)
- Magnetic tape or round magnets
- Super glue
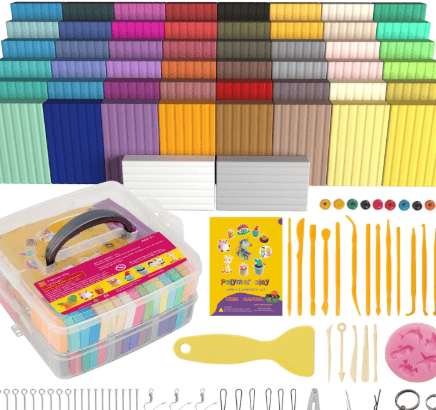
50-color polymer clay starter kit
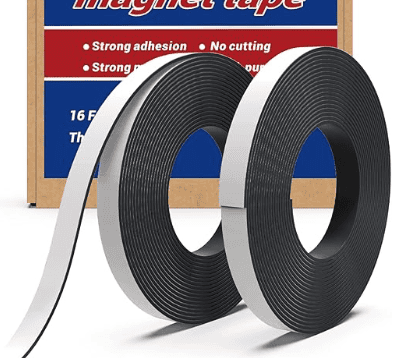
This tape is easy to install and can be cut with scissors or other knives, suitable for clean, smooth surfaces
Polymer Clay Magnets Tutorial
Step 1: Shape Your Clay
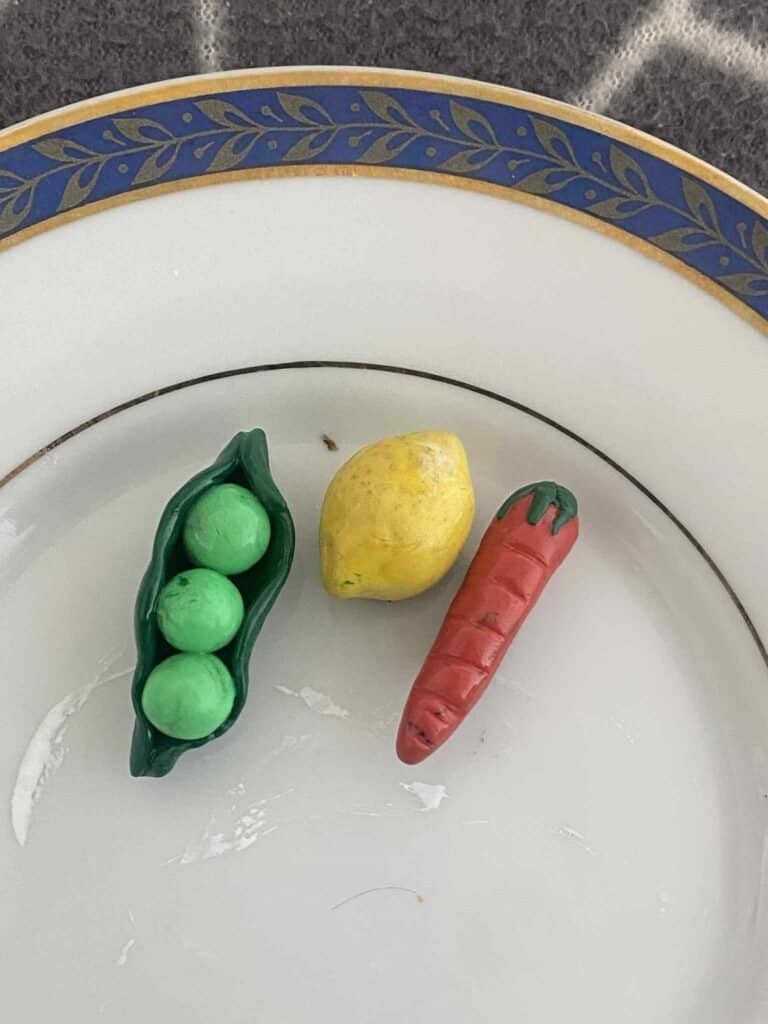
Firstly, you will need to knead your polymer clay. Polymer clay is very hard and almost brittle until it’s been kneaded. Once the clay is soft, make your shapes. I made fruits, veggies, and food, but the options are literally endless. Just remember to keep the backs flat or semi-flat so the magnets can stick on.
Step 2: Bake in the Air Fryer
Preheat your air fryer,
Line the basket with baking paper and carefully place your clay pieces inside. I placed metal utensils on the paper to prevent it from flying around. Bake for around 2-5 minutes, but check often. I left my first batch for about 8 minutes, and they were burnt! These magnets are so small they bake super fast, and air fryers bake things way faster than a conventional oven, too, so keep that in mind.
Once baked, allow the clay to cool completely before moving on.
Step 3: Varnish for Shine
To give your magnets that glossy, finished look, coat each piece with gel nail polish varnish. Cure it under a UV lamp if needed, or just let it dry thoroughly. I used gel nail polish, but enamel top coat would work a treat too. This step not only makes them look professional but also protects them from scratches.
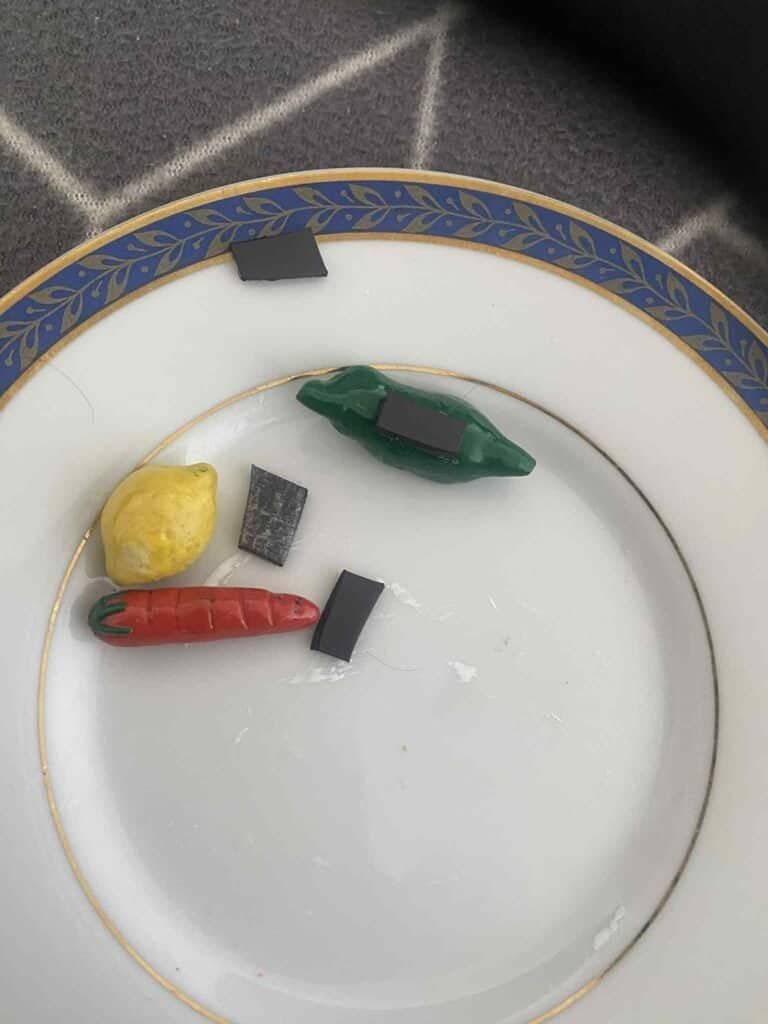
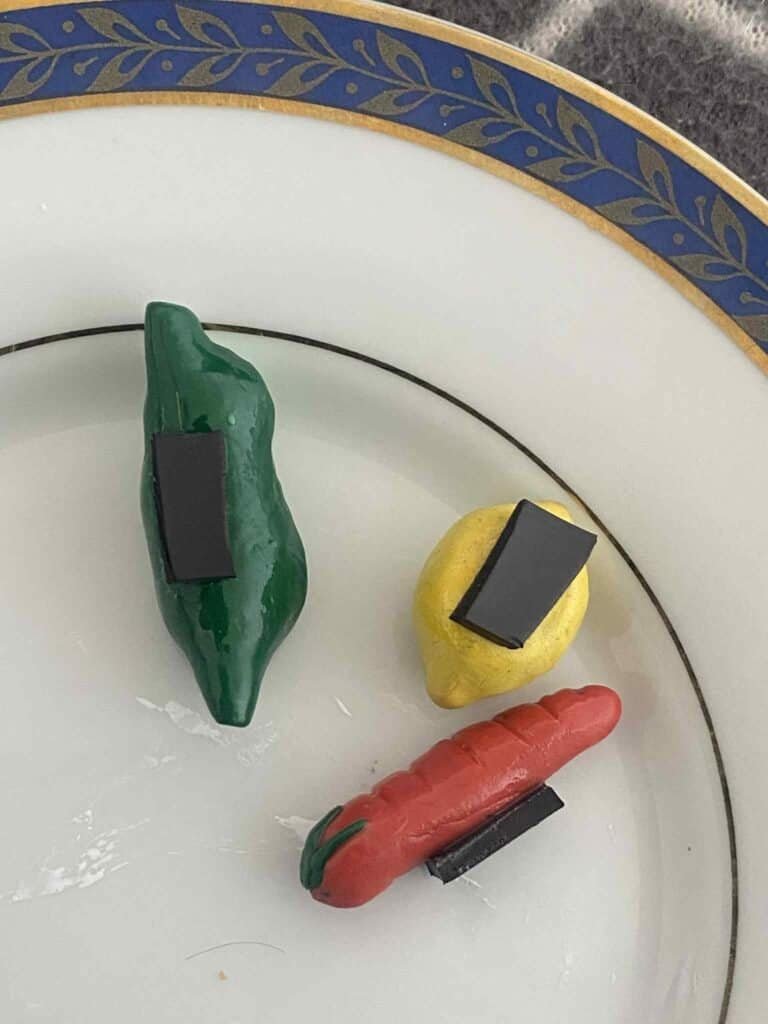
Step 4: Attach the Magnet
Cut a small piece of magnetic tape or use a round magnet. Add a drop of super glue to the back of your clay piece and press the magnet on firmly. Let it set completely before using. Make sure you do the polarity test first. I stuck one on backwards, and it wouldn’t stick to the fridge. I had to peel it off and start again. LOL
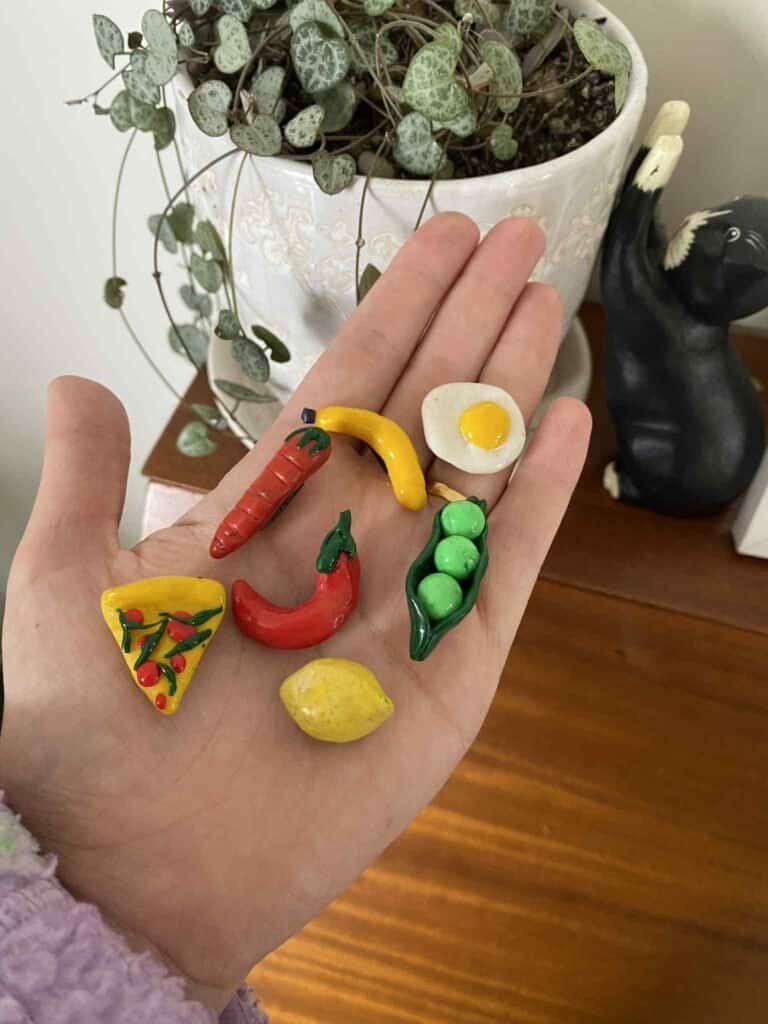
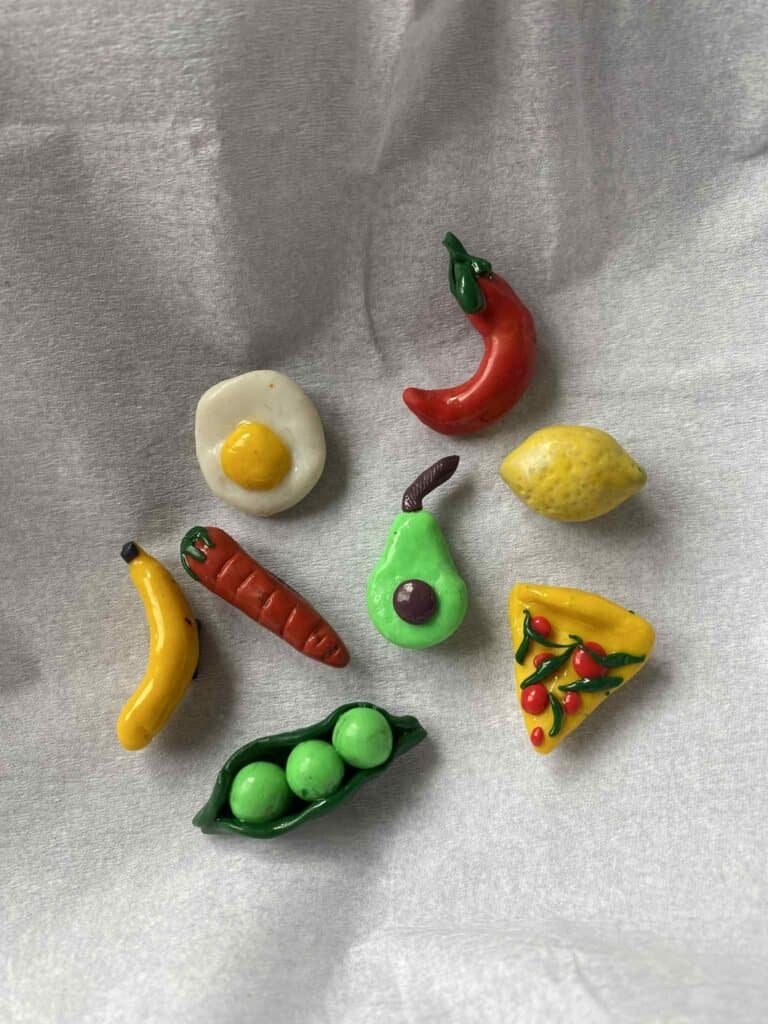
And that’s it! With just a few supplies and your air fryer, you can whip up a whole collection of polymer clay fridge magnets. They make great little gifts, party favours, or just a fun way to brighten up your kitchen.
I’d love to see your creations—tag me if you make some of your own!
If you loved this Polymer Clay DIY, why not check out the DIY where I made a polymer clay candle stick holder ideal for Halloween! Link here