DIY Halloween Fridge Magnets (Mini Framed Clay Gallery)
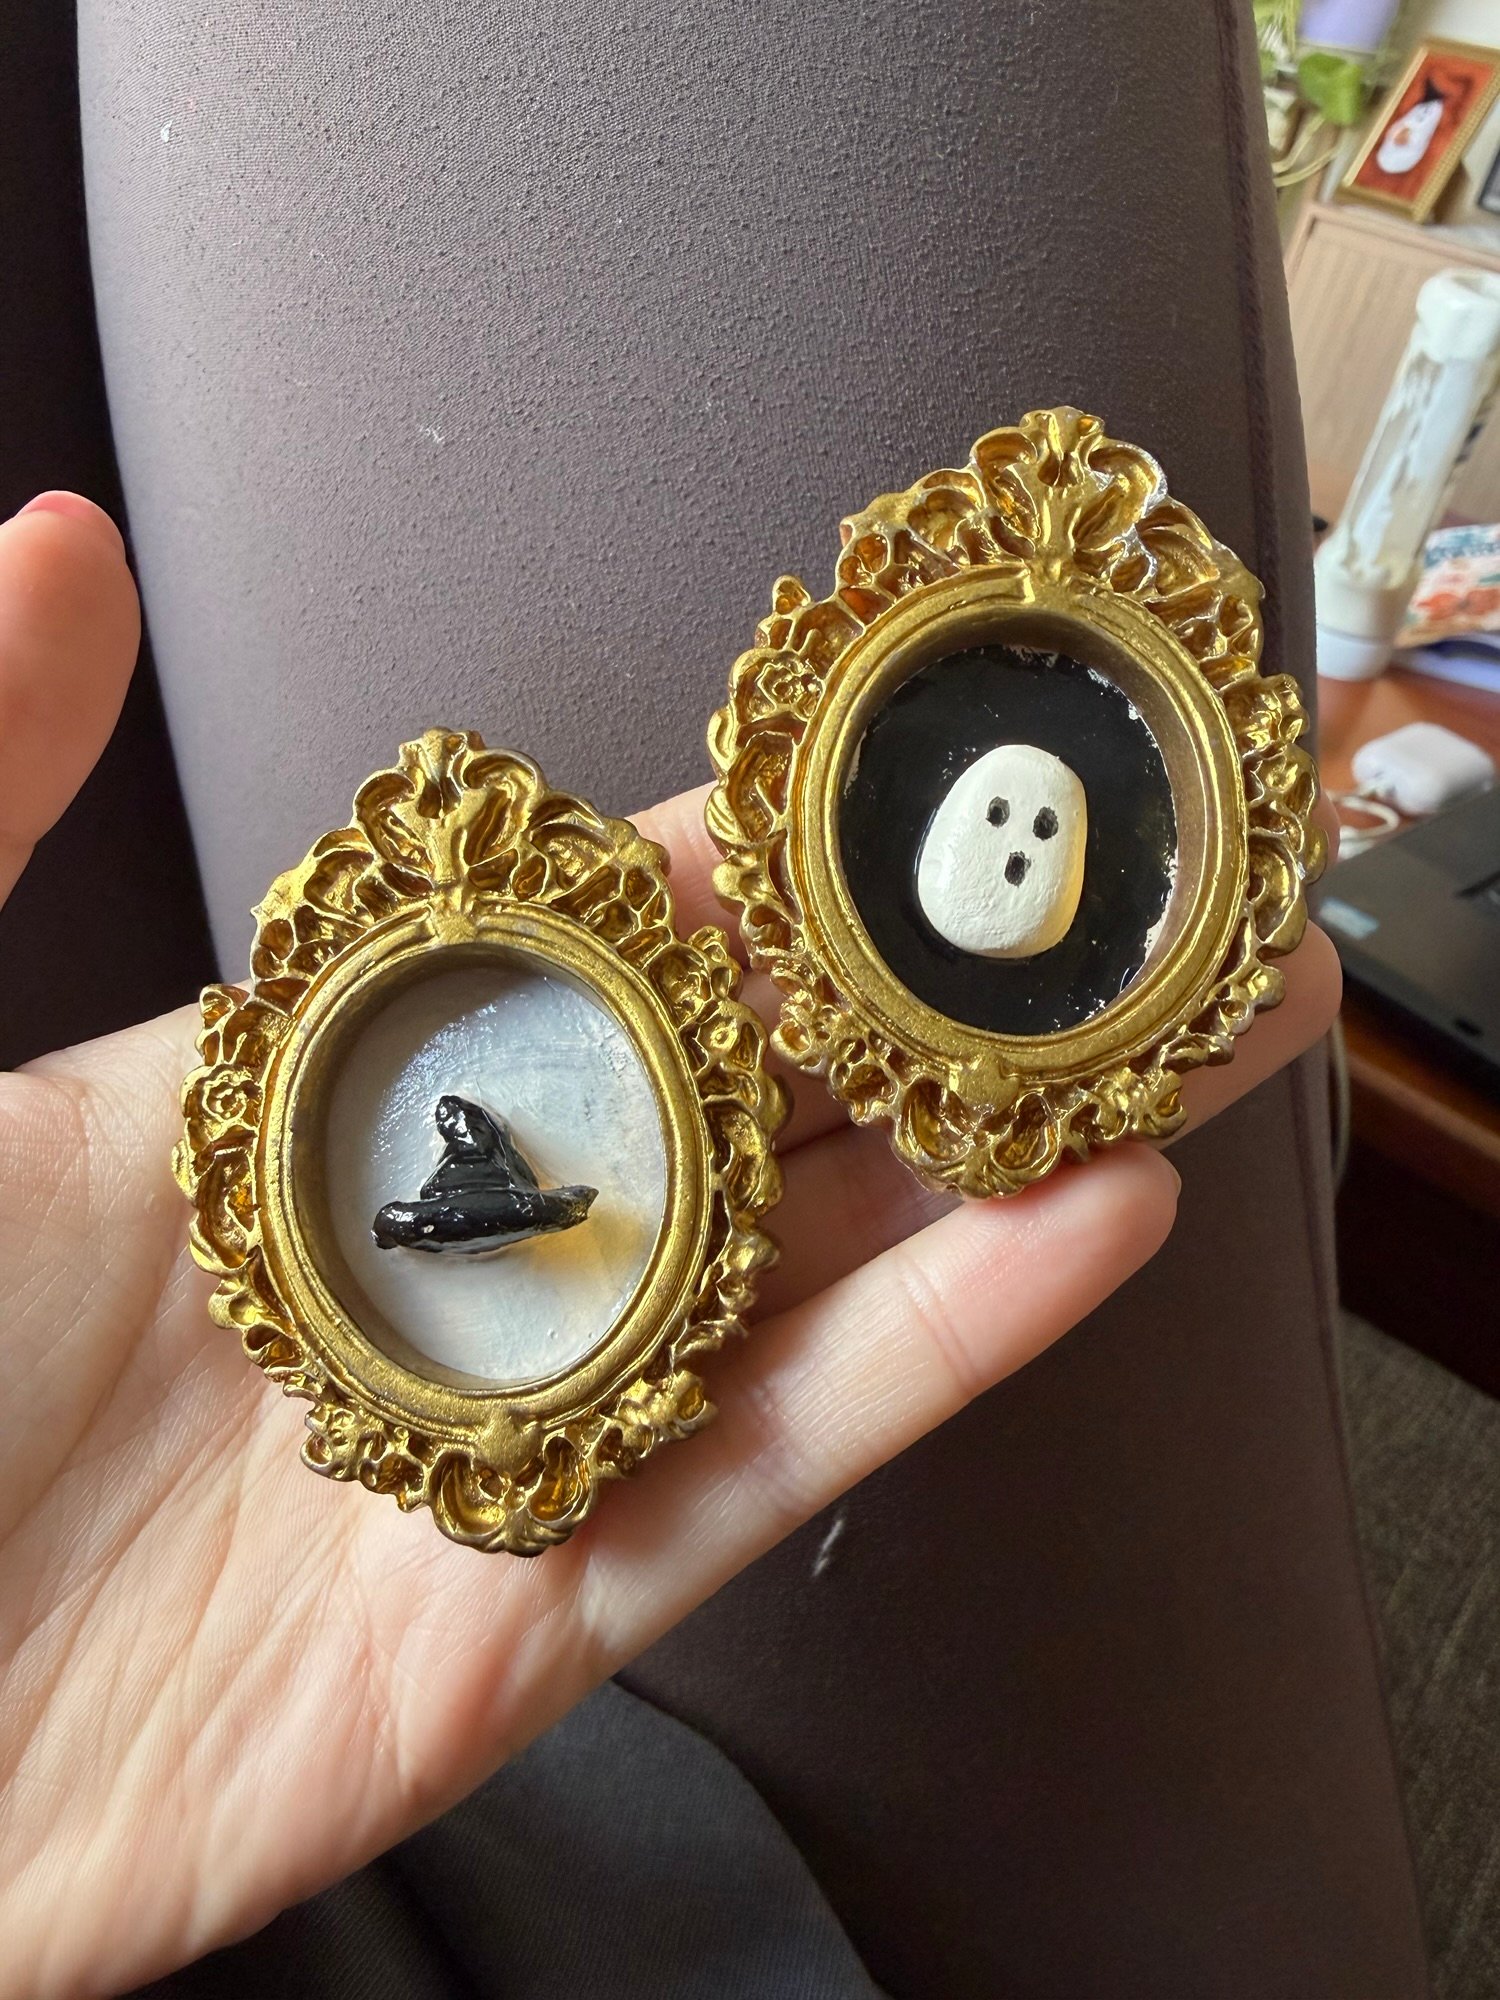
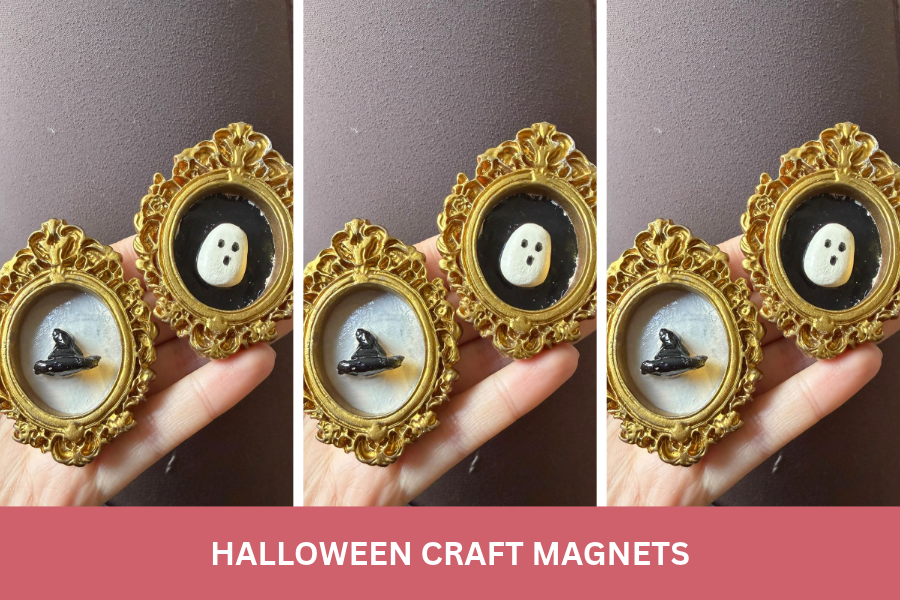
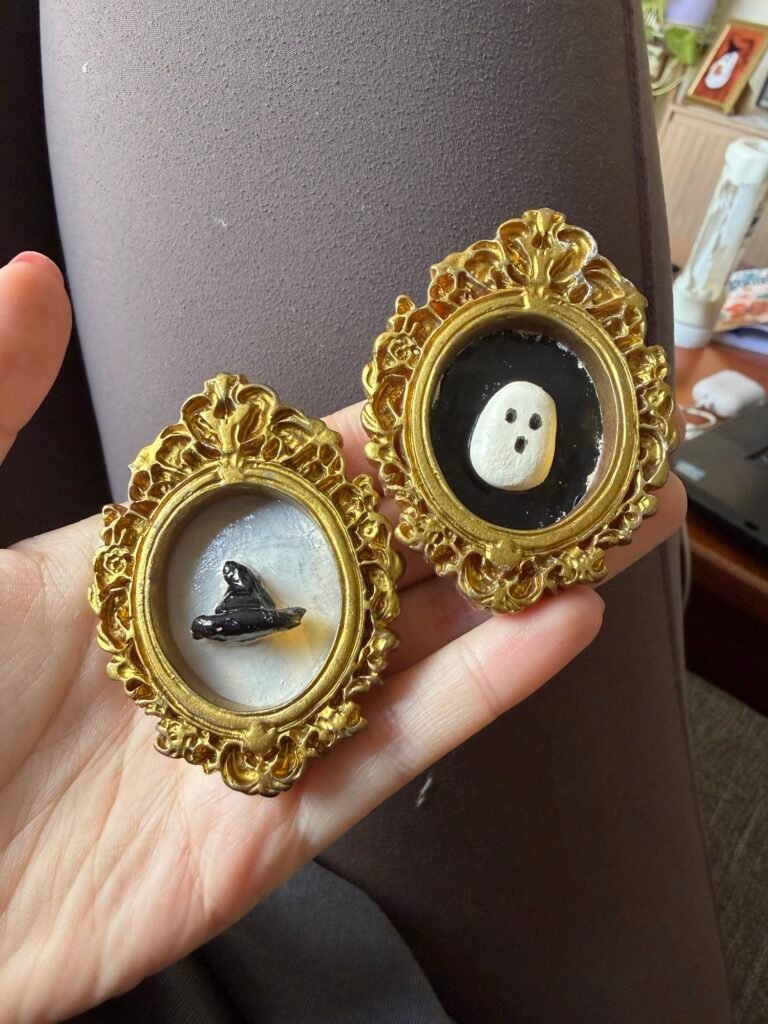
These small framed Halloween magnets look like a miniature gallery when placed on your fridge. Instead of a painting inside the frame, there’s a little 3D ghost or witch’s hat made from air dry clay. This is a fun Halloween Craft suitable for all ages.
This page contains affiliate links, what does that mean, that means if you choose to make a purchase via one of the links, I receive a small commission at NO EXTRA COST to you.
What You’ll Need
- Miniature resin frames
- Air dry clay
- Small bowl of water
- Clay sculpting tool
- Acrylic paint in black, purple, white, and gold (optional, for touch-ups)
- Fine paintbrush
- Strong craft glue, I use this one, longer drying time but very strong
- Round neodymium or magnet tape
- Matte or gloss sealer (I use this one)
Step 1: Create the Background
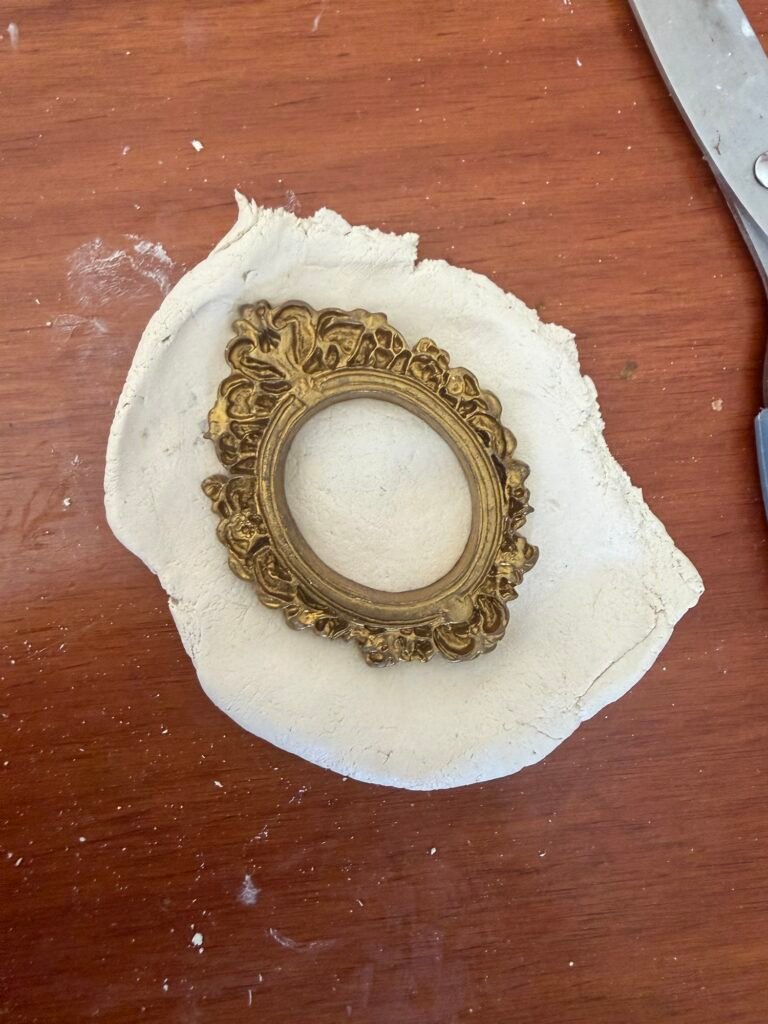
Roll out a thin flat pieve if clay about the sizeof the frame. Lay the frame overtop to make sure no clay edges will be visible once it gets stuck to the frame.
Step 2: Sculpt the Pictures
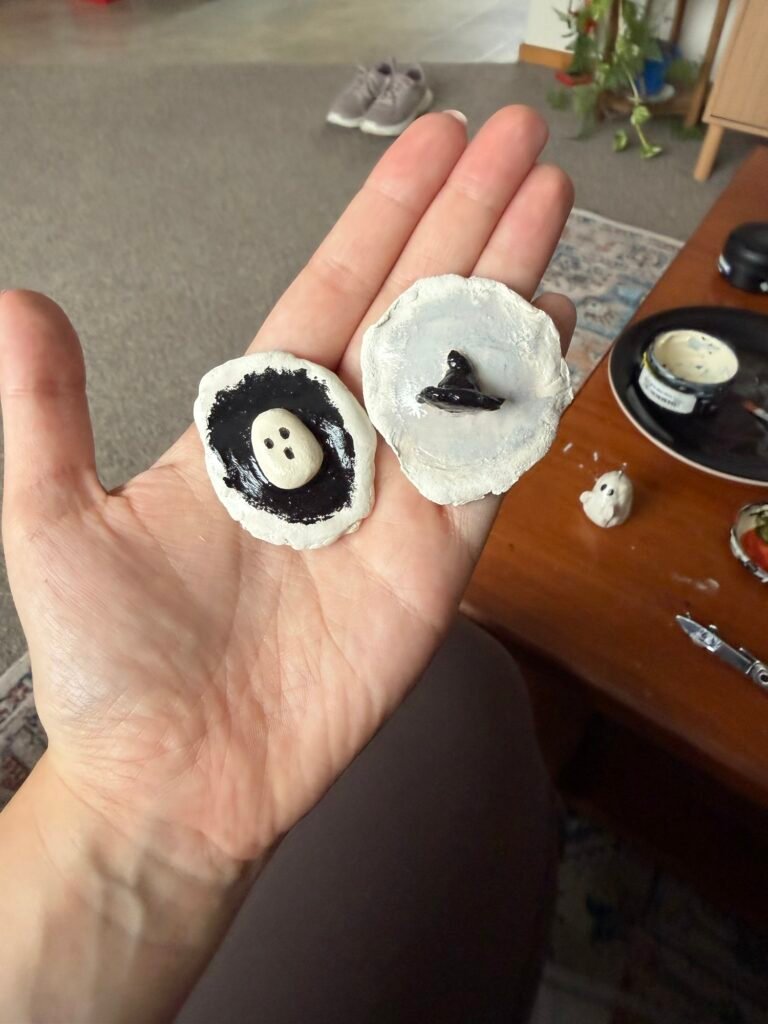
For the center of my magnet frames, I chose to do a witches hat and a ghost. You can do any design you like but remember to keep it simple and details less as the frame is so small it can be hard to achieve.
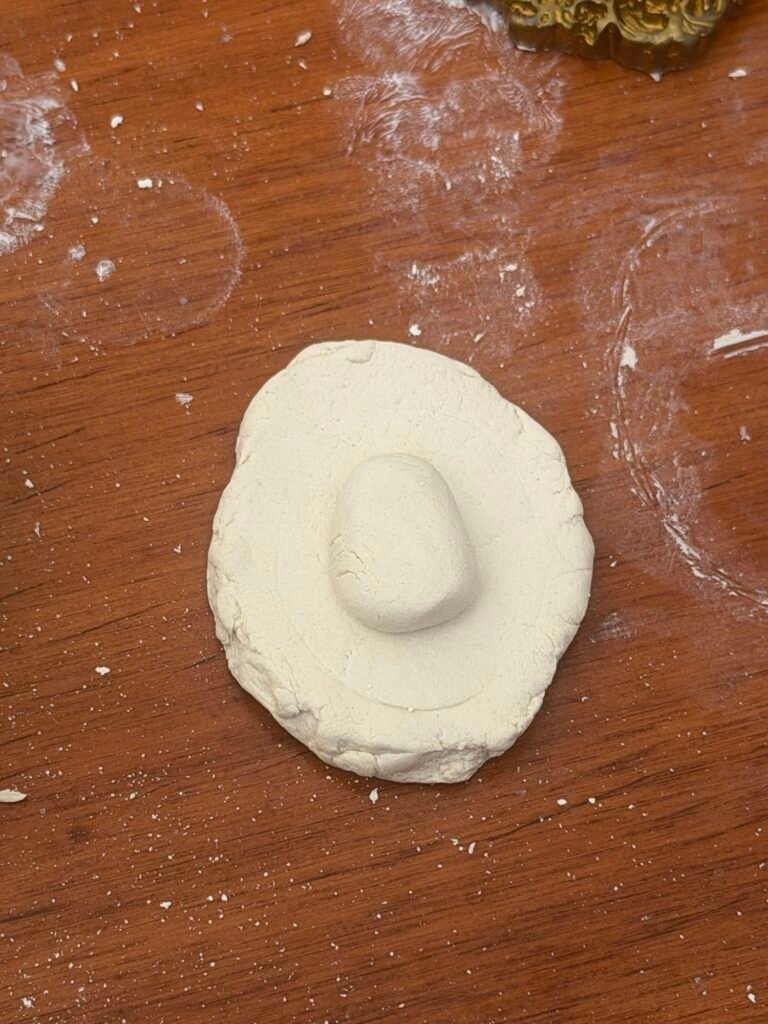
For the ghost, I simple made a small oval out of clay, and using my clay tools and some water attached it to the clay background base, made in the previous step. Eyes and other details can be added with paint later.
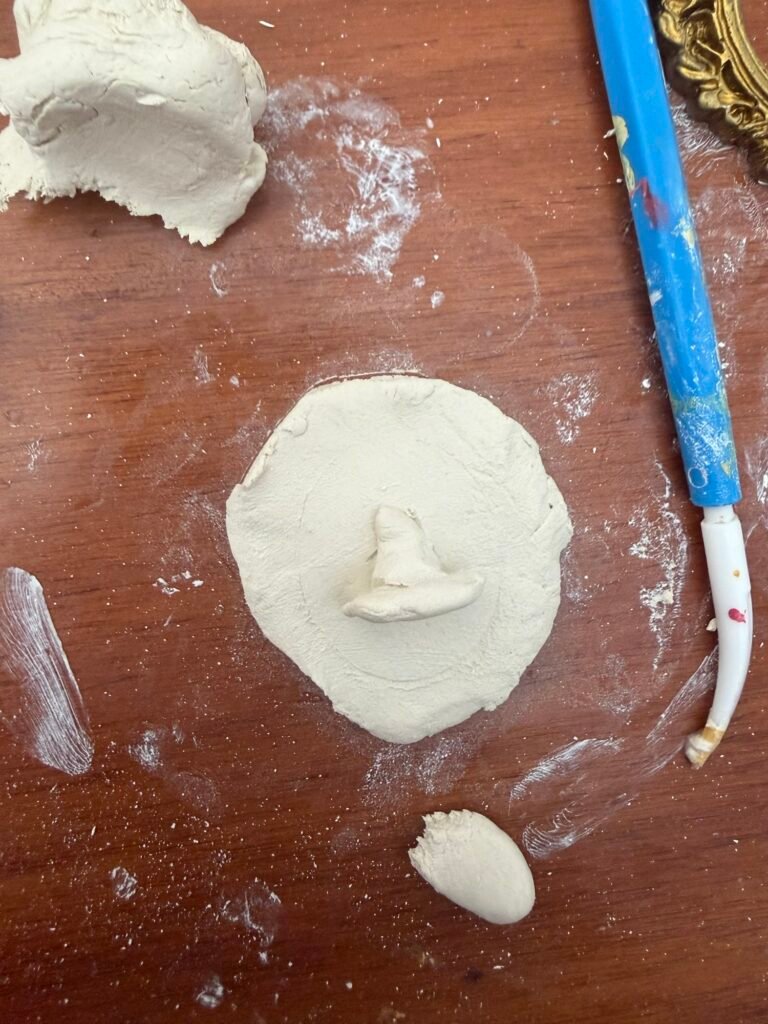
For the witches hat, I made a half circle for the brim and for the cone, I made a flattened cone shape. I attached these two shapes together and added a slight bend to the top of the cone to create a witches hat like look rather than a road cone. Then attached the hat to the back clay base that was made in the previous step. I used water and clay tools.
Step 3: Let Them Dry
Place your pieces on parchment paper and let them dry for 24 hours. Don’t try to rush the drying as this encourages cracking of the clay.
Step 4: Paint the Details
- Ghost: Add a coat of white if you’d like a brighter finish, then paint the eyes in black. I painted a black background.
- Witch’s hat: Paint it black, or a deep dark color of your chose, for the background color I opted for grey.
Let the paint dry fully, then add a second coat if needed.
Step 5: Seal
Brush a thin coat of sealer over your painted figures. This protects the paint and helps the clay hold up over time. Let it dry completely.
Step 6: Glue Into the Frame
Dab a small amount of strong craft glue around the edge of the clay border, place the frame over top and secure it in place. Don’t move onto the next step until the glue is completely set.
Step 7: Add the Magnet
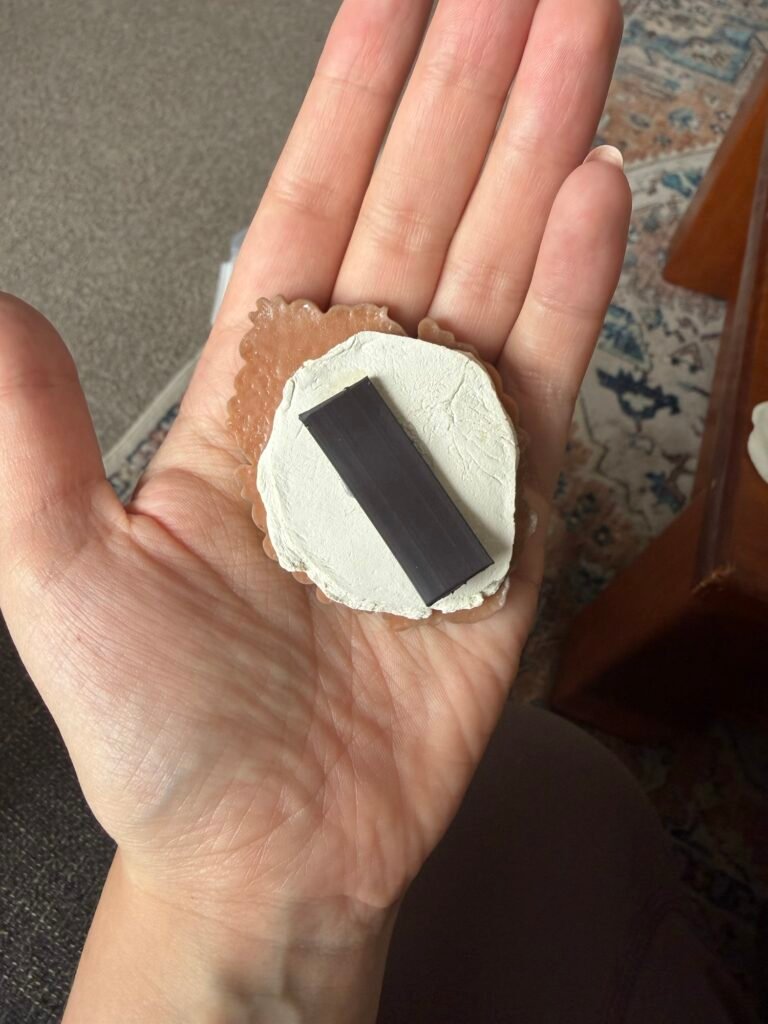
Flip the frame over and glue a magnet to the back. Before gluing, check that the magnet is facing the right way by testing it on your fridge, since it’s easy to glue it on backwards. Let the glue set completely
Tips
- If your figures crack as they dry, smooth the cracks with a little water and fresh clay, then let them dry again.
- Air dry clay isn’t waterproof, so keep your magnets away from moisture, especially near the sink.
- Try other tiny spooky scenes: a bat, a black cat, a skull, a mini pumpkin, or a crescent moon with stars.
I’d love to see how yours turn out! Share your creations and tag me so I can see them.
Here is some more Halloween DIY Tutorials