Hand Embroidery letters are super easy and fun. It doesn’t take much practice and even a beginner embroider can do it. All you need to do is find a font you like and want to use. For this, you can search online or use Microsoft Word. Don’t be afraid to try lots of different fonts, some fonts will be easier to embroider than others. Once you have your selected fonts and letters, transfer them to the fabric or just freehand them with a pencil or a disappearing marker as I have done for this tutorial. For this tutorial, I have used all six strands of floss. I recommend that you also use 6 strands of floss to start with until you are comfortable with the stitches
Okay, let’s get started and learn to hand embroider letters!

Hand Embroider Letters #1: The Backstitch
This stitch is very easy and makes for a nice simple letter.
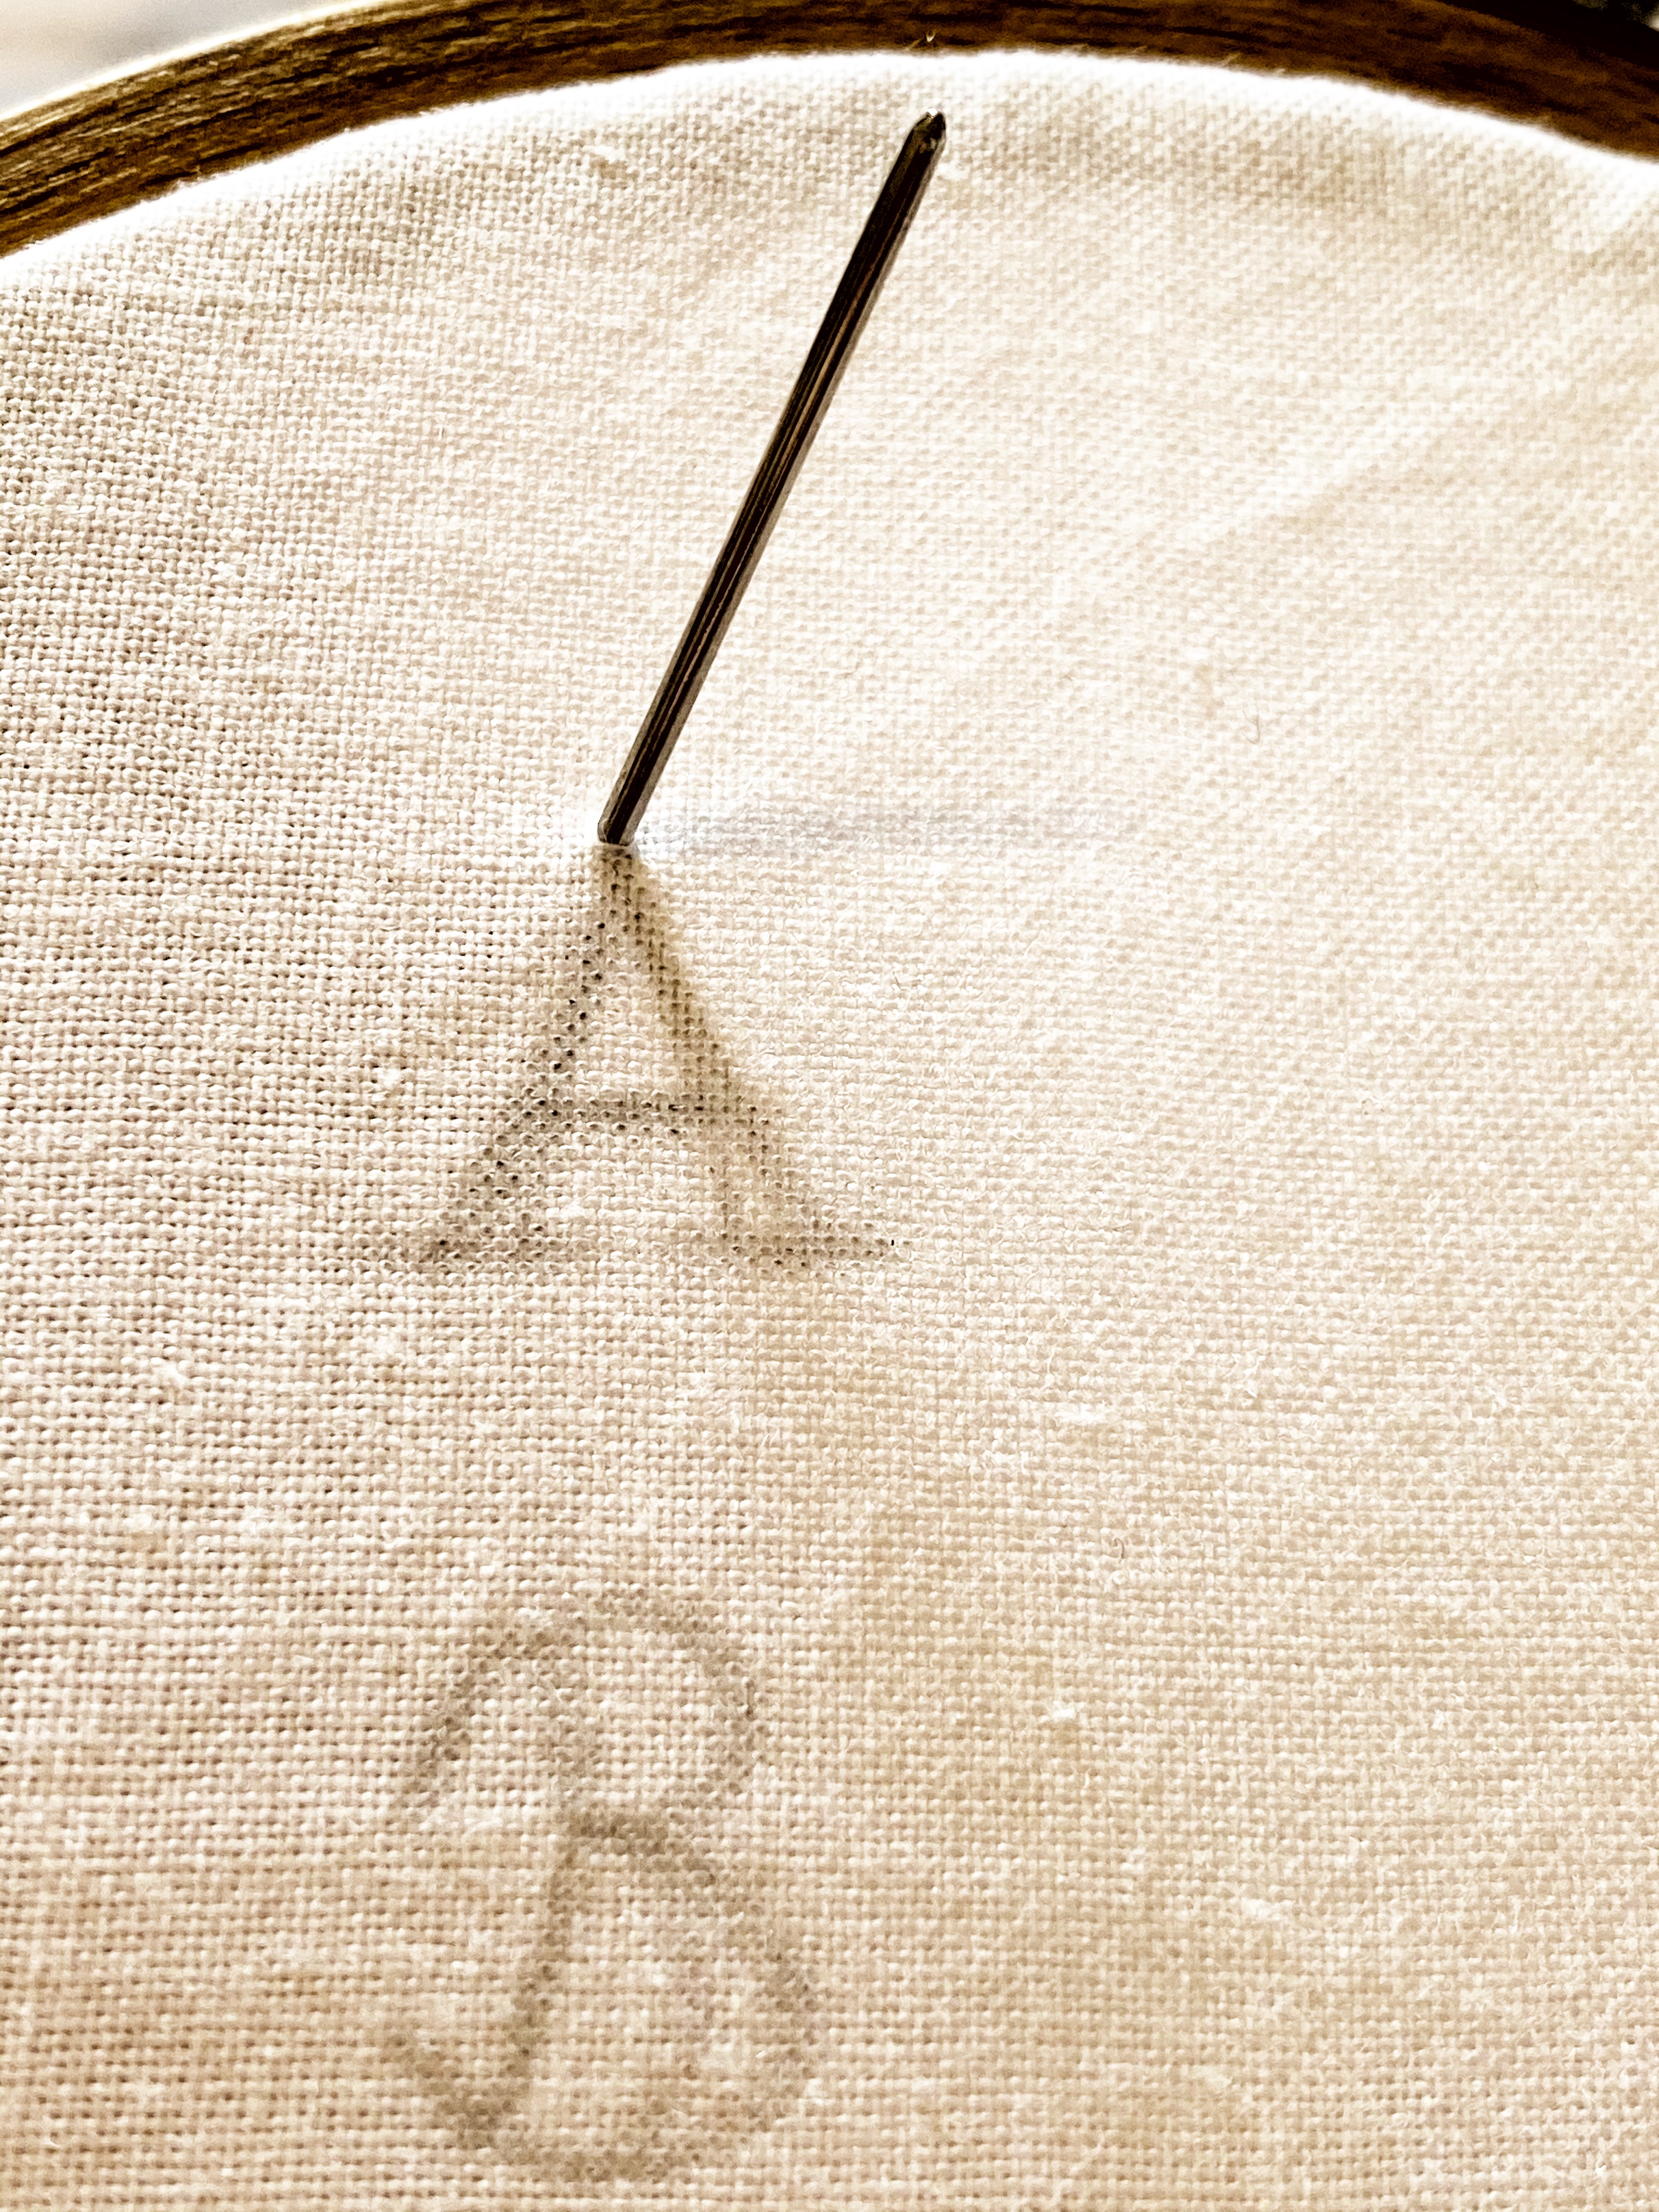
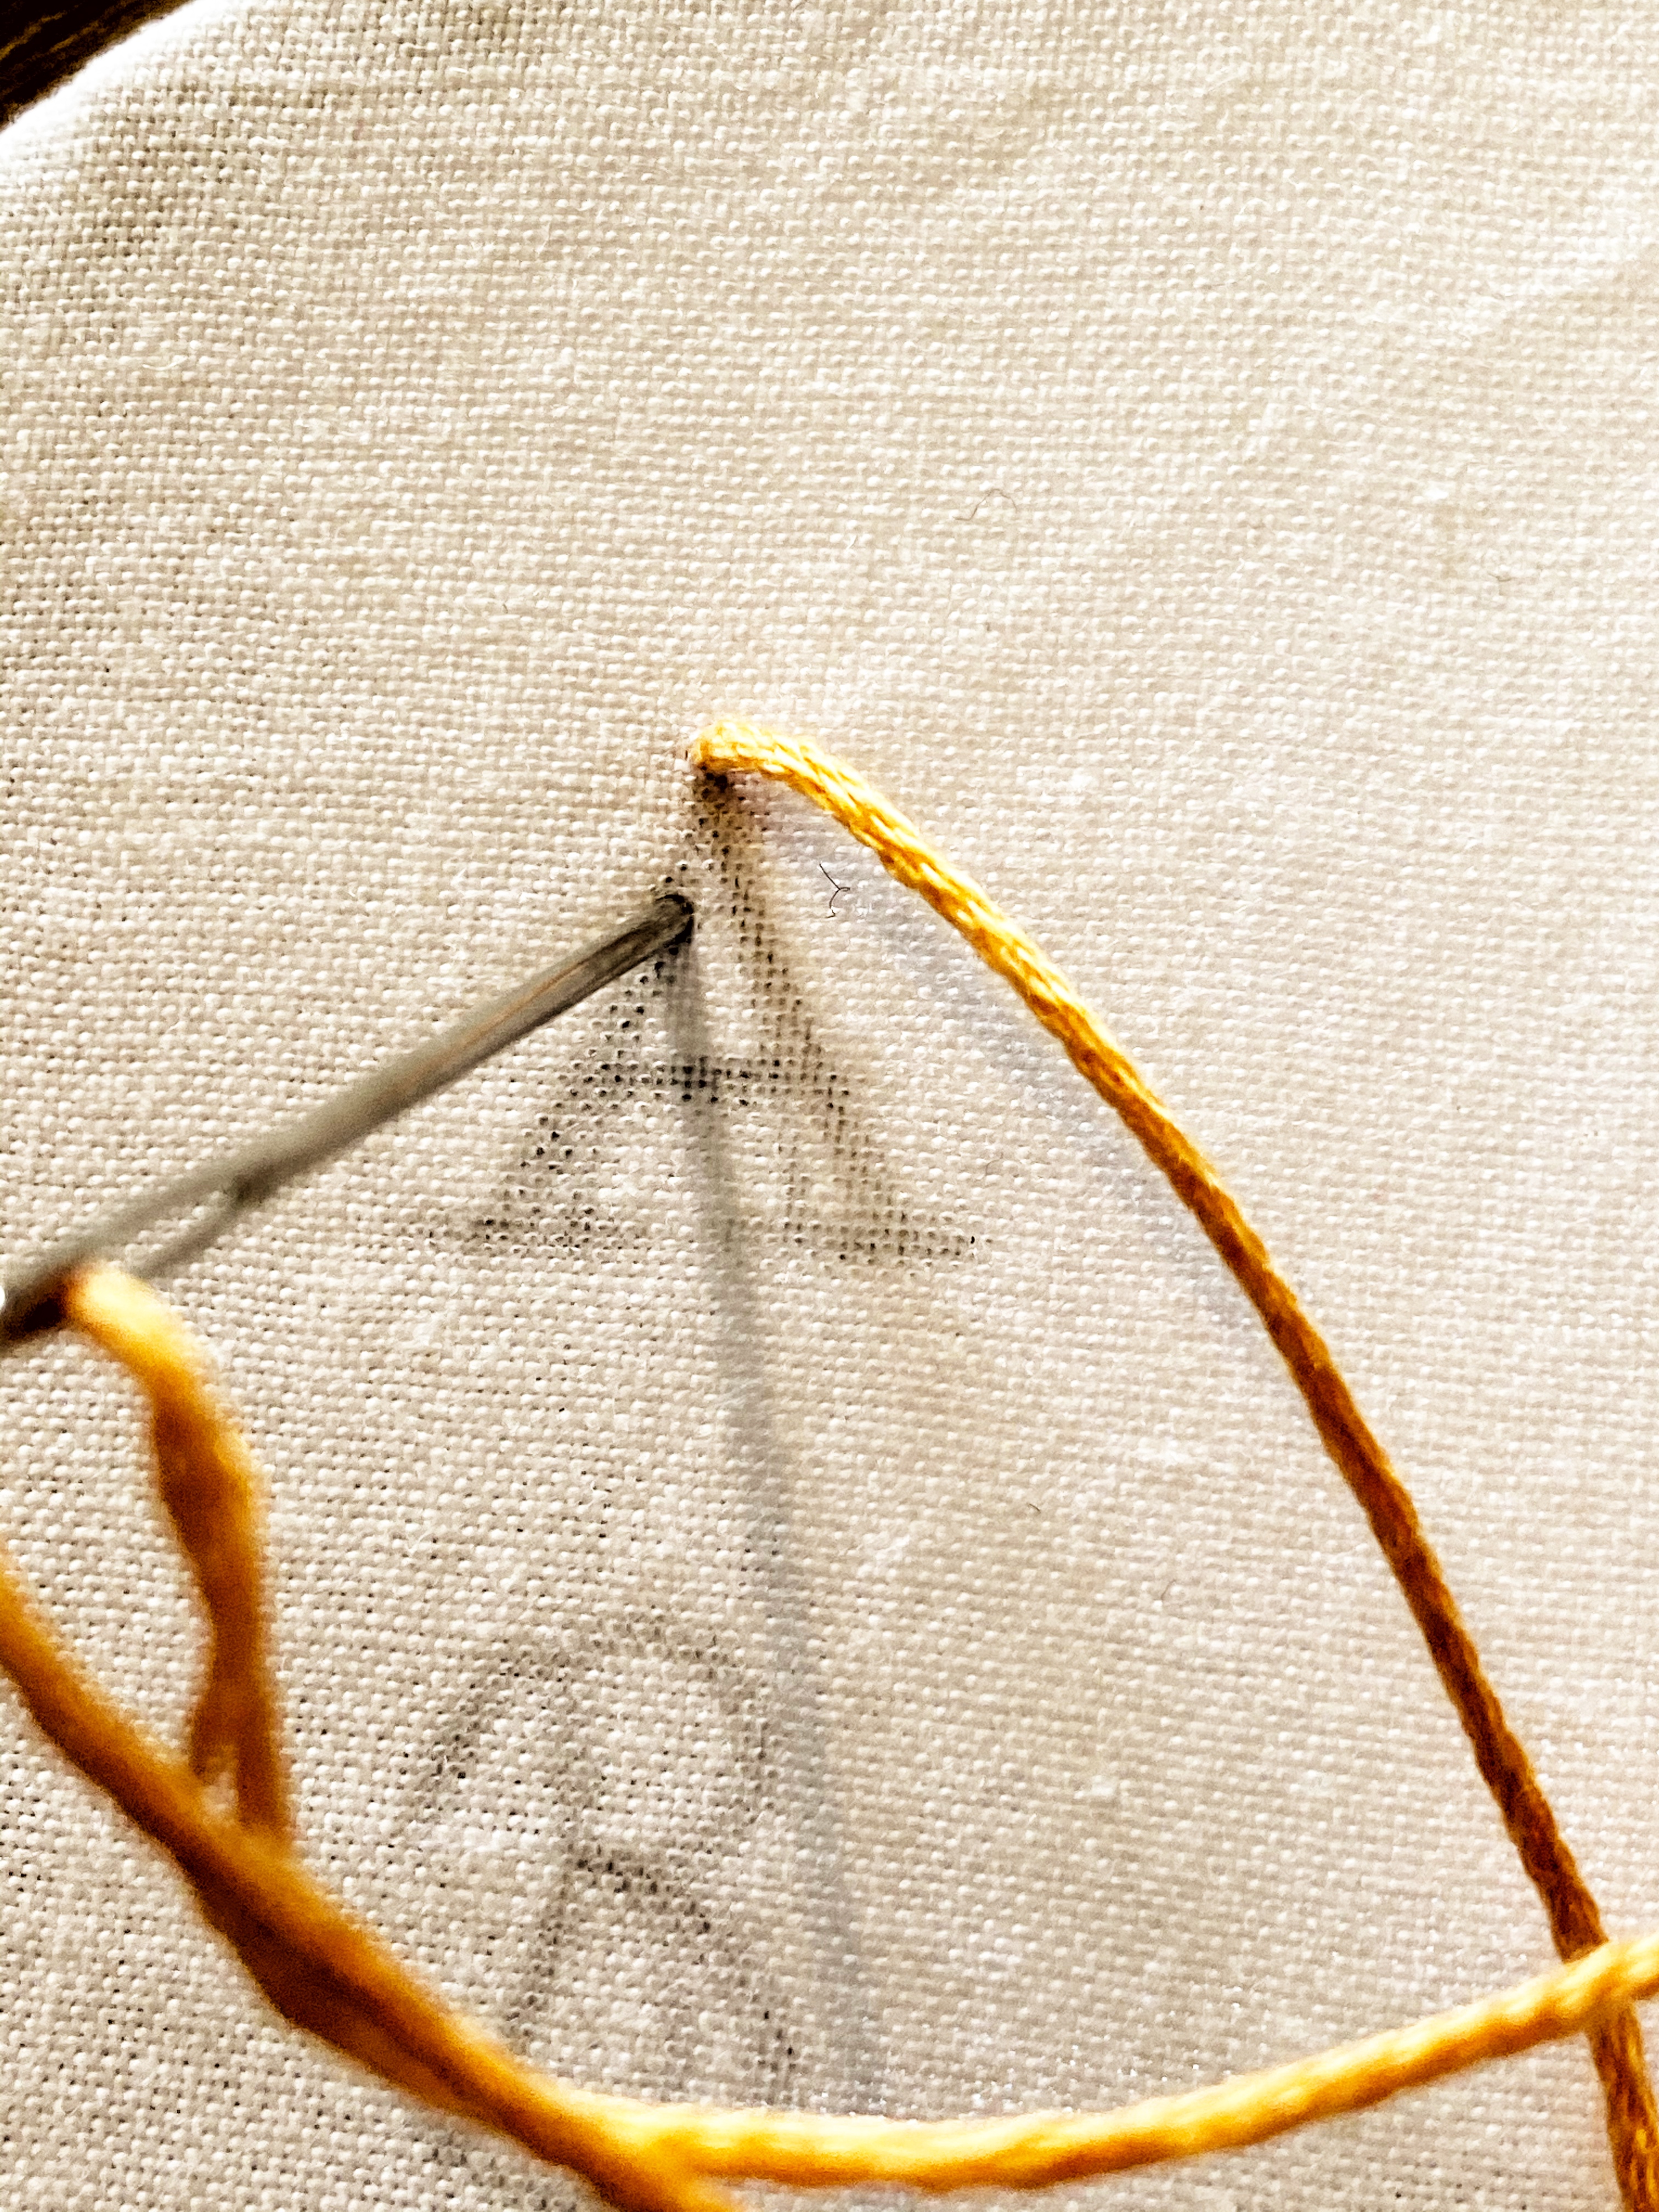
For the backstitch, you need to first bring the needle up through the back of the fabric and then back down to make a basic stitch. Then pull your needle back up through the fabric leaving a small gap from the previous stitch. Now insert the needle into the end of the previous stitch and pull through

Repeat until the entire letter is completed. To keep the letter looking as tidy as possible try to keep the stitches the same size throughout the entire letter.

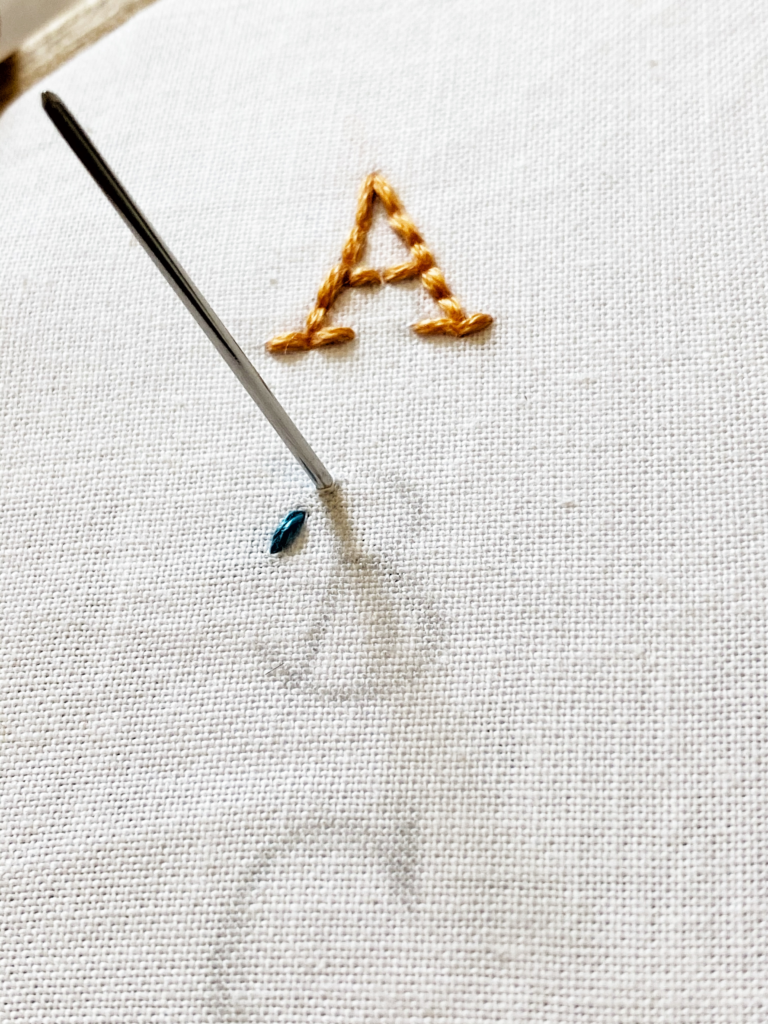
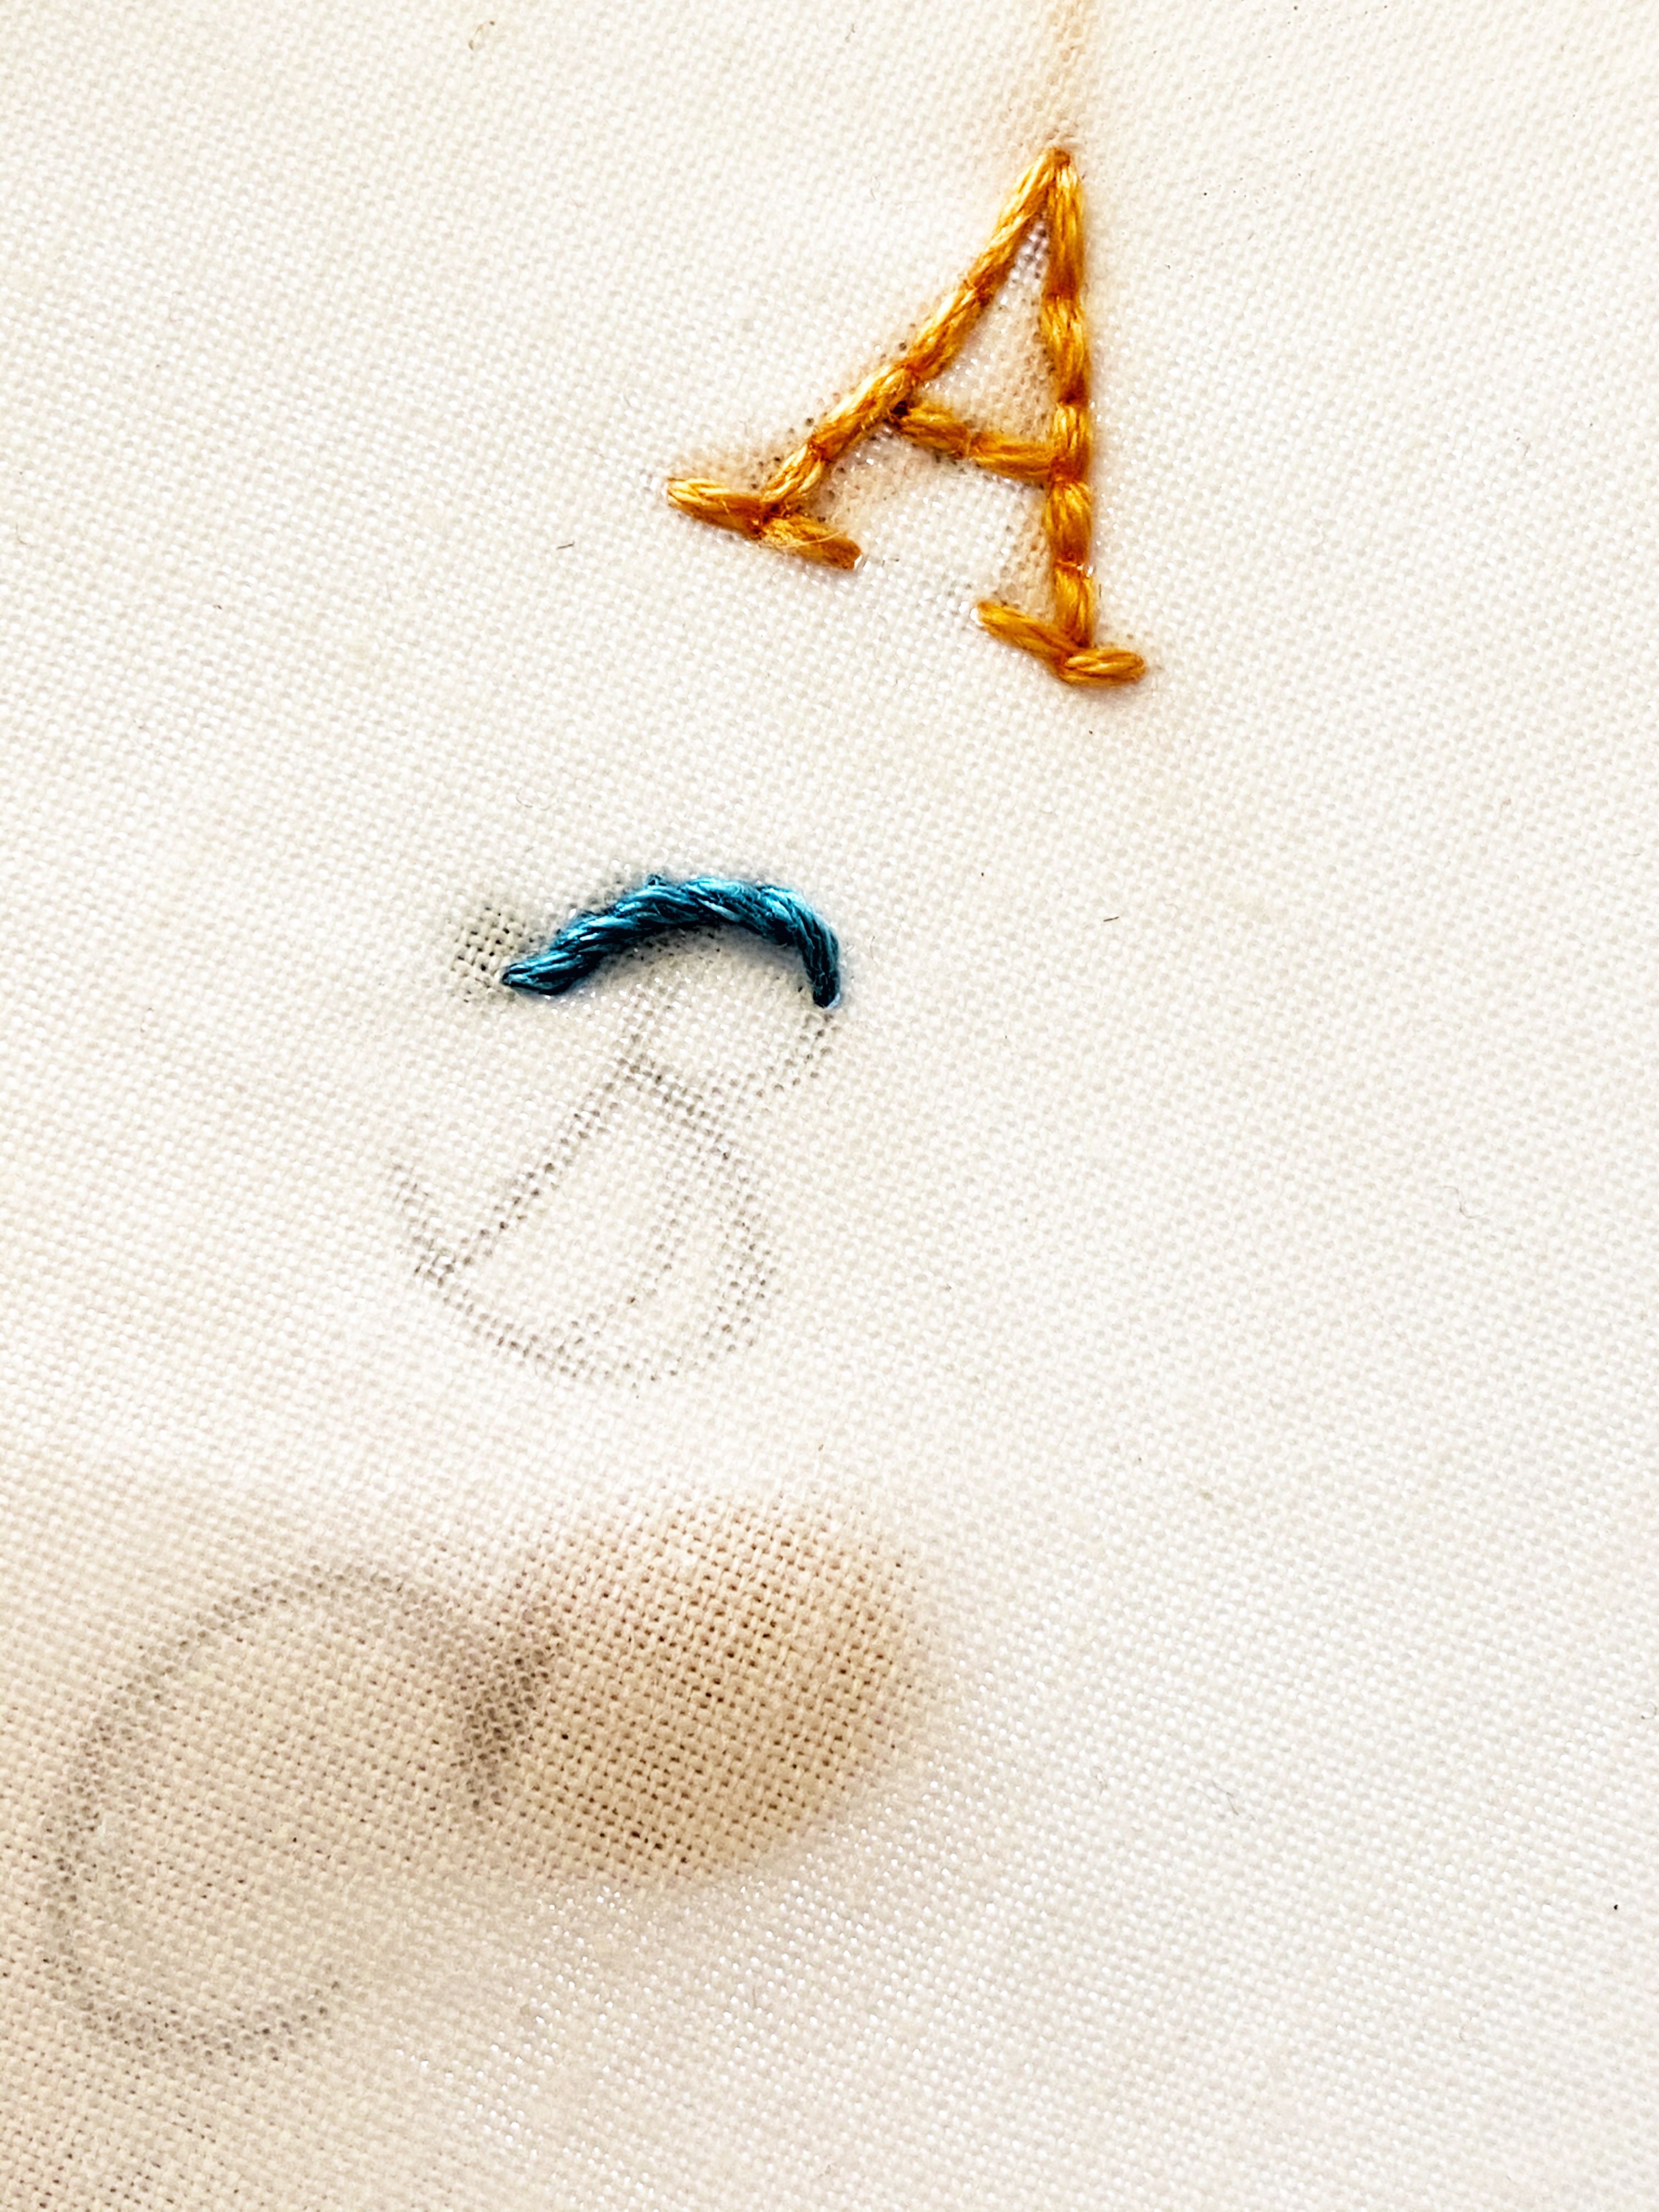
The finished product should look something like this.
#2: The Stem Stitch
The stem stitch, commonly used for floral designs in embroidery, this stitch can also be great to make a solid letter.
For the Stem Stitch, start with a basic stitch how we learned in the backstitch tutorial(picture here)
Bring the needle up a little away from the end of the previous stitch, leaving a small gap of just fabric.
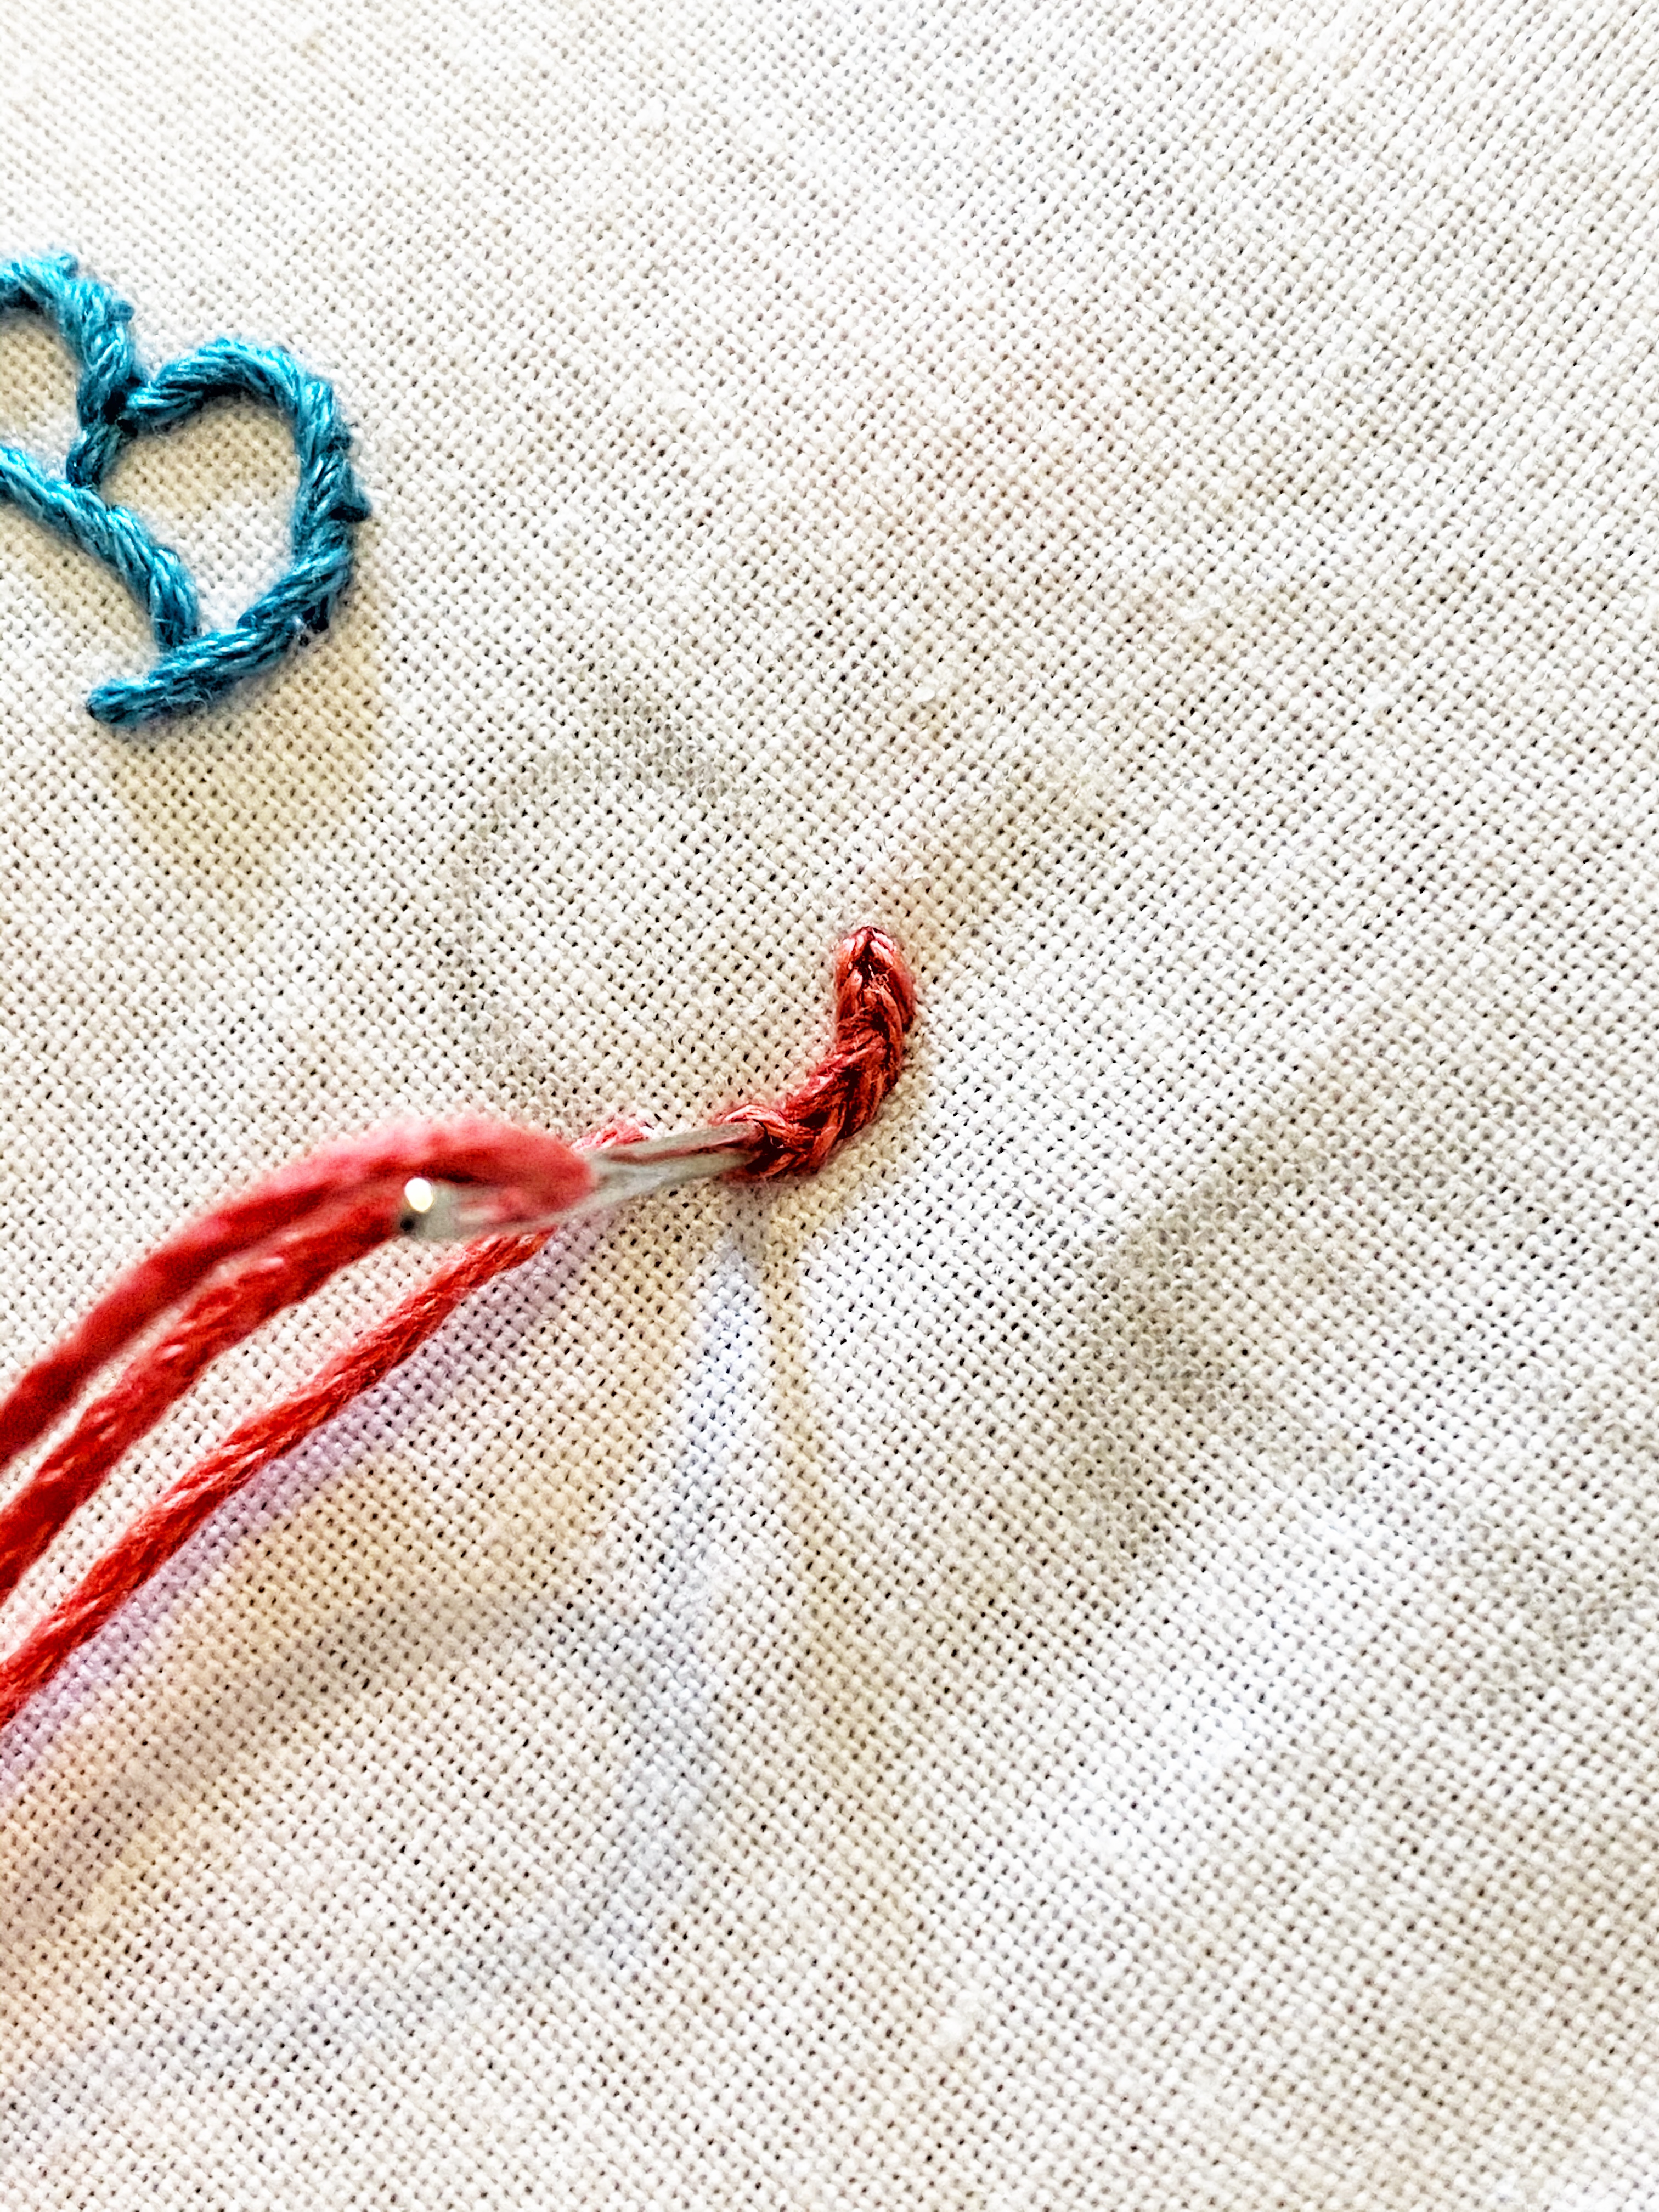
This time instead of pushing the needle through the end of the previous stitch we will slip the needle close to the side of the previous stitches thread and push the needle through the middle


Be sure not to catch any floss inserting your needle to the side of the previous stitch as this would ruin the stem stitch.
Carry on until you finish the letter

Your finished letter should look similar to this.
#3: The Split Stitch
This stitch is awesome in my opinion because it looks just like a miniature fishtail braid. This stitch is great if you want your letters to have a little detail whilst keeping it easy.
Start with a basic stitch. Next, we are going to pull the needle back through the material leaving a small gap with fabric, the same as the two previous stitches we learned. We then are going to insert the needle into the middle of the previous stitch, evenly between the strands of floss (picture here)


Repeat this until the letter is complete.
For a more detailed look, make smaller stitches, this will make smaller-looking braids. Have fun and try different stitch sizes and you will see the difference.

Here is what the finished letter should look like.
Hand Embroidery Letter #4: The Running Stitch
Lastly, we have the running stitch or the dash stitch. This stitch is very easy as it just weaving the needle in and out of the fabric.
Push the needle up from the fabric’s back, make a basic stitch, leave a gap, take the needle back up through the fabric, and make another basic stitch. Repeat until complete


To make this stitch look as good as possible try to have the stitches the same size and the gaps the same sizes. For a more solid look have smaller gaps, make sure a gap is visible otherwise it will start to look like a standard backstitch.
The finished product should look something like this
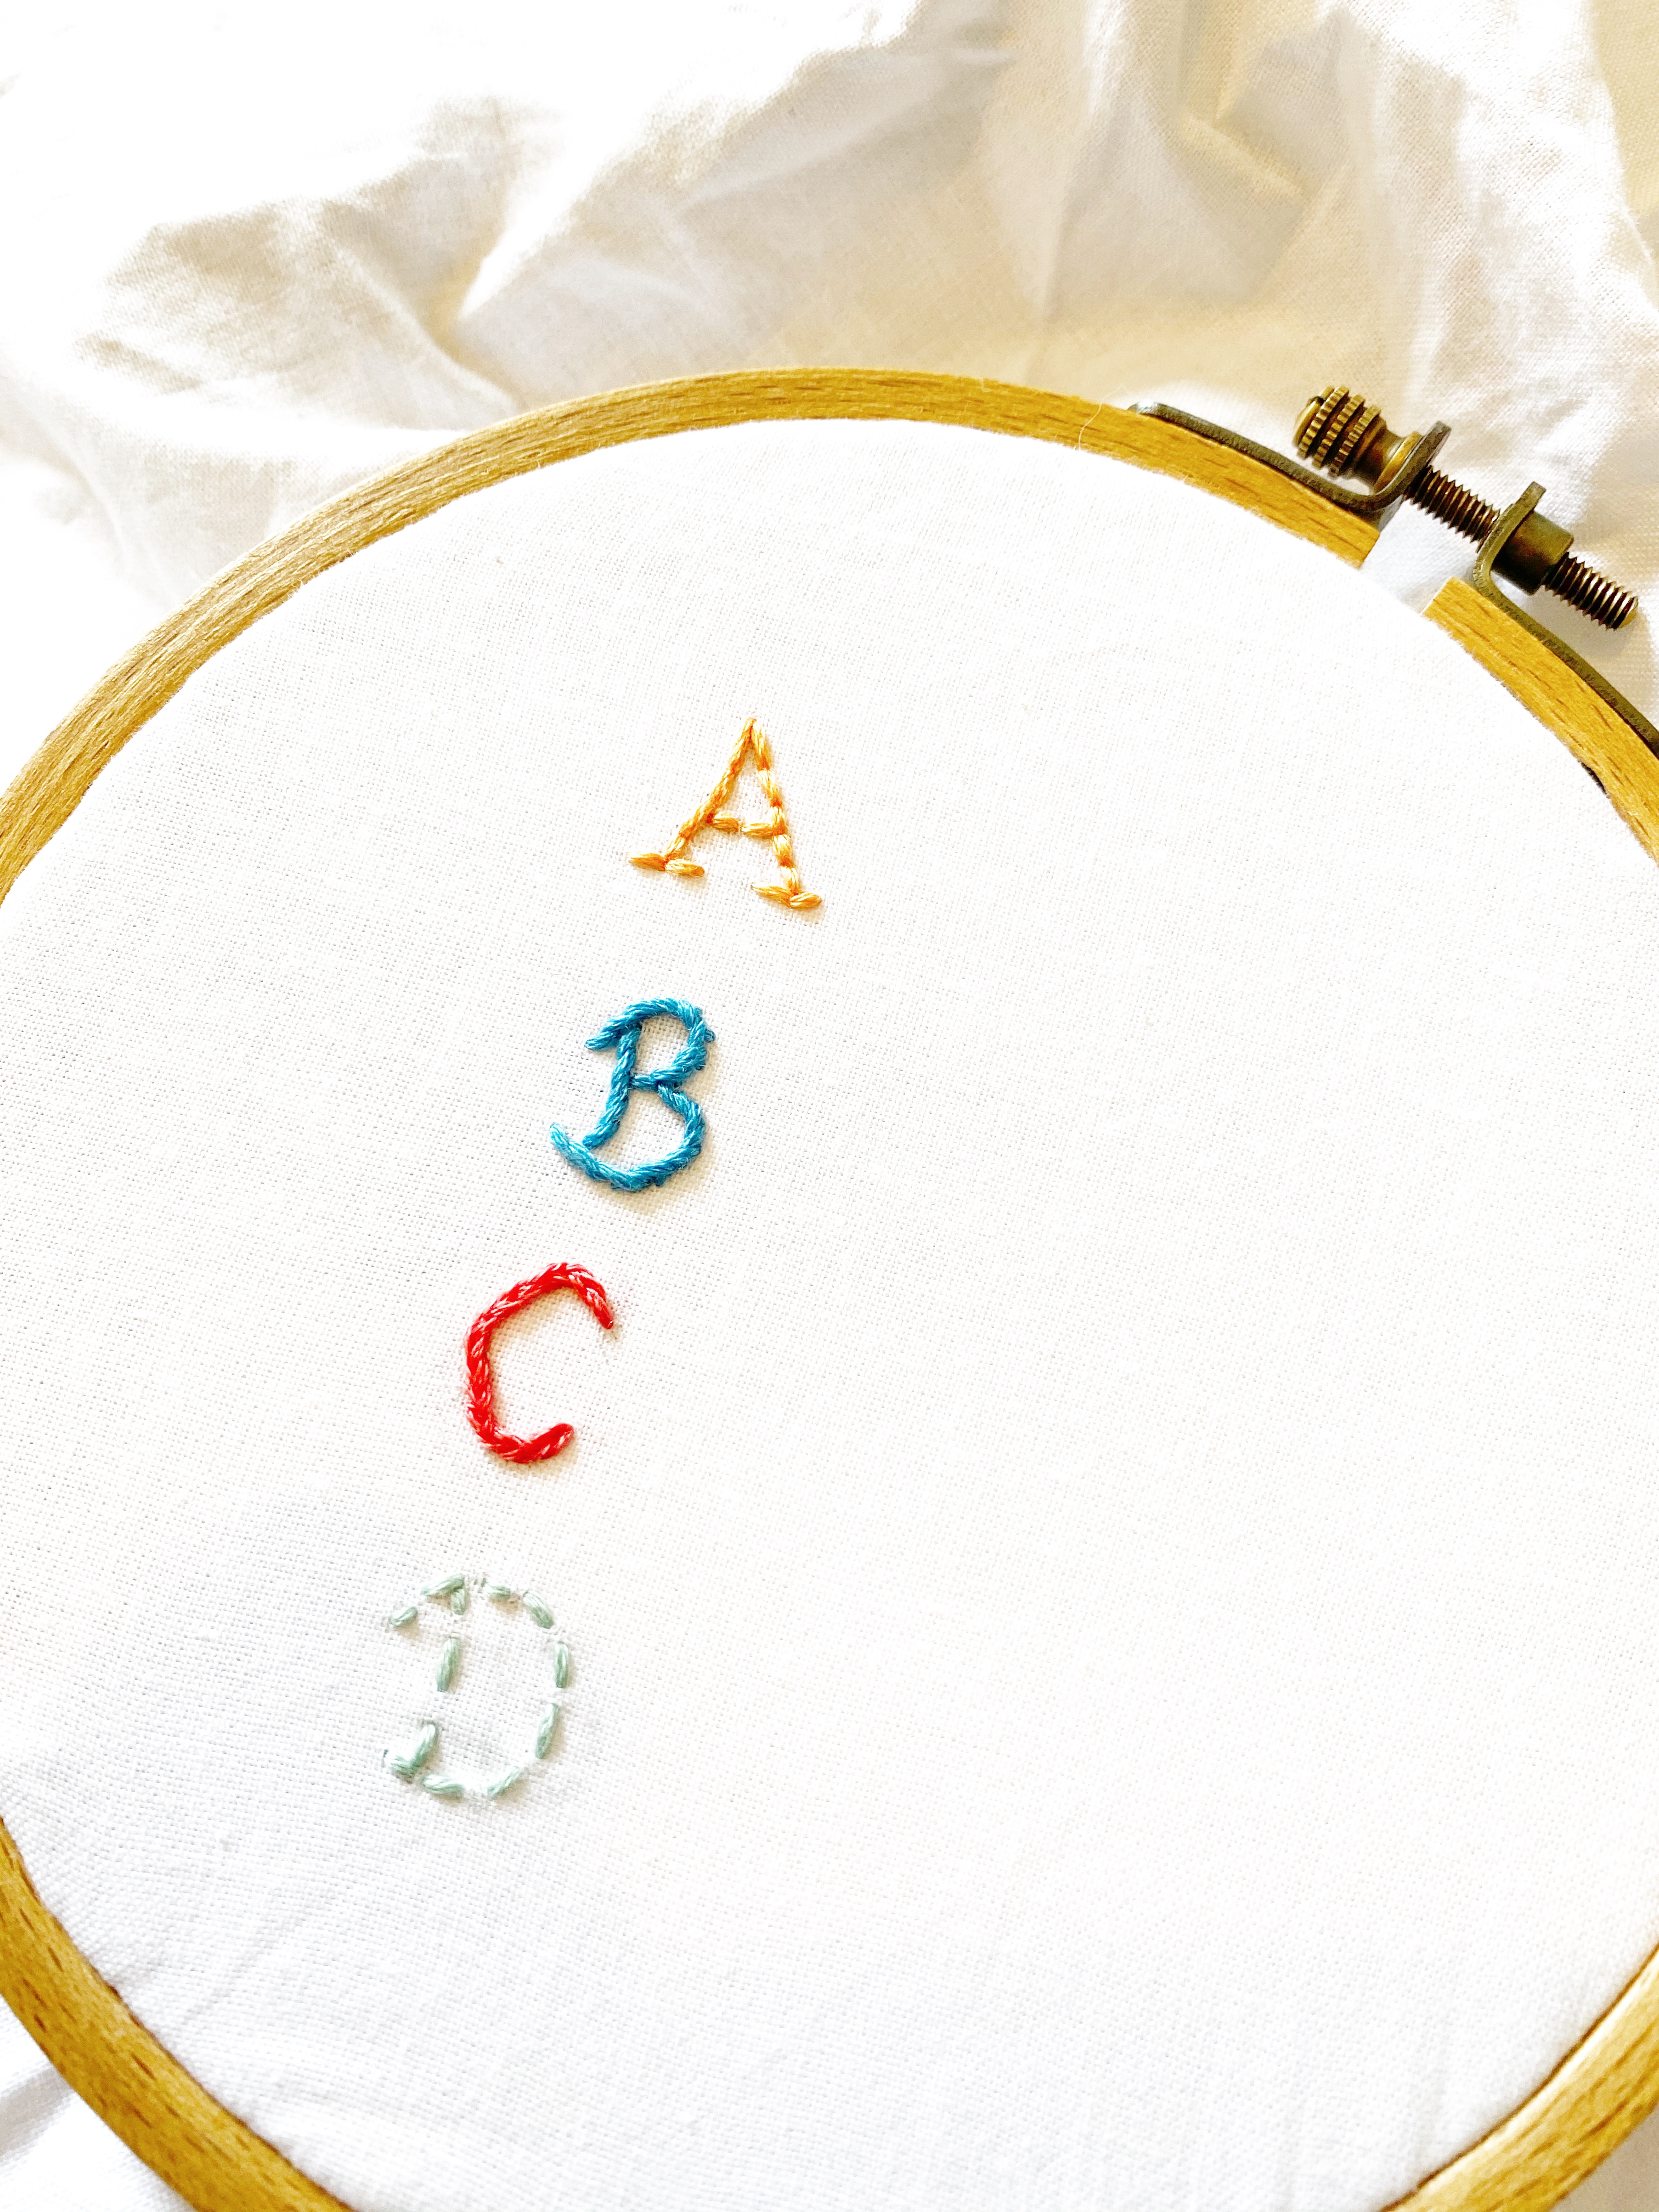
An example of the finished running stitch letter.
Those were 4 basic stitches that can be used for hand embroidery letters and other embroidery designs. I would love to see your work with these stitches. Have fun with this and practice, practice, practice. Don’t be afraid to try different style letters and different thicknesses of the embroidery floss. When embroidering words, I do like to keep the words short and simple as I think it’s easier to keep the letters tidy and neat. That is all you need to know to get started with hand embroider letters.
Happy Embroidering
If you enjoyed this blog post, you may also enjoy…
The Easiest Hand Embroidery Leaf Tutorial
Free Beginner PDF Floral Hand Embroidery
7 Life-changing Etsy Selling Tips