How to make a Hand Embroidery Rose, Beginner Friendly
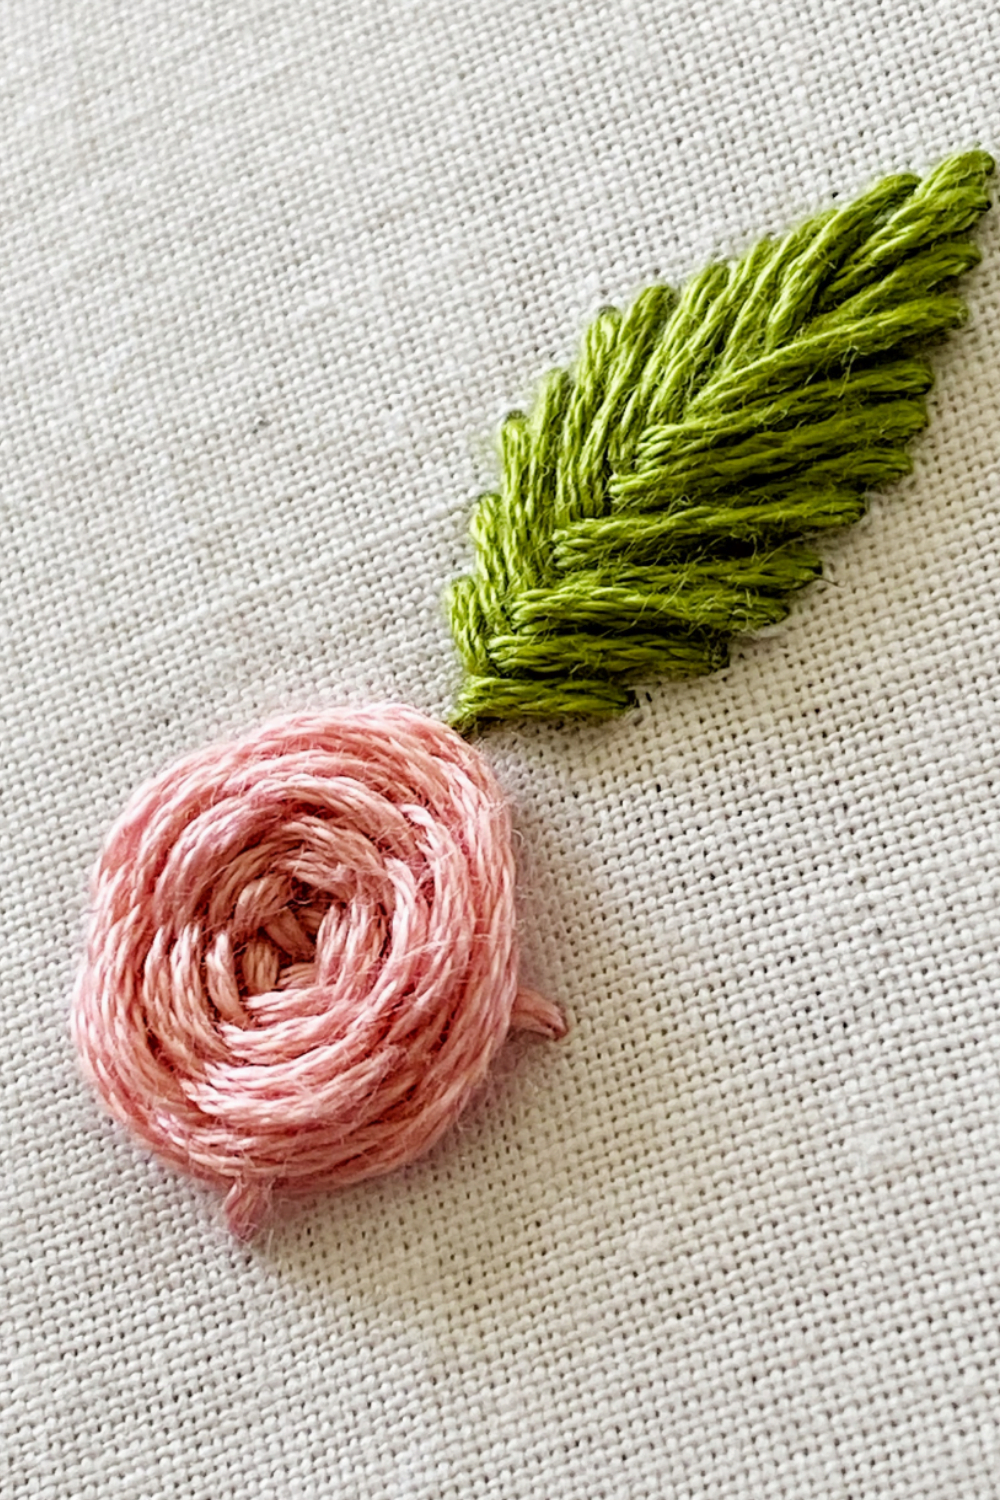
Let’s learn how to make a hand embroidery rose. When I first learned hand embroidery, the hand embroidery rose was the first thing I learned! In fact, this wagon wheel embroidery rose technique is the first technique I learned too! So I thought I would share my knowledge and make a tutorial for you all. There are many different ways to embroider flowers in hand embroidery, I will be showing you one of my favorite techniques to make a hand-embroidered rose. This technique is beginner-friendly and very easy to learn.

How to Make a Hand Embroidery Rose
This tutorial is for how to make a hand embroidery rose using the wagon wheel technique. For this tutorial, I used the full 6 strands of embroidery floss, but how many strands of floss you use is completely up to you!
Step 1 – Draw a pattern for your hand embroidery rose
Draw your pattern (in pencil or an embroidery marker, I will link some good ones for beginners below at the end of this tutorial)
- Draw a circle. This will roughly be the size the rose will end up being, so make sure you draw the right size.
- Next, we are going to draw five lines coming out from the middle. Try to make the five parts as even as possible.
- You should have a wagon wheel pattern.
Always have an odd number of spokes/wagon wheel lines. If you have an even number the rose won’t turn out!


Step 2 Make the Base
Make your base for the Embroidery Rose
- Bring your needle up through the middle of the wagon wheel
- Follow your five wagon wheel lines.
- You should now have a wagon wheel with the spokes outlined.
You should always have an odd number of wagon wheel lines/ spokes. If you have an even number the rose won’t turn out! I can’t stress this enough!


Step 3 Start Weaving
- Start your needle close to the center of the wagon wheel bringing your needle up from the back.
- Next, we are going to weave the needle in and out of the wagon wheel spokes.
- The pattern is over and under.
Weaving is repetitive but fills the space quickly. With 6 strands of floss the embroidery rose will be filled quicker than using 3 strands. I always suggest to beginner embroidery artists to use 6 strands of floss for this reason!


Step 4 Keep Weaving
- Keep weaving your needle (over and under the spokes) until your wagon wheel is almost full.
- If you miss a spoke/ wagon wheel line, just pull the needle back through the way you came and correct the over and under pattern
Step 5 – Complete Hand Embroidery Rose
To complete your wagon wheel
- push the needle back through to the back of the fabric slightly under the weaved embroidery floss
- tie it off and that is how to make a hand embroidery rose. You are all finished!


Well done on your hand embroidery rose!
What about the Embroidery Leaf to Match?!
You might see in the picture I have an embroidery leaf to match the rose. That particular embroidery leaf is also super simple and beginner friendly so if you are interested in learning that check out the tutorial below. The tutorial for the leaf is step-by-step and has photos to match, so very beginner friendly!
The Easiest way to make a Hand Embroidery Leaf
Tips and Tricks:
- Do not pull the embroidery floss too tight, this will ruin the wagon wheel rose and make it look all warped. Let the floss be looser sitting compared to other embroidery stitches.
- When starting the wagon wheel rose make sure you have a lot of thread on your needle
- Try using two different colors or multi-colored embroidery floss for a different look.
- Always have an odd number of spokes, even numbers don’t work!
So have you Learned how to make a Hand embroidery rose…
I hope this blog post was able to help you create a simple wagon wheel embroidery rose and leaf if you followed that blog post too! Remember embroidery is a craft and crafts take practice to perfect. So if yours didn’t turn out as you hoped or imagined don’t be discouraged. Pick up your needle and floss and give it another crack!

