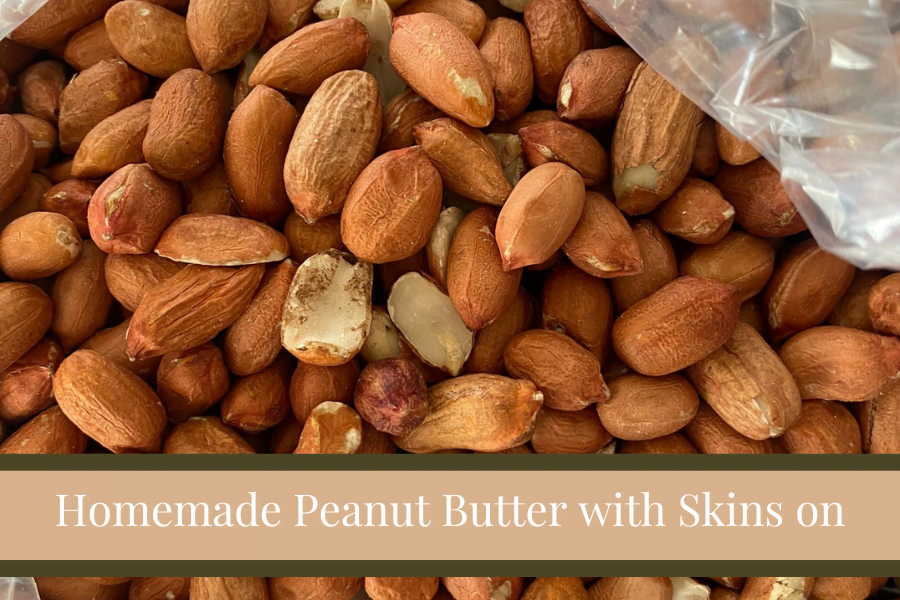
How to make Homemade Peanut Butter with the Skins on
Calling all Peanut Butter Lovers! This blog post will show you exactly how to make homemade peanut butter with the skins on. To be honest, the only reason I make it this way is because I am too lazy to remove the skins from the peanuts. However, actually, the skin of the peanut has a lot of nutrients in it.
Homemade Peanut Butter with Skins
What you need
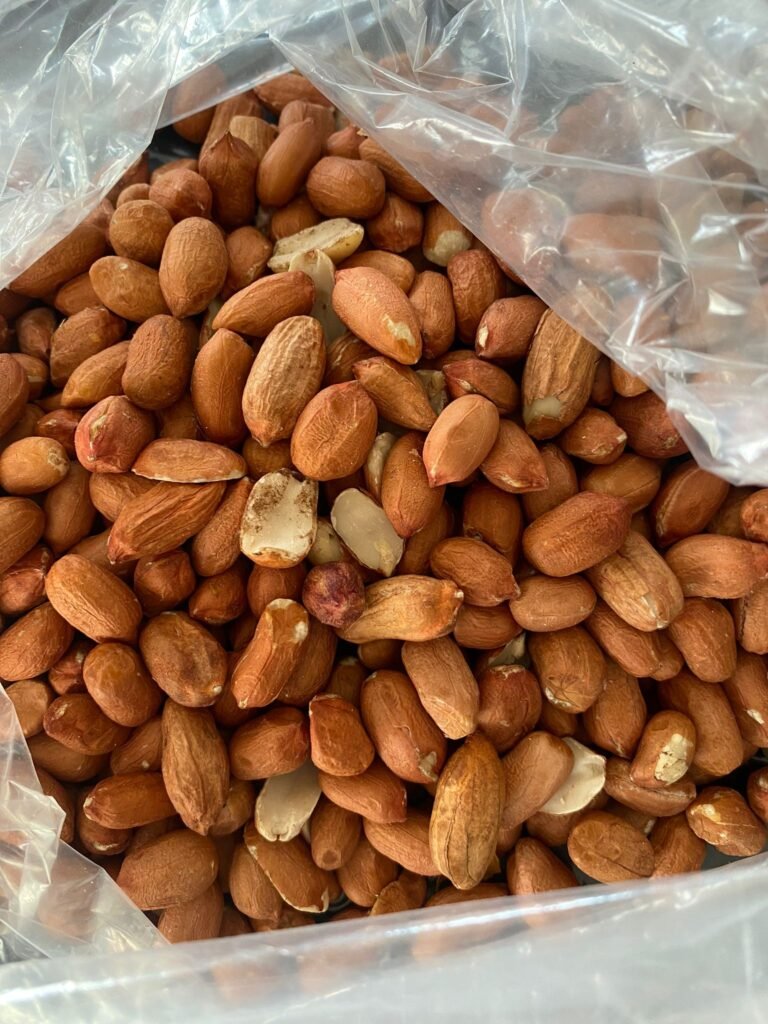
- 2 Cups Raw Peanuts with skins on
- sprinkle of salt
- sprinkle of sugar
- Food Processor
- Air Fryer/Oven
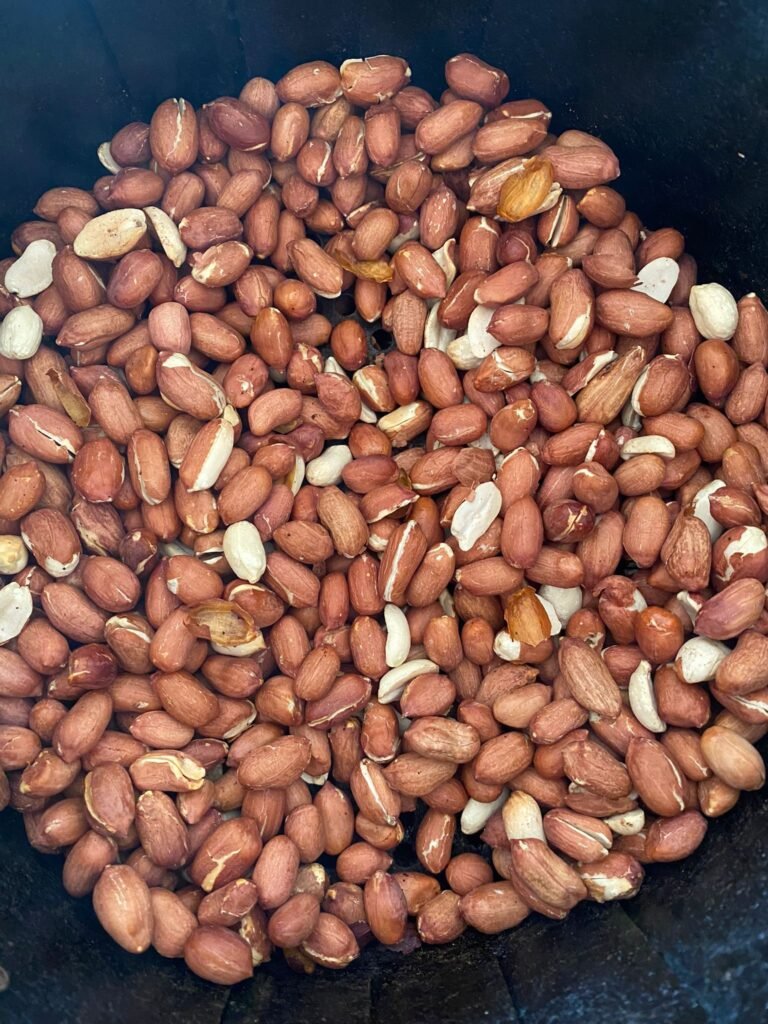
Step 1:
Roast your Peanuts. This is the first thing you will need to do to make homemade peanut butter with skins on. To do this, I simply roasted them in my air fryer for 10 minutes, tossing every 1 minute. This step is actually optional but it helps to loosen the oils in the peanuts. Just make sure the peanuts are hot and not burnt.
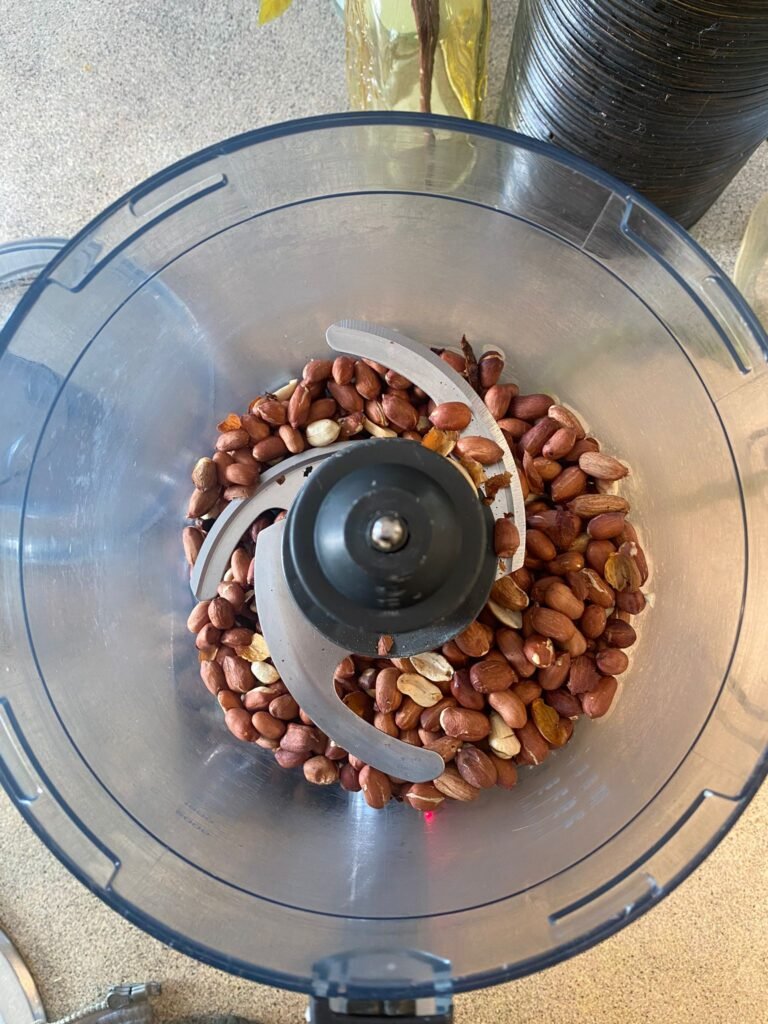
Step 2:
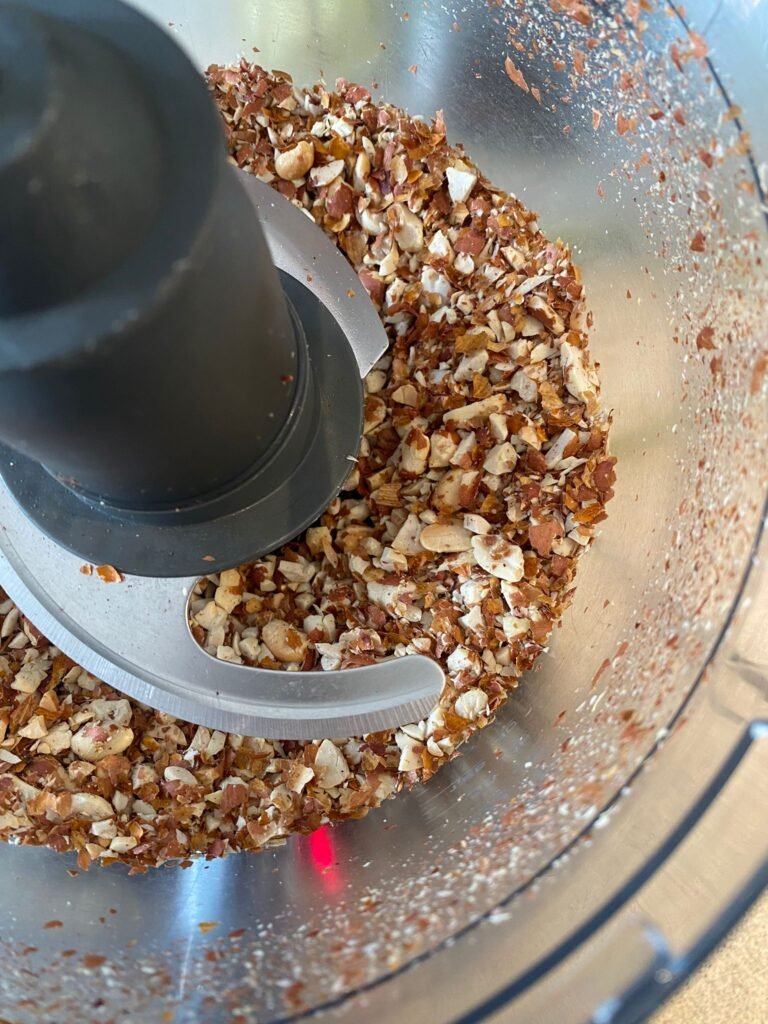
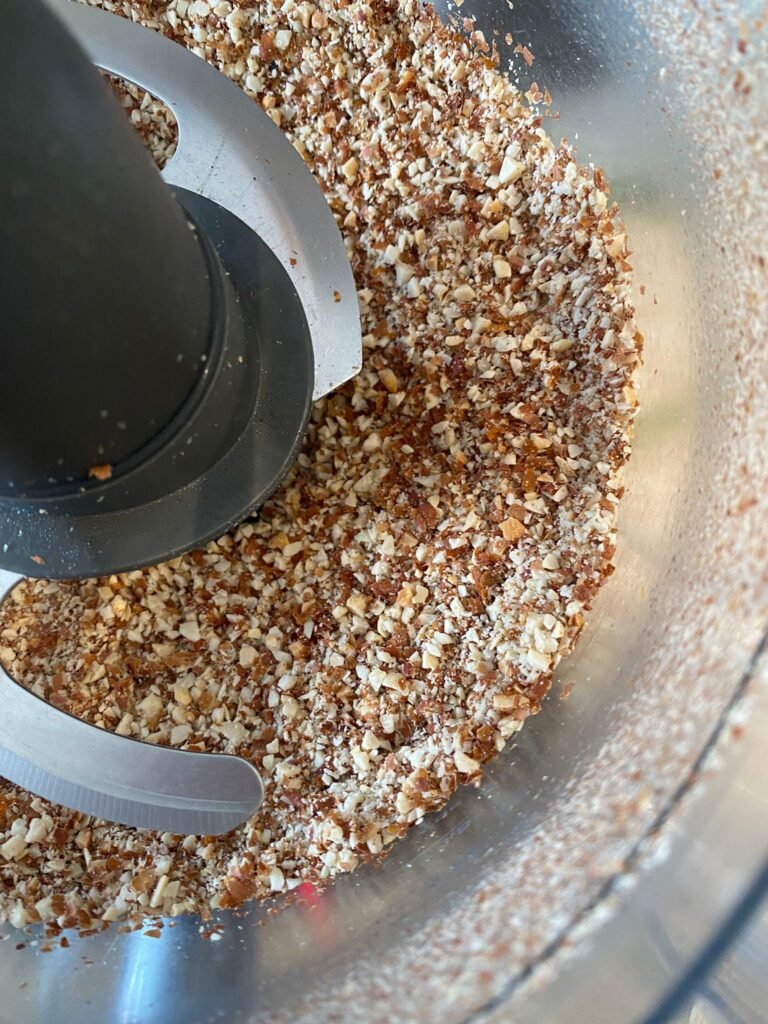
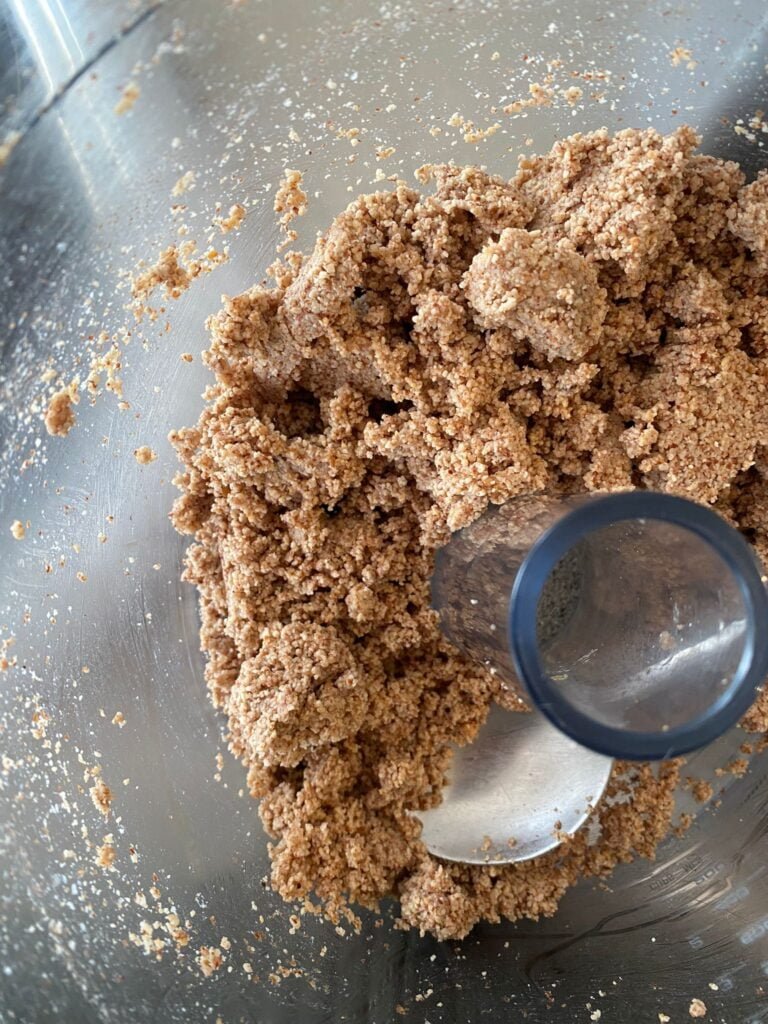
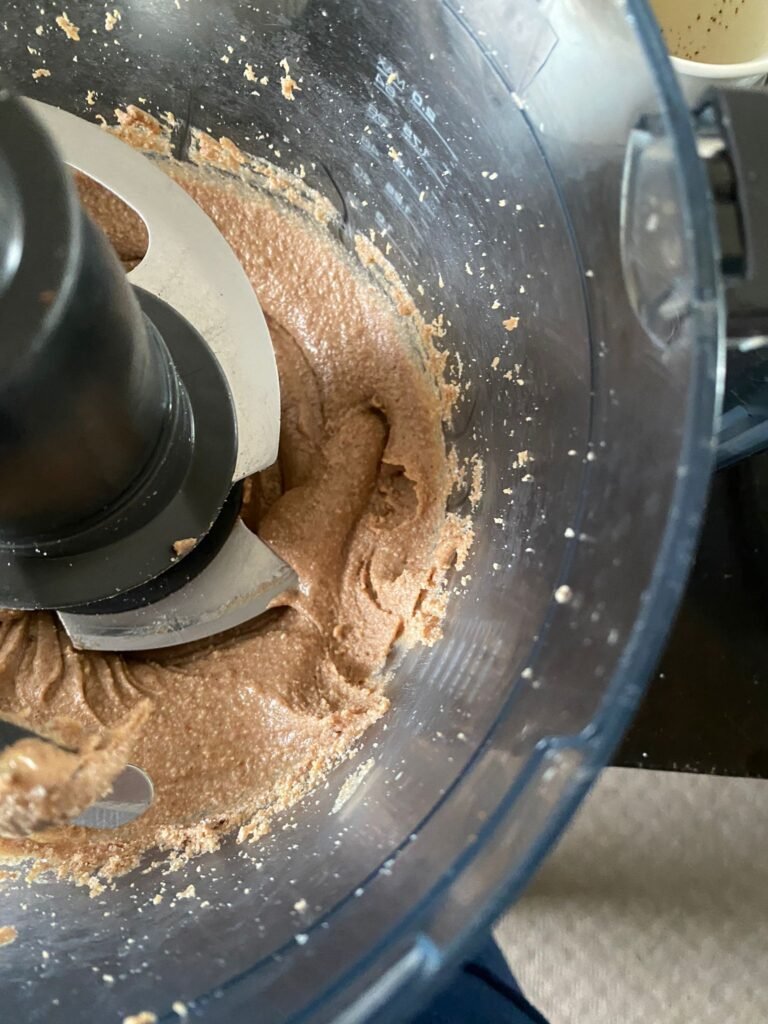
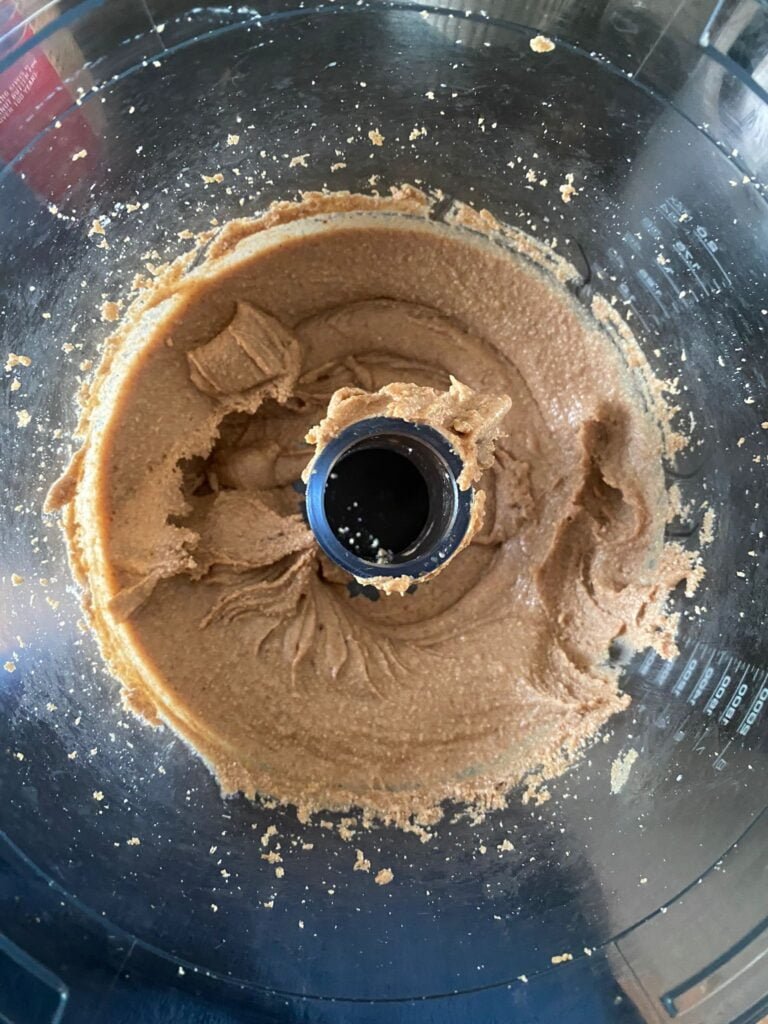
Add the nuts to the food processor and process. This will take 10- 15 minutes in total until the peanuts get a smooth consistency that is of peanut butter. IT TAKES TIME, DO NOT GIVE UP! Remember to scrap the sides every 30 seconds and if your food processor gets too hot and starts to sieze stop and let it cool for 15 minutes before turning it on again.

Step 3:
Add your salt and sugar. I added just a sprinkle but this is all up to taste. If you like your peanut butter more sweet add more, and if you like it more salty add more salt. Remember to try the peanut butter with no salt and sugar to see if it needs anything added to it at all.

Enjoy your homemade smooth peanut butter with the skins still on. So easy to make and seriously zero waste! This recipe can be used to make other kinds of butter too, such as almond butter, and cashew butter. Just swap out the peanuts for the preferred nut. It’s seriously that simple.