How To Make a Silky Satin Scrunchie | Beginner Method
This is a tutorial on how to make a silky satin scrunchie. Satin Scrunchies are amazing for your hair. Normal cotton scrunchies can actually damage your hair, causing split ends. Satin Scrunchie is similar to a satin pillow in the way it helps protect your hair.

What’s a Beginner Method?
There are so many different methods to make scrunchies, I will show you the beginner method which is most appropriate for kids and people learning to sew. This method is doable for almost anyone. It is the simplest and most effective.
What are the Benefits of using a Satin Scrunchie instead of a Fabric one
Fewer Tangles – Satin Scrunchies create less friction than fabric ones, less friction means fewer tangles. If you have constantly knotty hard to handle hair, then using a satin scrunchie might be just what you need
Less Damage – Because there is less friction from how smooth and silky the satin is, this means less damage. Less split ends and less dry hair.
More comfortable – Because of how soft and silky satin scrunchies are, they feel so comfortable, not only are they softer satin fabric is a lot lighter than cotton fabric. a Satin scrunchie definitely won’t make your hair feel heavy
Trendy – Satin Scrunchies are trendy, they literally can make your hair look so elegant, even if you are wearing pajamas.
What is Satin Fabric?
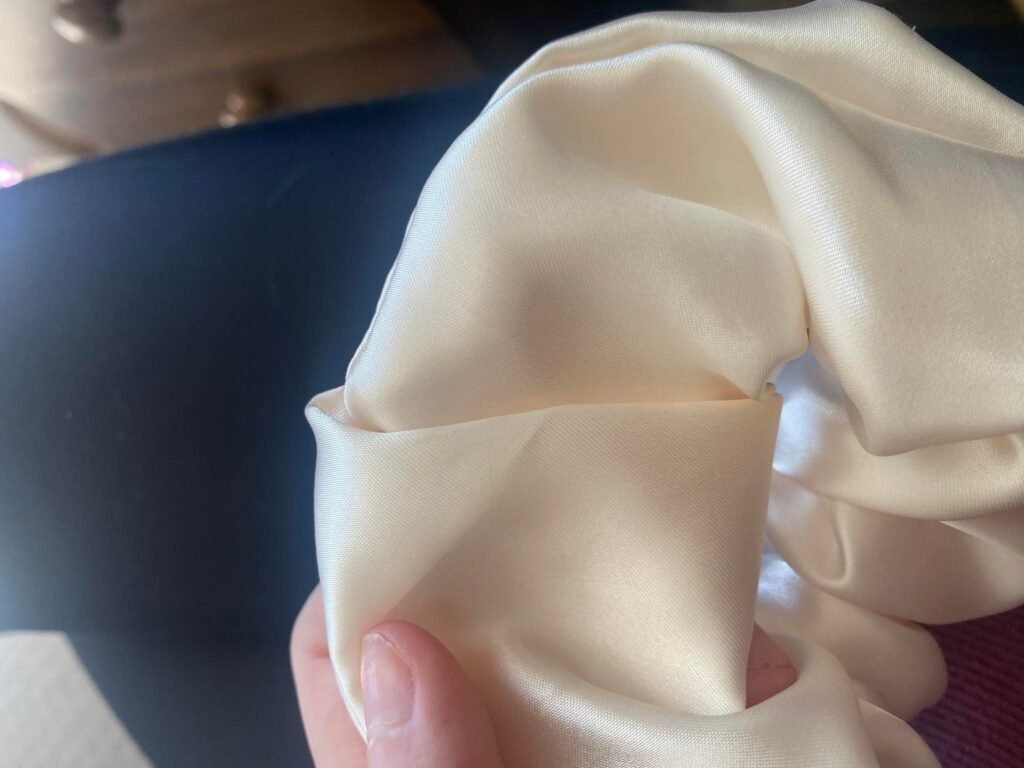
The satin weave creates a fabric that is shiny, soft, and elastic with a beautiful drape. Satin fabric is characterized by a soft, lustrous surface on one side, with a duller surface on the other side. It has similar properties to Silk but for a much cheaper price, making it ideal for home sewing projects.
I buy most of my satin fabric from second-hand shops. But the satin fabric is readily available at any craft shop.
Tips and Things to Remember when Sewing Satin
- The Fabric will fray…a lot
- Leave a good seam allowance because of fraying fabric
- Sew Slowly!
- Make sure your machine settings are correct, we want to stitches to be nice and tight because of fraying
- When ironing, put a towel over top. Satin material burns easily


How To Make a Satin Scrunchie Tutorial (Beginner Method)
Now we have everything out of the way, let’s get started with this tutorial.
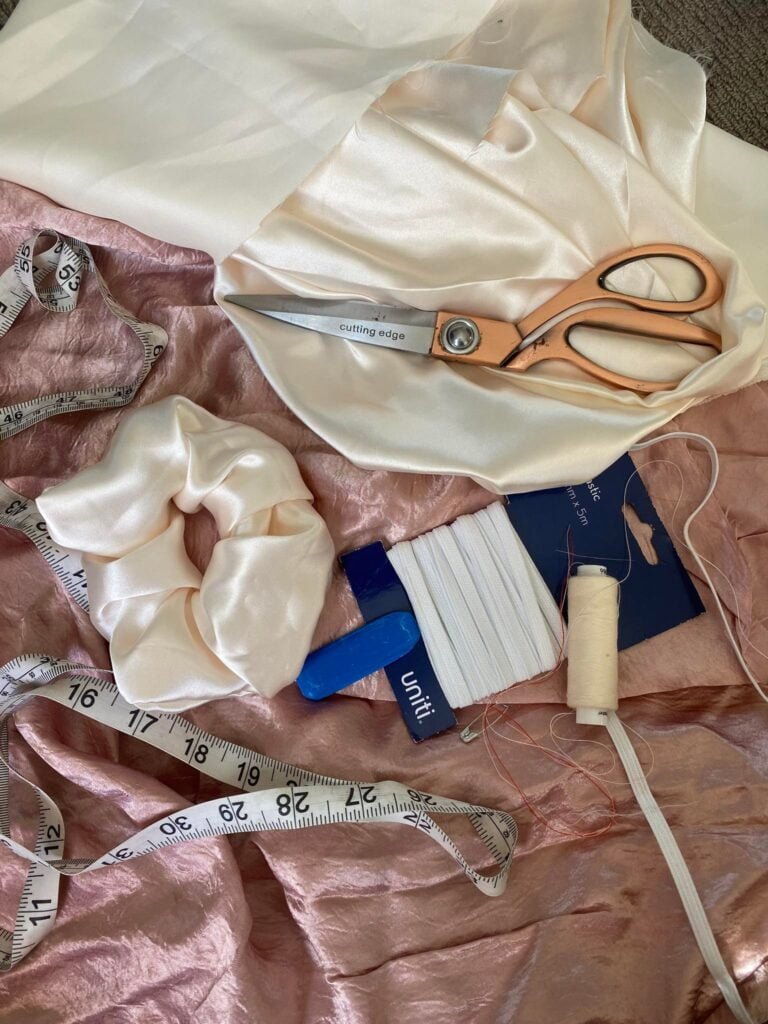
What you need to make your very own Satin Scrunchie :
- Satin Fabric (25 inches by 4 inches)
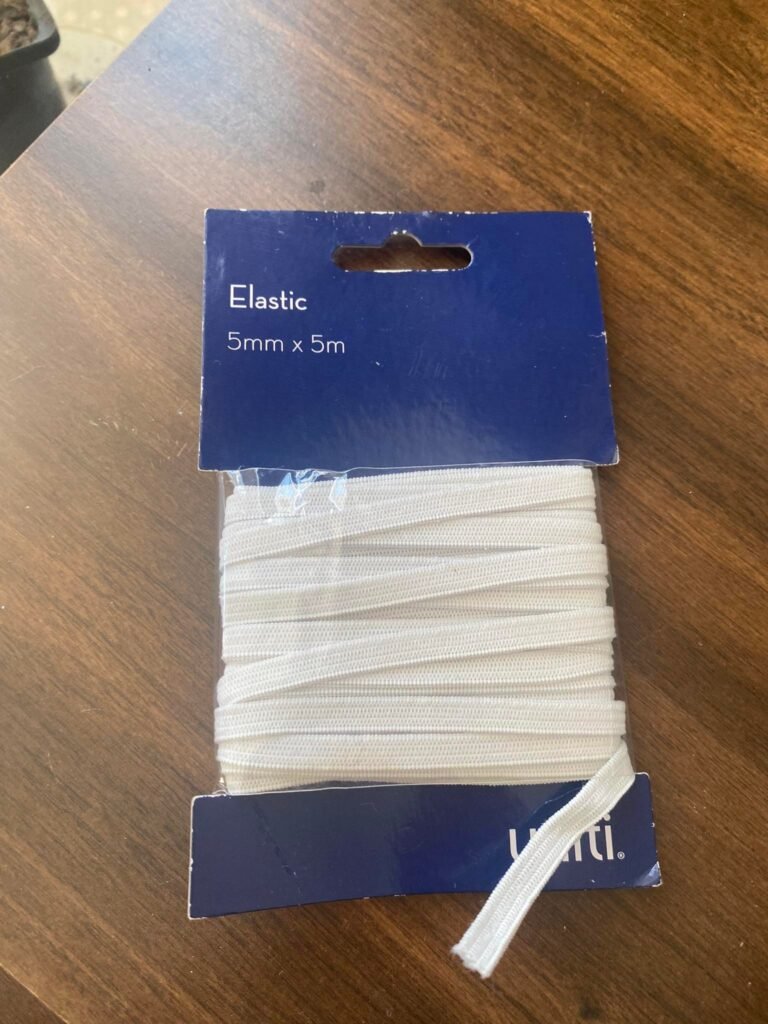
- 1/4 inch elastic (7-9 inches)
- needle and thread
- sewing machine (optional, this can be hand-stitched)
- safety pin (optional)
- pins
Step 1 of your silky satin scrunchie:
Cut your Fabric and Elastic to size.
The fabric length doesn’t need to be exact. if you are a beginner sewer, make sure to leave extra room for seam allowance.
With the elastic, I like to use 9 inches because that leaves room to tie it off in later steps.
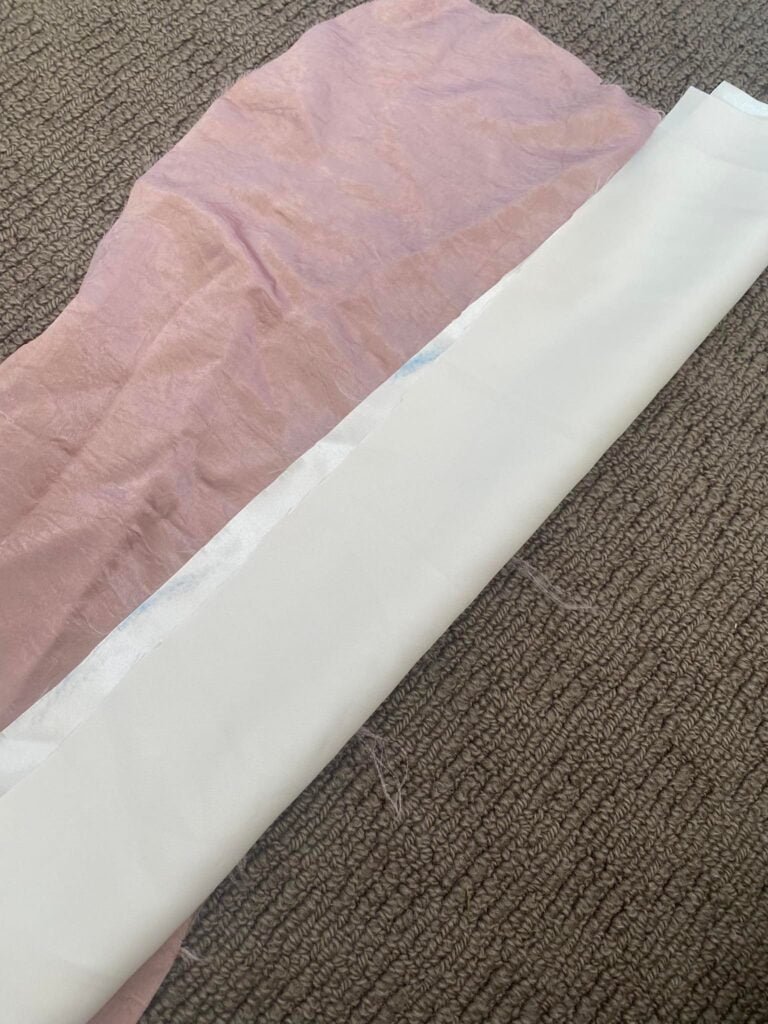
Step 2:
Now fold the fabric in half lengthways. Make sure you have the right sides together! (So shiny sides together ) Place pins along the length of the edge to hold the fabric in place ready to sew.
Sew closely (hand or machine) to the edges of the length of the fabric.
Once seen together put the fabric the right way out.


Step 3:
Next, we are going to thread the elastic. This can be difficult to do. So I recommend attaching a safety pin to one side of the elastic and pin the other side of the elastic to one end of the fabric.
Once the elastic is threaded through, we are going to tie it off. You can use your wrist to adjust how tight you want to make it. This is why I recommend starting with more elastic. I also recommend making 3 knots in the elastic to ensure it doesn’t undo


Step 4:
We are now in the finishing steps of the scrunchie.
On one end of the scrunchie opening tuck in the fabric, next, we are going to line up the seams on the scrunchie opening. Shove the non-tucked-in opening into the tucked-in one. The seams should line up
Now hand stitch the two openings closed


Step 5, Your Satin Scrunchie is Completed:
And that’s it, enjoy your silky satin scrunchie, it’s really as easy as that. I hope you enjoyed this tutorial and enjoyed making your very own satin scrunchie. Let me know if you would like me to go over the other method of sewing scrunchies I use for Etsy. The other method requires a lot less hand sewing but is a little advanced for beginners